Description
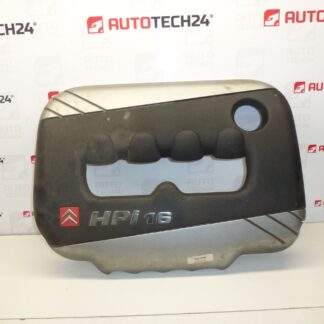
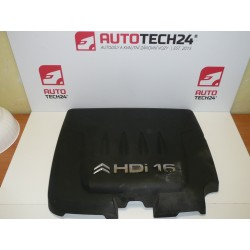
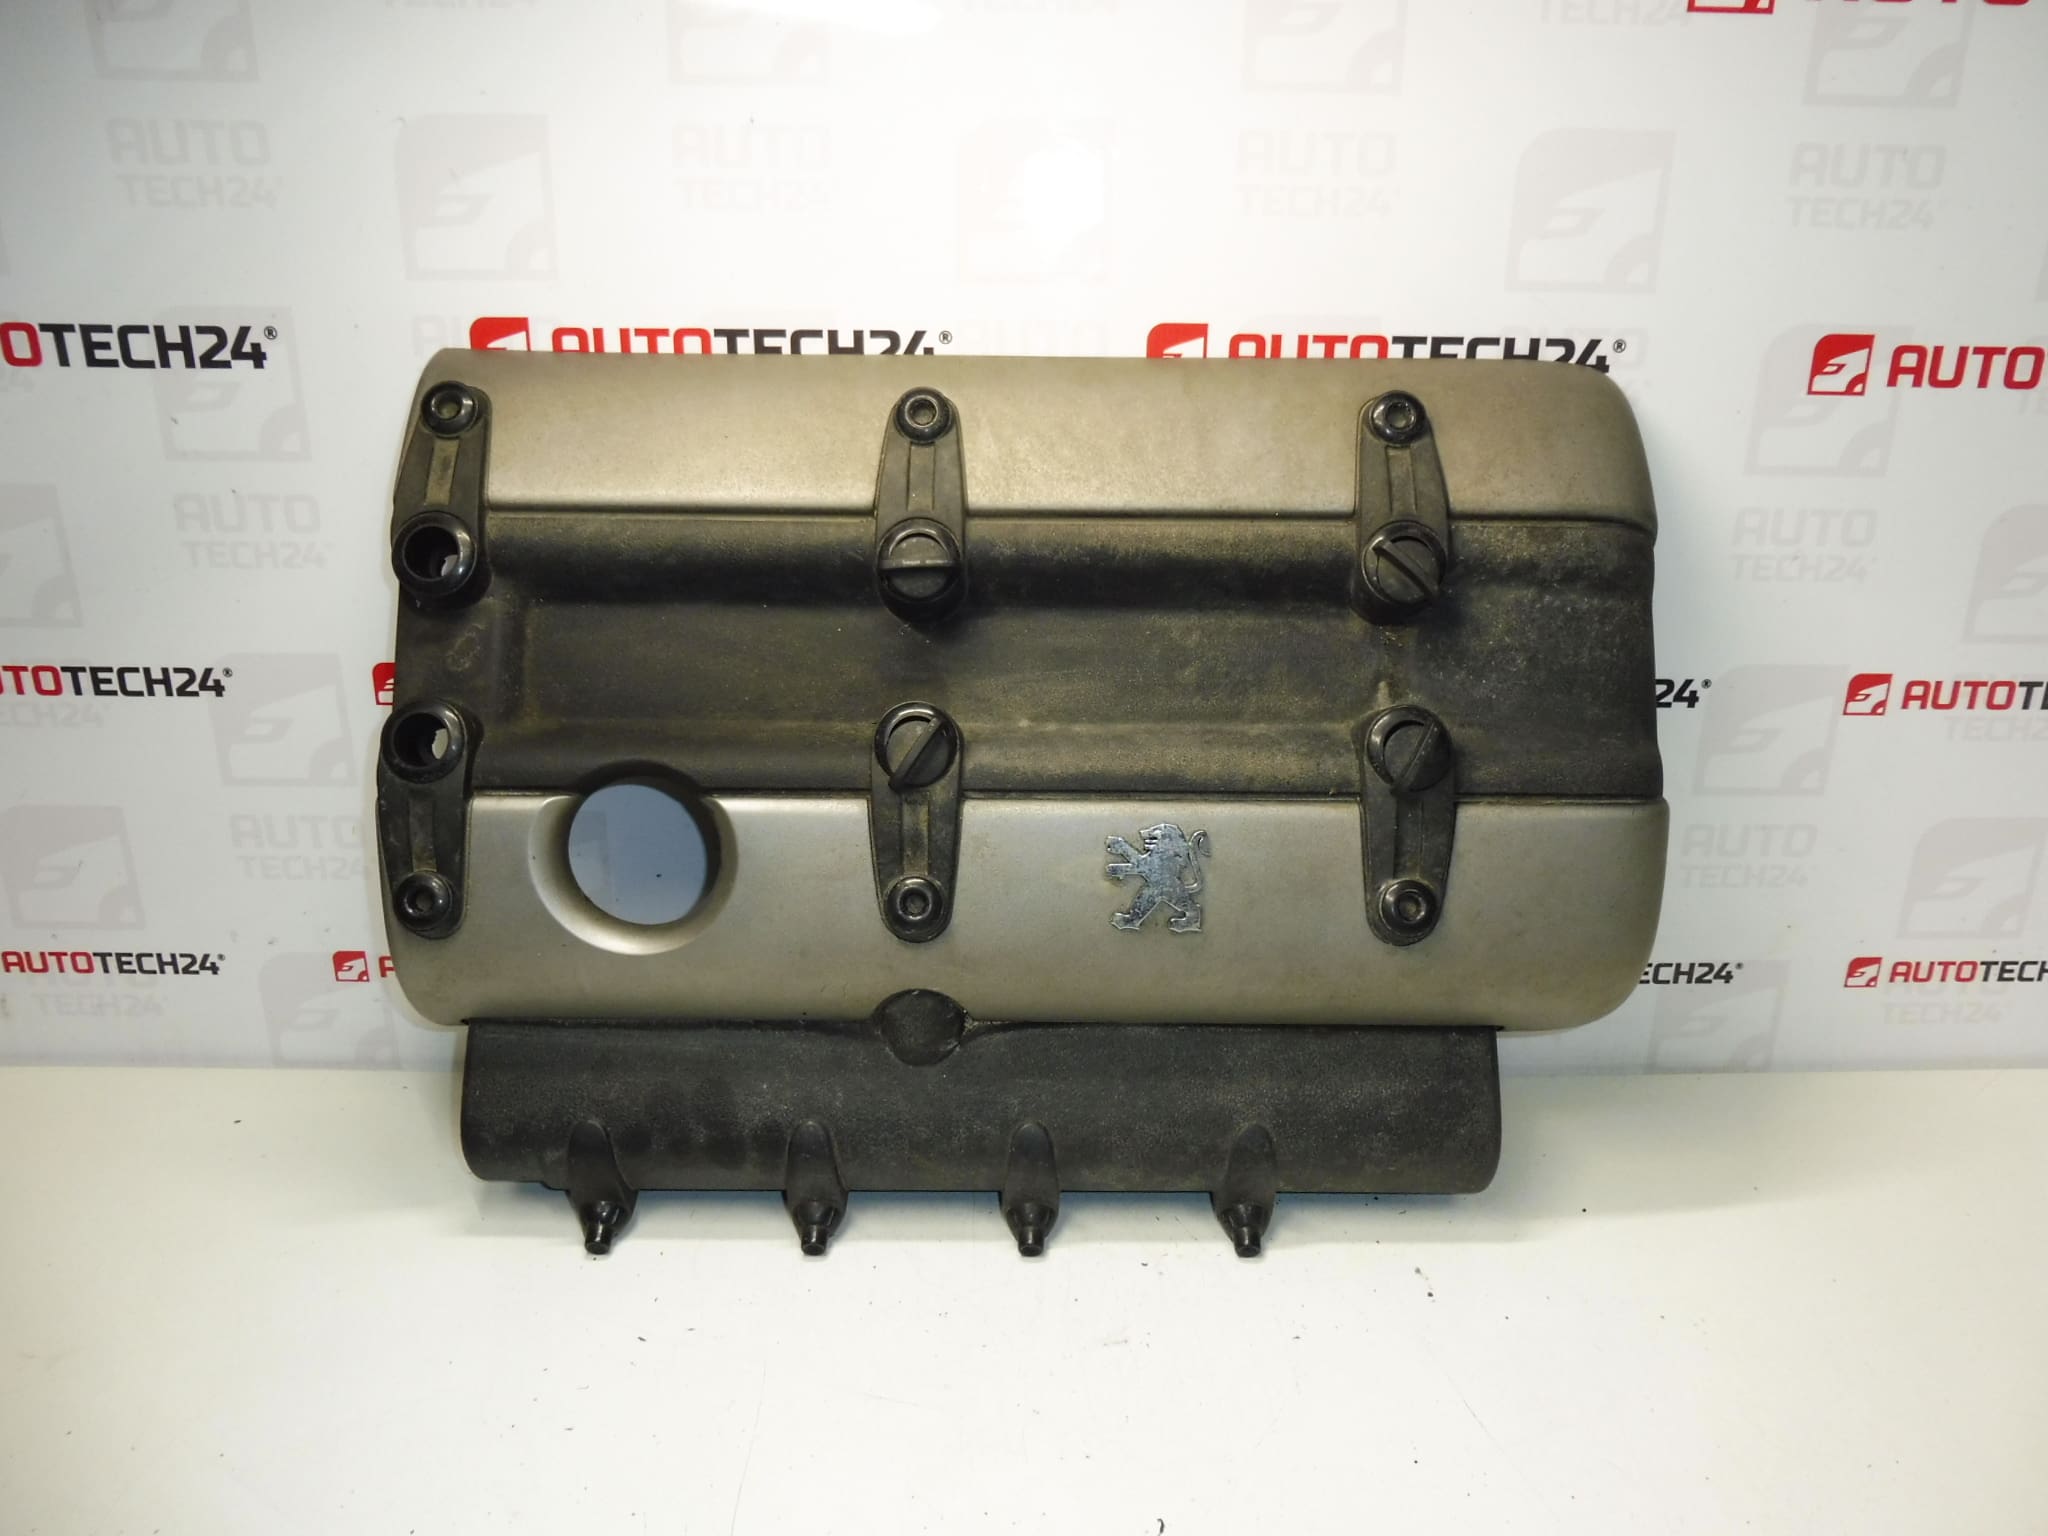
Engine Cover 2.0i 16V RFK 130 kW for Citroën C4 and Peugeot 206 RC and 307 CC
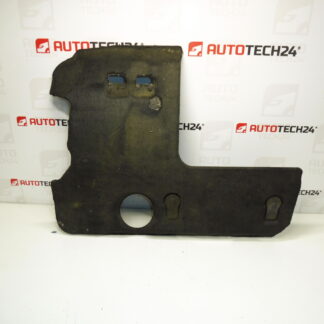
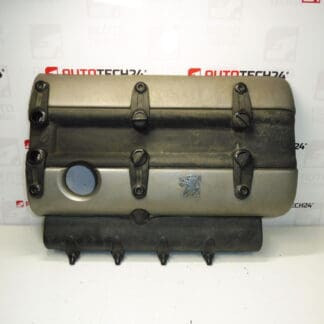
This engine cover is designed for Citroën and Peugeot models and serves both protective and aesthetic functions in the engine bay. It reduces noise, protects top engine components from dirt and debris, and helps direct airflow for cooling. The cover is suitable for workshop replacement and for experienced DIYers who perform routine engine-bay maintenance. Commonly searched by product codes, this part is often identified by the OEM numbers listed below, making it easy to find the correct replacement in catalogs and online.
Technical Information
- Manufacturer: Stellantis
- Model: Citroën C4; Peugeot 206 RC; Peugeot 307 CC
- Product Codes: 9655202180, 963936480, 0248L5, 025084
- Additional Numbers: RFK, 6FY, 130 kW
Function And Construction
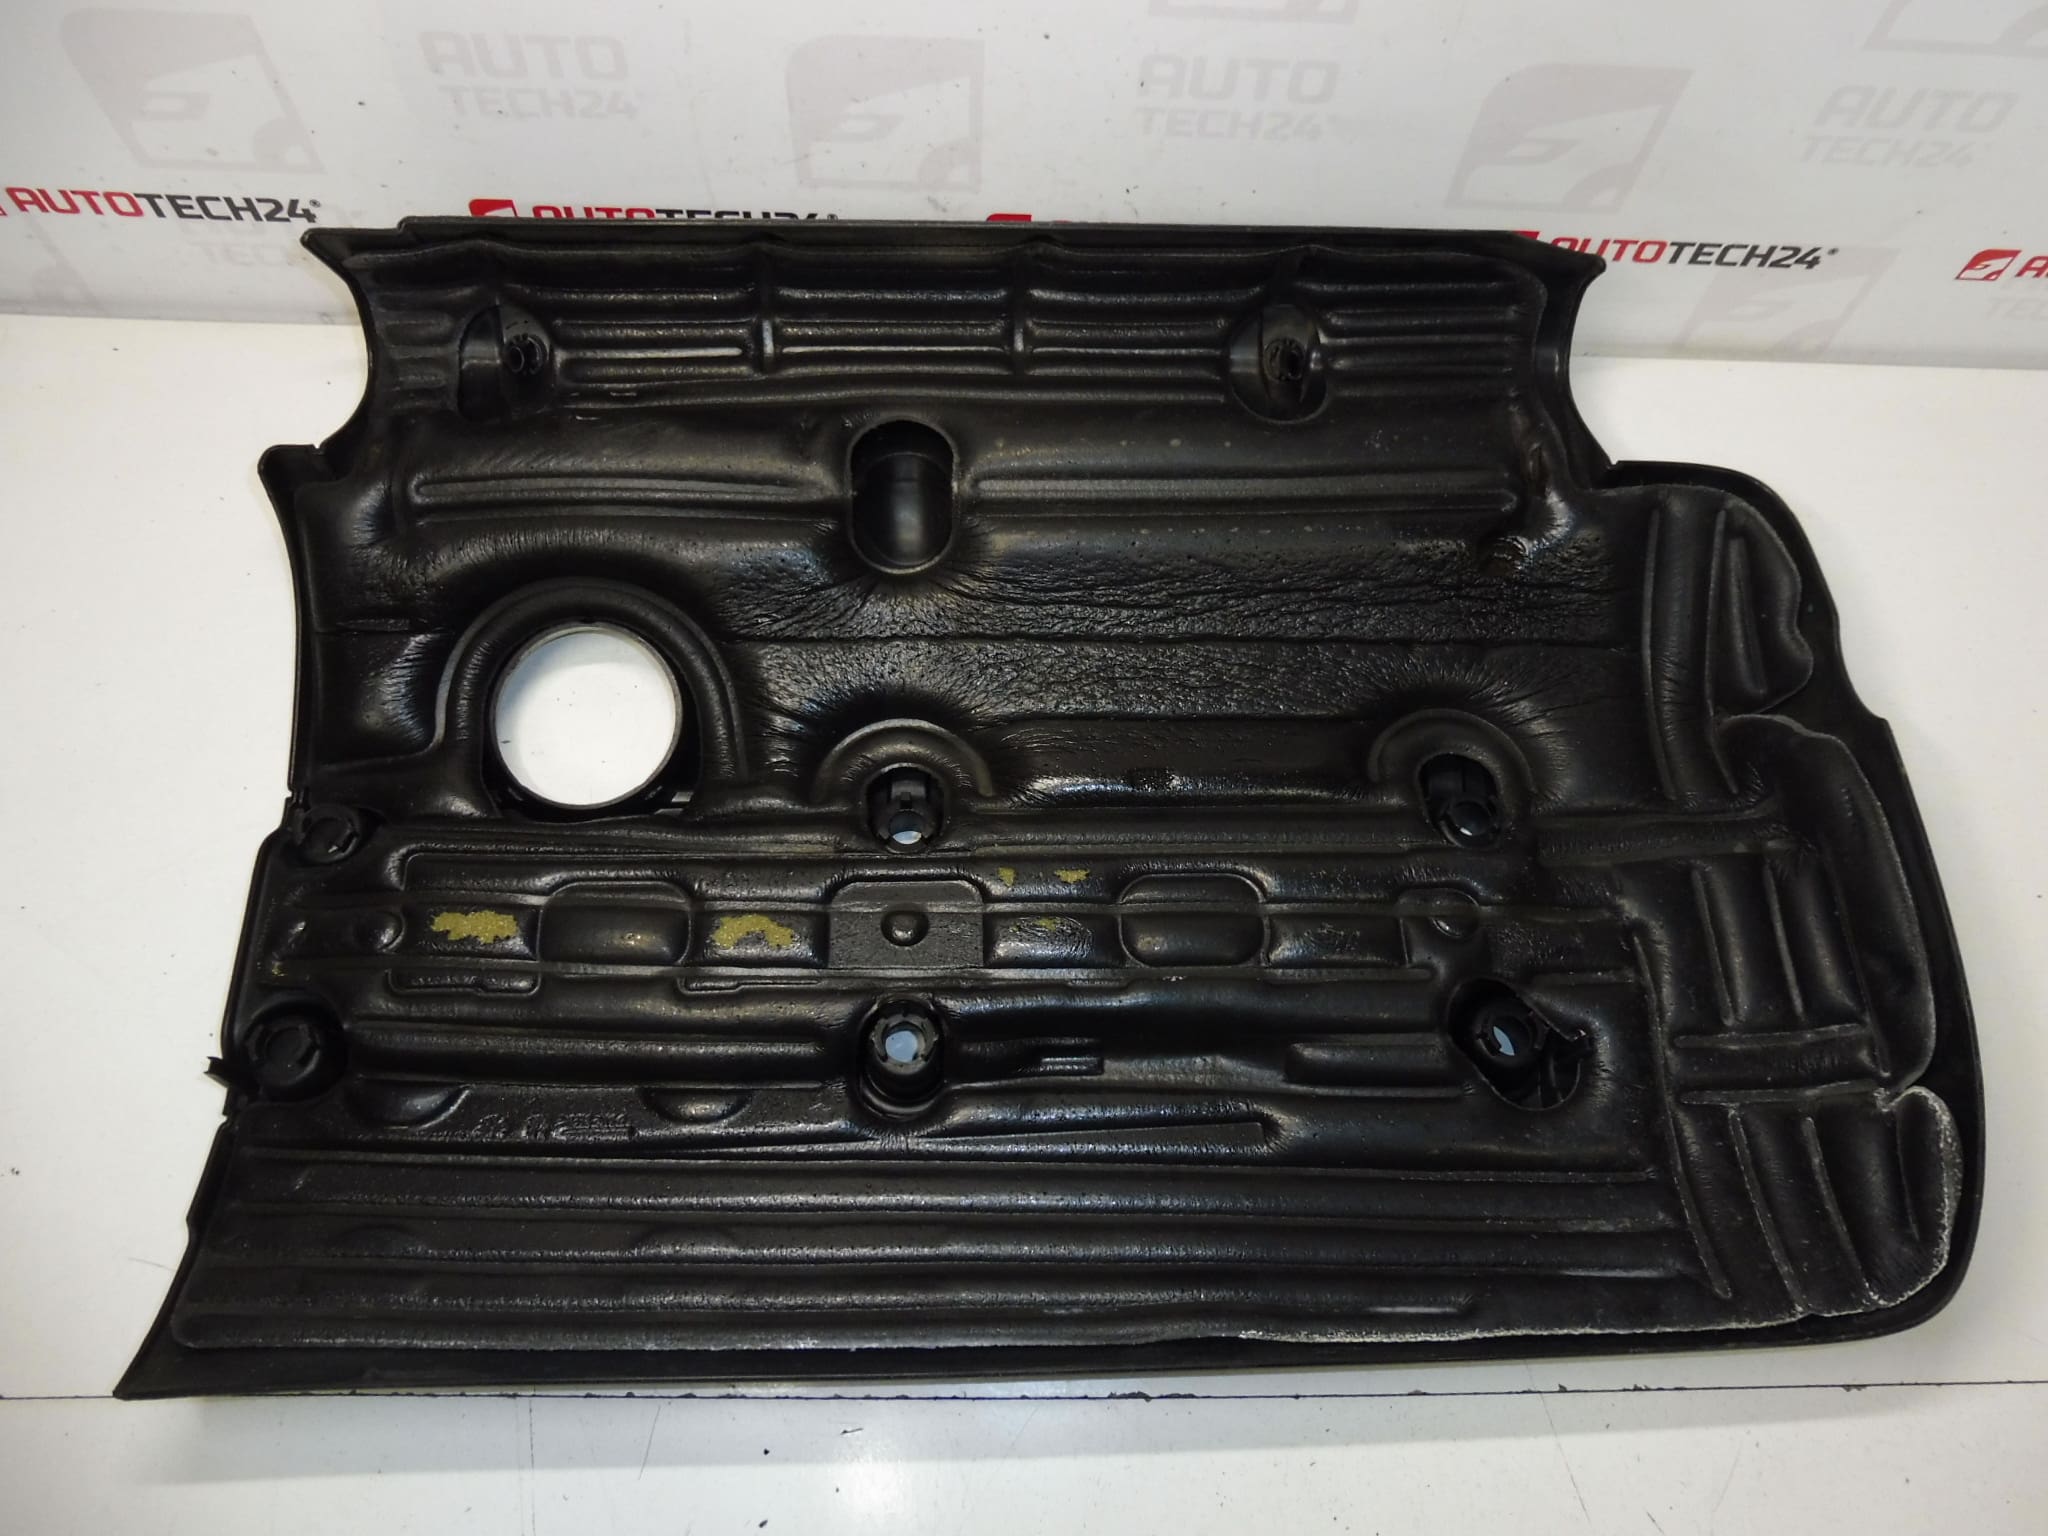
The engine cover protects electrical connectors, ignition coils and intake components from contamination and mechanical damage. It also contributes to acoustic insulation. Covers of this type are typically made from heat-resistant composite or plastic materials designed to withstand under-hood temperatures and chemical exposure.
How To Replace
Replacement is straightforward for a trained mechanic or competent DIYer. Typical steps:
- Allow the engine to cool. Remove any decorative clips or fasteners securing the cover (plastic clips, screws or bolts).
- Carefully lift the cover, disconnecting any attached hoses or sensor retainers if present.
- Inspect mounting points and replace broken clips or grommets before fitting the new cover.
- Position the new cover, reconnect any hoses or retainers, and secure all fasteners hand-tight, then torque to manufacturer recommendations if known. Avoid overtightening plastic screws.
Typical Lifetime And Most Common Failures
Engine covers do not have a fixed service interval and often last many years, but failures are usually due to external factors rather than normal wear. Common causes of damage:
- Degraded or cracked plastic caused by long-term heat cycles and exposure to engine fluids.
- Broken or missing mounting clips and fasteners from rough handling or previous improper removal.
- Impact damage from tools or components during maintenance.
- Warping or deformation after overheating events.
Installation Recommendations
- Replace any damaged clips or grommets when fitting the new cover to ensure secure mounting and to avoid vibration or rattling.
- Check nearby components (ignition coils, wiring, intake manifold seals) for contamination or damage while the cover is removed.
- Use the correct product code when ordering to ensure fitment: match OEM numbers listed in the Technical Information section.
- If unsure about fastener torque values, tighten to a snug, even setting to avoid cracking the plastic.