Description
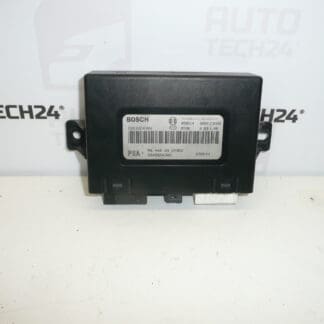
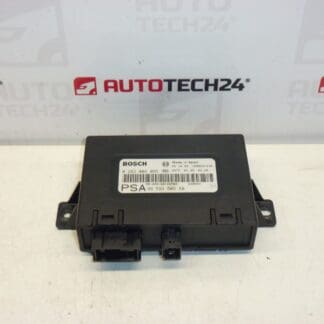
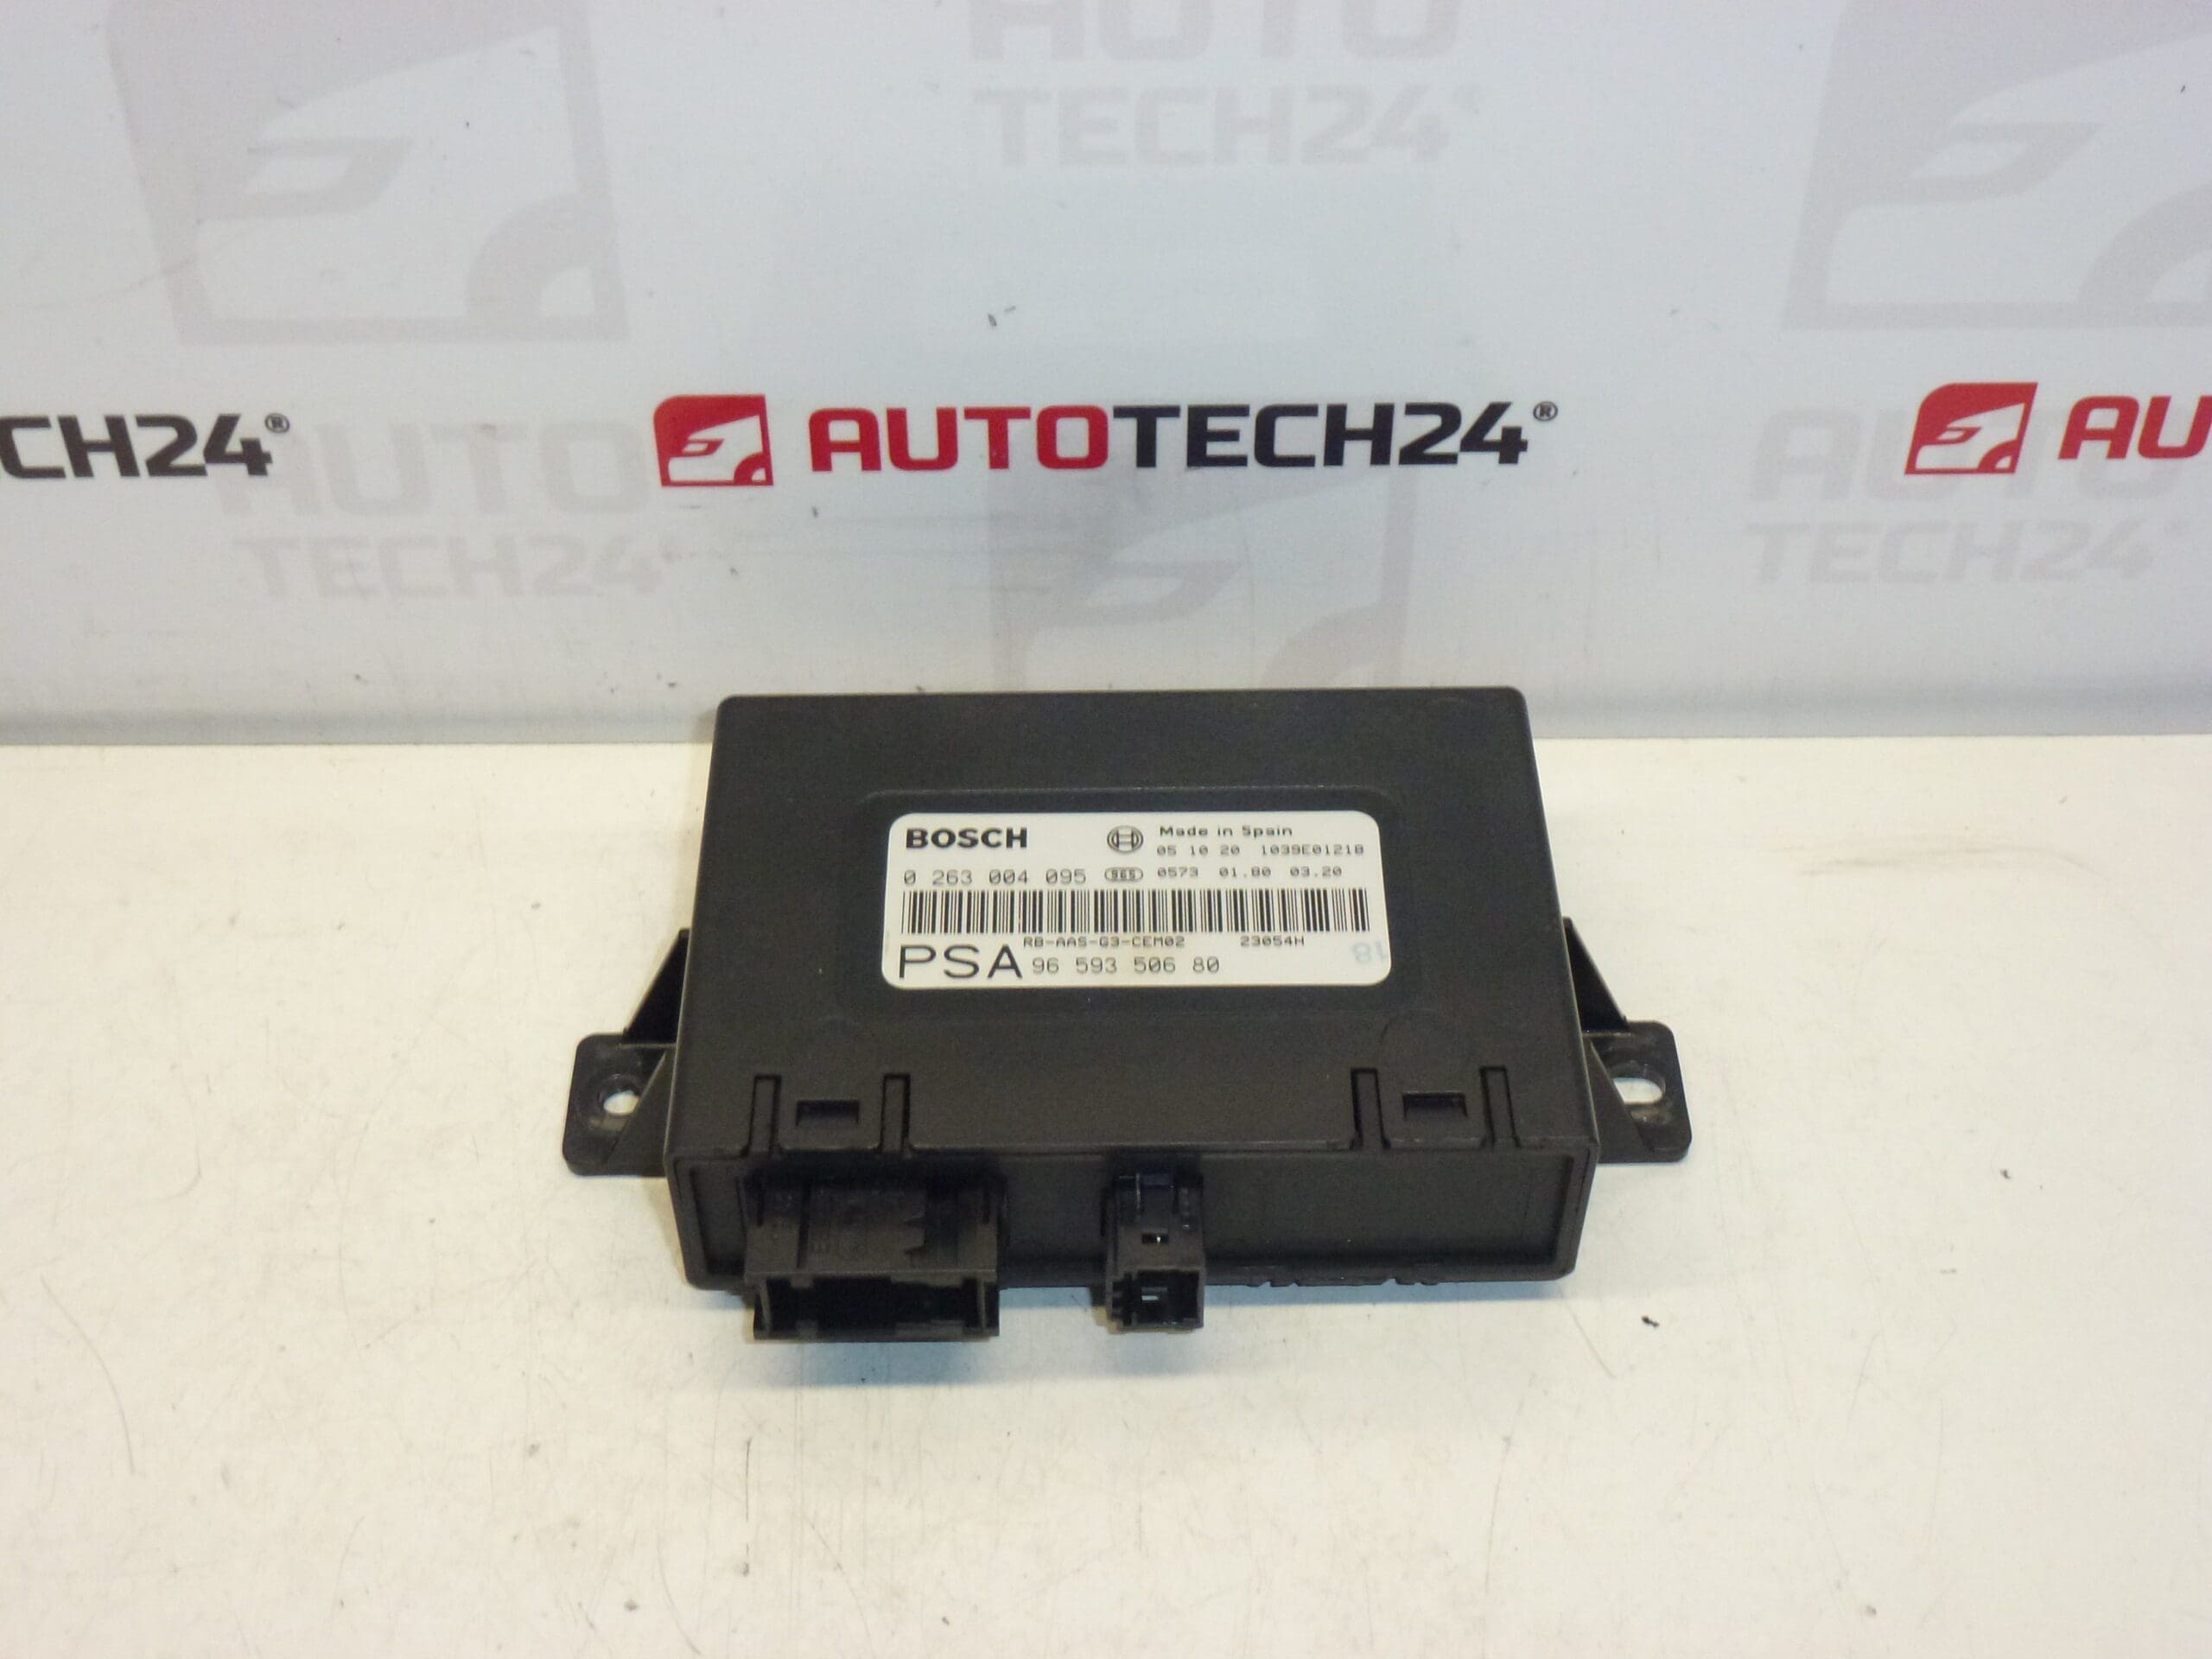
BOSCH control unit for the parking assist system in PEUGEOT 407 vehicles
Part description
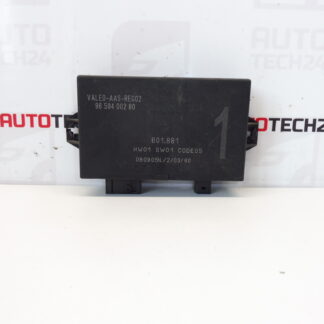
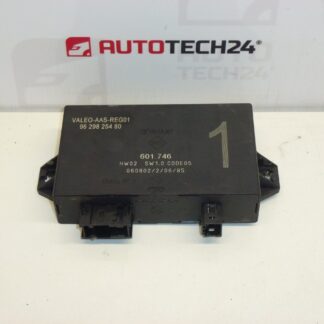
Used PDC parking assist control unit for Peugeot 407 manufactured by BOSCH. This type of unit processes signals from the parking sensors and helps alert the driver to obstacles while parking. When repairing a non-functioning parking assist system, replacing the control electronics alone may be an option if diagnostics confirm that they are faulty.
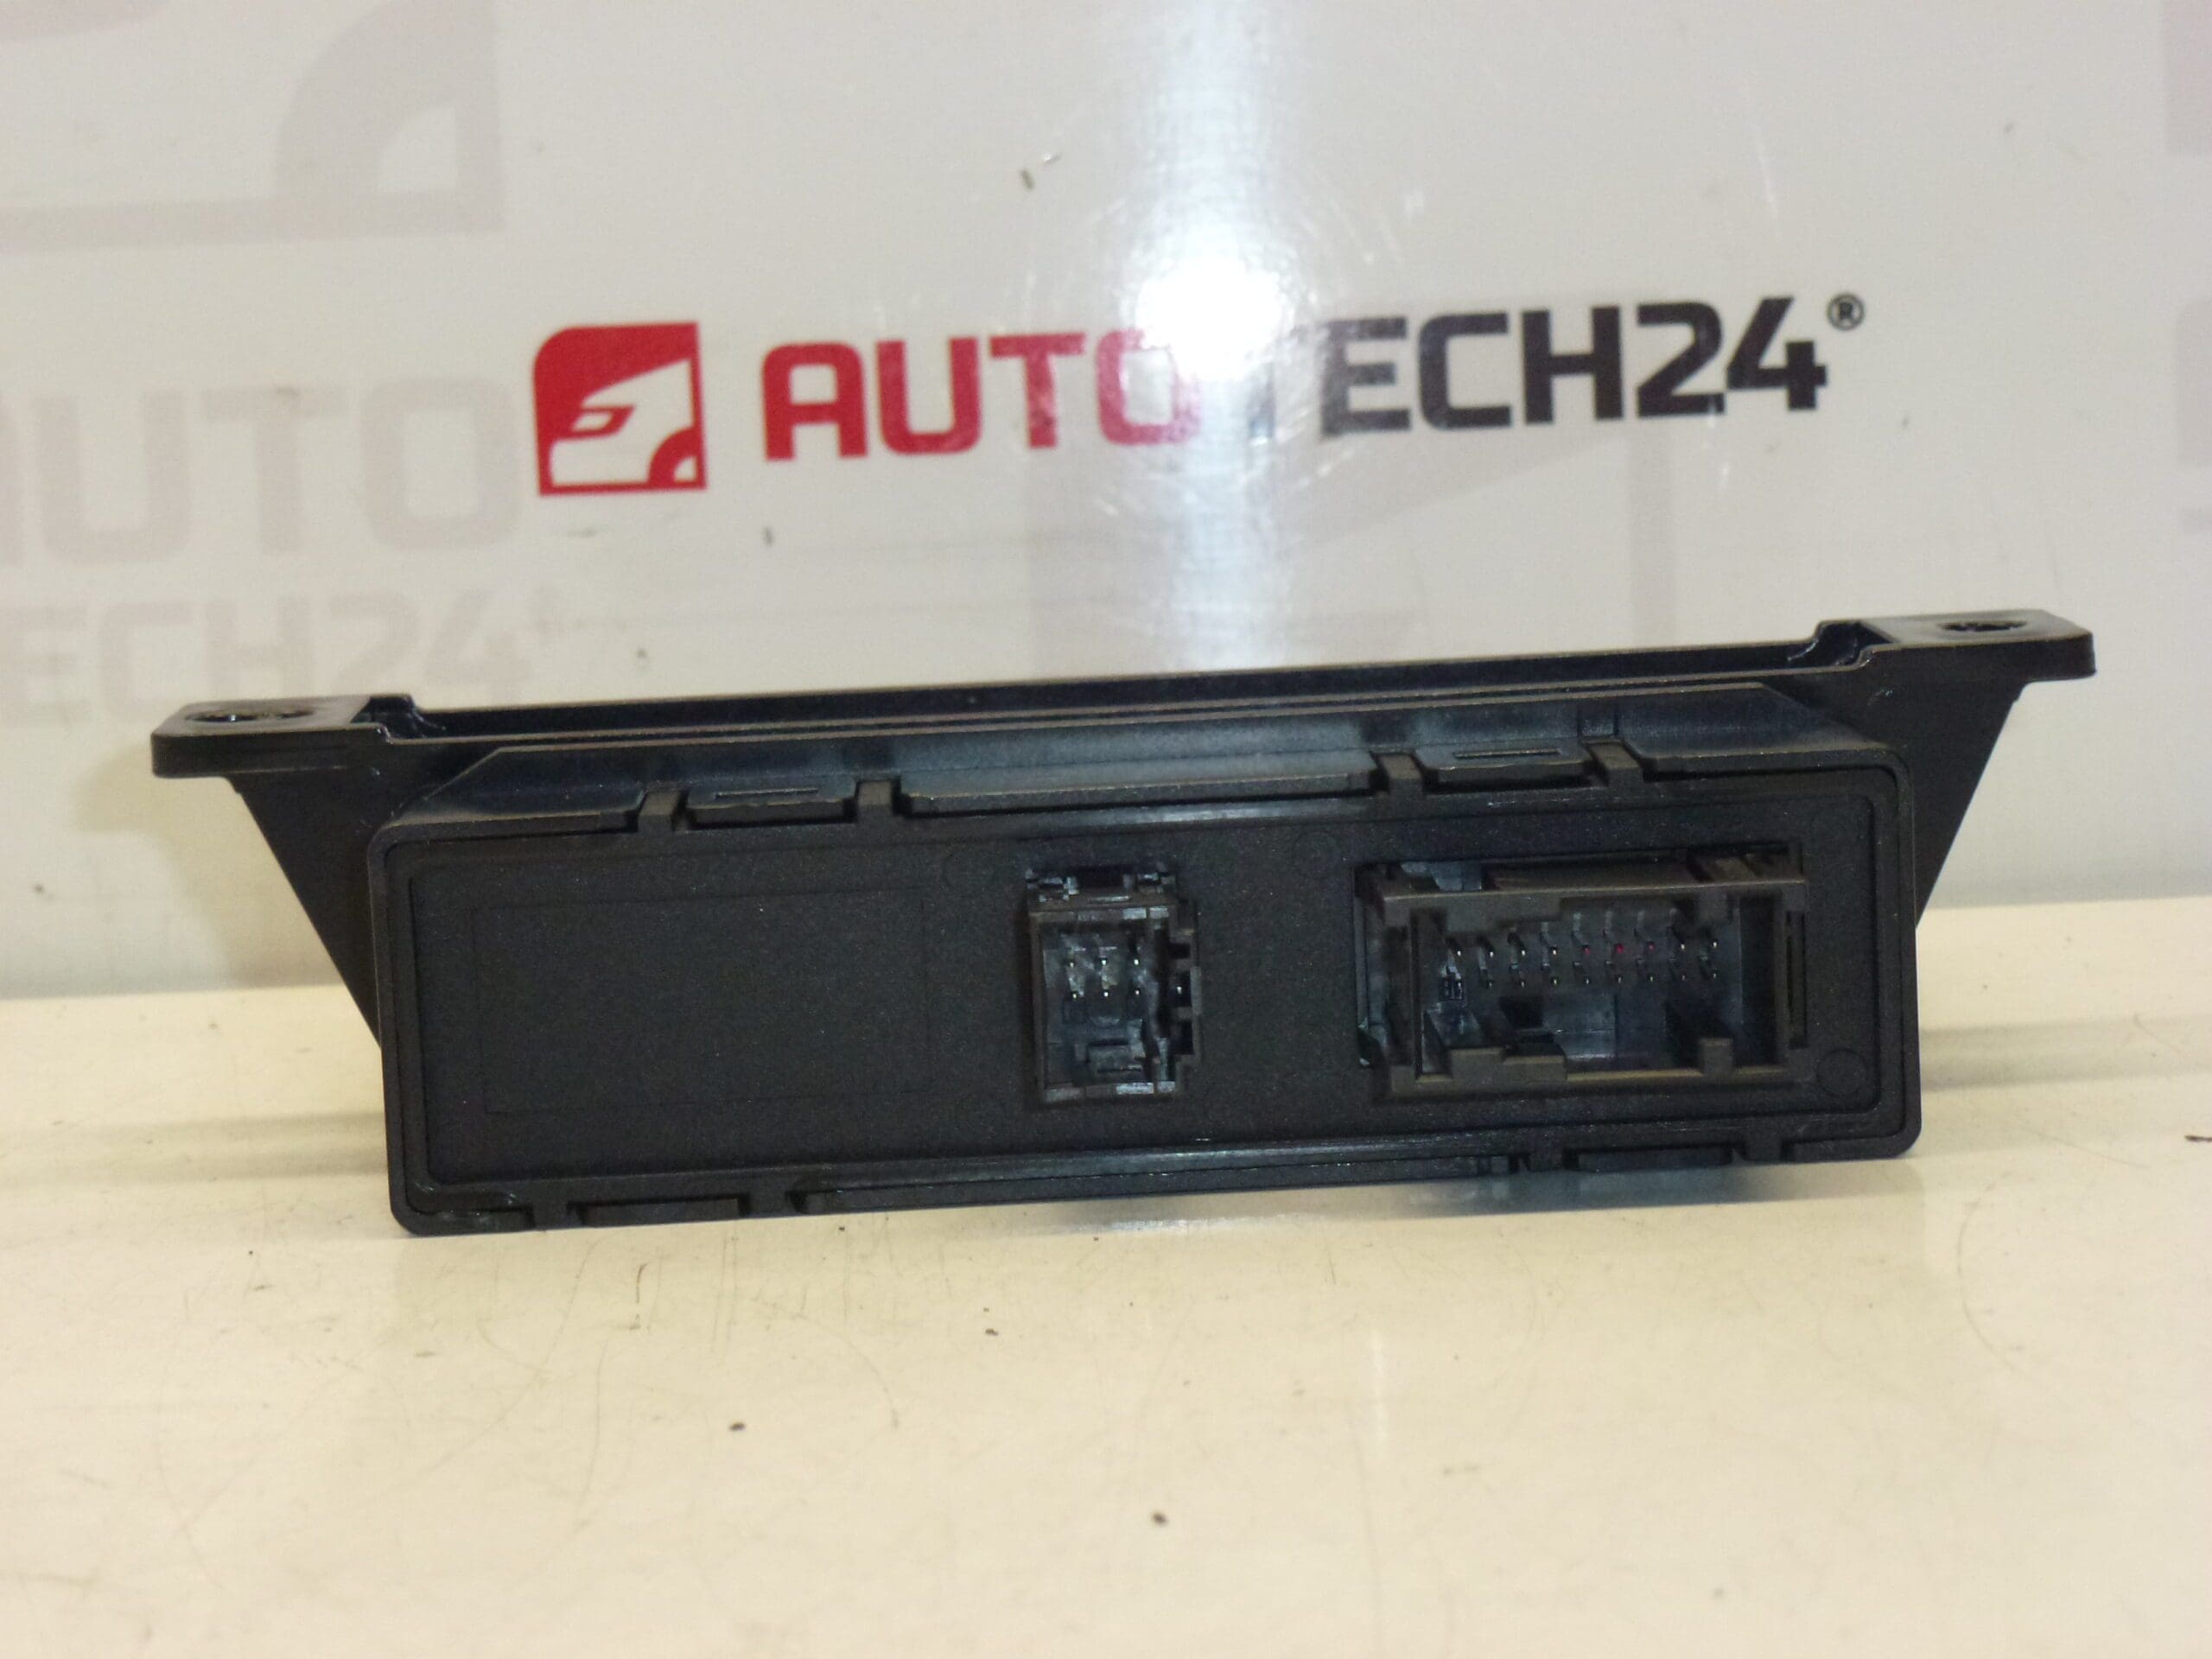
When selecting a replacement, compare the product numbers, connector configurations and markings on the original unit in particular. The codes provided make it easy to find the part using the number on its label. However, a non-functioning parking assist system does not necessarily mean the unit is faulty—the cause may also be the sensors, wiring or power supply.
Technical information
- Manufacturer: BOSCH
- Model: Peugeot 407
- Part type: PDC parking assist control unit
- Condition: used part
- Additional numbers: 0263004095, 6590L7, 6590T5
Product codes
- Product codes: 9656174280, 9659350680, 0263004095, 6590L7, 6590T5
The markings provided are for identifying the part being offered. Before replacing it, compare the markings on the original unit and verify that the replacement is suitable using the service documentation for the specific vehicle configuration.
Installation recommendations
The following procedure generally applies to this type of electronic part. Exact access to the unit, removal method and any configuration requirements depend on the specific vehicle configuration. Follow the manufacturer’s service procedure.
1) Before installation
- First, use diagnostics to distinguish a faulty control unit from a fault in the sensors, wiring, power supply or ground connection.
- Compare the product numbers, connector shape and number, keying and mounting points with the original part.
- Inspect the housing of the used unit, connector pins and locking tabs. Look for cracks, deformation, corrosion and signs of moisture.
- If the original unit was exposed to water, eliminate the source of the leak before installing the replacement part.
2) Required tools and materials
- Standard hand tools suitable for the fasteners used and, if necessary, plastic trim removal tools.
- A diagnostic tool that supports the vehicle’s parking system.
- A multimeter for checking the power supply and wiring against the wiring diagram.
- A clean cloth and, if necessary, a product suitable for cleaning electrical contacts.
3) Step-by-step installation procedure
- Secure the vehicle against movement and, before removal, read and record any parking system faults. If the original unit’s configuration is available, record that as well.
- Switch off the ignition and, following the manufacturer’s procedure, allow the electronic systems to enter sleep mode.
- Disconnect the battery in accordance with the vehicle’s service procedure. Do not disconnect the unit’s connectors while they are live.
- Access the unit according to the service documentation. Release any covers and trim without forcing them to avoid damaging the clips.
- Before disconnecting anything, record the cable routing and connector connections, for example by taking a photograph.
- Release the connector locks and disconnect them by pulling on the connector housing, not the wires.
- Release the mounting and remove the original unit. Inspect the surrounding area, connectors and wiring harness for moisture or mechanical damage.
- Compare the two parts once again. Repair any faults in the connectors or wiring before connecting the replacement unit.
- Secure the replacement unit in the original mounting without putting strain on the housing, then connect the connectors until their locks are fully engaged.
- Position the wiring so it is neither pinched nor under tension, and reinstall any removed covers and trim.
- Reconnect the battery according to the manufacturer’s procedure and use diagnostics to check communication with the unit. If required for the specific configuration, carry out the prescribed configuration.
- After resolving the causes of the faults, clear the relevant fault records and check that the parking assist system works.
4) Post-installation checks and function verification
- Verify that the unit communicates with the diagnostic tool and that faults do not reappear when the system is activated.
- Test the parking assist system’s response to a suitable obstacle in a safe area, while manoeuvring very slowly and leaving sufficient room to stop.
- Check the alerts corresponding to the vehicle’s equipment. The parking assist system is only an aid; observe your surroundings during testing and do not rely solely on its signals.
5) Common installation mistakes and how to avoid them
- Replacing the unit without diagnostics: first check the sensors, power supply and wiring to ensure the replacement addresses the actual cause of the fault.
- Selecting a part based only on the vehicle model: also compare the unit’s markings and configuration.
- Connectors not fully seated or bent pins: insert connectors straight and without force, then check that they are locked in place.
- Moisture or corrosion left behind: before installation, eliminate the source of the leak and repair any affected connections.
- Skipping the final check: after connecting the unit, perform both a diagnostic check and a practical test; carry out any required configuration according to the service instructions.
Reasons why the part may be damaged
In general, the following causes may damage parking assist control units or impair their function. This is not a description of the condition of this specific item.
- Moisture ingress and corrosion of the connectors or internal electronics.
- A short circuit in the wiring or connected components, which may overload the unit’s circuits.
- Overvoltage or incorrect handling of the power supply when working on the electrical system.
- Mechanical damage to the housing, connectors or mounting during careless removal.
- Aging electronic components and thermal stress, which may cause permanent or intermittent failures.