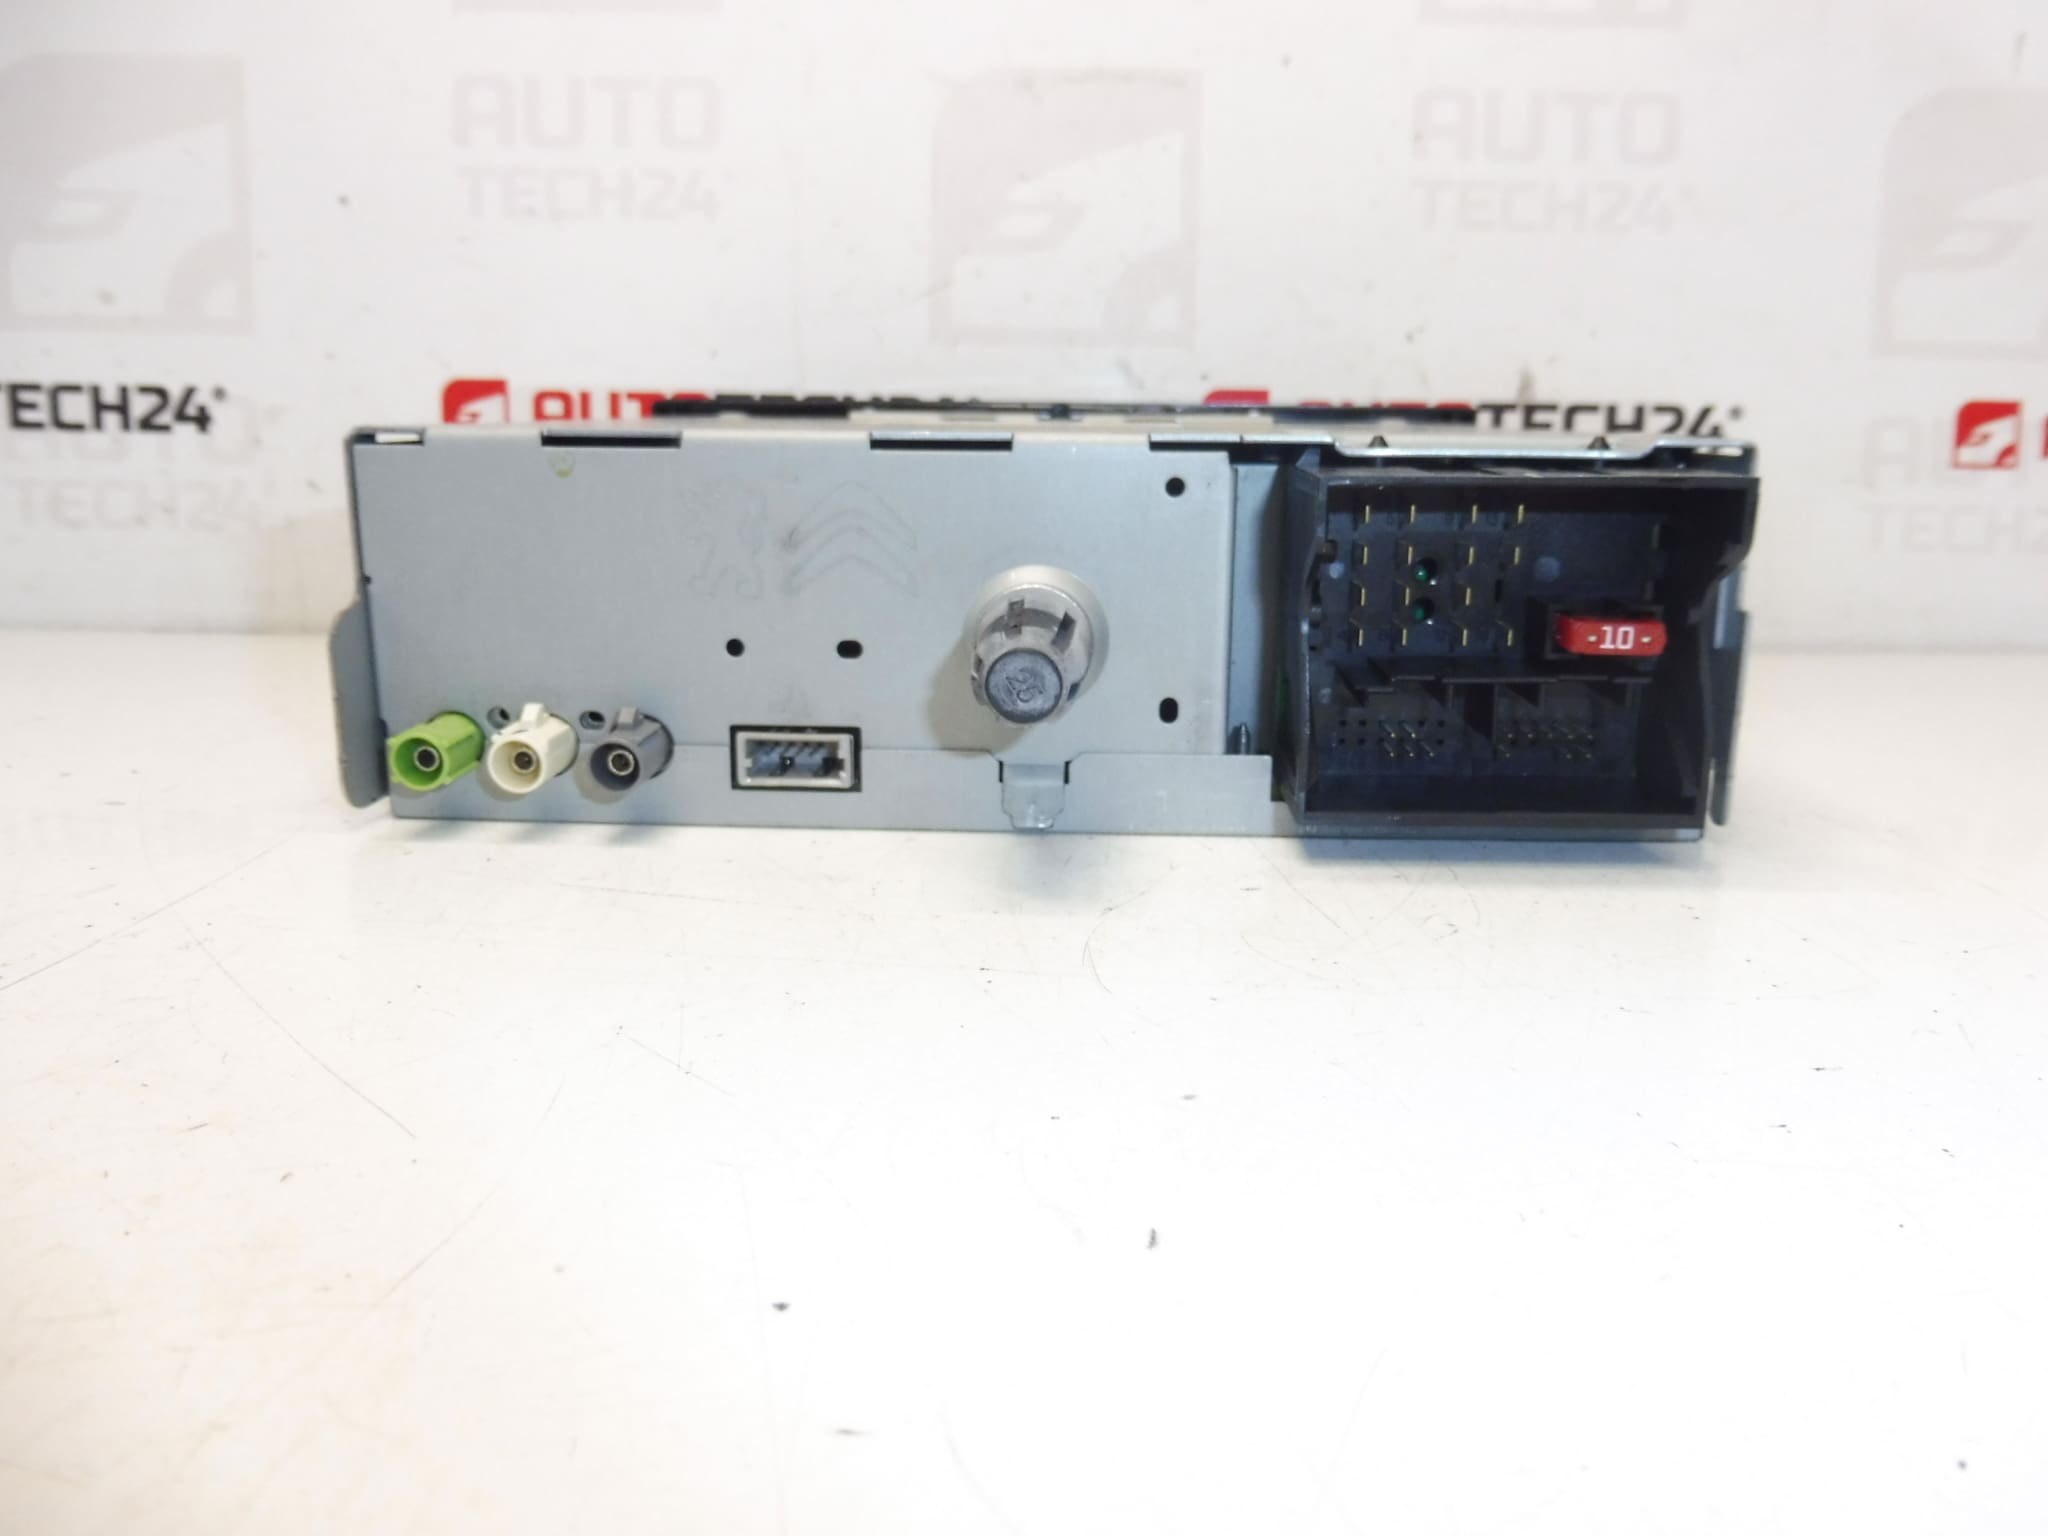
Description
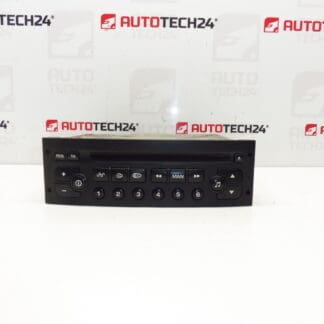
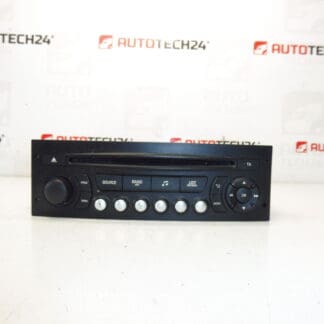
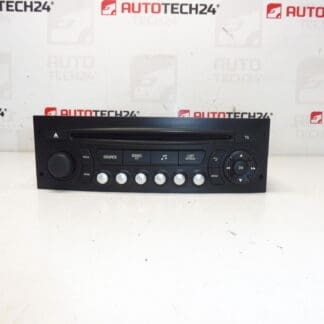
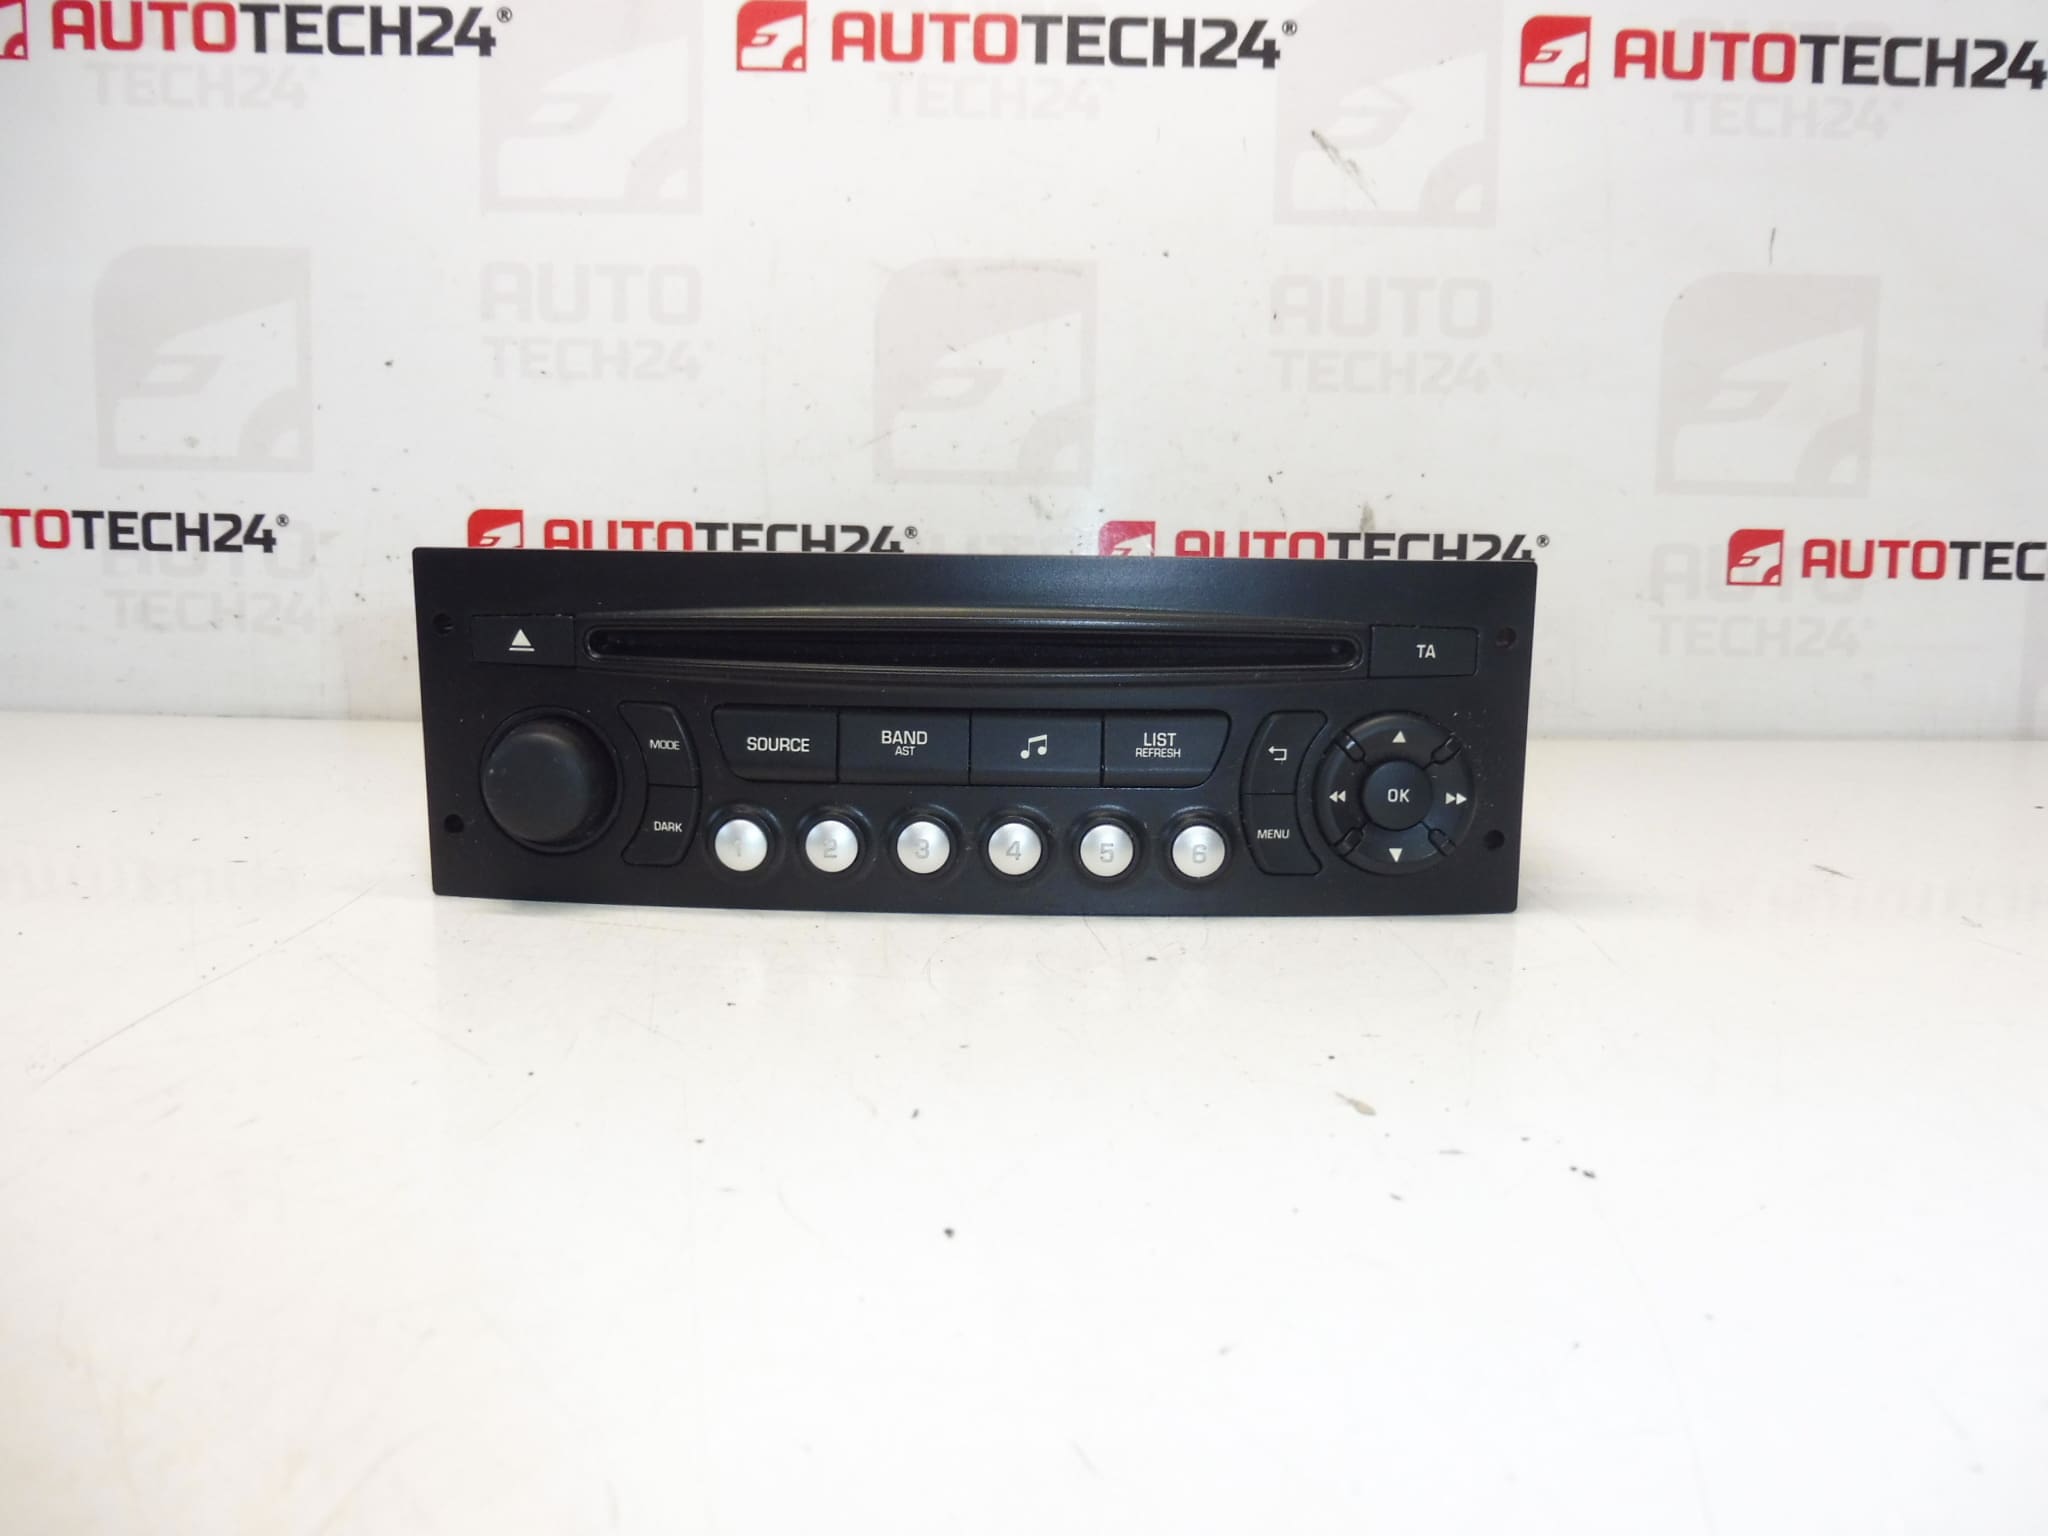
Continental RD45 car radio for CITROËN and PEUGEOT vehicles. The radio must be coded to the vehicle using diagnostic tools. Fully functional, tested.
Product Overview
The Continental RD45 is an OE-style head unit used in a range of Citroën and Peugeot models. It integrates FM/AM radio reception, vehicle audio control and communicates with the vehicle CAN bus to support steering wheel controls, display messages and (depending on vehicle specification) external amplifiers and antennas. This used unit is a direct-fit replacement for compatible vehicles and is commonly identified by OEM part numbers such as 98041625XT and 16108009XT — customers frequently search by these codes when sourcing replacement units.
Compatibility
Typical vehicle applications include (but are not necessarily limited to):
- Peugeot 3008 I
- Peugeot 5008 I
- Peugeot Partner II
- Citroën Berlingo II
- Citroën C3 II
- Citroën C3 Picasso
Search by product codes 98041625XT and 16108009XT to match the exact unit for your vehicle.
Installation & Coding
Because this radio is linked to the vehicle security and communication network, it must be coded/programmed to the vehicle with appropriate diagnostic equipment to restore full functionality. Typical steps for replacement and commissioning:
- Disconnect the negative battery terminal before any work to avoid short circuits and preserve vehicle electronics.
- Remove surrounding trim panels and unscrew the radio retaining bolts. Keep screws and trim clips for reassembly.
- Unplug antenna, power, speaker and CAN/data connectors. Inspect connectors for corrosion or bent pins.
- Install the replacement unit, reconnect all plugs and secure the radio in the dash.
- Perform diagnostic coding with PSA-compatible software/hardware so the unit is recognized by the vehicle and any immobiliser/anti-theft protocols are satisfied.
For professional results use a workshop-grade PSA diagnostic tool (DiagBox / Lexia / PP2000) to complete coding and verify CAN communication and steering wheel control mapping.
Technical Information
- Manufacturer: Continental
- Model: RD45
- Product Codes: 98041625XT, 16108009XT
- Other Numbers: OE Stellantis application references for Citroën/Peugeot
Installation Recommendations
Always perform installation in a dry, clean environment. Use manufacturer-recommended trim tools to avoid damage to panels. Verify all electrical connections and fuses before final assembly. If the vehicle is equipped with an external amplifier or CAN gateway module, confirm proper wake-up and communication after installation. If you are not experienced with PSA coding tools, consider having the coding performed by a trained technician to ensure full feature restoration.
Common Failure Reasons
Head units like the RD45 are generally reliable but can fail or lose function due to several common causes:
- Blown fuses or poor power supply (loose battery terminals or corroded connectors).
- Water ingress or prolonged moisture exposure causing corrosion of connectors or internal components.
- Firmware or configuration corruption following battery disconnection or failed update, requiring re-coding or reflashing.
- Damaged display or tactile controls from wear or impact.
- Faulty antenna or antenna amplifier causing poor radio reception (unit may function but receive no signal).
- CAN communication faults or immobiliser coding mismatch preventing the unit from operating until properly coded.
Who Should Fit This Unit
This unit is suitable for professional workshops and competent DIY enthusiasts familiar with vehicle electrics and PSA diagnostic procedures. Because of required coding, installation by a technician with access to PSA diagnostic equipment will ensure the quickest and most reliable commissioning.