Description
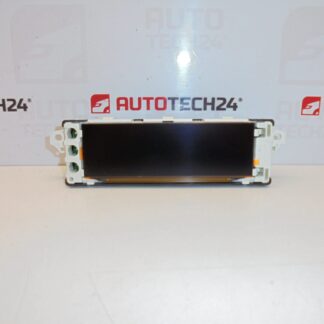
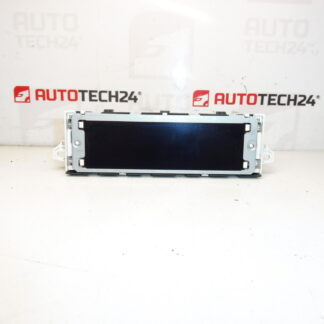
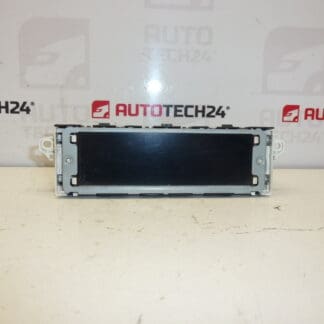
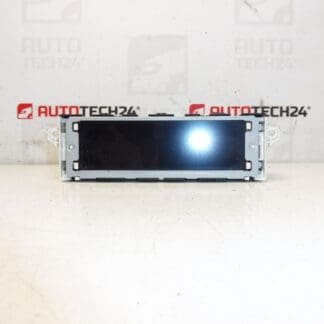
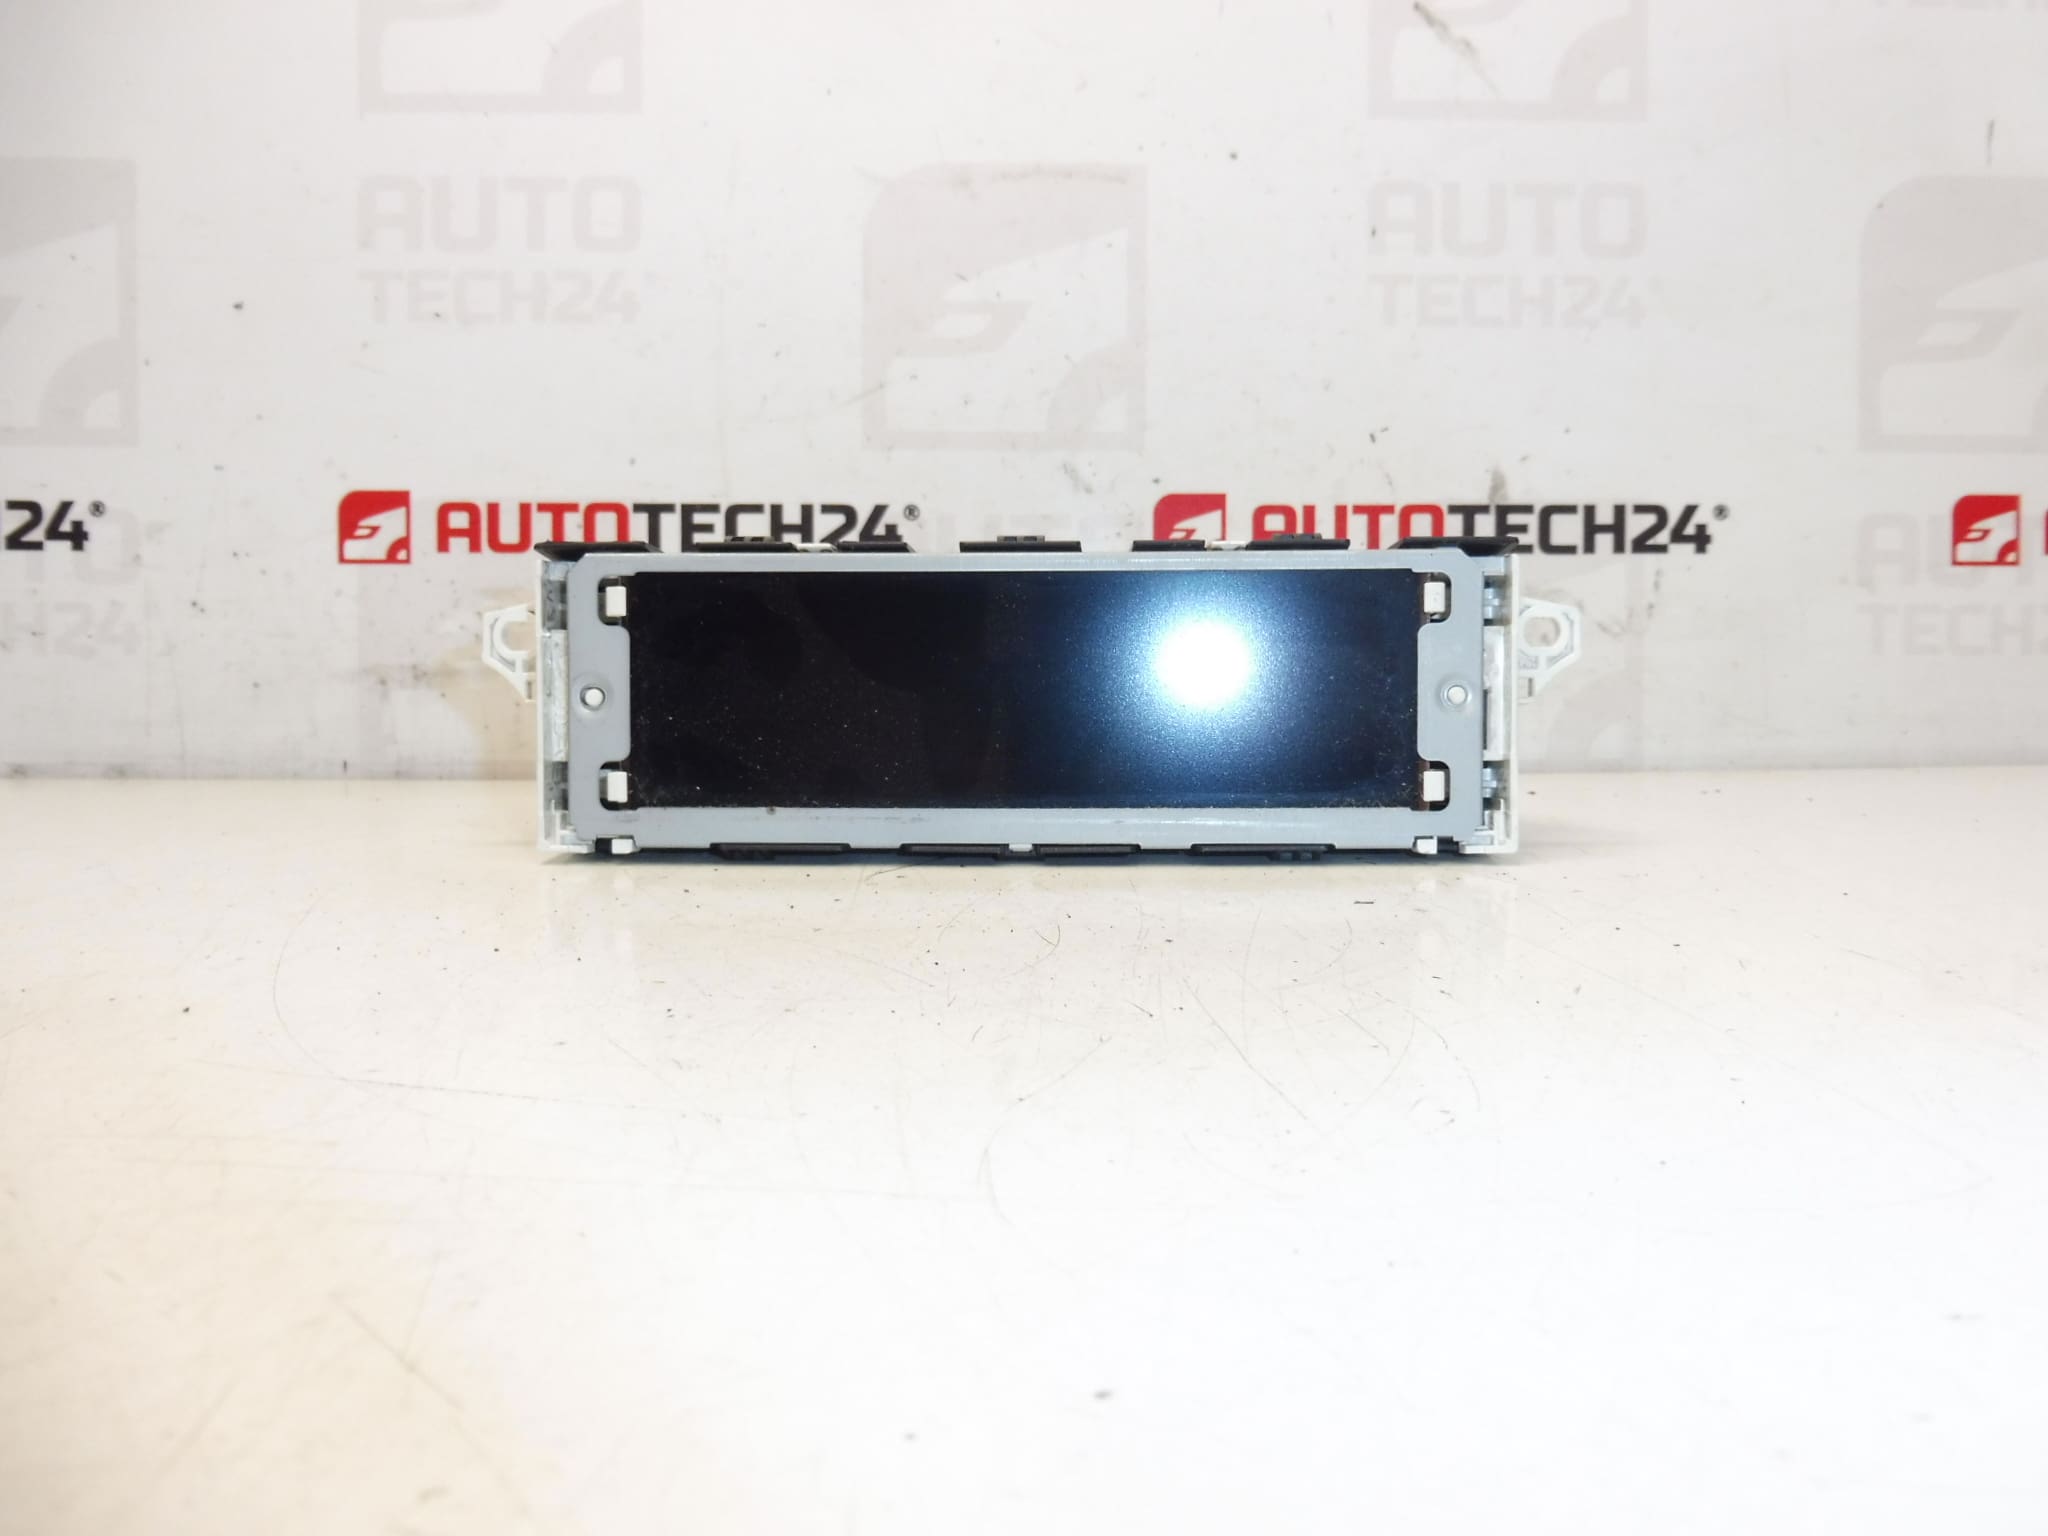
Computer radio display for PEUGEOT 308 T7 cars
Some functions may need to be enabled by diagnostics
Part description
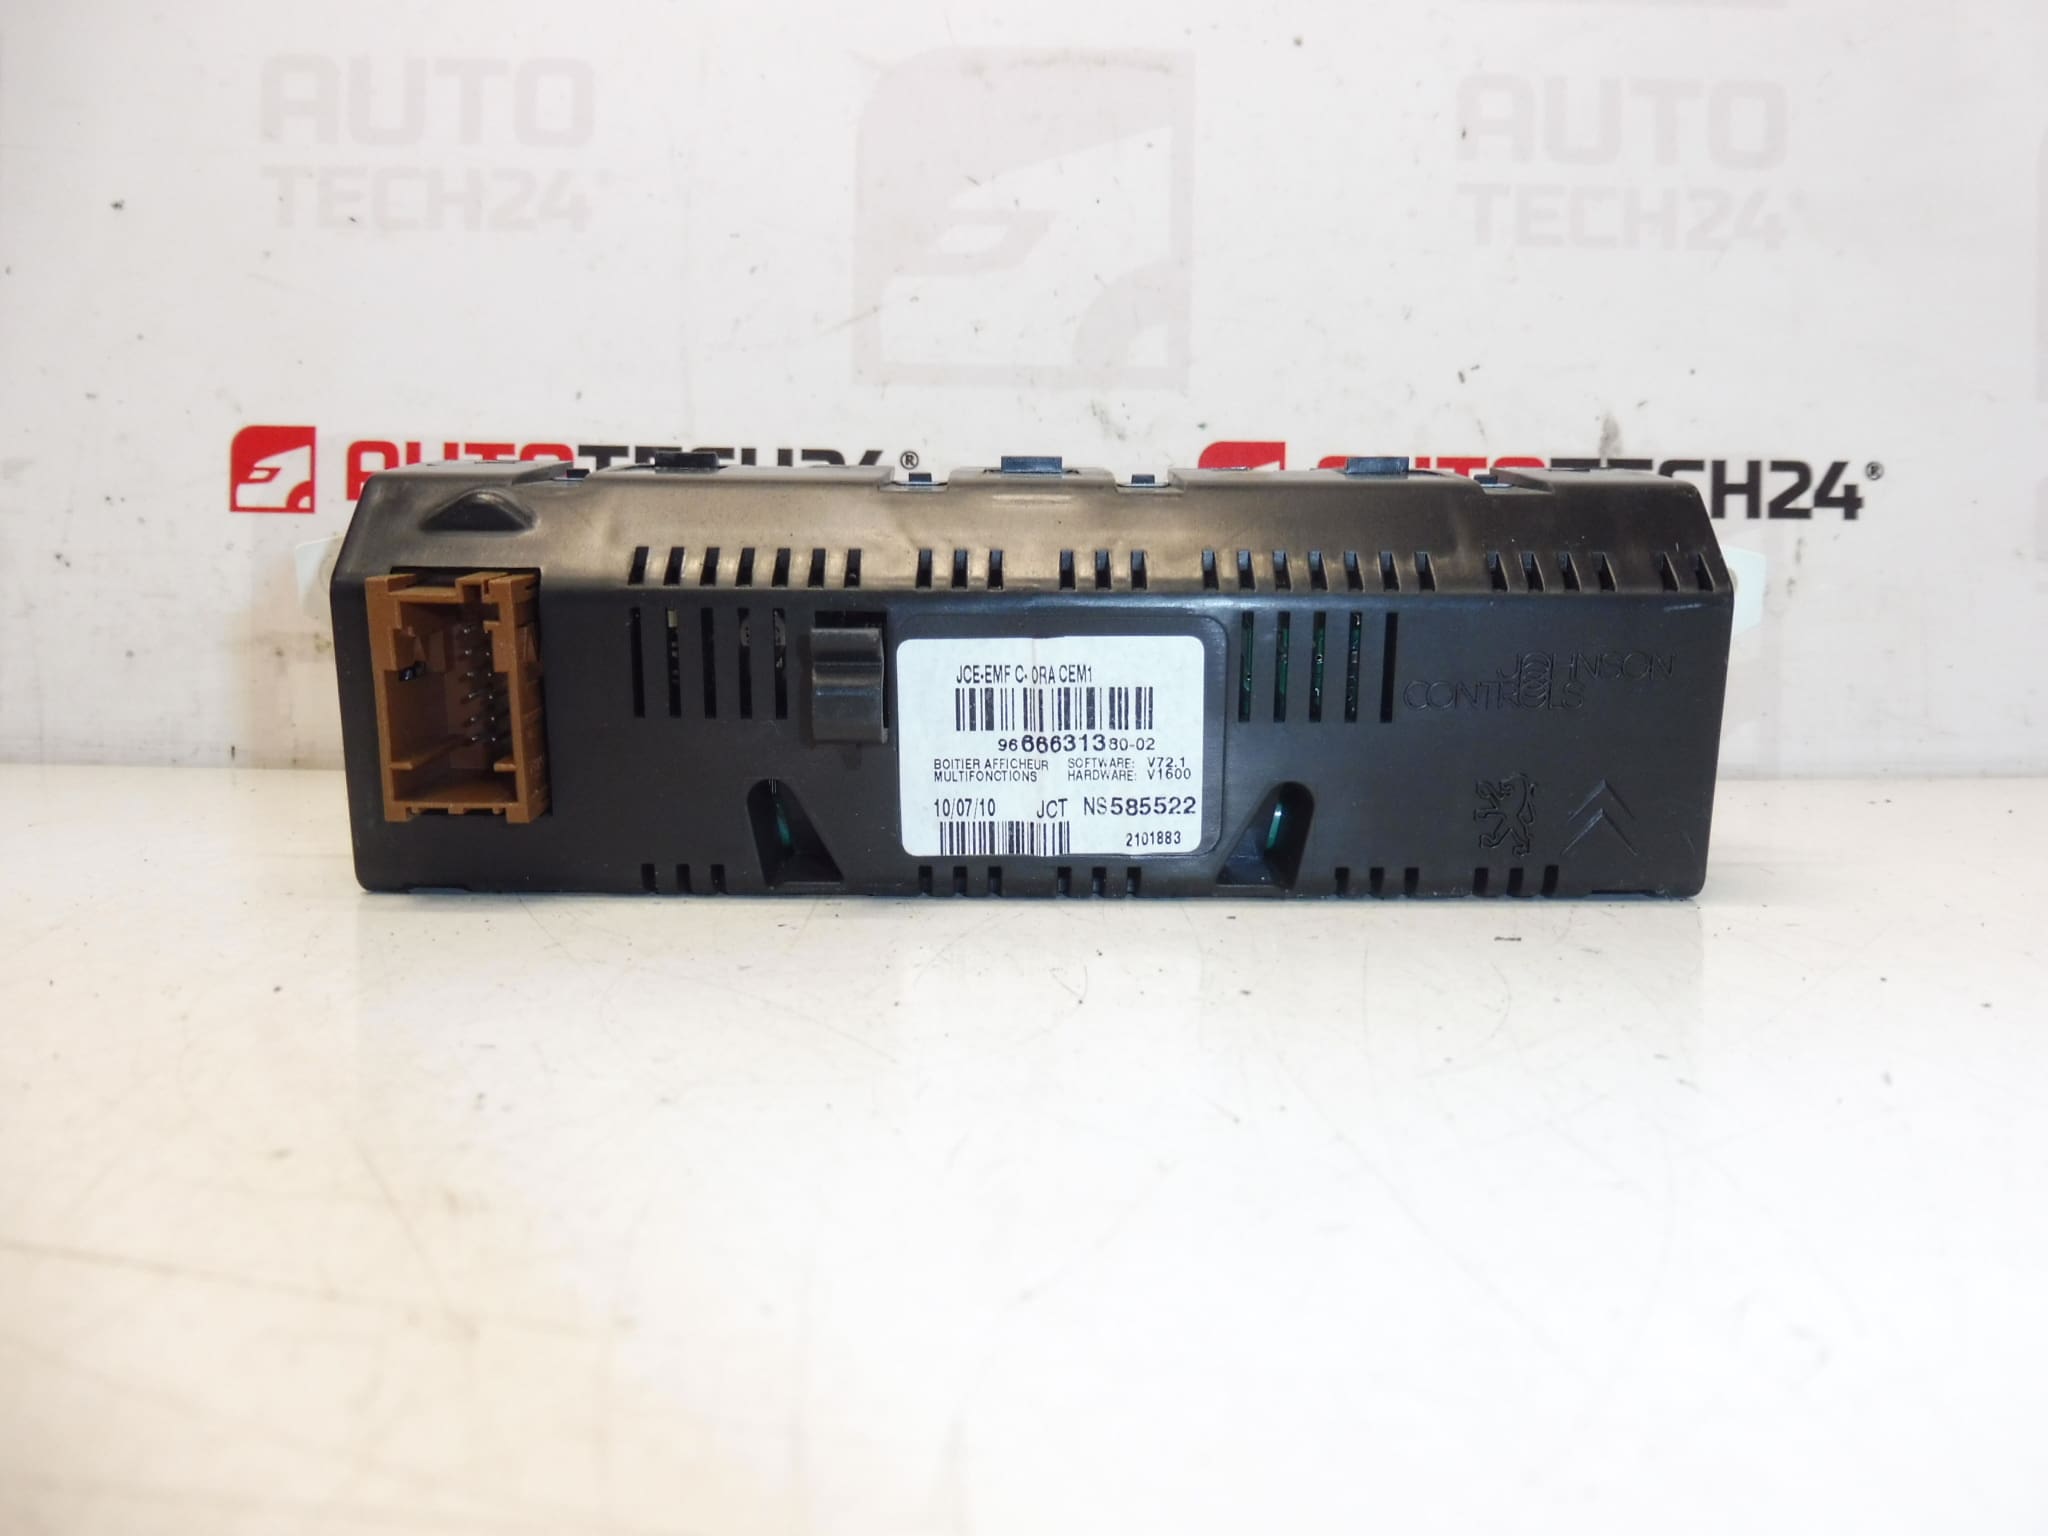
This computer radio display is a used original part designed for Citroën Peugeot cars, specifically according to the supplied documents for the Peugeot 308 T7. It is an electronic component that is also commonly searched for by serial numbers, so the listed part codes are important for correct tracking.
The advantage is the original design and matching of connectors and construction according to the manufacturer. For this type of part, it is necessary to take into account that some functions may require activation by diagnostics, as indicated in the documents. This is common practice when replacing the display in PSA cars and it is advisable to take this into account before installation.
Technical information
- Manufacturer: Stellantis Citroën Peugeot
- Model: Peugeot 308 T7
- Other numbers: 966631380-02, 6593P2, 6593P3
Product codes
- Product codes: 966631380, 9821851780, 6593P2, 6593P3, 966631380-02
- Model names: Peugeot 308
Installation recommendations
For this part, the exact replacement procedure may vary depending on the specific car design and equipment. In general, however, the following recommended procedure applies to replacing the computer radio display in cars of this category.
1) Before assembly
- Check whether the part codes, the shape of the display body, the mounting and the design of the connectors match with the old part.
- Inspect the used part for cracks, a damaged display, broken handles or signs of oxidation on the contacts.
- Compare the front panel, the connector part and the back of the part with the old disassembled piece.
- Please note that some functions may need to be activated by diagnostics after installation.
2) Necessary tools and materials
- Set of common hand tools
- Plastic pry bar for panel removal
- Screwdrivers or bits corresponding to the connecting material used
- Clean cloth for cleaning the contact surfaces
- Preparation for gentle cleaning of electrical contacts, if needed
- Diagnostic equipment if display functions need to be activated
3) Step-by-step assembly procedure
- Switch off the ignition and secure the car against unwanted movement.
- To work safely with the electrical component, disconnect the battery if it corresponds to the procedure for the vehicle.
- Carefully remove the surrounding paneling of the dashboard so as not to damage the plastic handles.
- Access the fixing of the original display and release it with the appropriate tool.
- Disconnect the electrical connector of the old part and check its condition, cleanliness and any signs of damage.
- Compare the original and the new part side by side, especially the numbers, connectors, mounting and design.
- Connect the connector to the new display, making sure it is properly seated without excessive force.
- Place the display in place and fix it so that it sits correctly in the mounting space.
- Before fully assembling the trim, check that nothing is under tension and that the wiring is not pinched.
- Connect the battery and perform a basic check on the display.
- Verify the display and response of the basic functions of the radio and on-board computer according to the equipment of the car.
- If some functions are not active, make them available with diagnostics if required for the given car.
-
4) Post-assembly checks and test drive/function verification
- Check display readability, backlight and display stability.
- Verify that the display communicates with the other functions it is supposed to display in the car.
- Check for image dropouts, flickering or spontaneous restarts.
- After folding the on-board plastics, check the correct seating of all dismantled parts.
- During a short drive or test drive, observe whether the display works stably even after the interior has warmed up and during normal car operation.
5) The most common assembly mistakes + how to avoid them
- Part replacement by appearance instead of numbers – always compare product codes as well.
- Damage to plastic trim during disassembly – use a plastic pry bar and work without violence.
- Insufficiently inserted connector – after connection, check for proper seating and locking.
- Overlooking the need for diagnostic activation – for this part, consider the possibility that some functions will have to be activated by diagnostics.
- Pinched wiring when refitting – always check cable routing before closing trim.
Reasons why the part is damaged
- normal wear and tear of electronics during operation,
- voltage fluctuations or problems in the car’s electrical system,
- mechanical damage during careless disassembly or assembly,
- intrusion of moisture, dust or dirt into connectors and electronics,
- damage to the display by pressure, impact or cracking of the front part,
- defective contacts or connector connection.