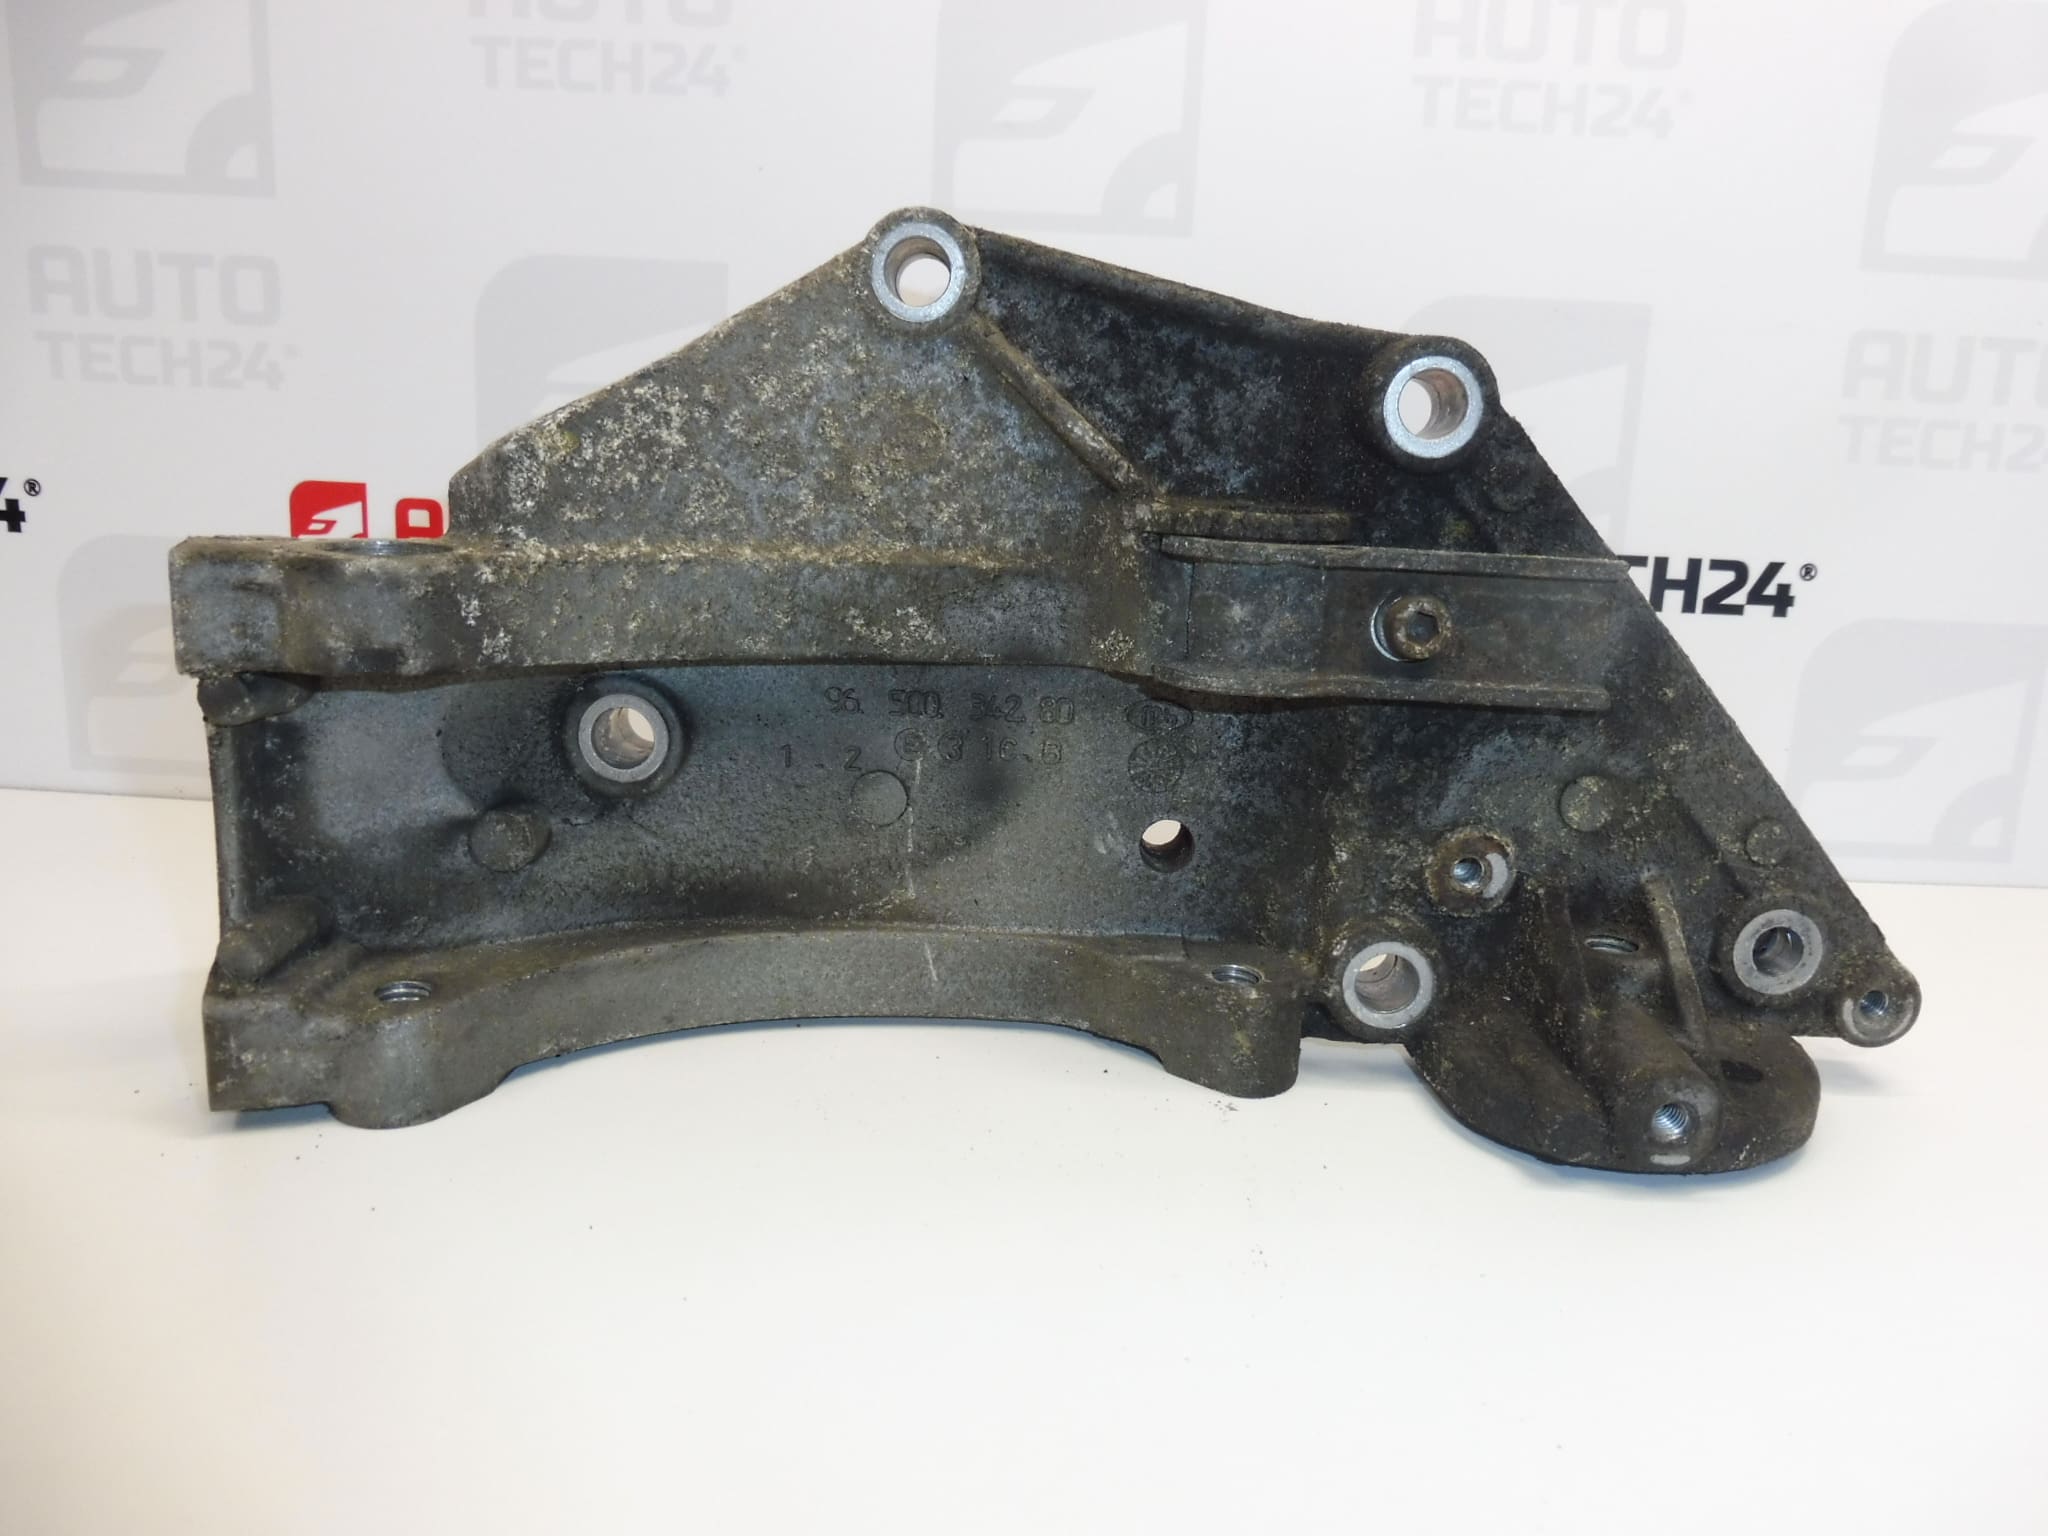
Description
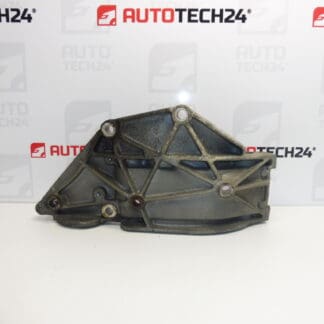
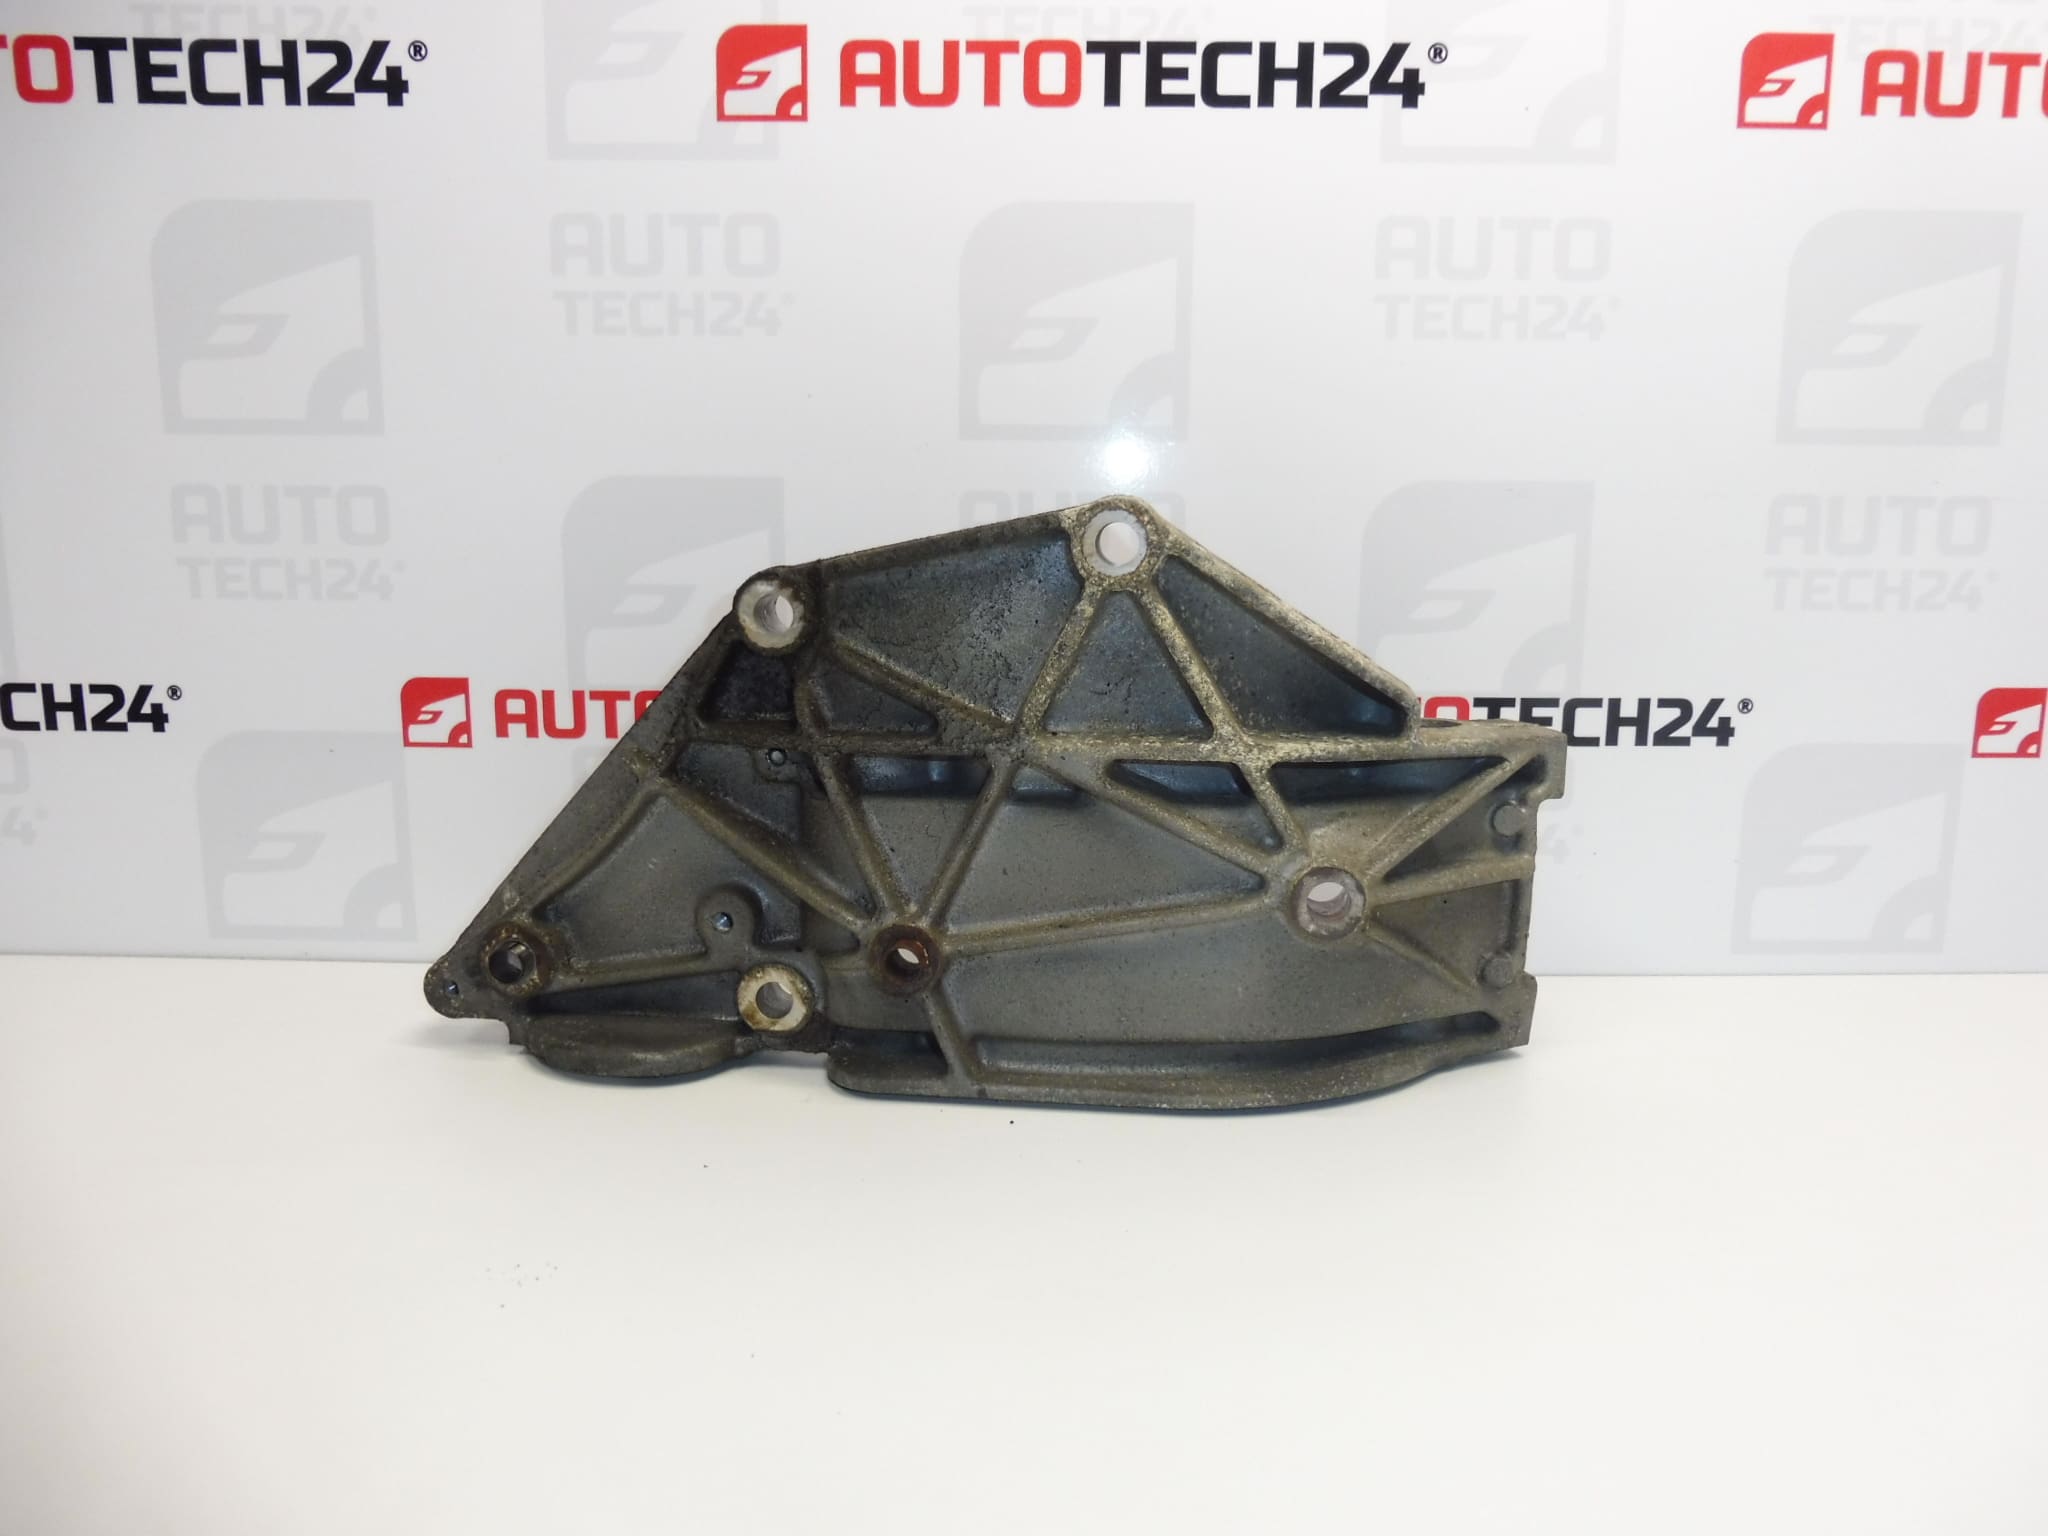
Alternator bracket for Citroën and Peugeot vehicles
Part description
Used Citroën Peugeot alternator bracket with part numbers 9650034280 and 5706J5 is designed to securely mount the alternator and keep it in the correct position. An undamaged bracket is important for alternator stability and proper routing of the auxiliary drive. When replacing a cracked or deformed mount, its condition is not something to overlook.
When selecting a replacement part, compare the numbers shown with the original bracket and check that the shape, mounting holes, and contact surfaces match. Matching the vehicle model alone is not enough to determine whether it is suitable for a specific version.
Technical information
- Manufacturer: not specified; the source materials list the designation Stellantis CITROEN PEUGEOT.
- Model: Citroën C4, Citroën C4 PICASSO, Citroën C5, Citroen C5 X7, Citroën C8, Peugeot 407, Peugeot 807.
- Part type: alternator bracket.
- Condition: used automotive part.
- Other numbers: not specified.
- Engine type and years of manufacture: not specified.
The models are taken from the product labels; the specific versions and range of applications are not specified in the source materials.
Product codes
- Product codes: 9650034280, 5706J5.
Use the numbers shown when looking for an alternator bracket and when comparing it with the removed part.
Installation recommendations
The following procedure generally applies to this type of part. The exact access to the bracket, extent of disassembly, and method for releasing the alternator drive depend on the specific vehicle model and version. Follow the manufacturer’s service procedure.
1) Before installation
- Compare the product numbers, overall shape, mounting holes, contact surfaces, and any threads with the old part.
- Inspect the used bracket, especially around the holes and in load-bearing areas. It must not have cracks, deformation, or damage that would prevent secure mounting.
- Check the condition of the fasteners and opposing contact surfaces. If the original bracket was damaged, identify the cause before installing the replacement part.
2) Required tools and materials
- Standard hand tools suitable for the fasteners used and a torque wrench.
- Suitable equipment for releasing belt tension, if required for the specific version.
- A tool for safely supporting the alternator, work lighting, and protective gloves.
- A cleaning agent suitable for the contact surfaces, a brush, and clean cloths.
3) Step-by-step installation procedure
- Secure the vehicle against movement, switch off the ignition, and let the engine cool down.
- Disconnect the battery according to the vehicle manufacturer’s procedure to prevent a short circuit while working near the alternator.
- Gain access to the bracket by removing only the components that obstruct access according to the service procedure. Record the belt routing and the positions of the removed components.
- If required for the replacement, release the tension and remove the belt from the alternator using the prescribed method.
- Safely support the alternator. If it is necessary to disconnect its wiring, label the connections and protect the contacts from damage.
- Loosen the relevant fasteners and remove or move the alternator aside according to the service procedure. Do not leave it hanging by its wires.
- Remove the original bracket and keep track of the position of each fastener.
- Clean the contact surfaces and check the threads and surrounding mounting points. Dirt must not prevent the part from seating evenly.
- Position the replacement bracket and first start the fasteners by hand. The bracket must seat without forcing it into place or modifying the holes.
- Secure the bracket and alternator in the order and to the torque specifications specified by the vehicle manufacturer. Check that the assembly is correctly positioned.
- Reconnect the electrical connections and install the belt if it was removed. Check its routing and make sure it is seated correctly on the pulleys.
- Reinstall the other removed components, remove tools from the work area, and reconnect the battery according to the manufacturer’s procedure.
4) Post-installation checks and function verification
- Before starting the engine, check that the mounting is secure, the belt is seated correctly, and the wiring is routed safely away from moving parts.
- After starting the engine, observe the operation of the auxiliary drive from a safe distance. If there are unusual vibrations, knocking, or belt misalignment, switch off the engine immediately.
- Verify that the charging system is working using a suitable measurement procedure according to the vehicle service data.
- If everything is in order, take a short test drive. Then, with the engine switched off, visually inspect the assembly again.
5) Common installation mistakes and how to avoid them
- Confusing it with a similar bracket: compare not only the markings but also the geometry and all mounting points.
- Tightening over dirt or an unevenly seated part: clean the surfaces and seat the part without tension before tightening.
- Incorrectly tightening the fasteners: use a torque wrench and the manufacturer’s specifications, not guesswork.
- Putting the weight of the alternator on the wiring: always support the alternator securely while working.
- Overlooking the original fault: also check the related auxiliary drive to prevent the damage from recurring.
Reasons why the part gets damaged
For alternator brackets, possible causes of damage generally include:
- Prolonged vibration and material fatigue, especially if the mounting is loose.
- Incorrectly tightened fasteners, which can cause the assembly to move, damage the holes, or create cracks.
- Deformation caused by impact or improper handling, for example, by forcing a lever during removal.
- Excessive load from the auxiliary drive, for example, due to a fault in related rotating components or incorrect belt tension.
- Installation on dirty or damaged contact surfaces, causing uneven stress on the bracket after tightening.