Description
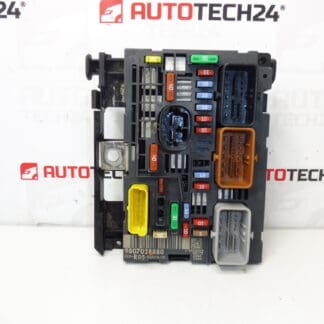
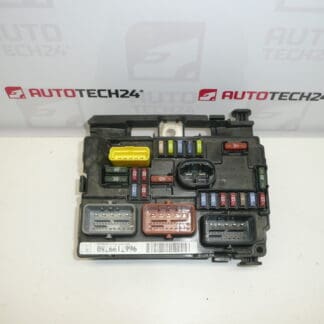
BSM R09 DELPHI unit for Citroën and Peugeot vehicles. This is a used part with a guarantee of functionality. Some mounting brackets may be damaged — this does not affect functionality.
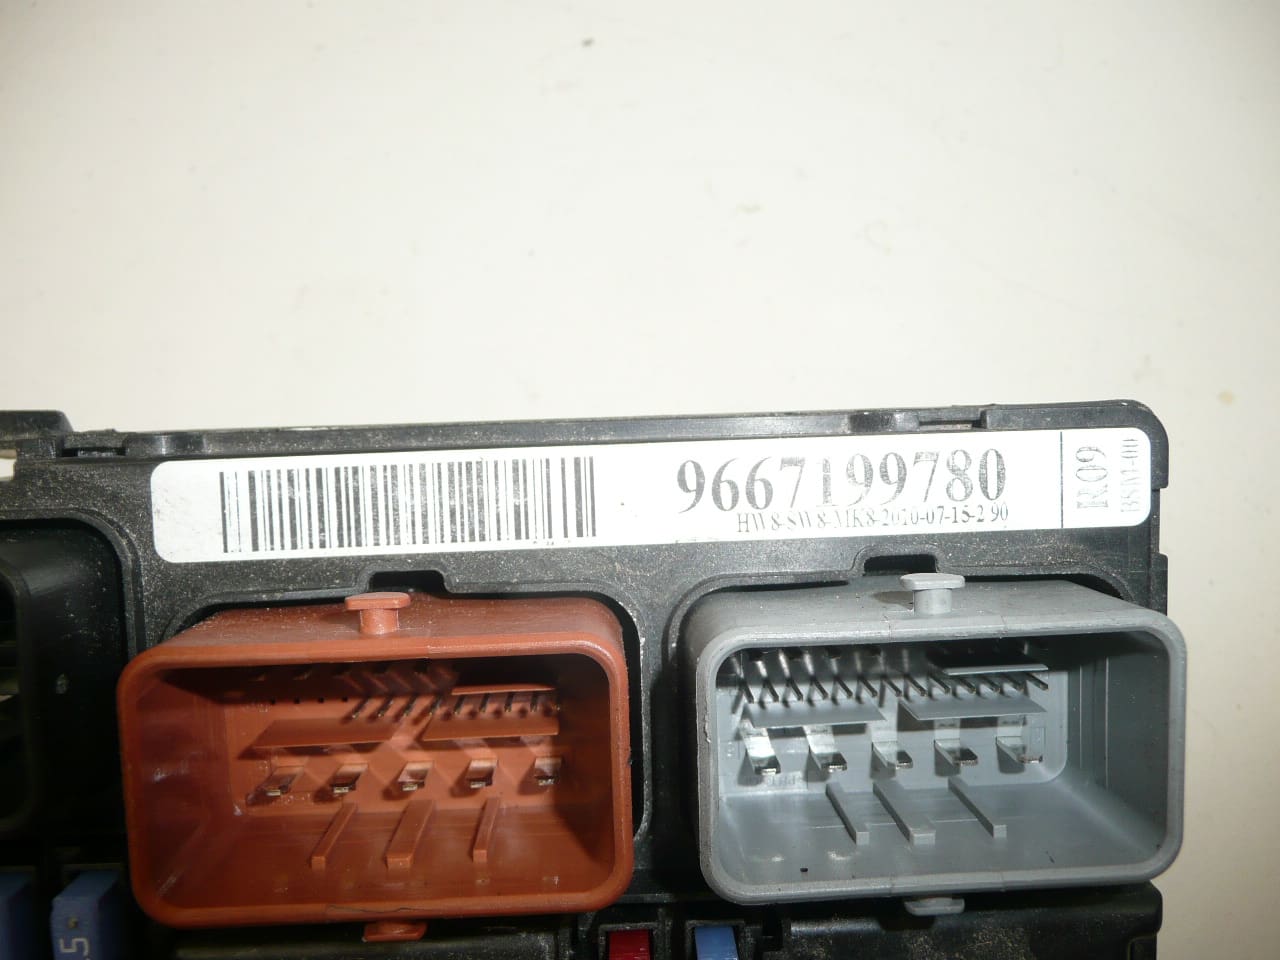
The BSM R09 (Delphi) is a body control module commonly fitted to small Stellantis models. Supplied used and fully functional, this unit manages multiple body and comfort electrical functions and is often searched for by reference numbers such as 9667199780, 6500HV or 6500HW. Ideal for mechanics and experienced DIY enthusiasts who need a direct replacement part for central locking, interior lighting, wipers, relays and other body electrics.
Compatibility
Fits the following models (typical applications): Citroën C3, Citroën C3 II, DS3, Peugeot 207. Always verify the part number on your existing unit — common search references include 9667199780, 6500HV and 6500HW.
Technical Information
- Manufacturer: Delphi
- Model: Citroën C3; Citroën C3 II; DS3; Peugeot 207
- Product Codes: 9667199780
- Other Numbers: 6500HV; 6500HW; BSM R09
Function And Typical Fault Symptoms
The BSM (Body System Module) centralises numerous body electronics: central locking, interior lights, switch inputs, wiper control signals, horn, and multiple relay/fuse outputs. Common symptoms of BSM malfunction include intermittent or permanent loss of central locking/remote, non-functioning interior lights, failed wipers, unexpected fuse/blown circuits, or multiple unrelated electrical faults appearing together.
How To Replace (Step‑by‑Step Guidance)
- Preparation: Park on level ground, set parking brake and remove all loads from the vehicle. Use appropriate personal protective equipment.
- Disconnect Battery: Always disconnect the negative battery terminal before starting work to avoid short circuits and protect the vehicle electronics.
- Access: The BSM is typically mounted behind the glovebox or under the passenger‑side dashboard. Remove the glovebox/trim panels to gain access to the module and its connectors.
- Document Connections: Photograph the connectors and routing before disconnecting to ensure correct reassembly.
- Disconnect And Remove: Unplug multiway connectors, remove fixing screws or bolts and extract the unit carefully. Inspect connectors and wiring for corrosion or damage.
- Install Replacement: Fit the replacement unit, secure the mounting points and reconnect all connectors. Refit trim and glovebox.
- Reconnect Battery And Test: Reconnect the battery, then verify all body functions (locking, lights, wipers, alarm, windows). Check for error codes with a diagnostic tool.
Installation Recommendations
- Always disconnect the battery before removing the unit.
- Inspect and clean the connector pins and the wiring harness before installation to prevent poor contacts.
- Secure mounting points: even damaged plastic brackets must not allow module movement — fasten with appropriate hardware or supportive clamps if needed.
- Perform a full functional check and read fault codes with a compatible diagnostic tool after installation.
- Professional Tools: For full restoration of remote and immobiliser-related functions, programming or adaptation with PSA diagnostic tools (DiagBox/Lexia) may be required — recommended to be carried out by a technician with the appropriate equipment.
Why This Part Commonly Fails
Typical failure causes are environmental and electrical stress: moisture ingress and condensation causing corrosion on contacts or internal PCBs; thermal cycling and vibration leading to cracked solder joints; electrical surges from poor battery connections or faulty alternators; and internal relay/fuse failures from overloads. Plastic mounting tabs are often broken during service or removal — these cosmetic damages usually do not affect function but should be secured during installation.
Notes For Buyers
This unit is supplied used and tested for functionality. The presence of cosmetic damage to mounting brackets does not affect electrical performance. Because these modules are often listed and searched by reference number, we include the main OE references in the technical section to help you find the correct fitment for your vehicle.