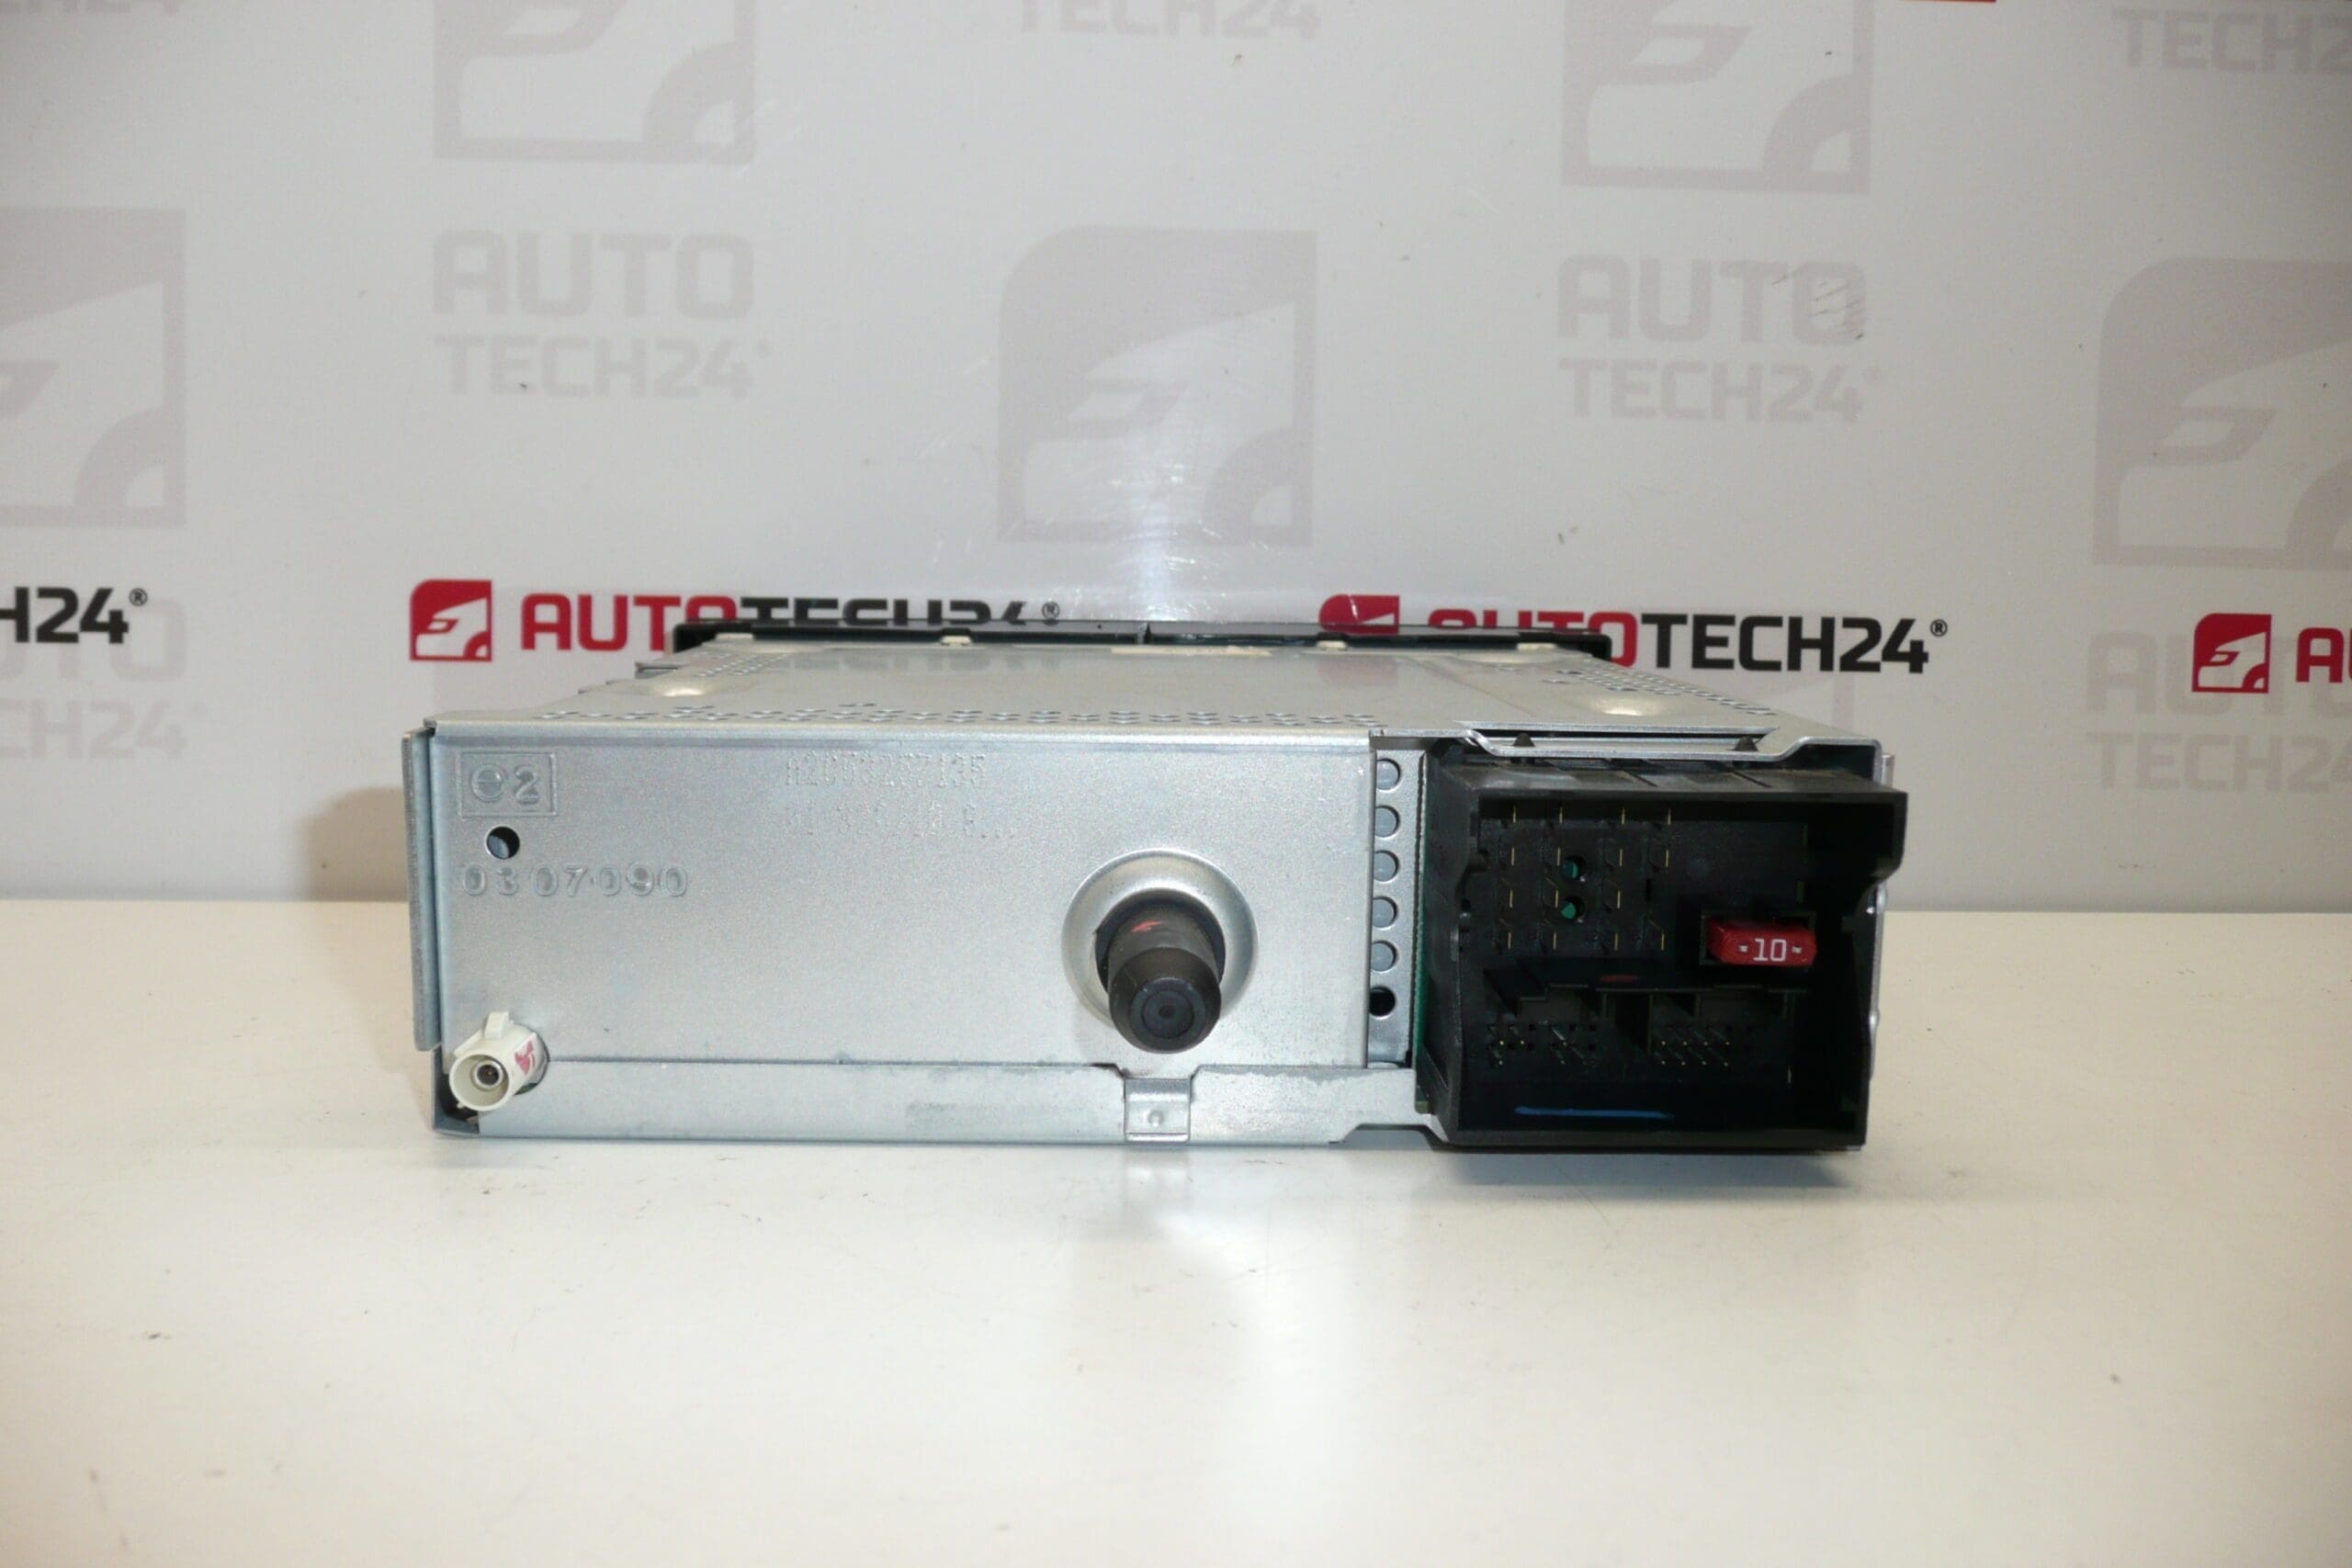
Description
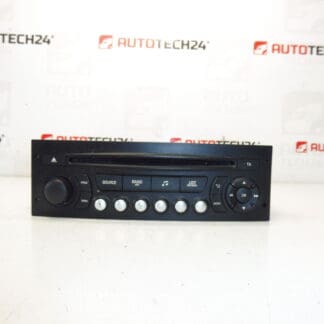
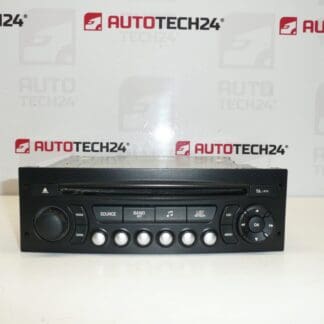
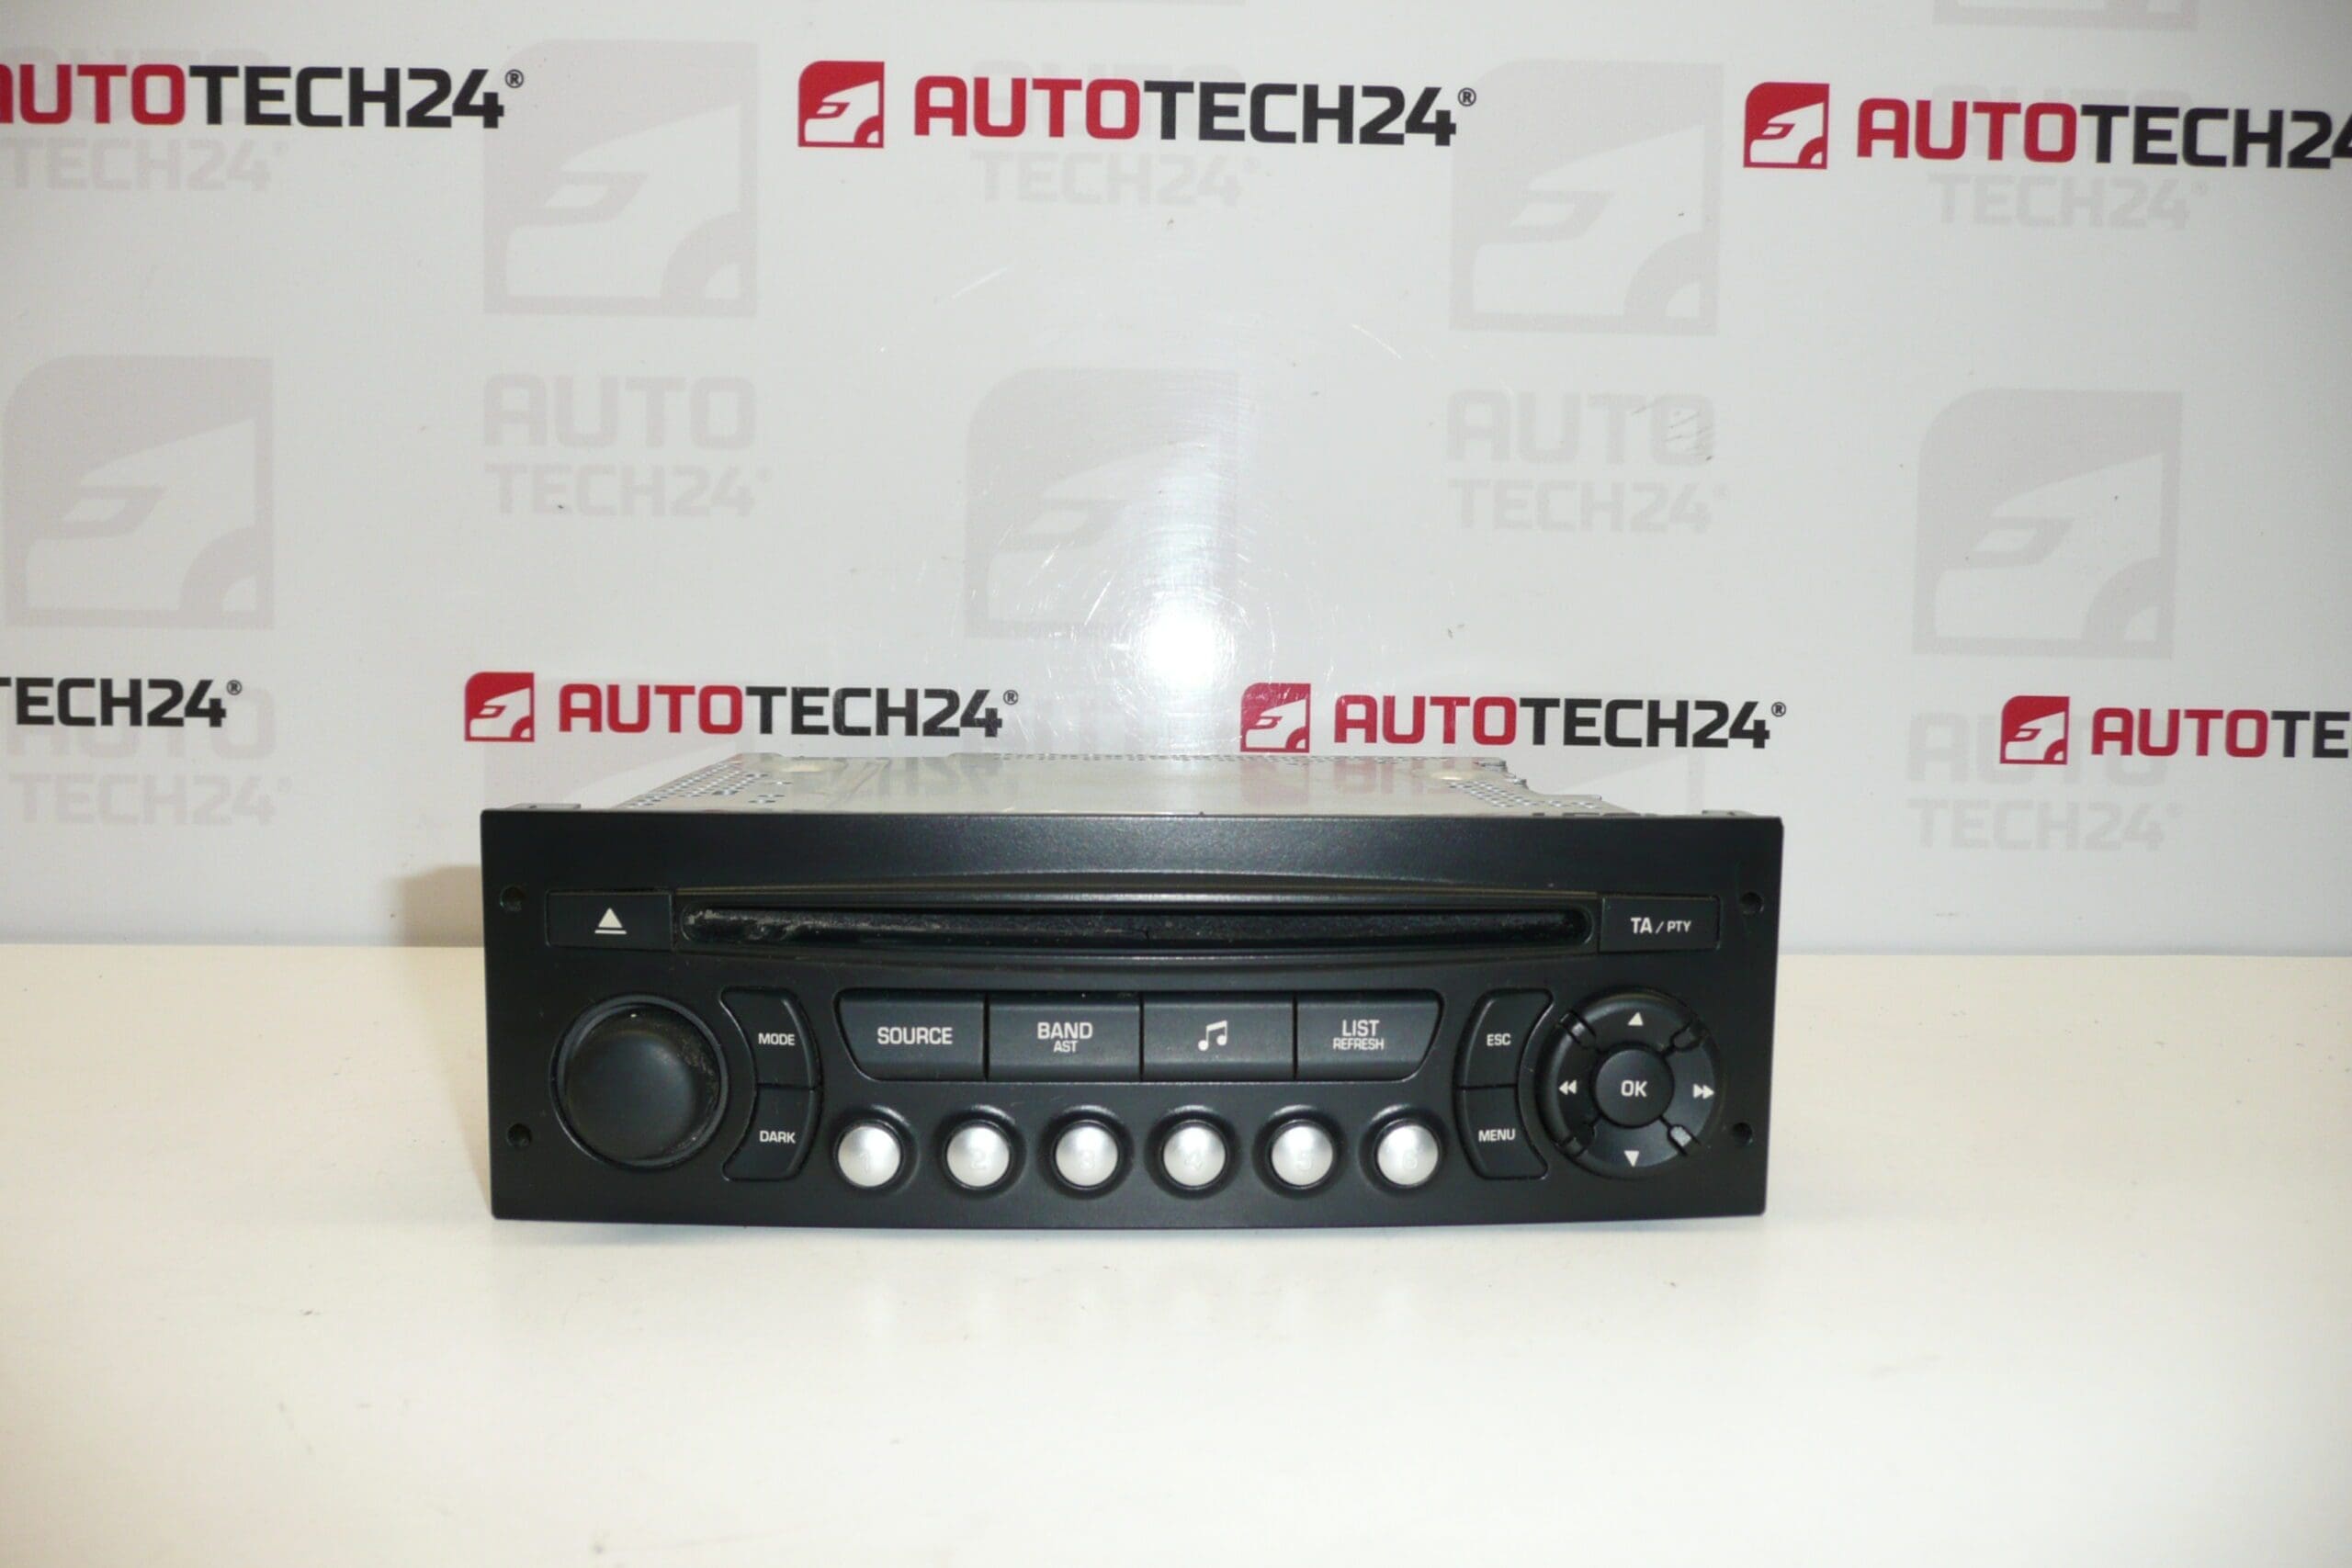
Continental RD4 RD4N1M-03 CD car radio for Citroën and Peugeot vehicles. The radio must be coded to the vehicle using diagnostics.
Upgrade or replace a factory radio with the Continental RD4N1M-03 CD unit — an OEM-style head unit commonly fitted to Stellantis vehicles. This original-equipment radio retains vehicle integration like steering-wheel control compatibility and antenna/POWER connectors that match factory harnesses, making it the preferred choice for professional workshops and experienced DIY mechanics. Ideal for Citroën C3 II, Citroën C4 and Peugeot 207 owners searching by part number (for example 96750215XT), this unit restores CD playback and original functionality while keeping the vehicle’s factory look.
Technical Information
- Manufacturer: Continental
- Model: RD4 / RD4N1M-03
- Product Codes: 96750215XT, 16106912XT, 16077504XT
- Other Numbers: 6574PW, 6574PX
- Compatible Models (examples): Citroën C3 II, Citroën C4, Peugeot 207
Function and Benefits
This RD4 series radio provides CD playback, radio reception and integration with factory vehicle systems where applicable. As an OEM-style unit it supports standard connectors and steering wheel controls (when the vehicle wiring and interfaces are present), delivering a plug-in appearance and preserving original dashboard aesthetics. Listing common product codes in the description increases findability for mechanics who search by part number.
How To Replace
- Prepare the vehicle: Park on a flat surface and remove the ignition key.
- Safety first: Disconnect the negative battery terminal before starting work to avoid short circuits and protect vehicle electronics.
- Remove trim: Carefully pry and remove the surrounding trim panels using appropriate trim tools to avoid damage to clips and dashboard surfaces.
- Unscrew the radio: Remove mounting screws and slide the radio out of the dash cage.
- Disconnect connectors: Unplug the main wiring harness, antenna cable and any auxiliary connectors (steering wheel control, microphone, etc.).
- Fit the replacement: Connect the harness and antenna to the new radio, slide into the mounting cage and secure with screws.
- Coding/Programming: After mechanical installation the radio must be coded/programmed to the vehicle using a diagnostic tool so that it communicates properly with the car’s systems.
- Final check: Reconnect the battery, test radio power, CD playback and any integrated functions, then refit trim panels.
Installation Recommendations
Always disconnect the negative battery terminal before removing or installing the radio. Use proper trim tools to prevent damage to panels and clips. After physical installation, the unit requires diagnostic coding to the vehicle; we recommend programming with PSA-compatible diagnostic equipment (e.g., DiagBox/Lexia) or by a qualified technician familiar with Stellantis vehicle coding procedures. Ensure antenna and ground connections are secure to avoid reception issues.
Most Common Failure Causes
- Wear Of Mechanical Parts: CD mechanism failures are common with age — worn belts, laser alignment or mechanical jams can prevent disc read.
- Moisture And Corrosion: Water ingress or humid conditions cause connector corrosion and electronic faults.
- Electrical Issues: Faulty vehicle wiring, poor ground connections, or voltage spikes can damage radio electronics.
- Software Or Coding Loss: Units that have lost their vehicle-specific coding or internal settings may not operate correctly until reprogrammed.
- Physical Damage: Impact or improper removal/installation can damage connectors, mounting brackets or the front panel.
Practical Tips For Workshops And DIYers
Search by part number (for example 96750215XT) to ensure you find the matching unit quickly. Keep screws and trim clips organized during disassembly. If you encounter non-responsive functions after installation, verify wiring and then proceed to diagnostic coding — many faults attributed to the radio are simply missing vehicle programming.