Description
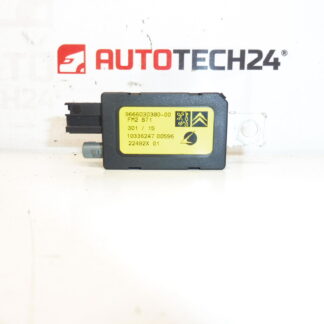
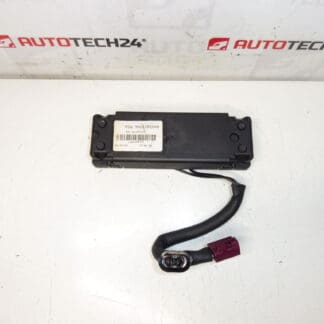
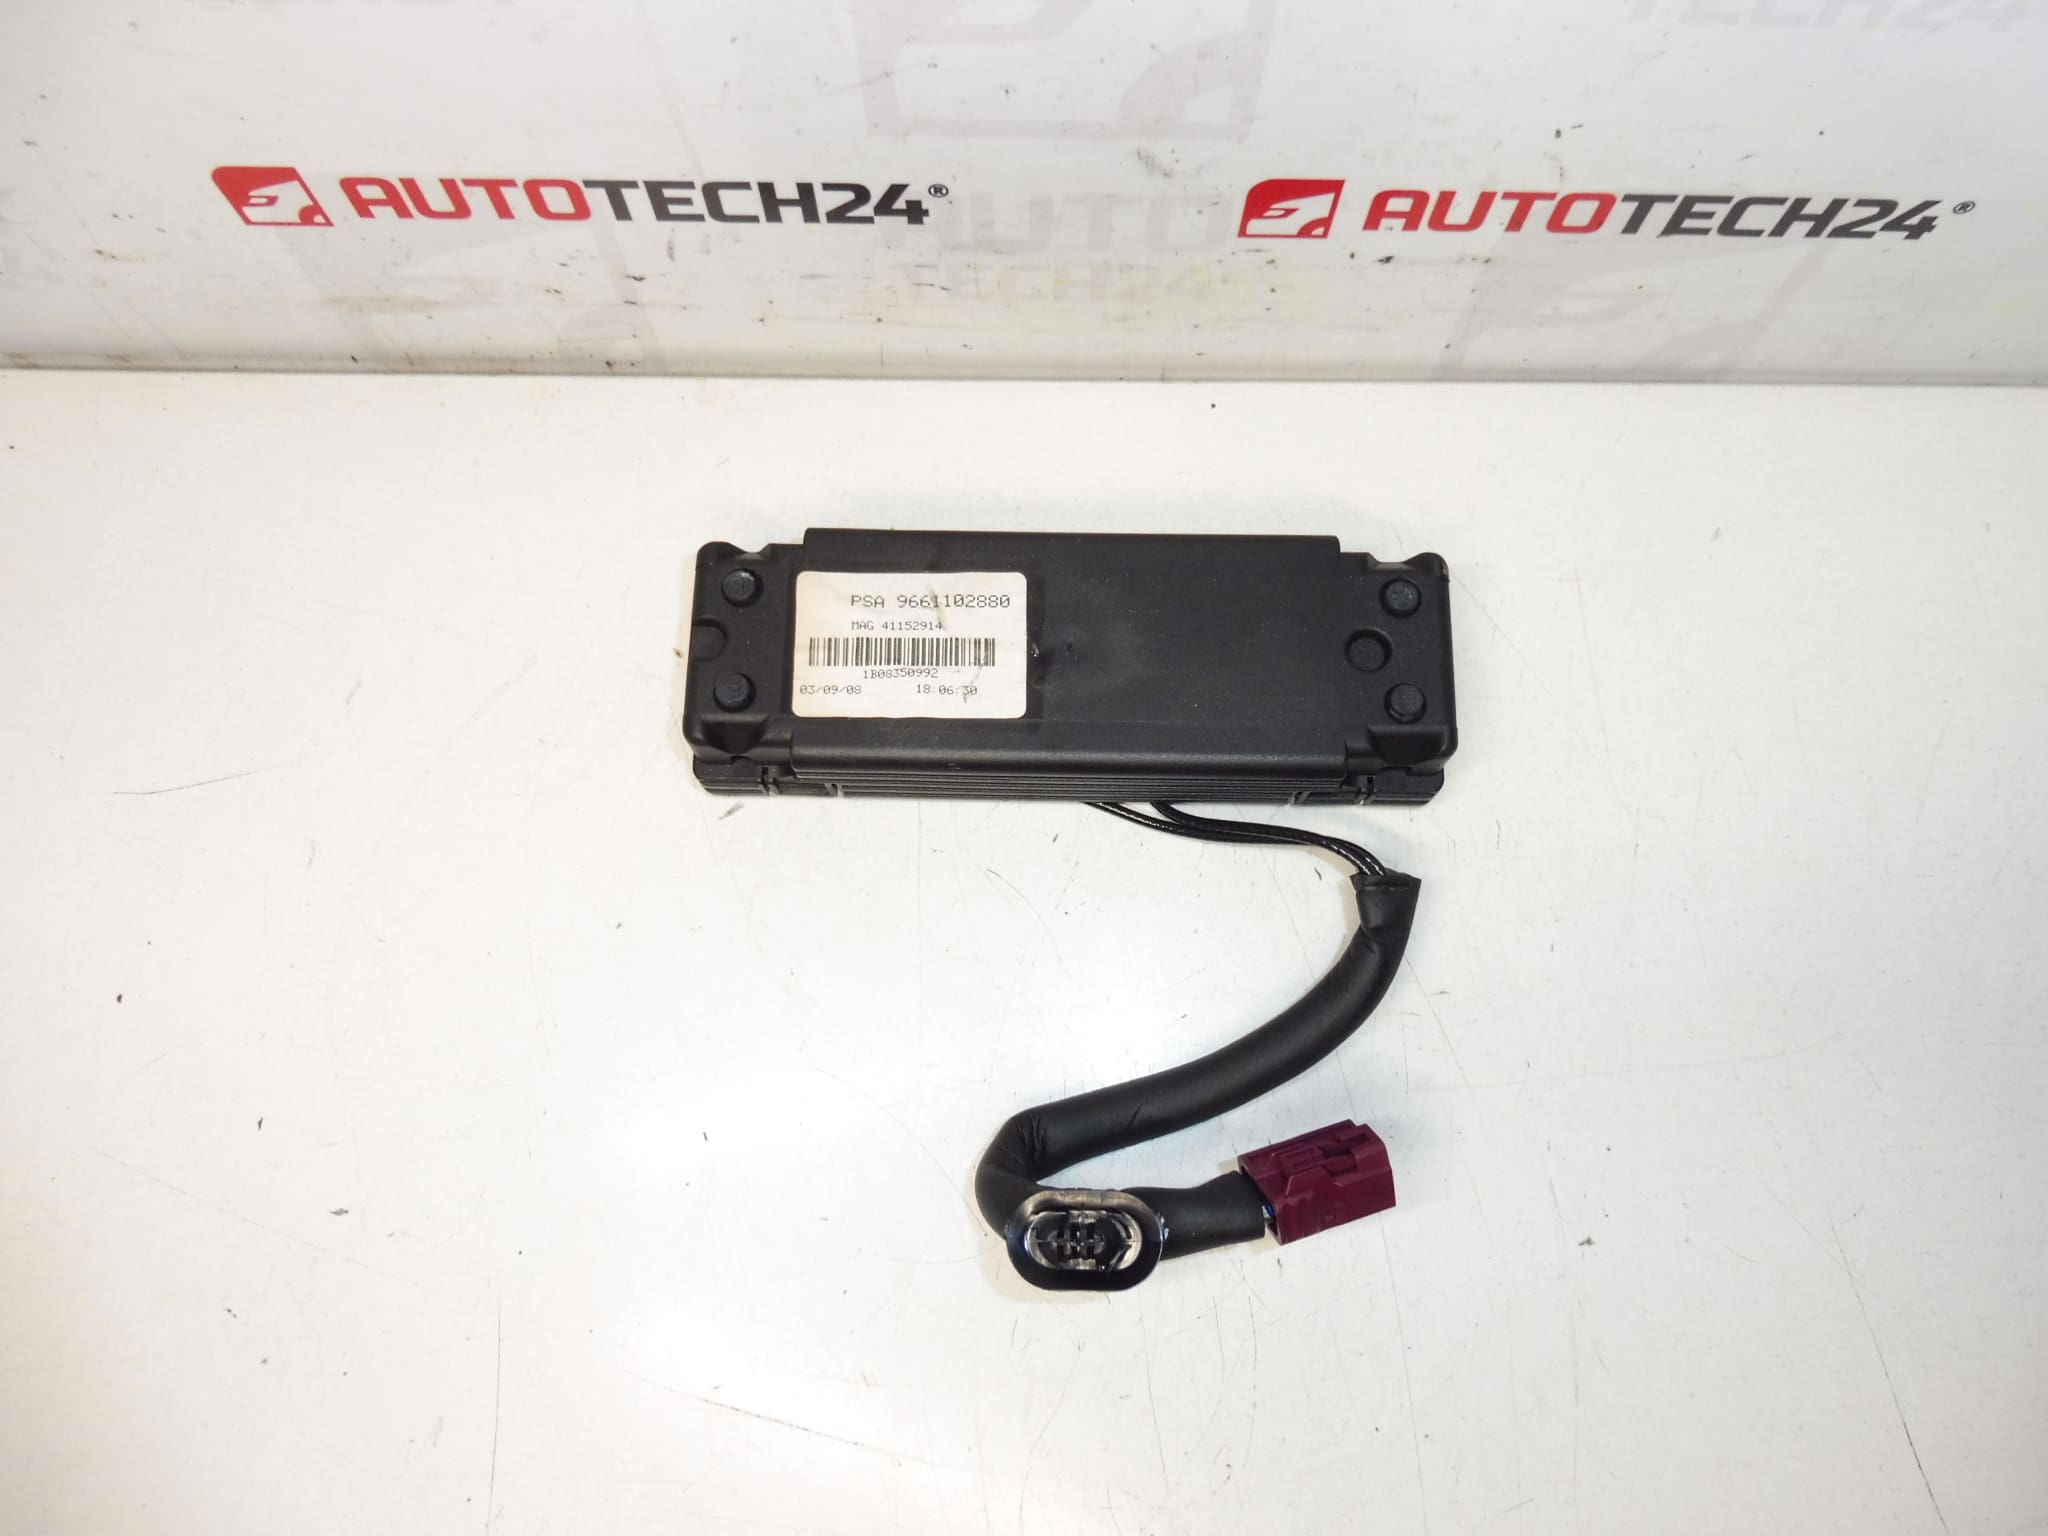
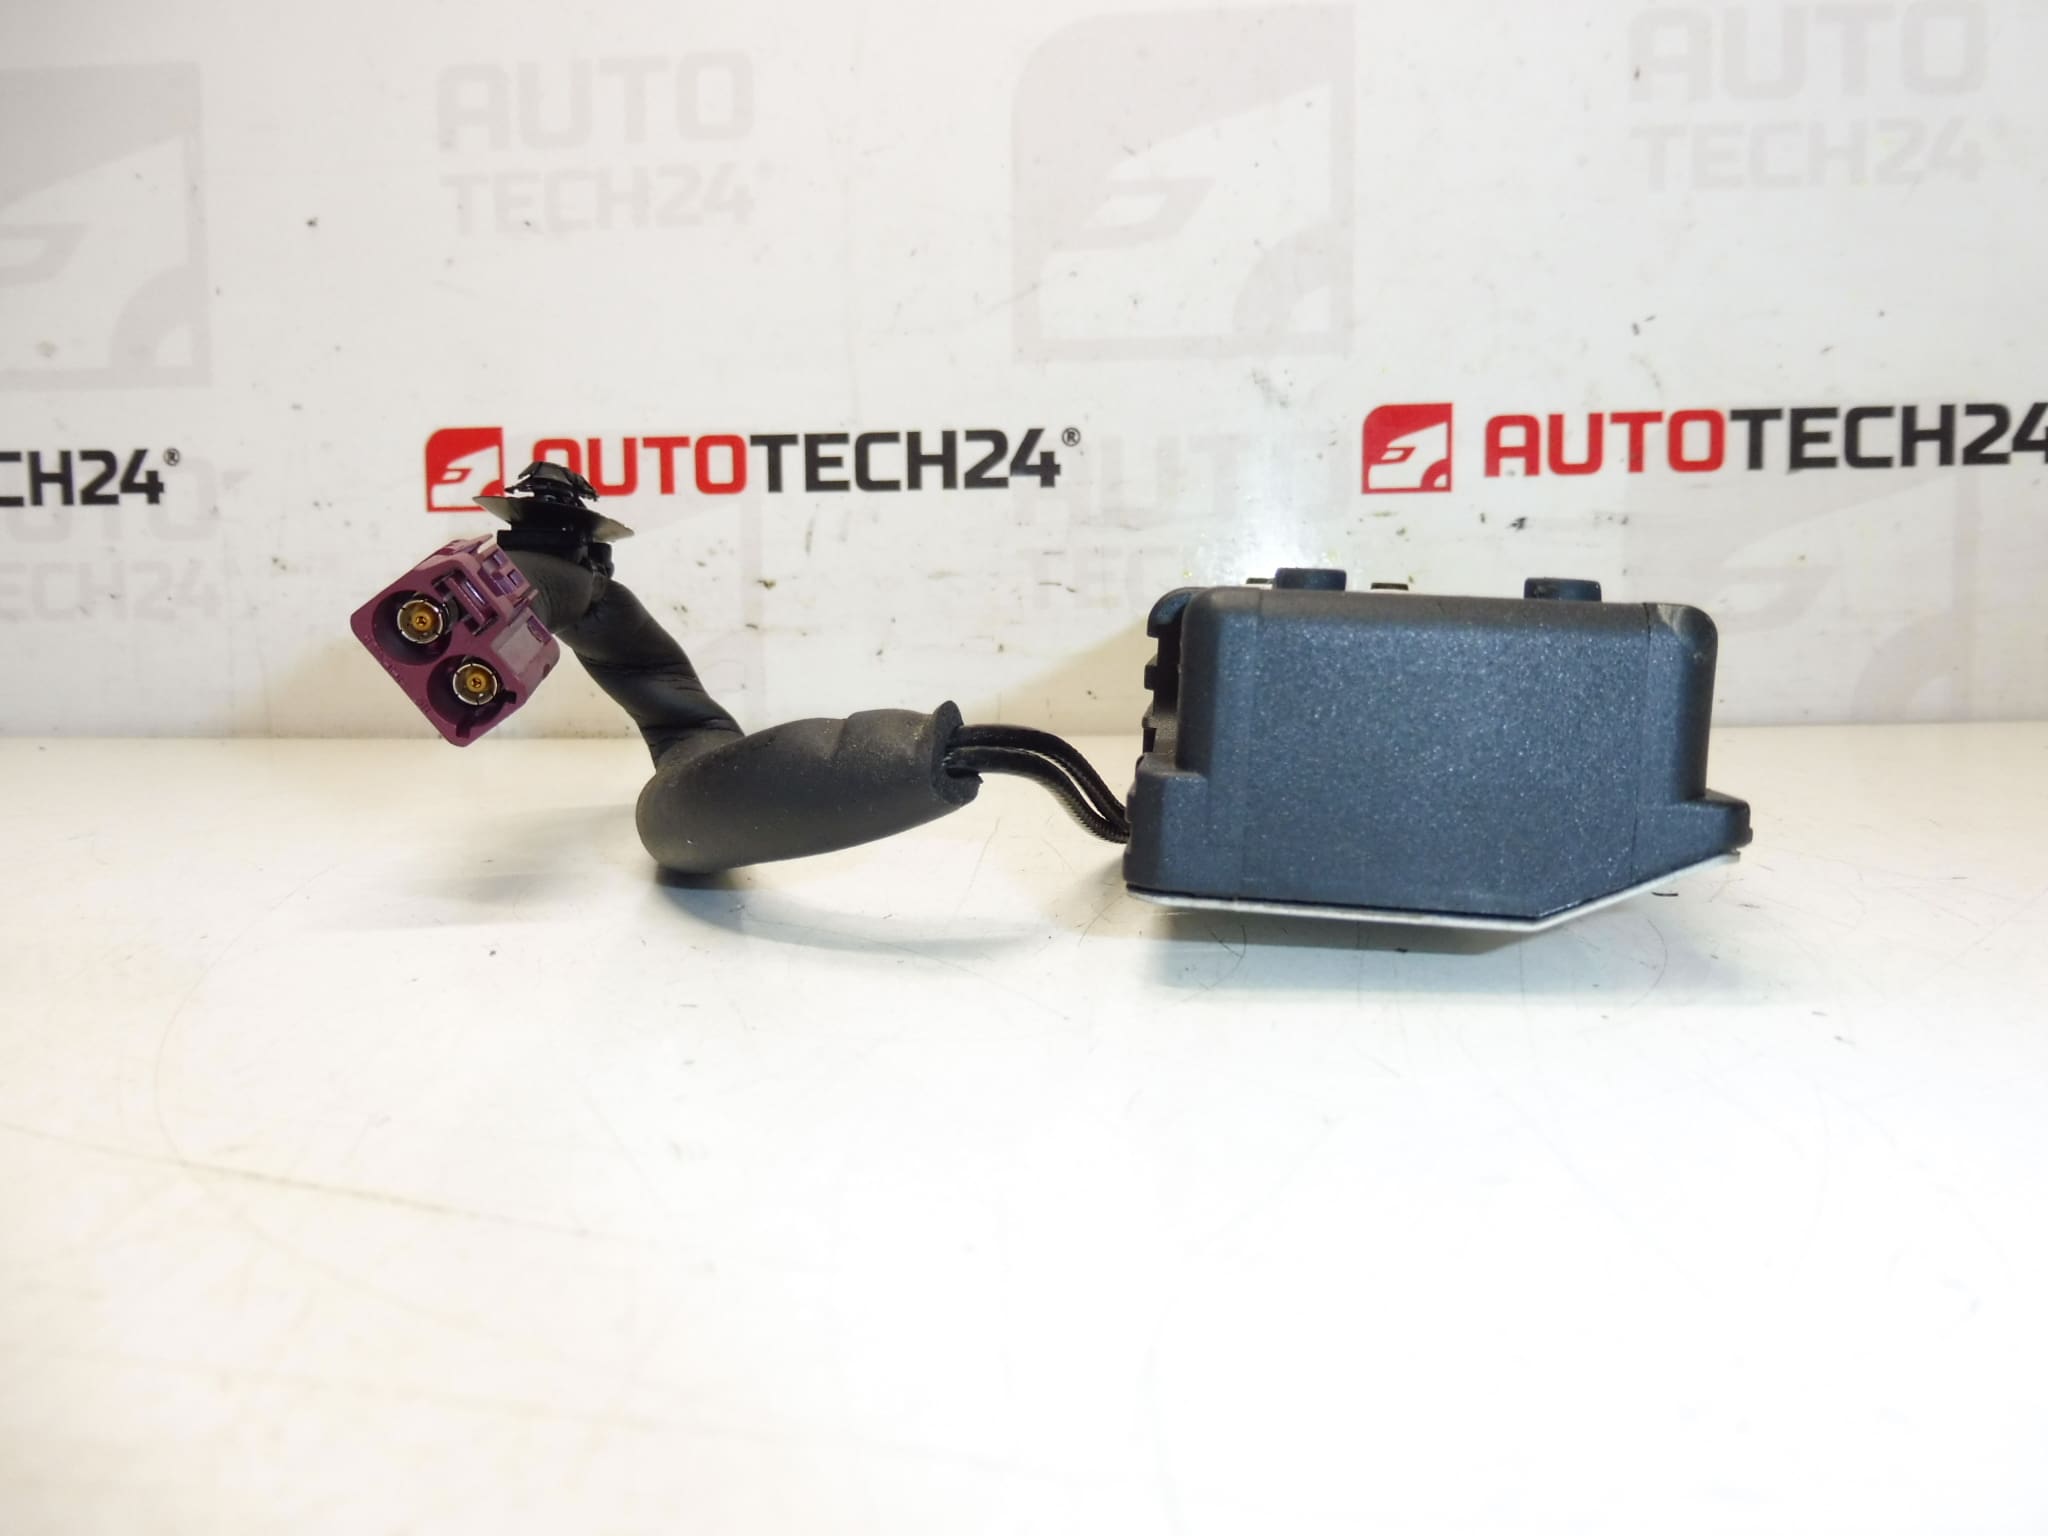
Windshield antenna unit for Peugeot 407 vehicles.
Stellantis Citroën Peugeot 9661102880 6561LG NFP
This windshield antenna unit is designed primarily for the Peugeot 407 and is a direct-fit replacement that restores reliable radio reception and on-board antenna functions. Ideal for professional workshops and experienced DIY enthusiasts, the unit is often searched by its OEM numbers (9661102880, 6561LG), which makes it quick to find and order. The compact design mounts discreetly behind the windshield glass and connects to the vehicle’s antenna feed and radio unit, ensuring clear AM/FM reception and compatibility with vehicle antenna amplifiers where applicable.
Technical Information
- Manufacturer: Stellantis (Citroën / Peugeot)
- Model: Peugeot 407 (Primary Fit)
- Product Codes: 9661102880, 6561LG
- Additional Numbers: NFP; Cross-References: Peugeot 308, Citroën C6 (listed as related models)
Function And Benefits
The windshield antenna unit receives AM/FM radio signals and, depending on the vehicle equipment, may work together with an integrated or in-line amplifier to improve reception. Replacing a faulty unit restores clear audio, reduces static and fading, and resolves intermittent loss of stations. OEM-coded parts like 9661102880 and 6561LG ensure fitment accuracy and reliable electrical connections.
Installation Recommendations
- Disconnect The Negative Battery Terminal Before Starting To Prevent Short Circuits.
- Carefully Remove Interior Trim Panels And The Rearview Mirror If Necessary To Access The Antenna Unit Area.
- Detach The Old Antenna Module From Its Mounting Position On The Inside Of The Windscreen; Unplug The Electrical Connector And Any Coaxial Feeds.
- Clean The Mounting Area And Ensure Glass Surface Is Dry. Position The New Unit Correctly And Secure According To Factory Clips Or Adhesive Points.
- Reconnect All Plugs Firmly. Use Dielectric Grease On Connectors If Available To Help Prevent Corrosion.
- Test Radio Reception And Antenna Amplifier Function Before Reassembling Interior Trim. Reconnect The Battery And Verify Station Lock And Signal Strength.
Common Causes Of Failure
- Moisture Ingress Through Seal Or Windshield Damage Causing Corrosion Of Contacts And Electronics.
- Corroded Or Broken Connectors And Coaxial Cables Leading To Signal Loss Or Intermittent Reception.
- Impact Damage From Accidents Or Improper Handling During Windshield Replacement.
- Electrical Faults In The Integrated Antenna Amplifier Or Wear Over Many Years Of Service.
- Symptoms Include Weak Or No Radio Reception, Static, Intermittent Stations, Or Complete Loss Of Antenna Signal.
Replacement is commonly required after prolonged exposure to moisture, following windscreen replacement where the antenna is disturbed, or when physical damage occurs. For workshops and self-repairers, ordering by part number (9661102880 / 6561LG) speeds up identification and ensures you receive the matching unit for a straightforward swap.