Description
Antenna socket for radio and navigation for Citroën C3, C5
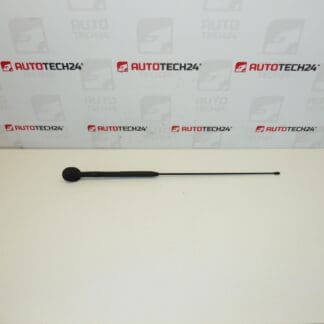
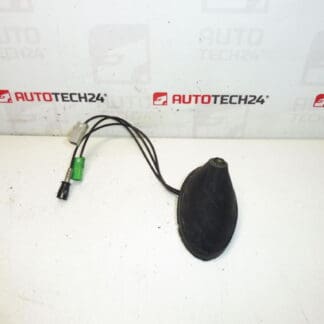
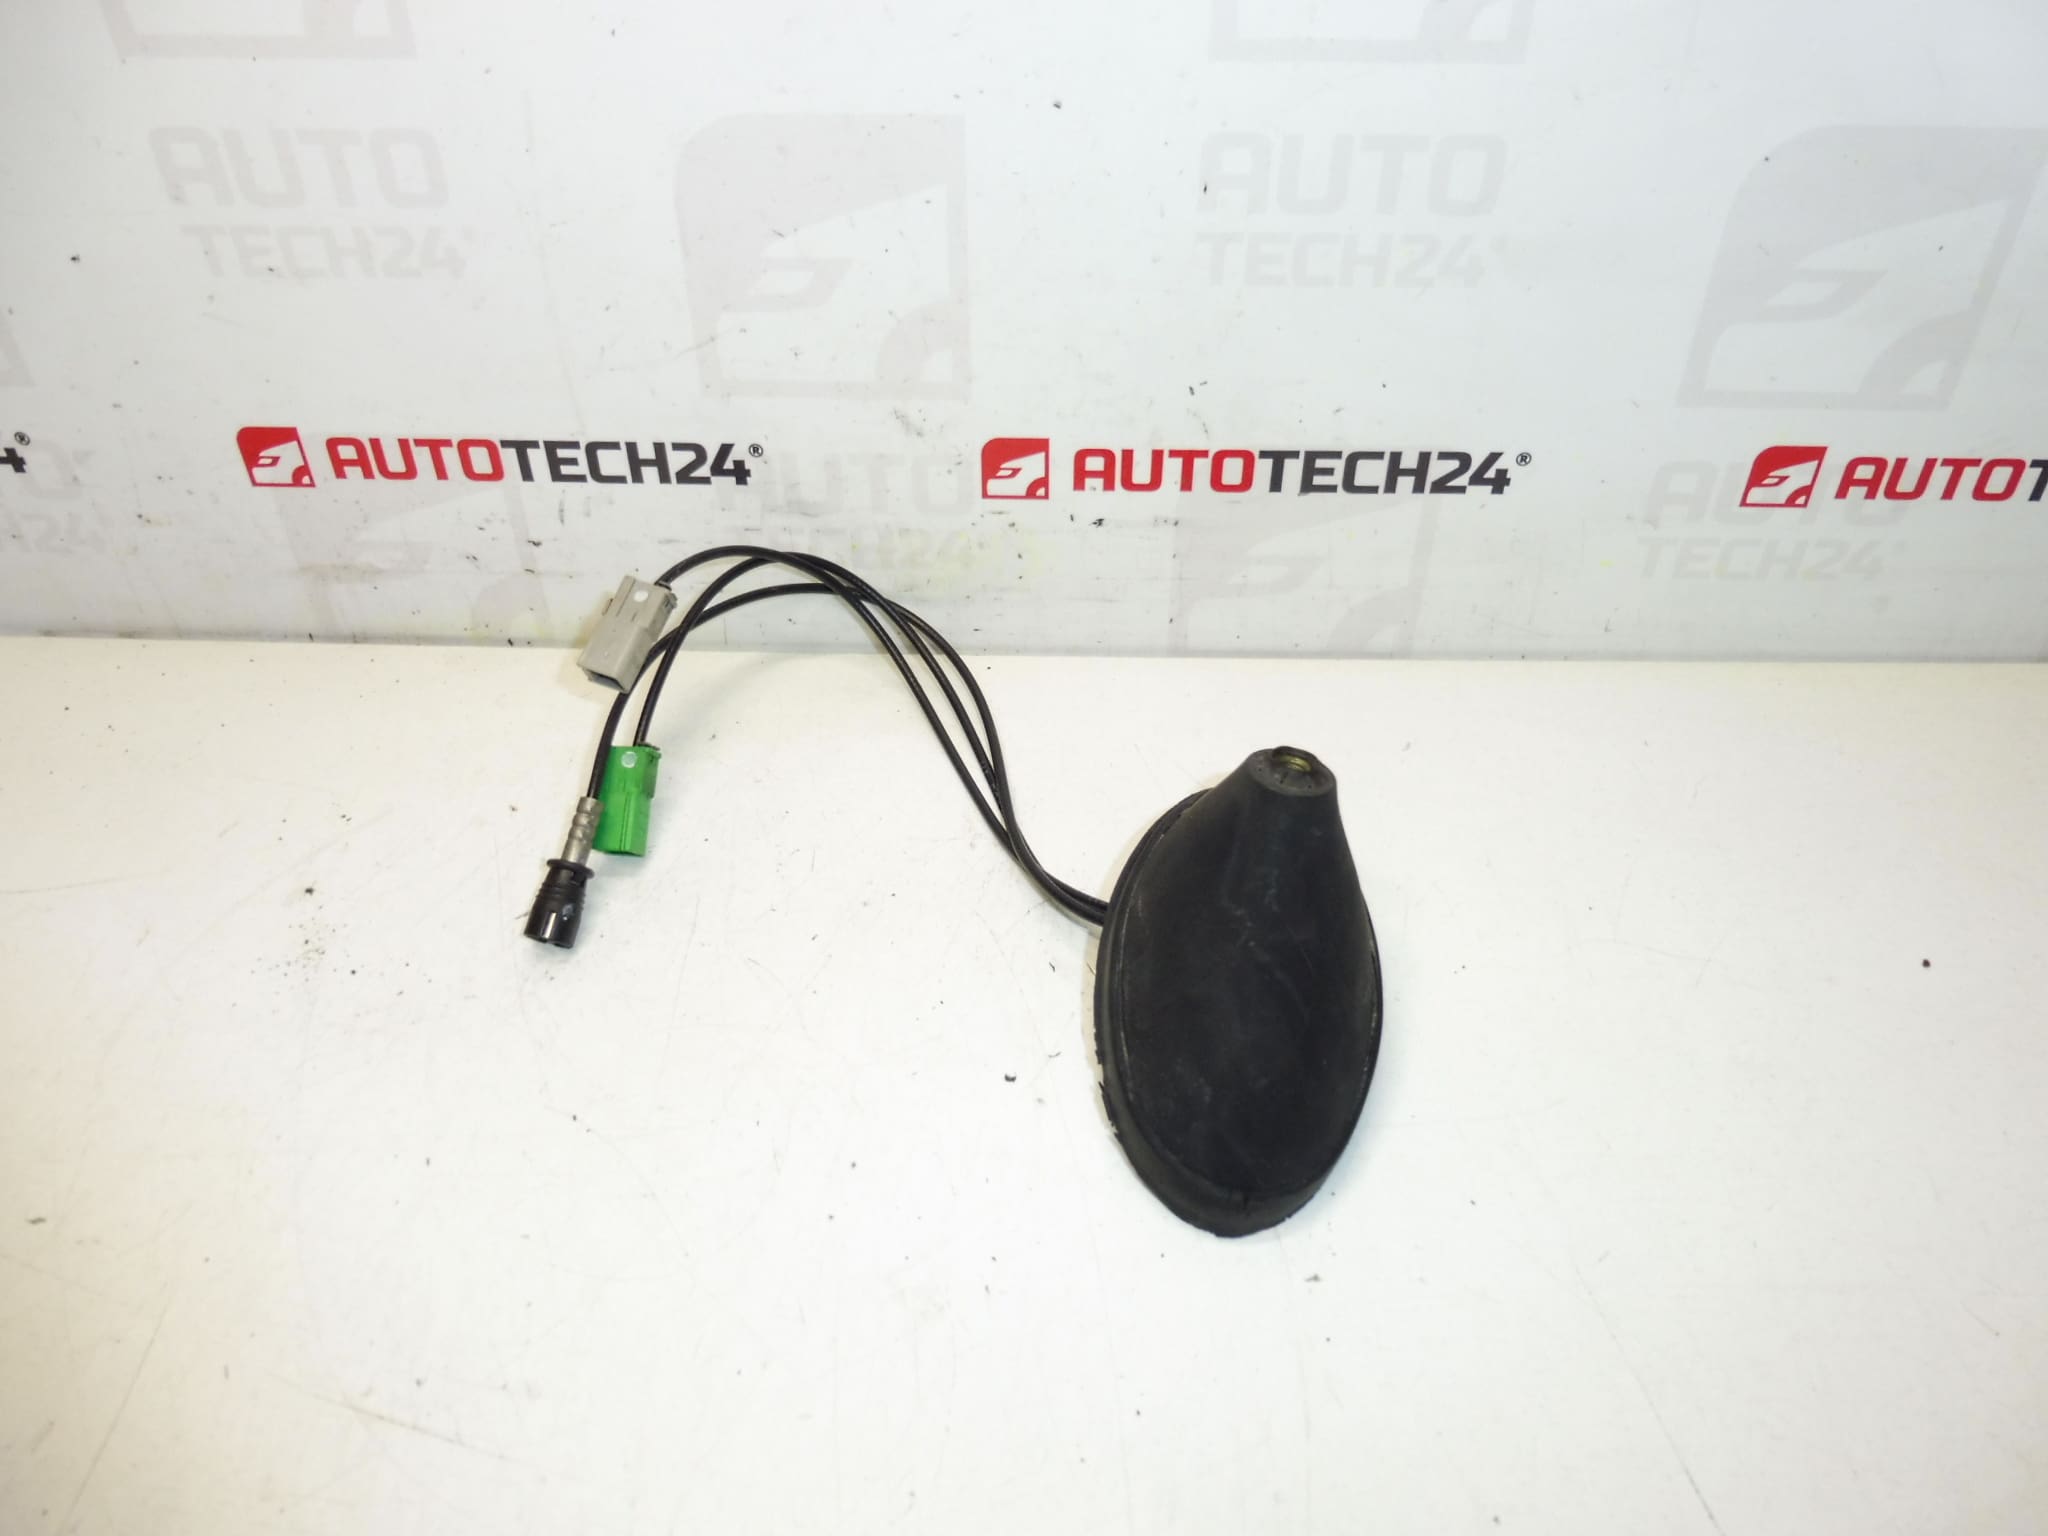
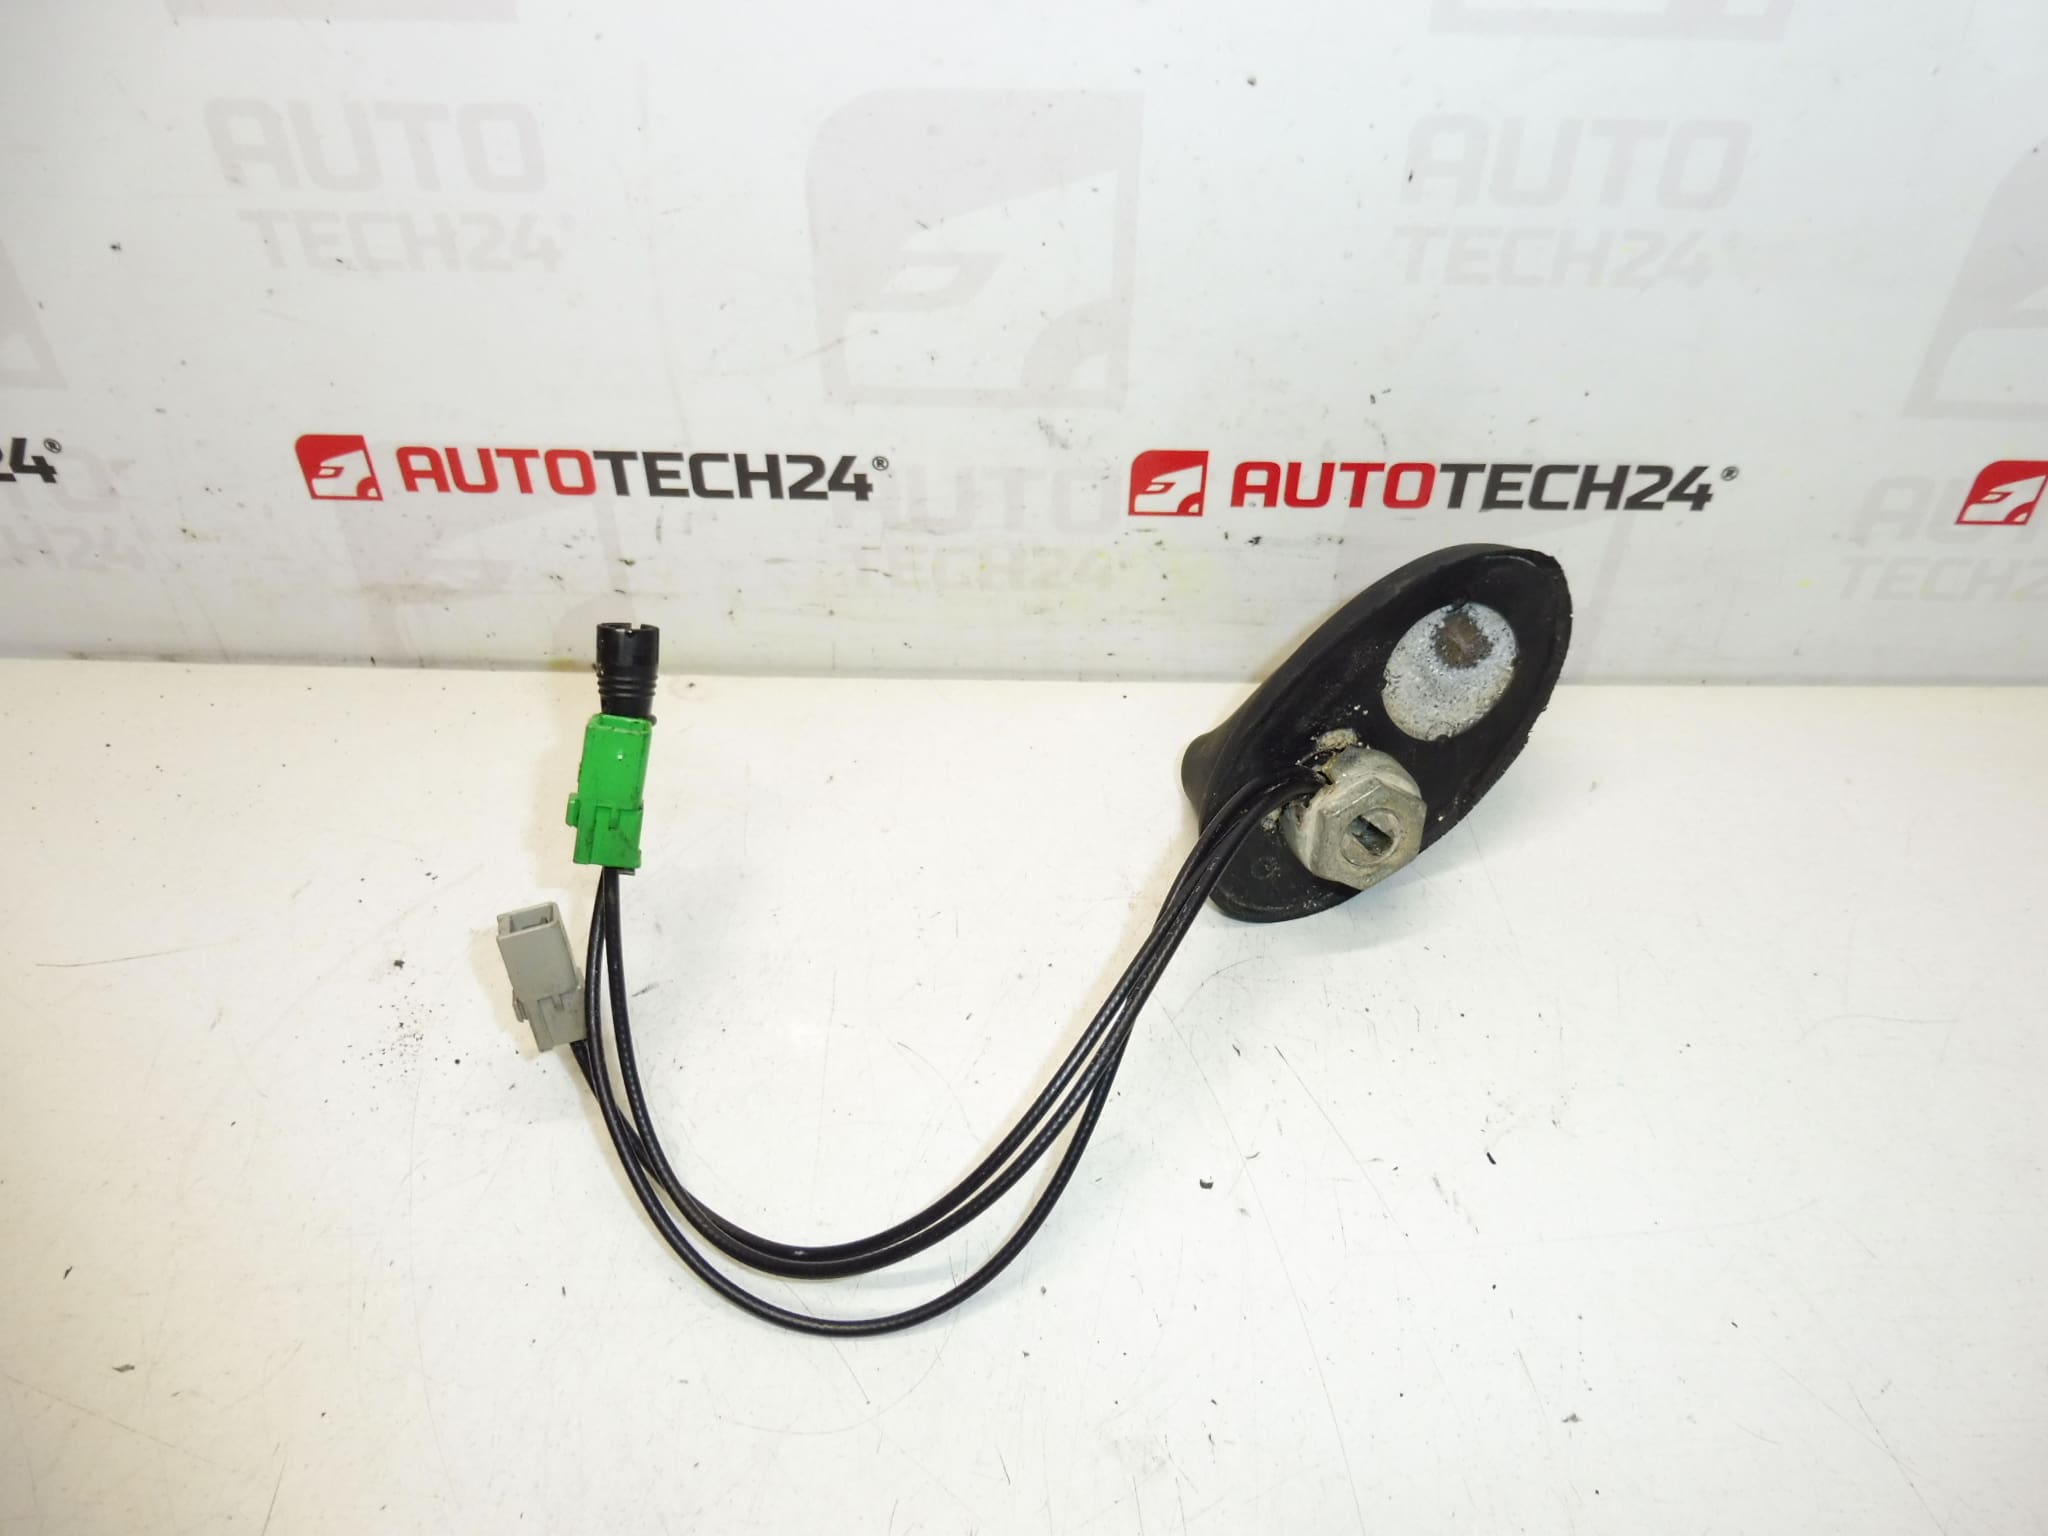
This genuine-looking antenna socket is intended for the radio and navigation systems of Citroën C3 and Citroën C5 vehicles. Supplied under OE references 9650911780 and 6561HG, the part restores a reliable connection between the roof antenna and the head unit, improving reception and eliminating intermittent audio or navigation signal loss. Ideal for professional workshops and experienced DIYers, the connector is frequently searched by its product numbers, making quick identification and ordering straightforward.
Technical Information
- Manufacturer: Stellantis (Citroën / Peugeot)
- Model: Citroën C3; Citroën C5
- Product Codes: 9650911780; 6561HG
- Other Numbers: 9650911780 / 6561HG
Function
The socket provides the mechanical and electrical interface between the vehicle antenna (roof mast or shark-fin antenna) and the radio/navigation head unit. It transmits FM/AM and navigation antenna signals, ensuring stable reception. A faulty socket can cause weak reception, static, or loss of GPS signal in integrated navigation systems.
Replacement And Installation
Replacement requires moderate experience. Typical steps:
- Disconnect the negative battery terminal before starting to avoid short circuits and protect vehicle electronics.
- Remove interior trim or headliner panels as needed to access the antenna base and cable routing.
- Detach the roof antenna or antenna base (unscrew retaining nut or bolts) to reach the antenna socket.
- Disconnect the old socket from the antenna cable and the head unit harness, noting routing and clip locations.
- Install the new socket, ensuring pins align and the connector clicks into place; secure the antenna base and reassemble trim.
- Test radio and navigation reception before final reassembly. Avoid overtightening and ensure seals are seated to prevent water ingress.
Installation Recommendations
- Use appropriate panel removal tools to avoid damaging interior trim.
- Clean connector mates and, if appropriate, apply a light dielectric grease to help prevent future corrosion.
- Check antenna mast and grommets for wear or leaks while the assembly is accessible.
- If routing or clips are damaged, replace them to prevent cable chafing.
Why The Part Most Commonly Fails
Failures are usually caused by moisture ingress and corrosion at the connector, mechanical damage during antenna removal or after collisions, or bent/broken pins from improper handling. Over many years, seals and grommets deteriorate, allowing water to reach the socket and cause intermittent contacts or total signal loss.
Notes For Purchase
Searchable by OE numbers 9650911780 and 6561HG. Recommended for technicians and experienced DIYers replacing an original antenna connection on Citroën C3 and C5 vehicles. Proper diagnosis of reception issues (antenna mast, coax cable, head unit) is advised to confirm the socket is the faulty component before replacement.