Description
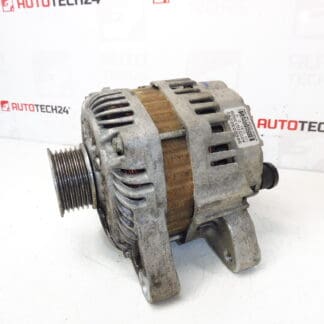
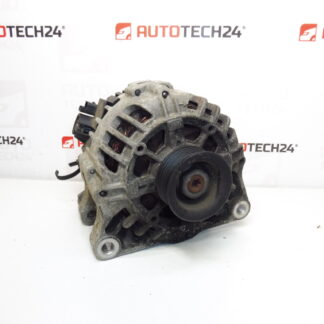
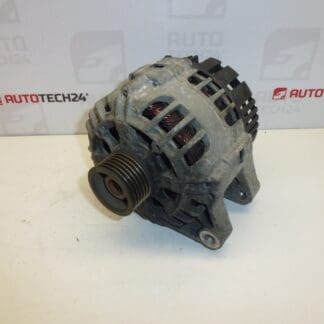
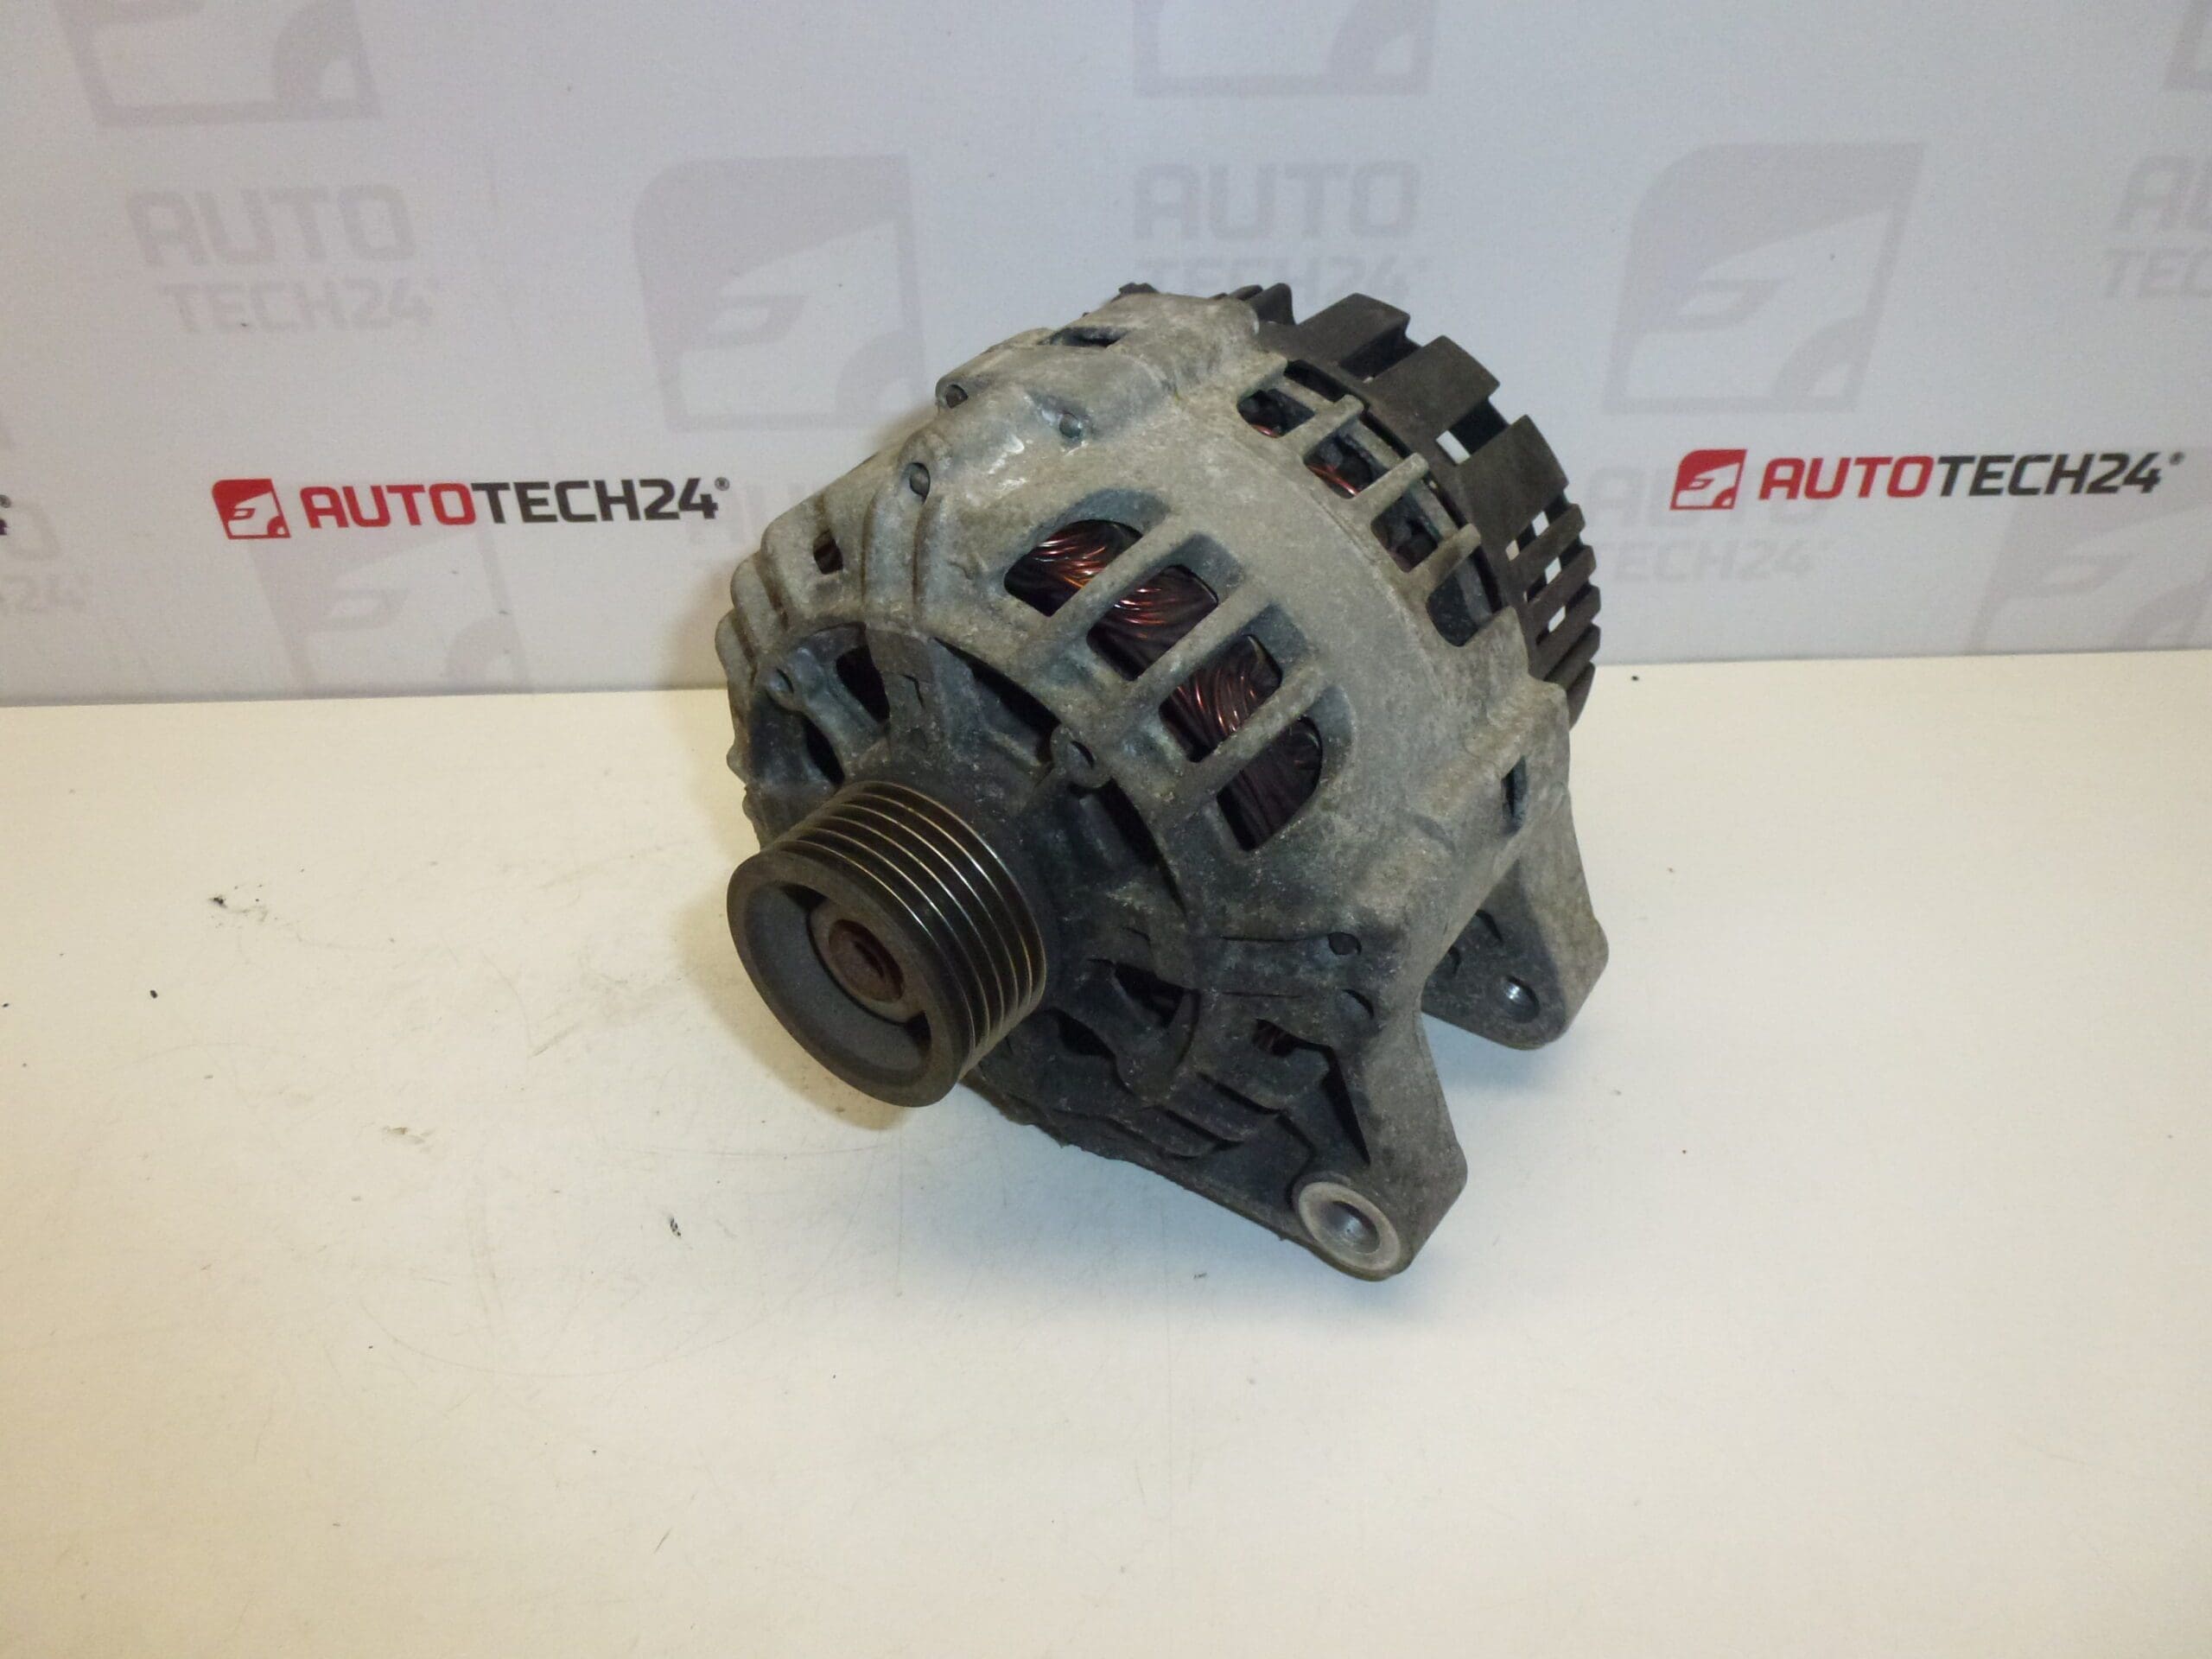
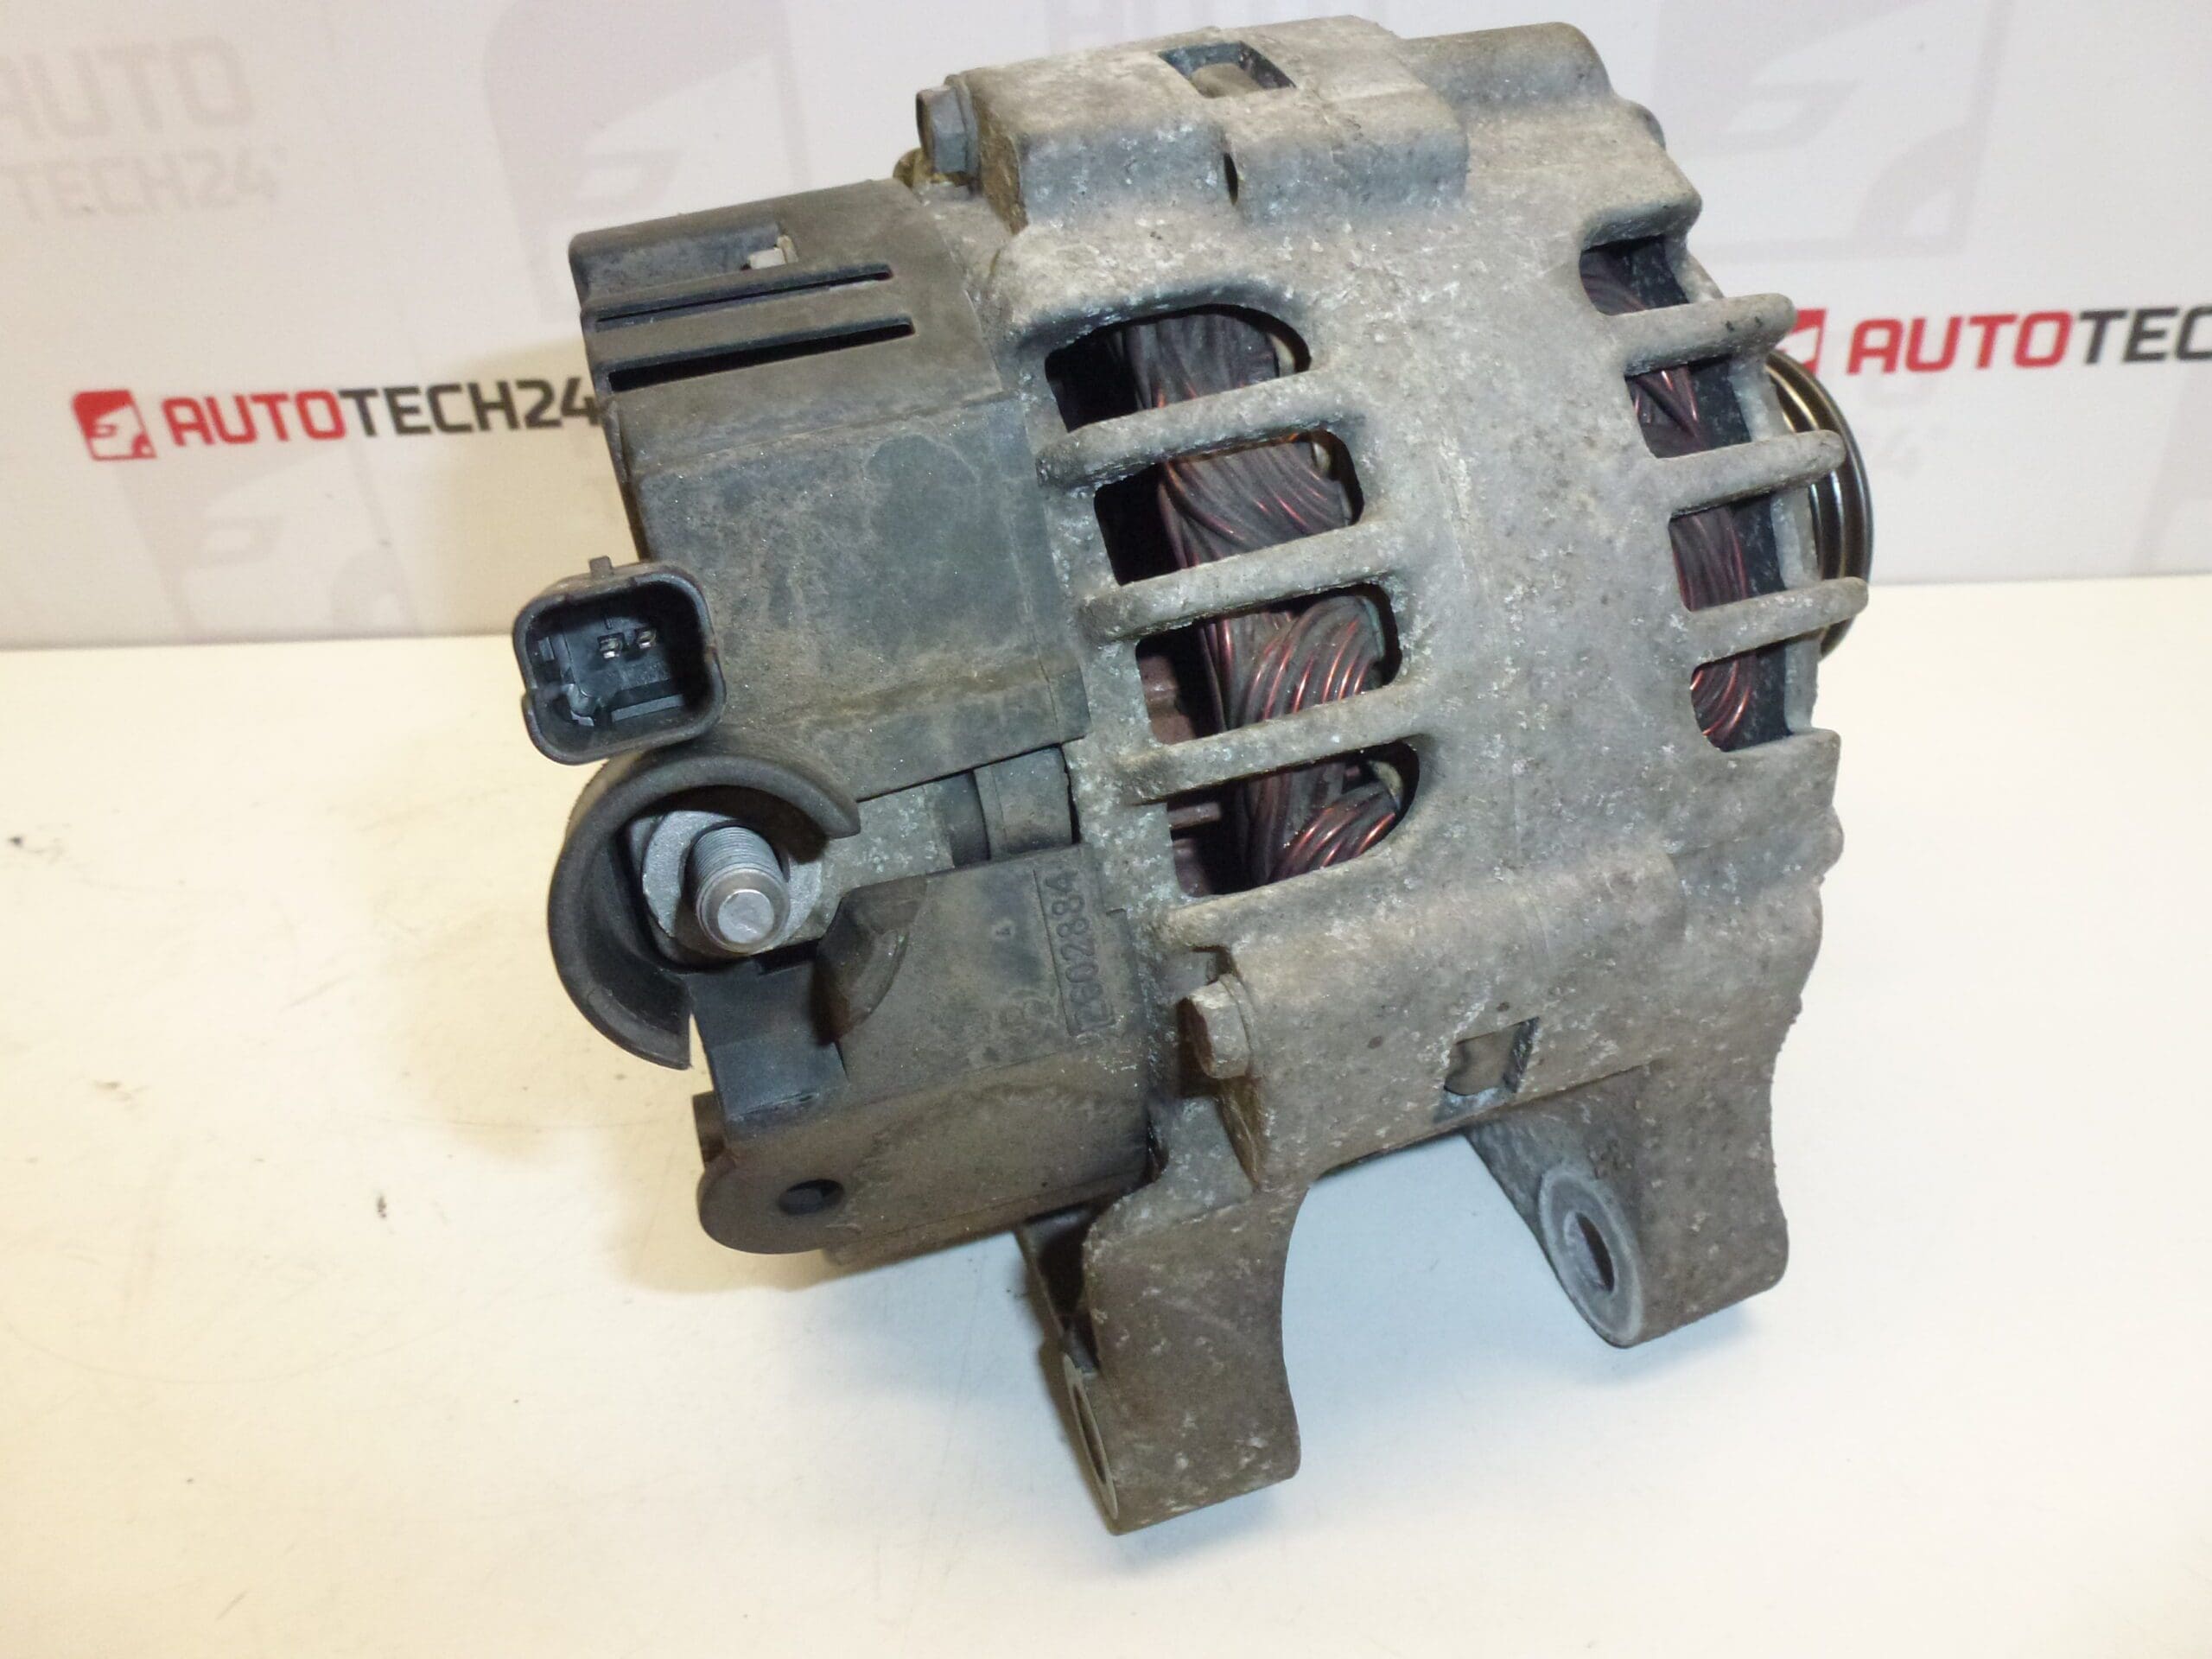
VALEO CL8+ alternator for Citroën and Peugeot vehicles
Part description
The used Valeo CL8+ alternator with part number 9649611780 is a component of the charging system in Citroën and Peugeot vehicles. While the engine is running, the alternator supplies electrical consumers and charges the battery. Its proper operation is important for reliable starting and a stable power supply to the vehicle’s electrical equipment.
When replacing a faulty alternator, it is essential to match the product designation and design. This part offers a repair option using a used Valeo alternator. Specific vehicle models, engine variants, and electrical specifications are not provided in the available information, so when selecting a part, compare the listed numbers and design with the original part.
Technical information
- Manufacturer: Valeo
- Model: not specified; only the Citroën and Peugeot vehicle makes are listed
- Alternator designation: CL8+
- Part type: alternator
- Condition: used part
- Main product number: 9649611780
- Additional numbers: 1638104480, 5705AW, 5705NH, 5705FA
- Rated voltage and charging current: not specified
Product codes
Product codes: 9649611780, 1638104480, 5705AW, 5705NH, 5705FA.
These designations are listed in the product information and can help you search for a replacement alternator. In addition to matching the designation, compare the mounting points, electrical connections, and pulley with the old unit.
Installation recommendations
The following procedure is a general guide to replacing an alternator. Access to the part, the method for releasing the belt, and procedures for working on the electrical system depend on the specific vehicle model and configuration. Follow the vehicle manufacturer’s service instructions.
1) Before installation
- Compare the designations on the original and replacement alternators, housing shape, mounting points, electrical connectors, and power cable terminal.
- Check that the pulley design, offset, and grooves match. Compare the electrical specifications using the labels and service data.
- Inspect the used part, paying particular attention to cracks in the housing, damaged threads, connectors, corroded contacts, and signs of contamination by oil or other fluids.
- Check that the pulley turns freely by hand; significant play, binding, or unusual noise should be assessed before installation. Spinning it by hand alone does not confirm electrical functionality.
- Also check the battery, wiring, ground connections, and accessory drive. A charging fault may not be caused by the alternator alone.
2) Tools and materials required
- A standard set of spanners and sockets, a torque wrench, and suitable tools for releasing the belt tensioner, depending on the vehicle configuration.
- A multimeter or a suitable instrument for checking the charging system.
- Products for safely cleaning contacts, a clean cloth, and protective gloves.
- A means of recording the belt routing and cable connections before removal.
3) Step-by-step installation procedure
- Secure the vehicle safely, switch off the ignition, and let the engine cool down.
- Follow the prescribed procedure for allowing the electronics to go to sleep and disconnect the battery according to the manufacturer’s instructions. Do not work on the alternator’s high-current connection while it is live.
- Gain access to the alternator by removing only the covers or surrounding components required for the specific vehicle configuration.
- Record the routing of the auxiliary belt, the position of the connectors, and the routing of the cables.
- Release the tensioner using the prescribed method and remove the belt from the alternator pulley. Check its condition and that of any accessible pulleys.
- Disconnect the alternator’s electrical connections. Release connector locks without force and secure the cables against damage.
- Support the alternator, loosen its fasteners, and carefully remove it.
- Compare the two parts side by side and clean the mating surfaces. Check the condition of the fasteners and brackets.
- Position the replacement alternator without forcing it into place. Tighten the fasteners in the sequence and to the values specified by the vehicle manufacturer.
- Reconnect the wiring, secure the connectors, and refit the protective terminal covers. Route the cables away from moving and hot parts.
- Fit the belt following the recorded routing and restore the correct tension using the prescribed procedure. Check that it is seated in all grooves.
- Reinstall the removed components, check the work area, and reconnect the battery according to the manufacturer’s procedure.
4) Post-installation checks and function verification
- After starting the engine, check the charging warning light and watch for any vehicle warnings.
- From a safe distance, check that the belt runs smoothly and listen for squealing, binding, or knocking. Keep hands and tools away from the drive while it is running.
- Measure charging performance according to the service procedure, including with electrical consumers switched on if necessary. Assess the results according to the vehicle’s specific charging system.
- Never test the alternator by disconnecting the battery while the engine is running. This may damage the electronics.
- If the checks reveal no problems, take a short test drive. After switching off the engine, visually recheck the belt, fasteners, and cable routing.
5) Common installation mistakes and how to avoid them
- Selecting a part based only on the vehicle make: always compare the product numbers, electrical specifications, and mechanical design.
- Working with the battery connected: safely disconnect the power supply according to the service instructions before handling high-current terminals.
- Incorrect belt routing or seating: record the routing before removal and check all grooves before starting the engine.
- Dirty or loose contacts: check that the connections are clean and secure and protected against short circuits.
- Overlooking the original cause of the fault: rectify any fluid leak, tensioner fault, or wiring problem to prevent damage to the replacement part as well.
Reasons why the part may be damaged
Alternators in general can fail as a result of normal wear and tear or faults in surrounding components. The following overview does not describe the observed condition of this specific unit.
- Wear of the bearings, brushes, and slip rings after prolonged use.
- Failure of the regulator or rectifier section, which may result in insufficient or unstable charging.
- Ingress of oil, water, or other contaminants, which can damage electrical and mechanical components.
- Faults in the belt, tensioner, or pulleys, which may cause slipping, vibration, and increased bearing stress.
- Faulty electrical connections and ground connections, leading to contact resistance, overheating, and charging problems.
- Prolonged overloading, a short circuit, or incorrect handling of the battery, which may damage the alternator’s electrical components.