Description
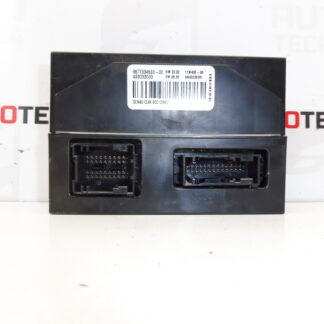
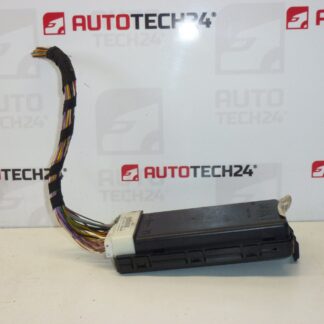
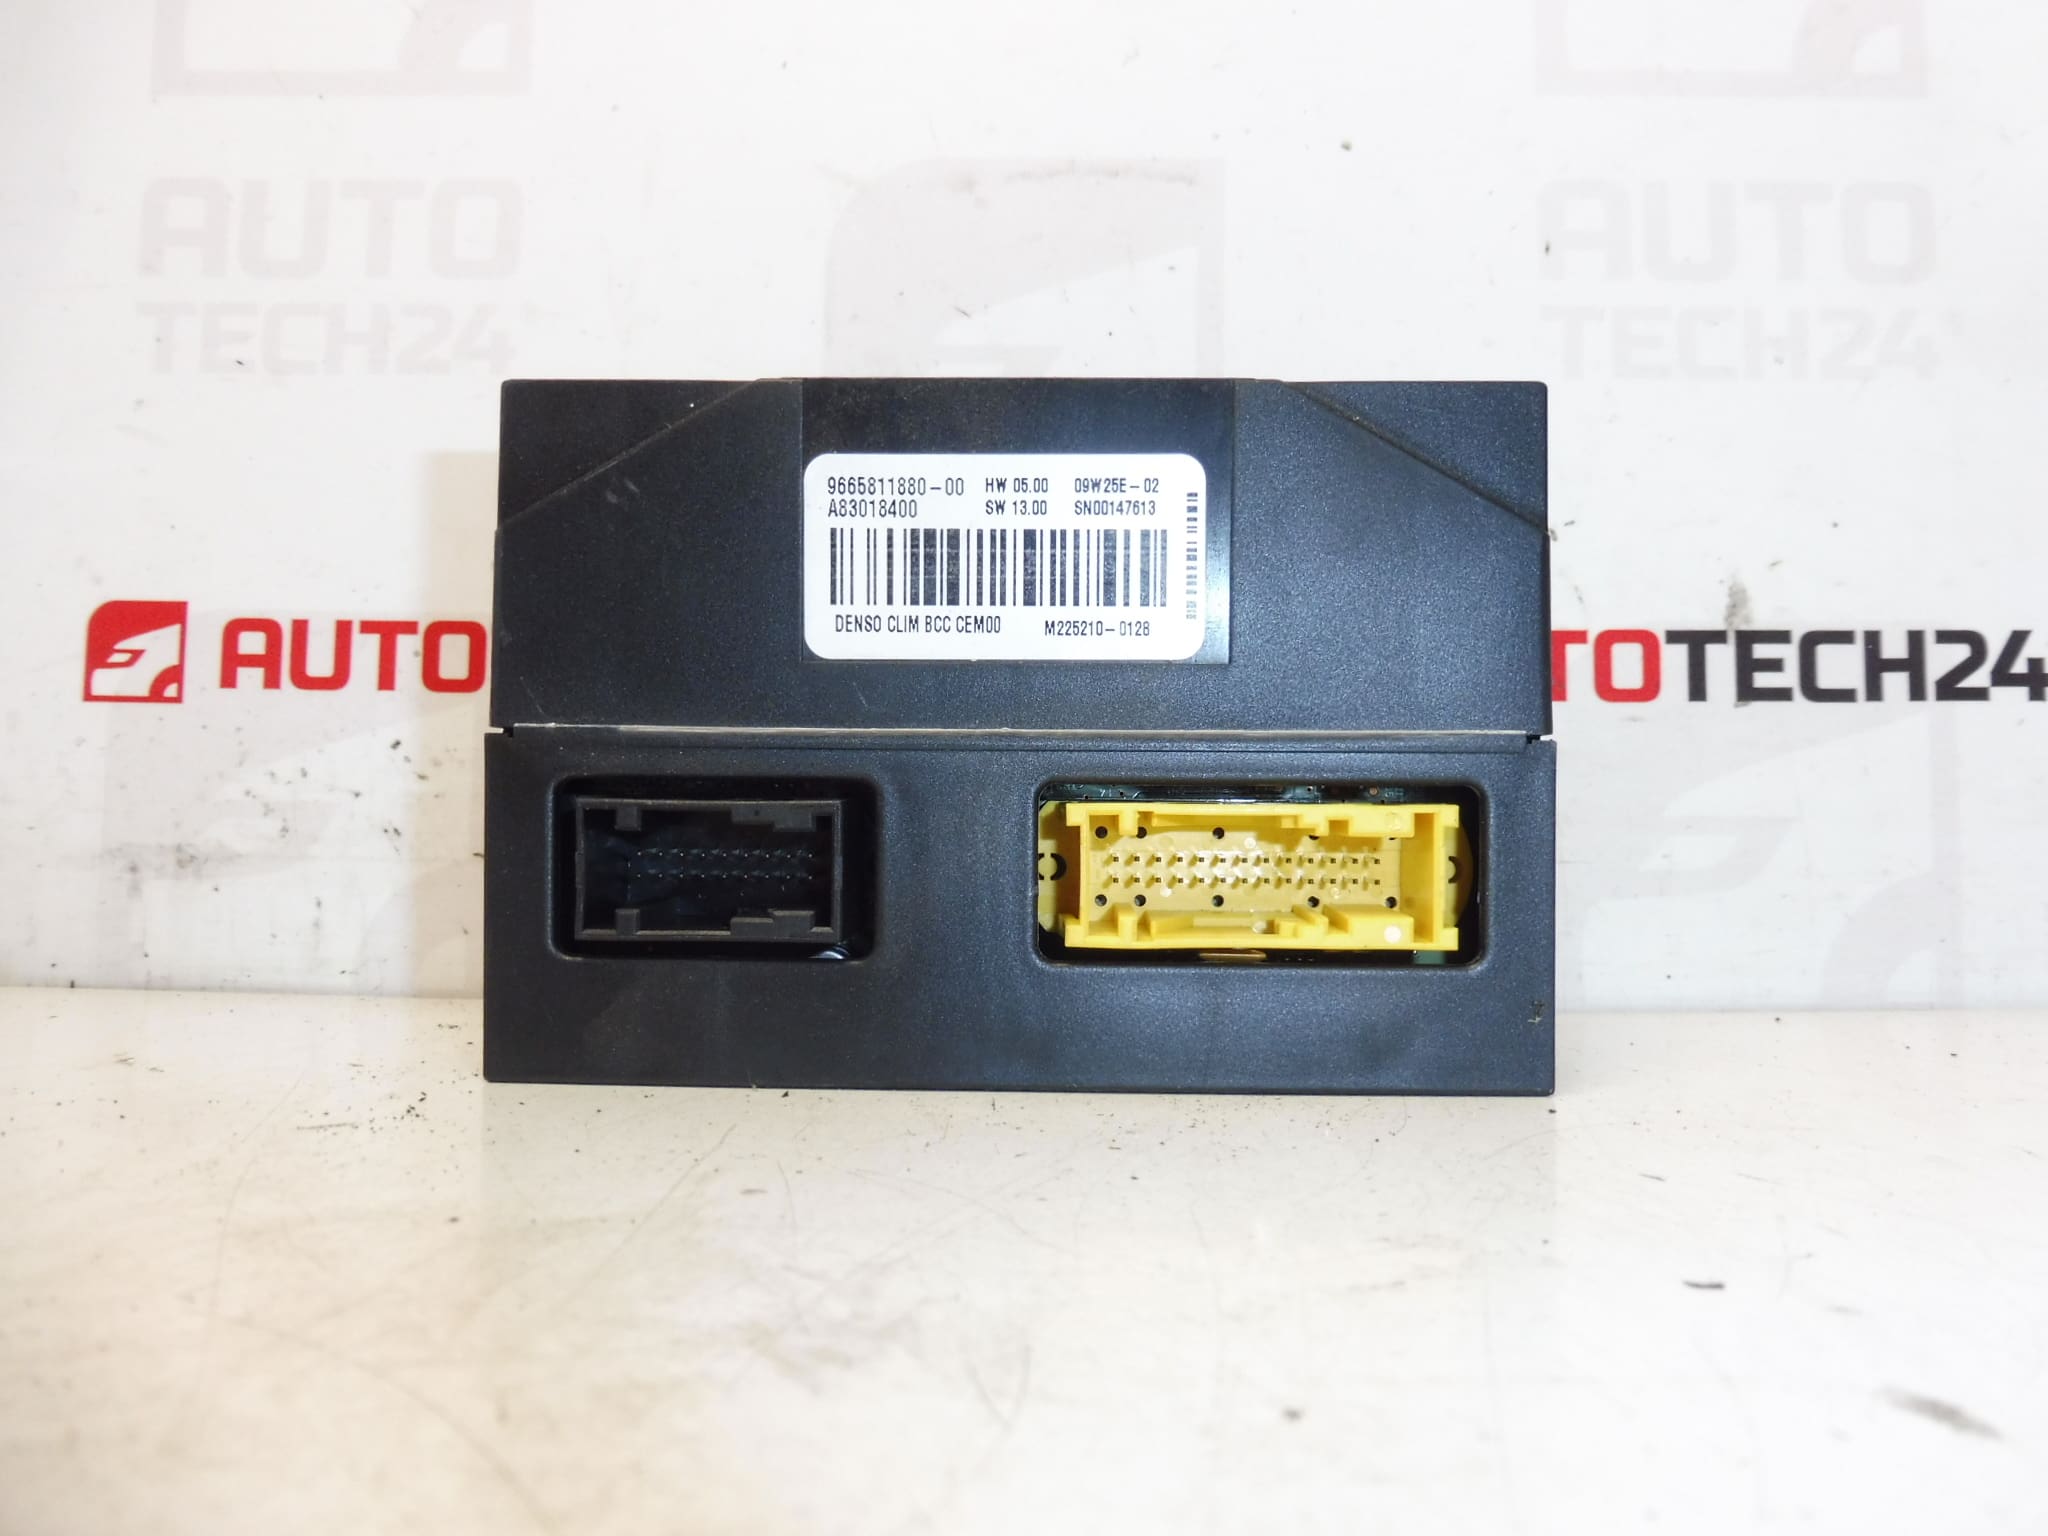
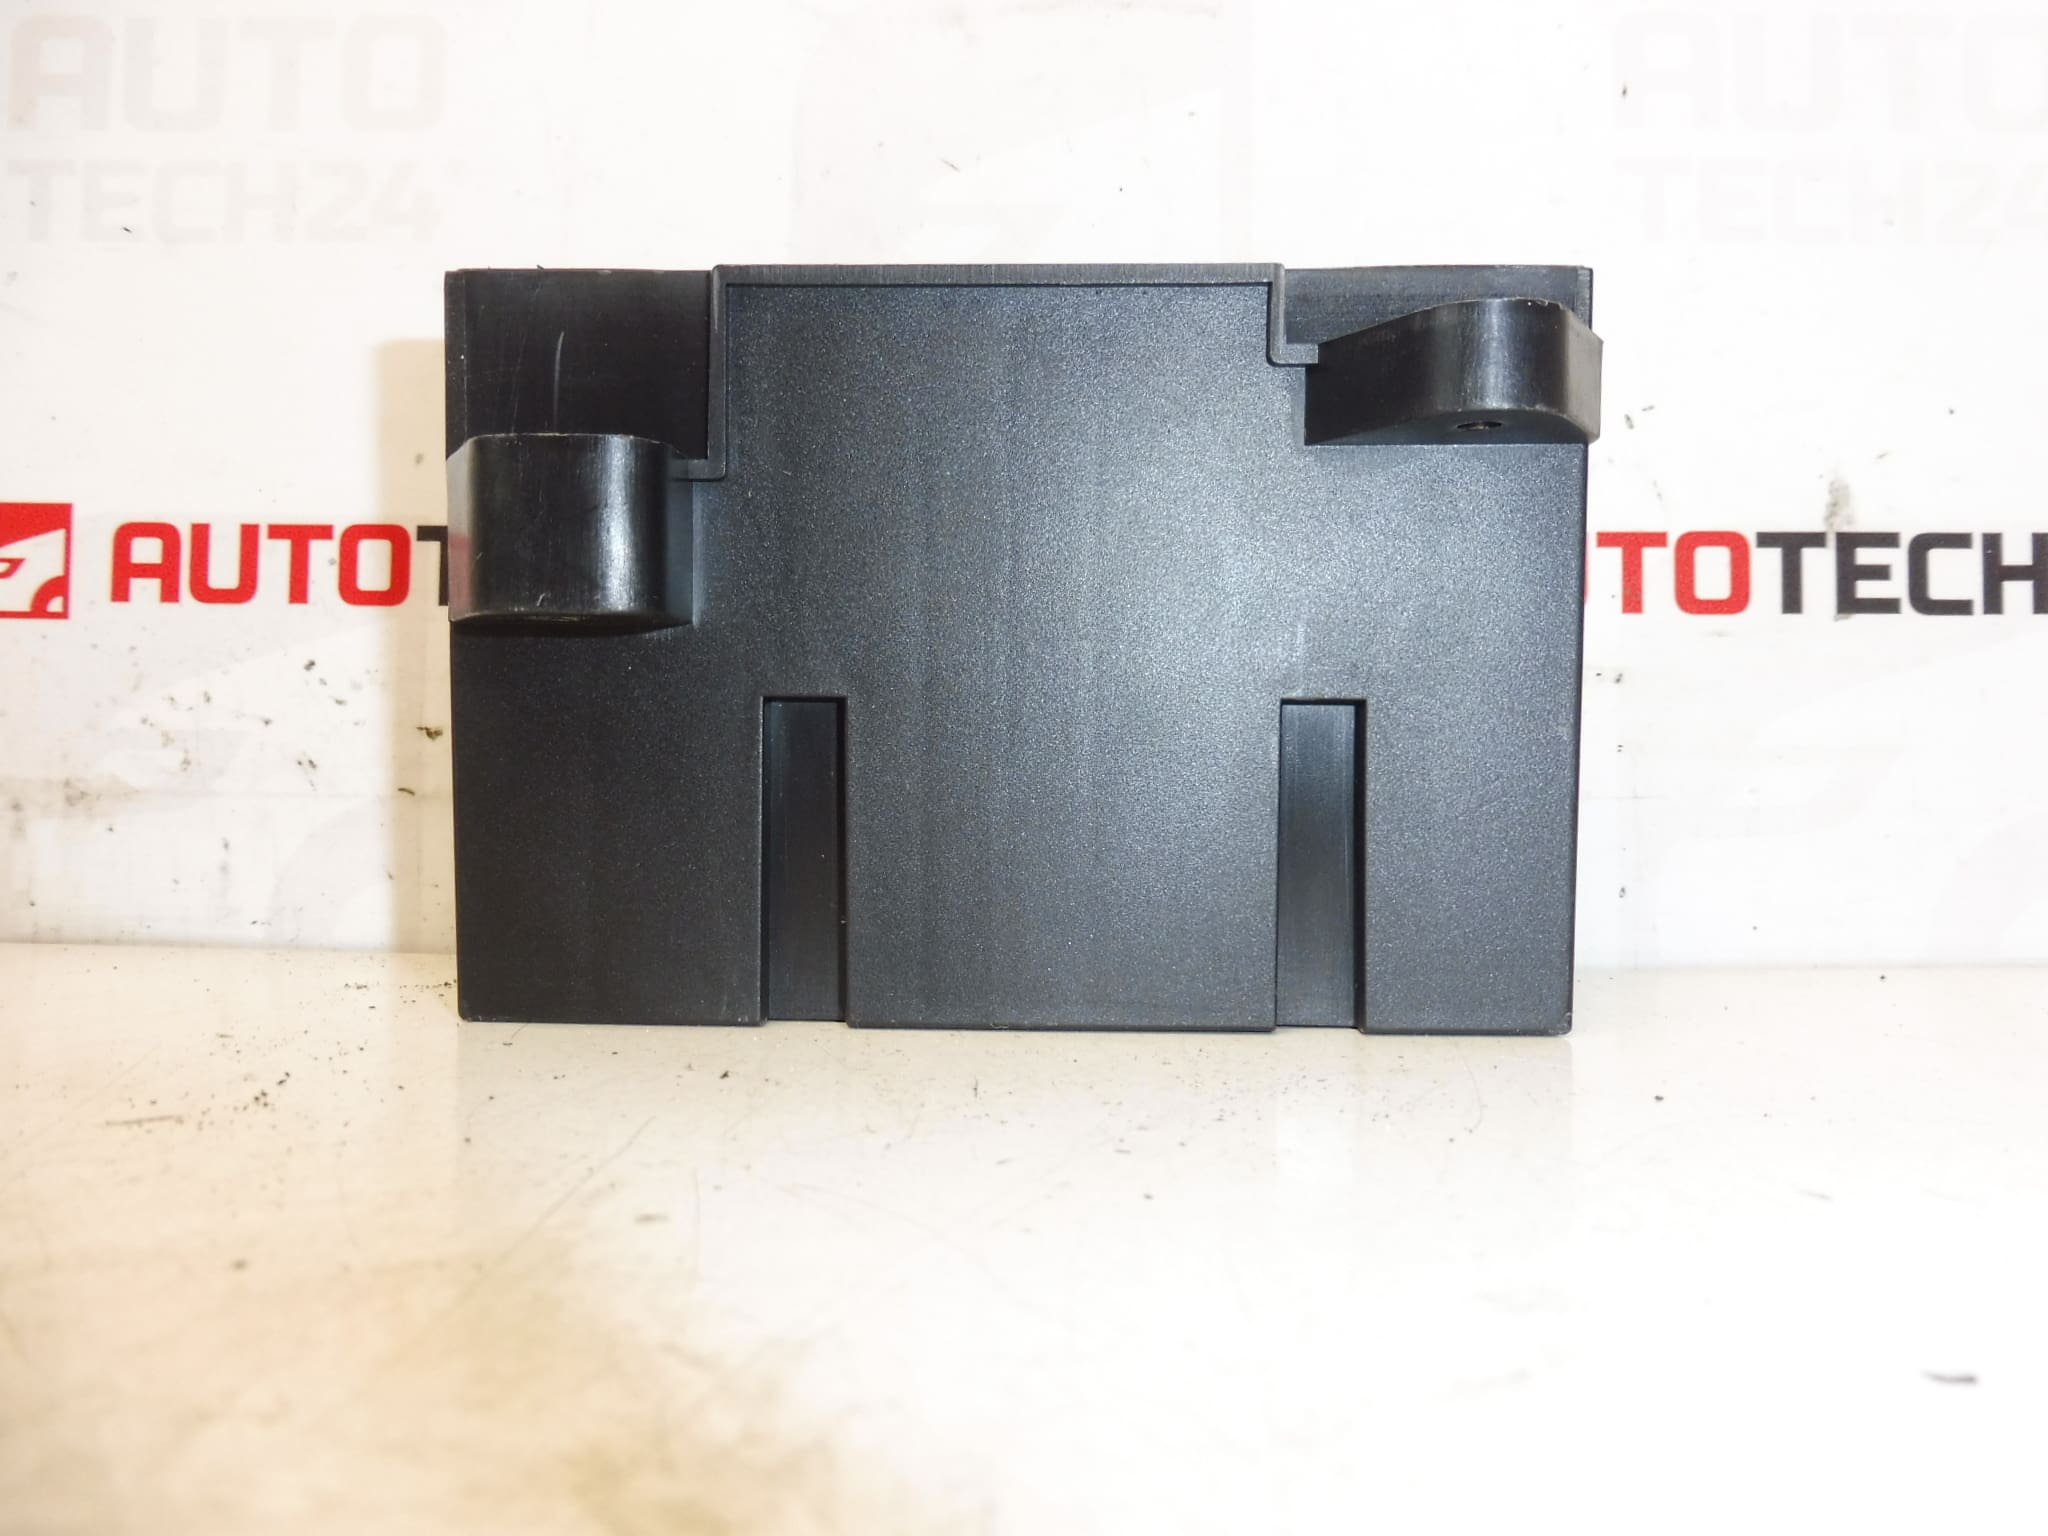
Climate Control Unit DENSO for Citroën C4 Picasso and Grand Picasso first generation (2006–2013).
High-quality replacement climate control unit manufactured by DENSO, designed for Citroën C4 Picasso and Grand Picasso (first series). This HVAC control module manages automatic and manual climate functions, ensuring reliable temperature regulation, blower speed control and actuator commands. Frequently searched by OE number, this unit is compatible with vehicles using the original references listed below and is suitable for professional workshops and experienced DIY technicians who maintain PSA group vehicles.
Technical Information
- Manufacturer: DENSO
- Model: Citroën C4 Picasso I / Grand Picasso I (First Generation, 2006–2013)
- Product Codes: 9665811880
- Additional Numbers: 9665811880-00, 6452P7, 6452P8
Compatibility and Fitment
Designed as a direct replacement for the factory-installed climate control unit on first-generation Citroën C4 Picasso and Grand Picasso models. Always confirm the OE number stamped on the original unit matches one of the listed product or additional numbers before installing. This unit fits vehicles equipped with DENSO climate systems that use the above references.
Function and Typical Symptoms
The climate control unit (HVAC control module) interprets inputs from temperature sensors, user controls and the vehicle’s CAN network to regulate blower motor speed, actuator positions (air flaps), compressor clutch engagement and display/readout functions. Common symptoms of a failing unit include unresponsive temperature controls, irregular blower speeds, incorrect air distribution, failure to engage the A/C compressor, or non-functioning control display and illumination.
Common Causes Of Failure
Failures are most often caused by long-term thermal stress, internal component aging, corrosion from moisture ingress, or intermittent solder joint defects on printed circuit boards. Electrical surges, poor battery connections or water intrusion into the dashboard area can accelerate wear. Mechanical wear of potentiometers and switches on the front panel may also cause erratic behavior even when the electronic core is functional.
Installation Recommendations
Before starting any work, always disconnect the vehicle battery and follow the vehicle manufacturer’s removal procedures to avoid damage to electronic components. Typical replacement steps: remove trim panels around the center console, unscrew and extract the climate control module, unplug multi-pin connectors and replace with the new unit, then reassemble in reverse order. After installation, verify all HVAC functions—blower speeds, air distribution, temperature regulation and A/C compressor control. In most cases the unit is plug-and-play; however, if the vehicle has advanced integrated features, adaptation or coding using PSA diagnostic equipment (DiagBox/Lexia) may be required to restore full functionality. If unsure, perform installation and any required coding using proper diagnostic tools or have it completed by a qualified technician.
Why The Part Usually Fails
Electronic components in HVAC controllers operate in a high-temperature environment behind the dashboard and are exposed to thermal cycling and occasional moisture, which over time degrades components and solder joints. Frequent use of the climate system, electrical transients, or prior incidents of water ingress (leaks) are the most common root causes leading to failure.
Ideal for workshops and competent DIYers looking for a reliable OEM-referenced replacement. Match OE numbers before ordering to ensure correct fitment. Keep the vehicle’s battery disconnected during replacement and follow manufacturer procedures to prevent damage.