Description
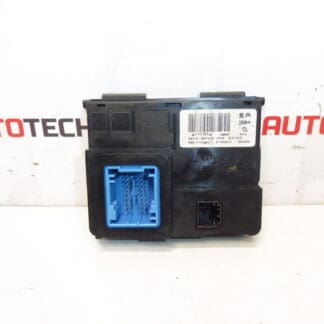
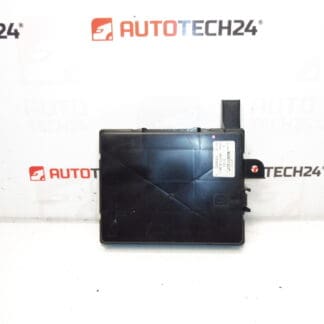
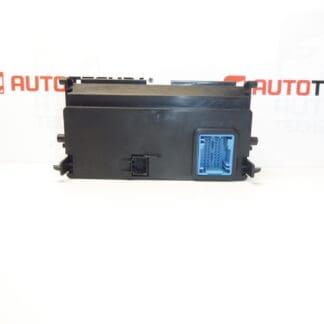
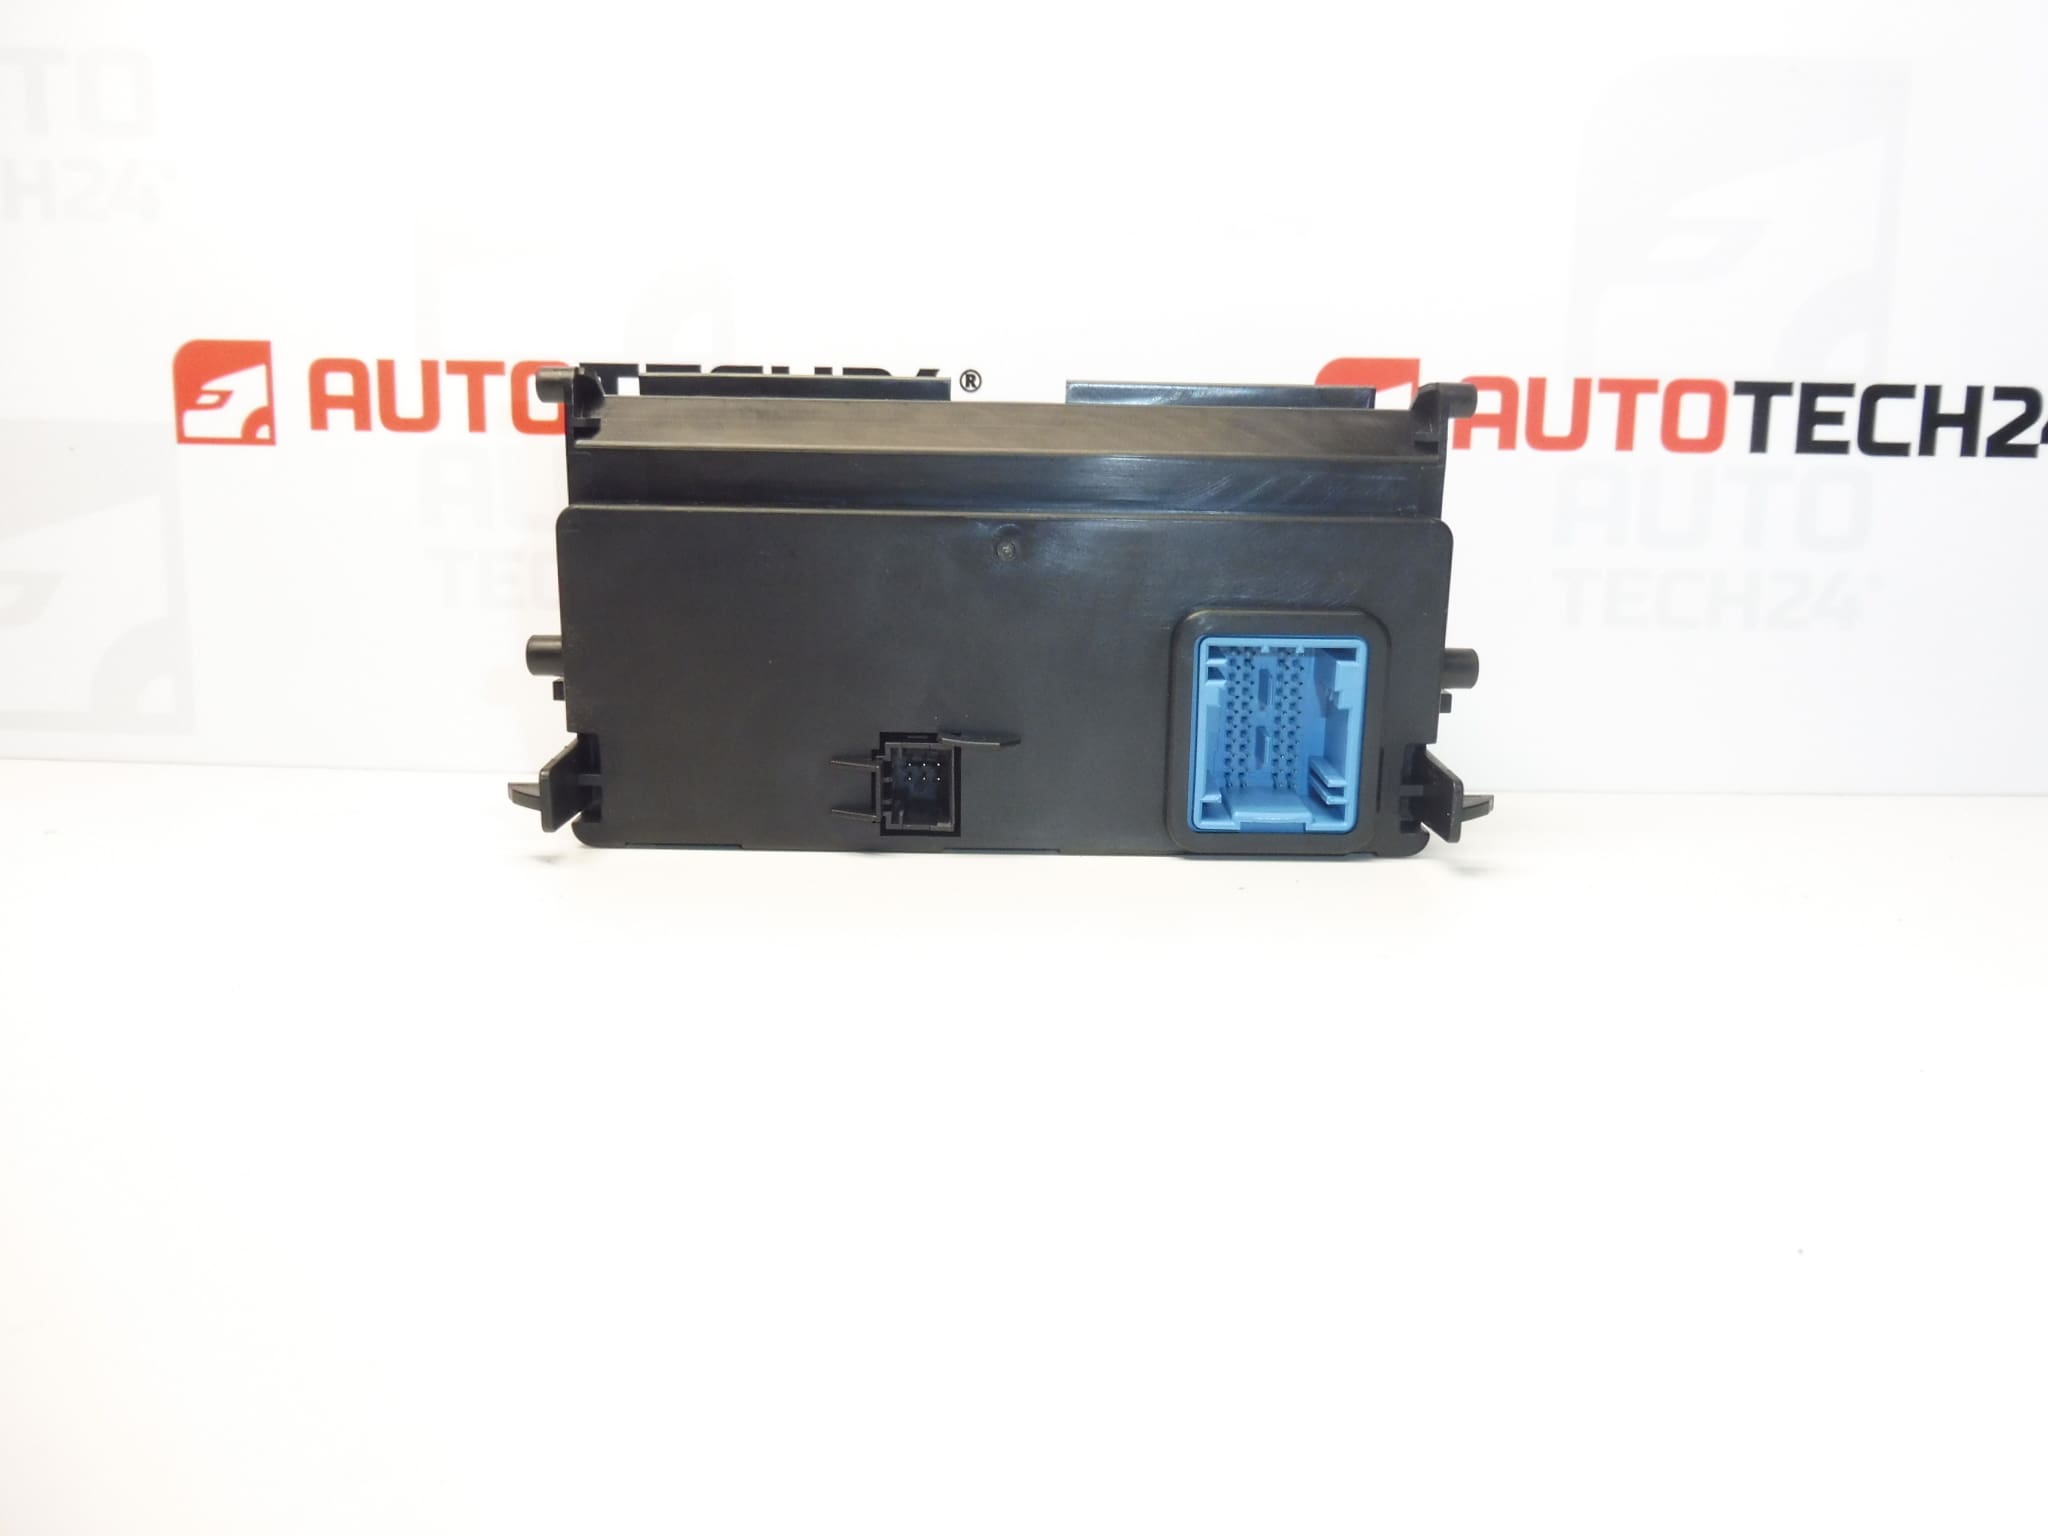
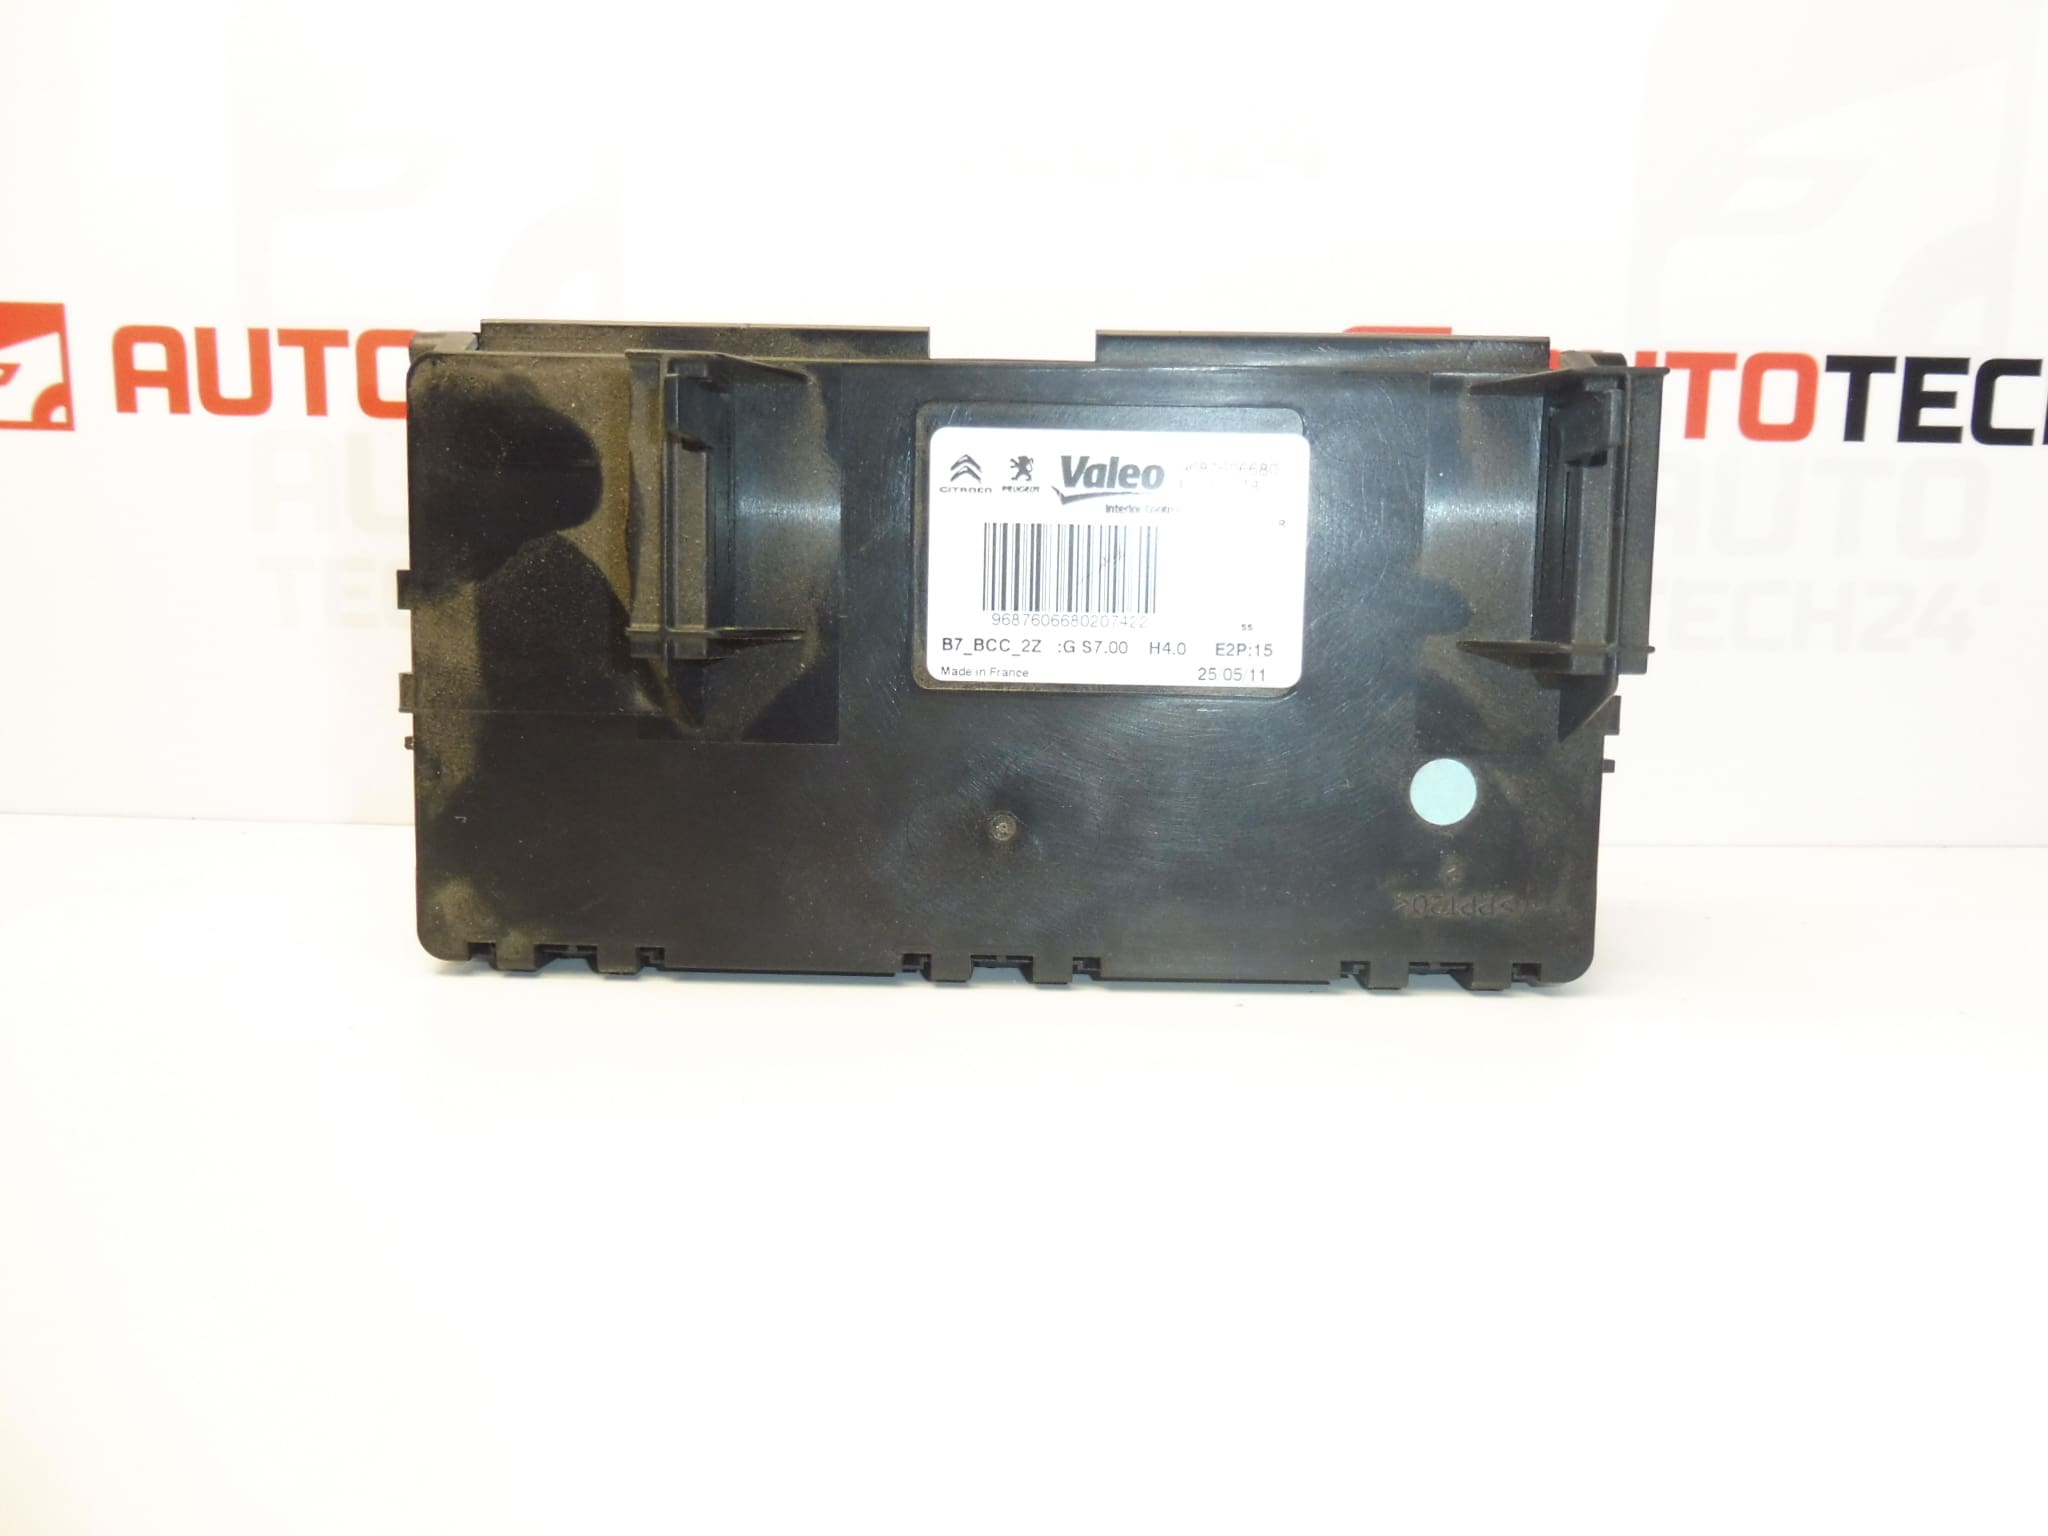
VALEO air conditioning control unit for CITROEN C4 II cars
Part description
Used VALEO air conditioning control unit for Citroën C4 II, also marked as C4 B7 in the product name. It is an electronic part of the air conditioning control system, intended as a replacement in case of failure of the original unit. The markings 9687606680 and 6452W are especially important for finding the right design.
Replacing the unit can help restore proper climate control if the fault has actually been confirmed by diagnostics in that component. Before choosing, compare the numbers, connectors and design with the original part – just matching the car model may not be enough.
Technical information
- Manufacturer: VALEO
- Model: Citroen C4 II; in Citroën C4 B7
- Part Type: Air Conditioning Control Unit
- Condition: used car part
- Other numbers: not specified
- Years, engines and specific design of air conditioning: not specified
‘s product name
Product codes
- Product codes: 9687606680, 6452W
When looking for a replacement air conditioning unit, compare the indicated markings with the original unit. Also consider its design and electrical connection.
Installation recommendations
In general, the following procedure applies to this type of electrical part. The exact access to the unit, the method of disassembly, and the possible need for configuration depend on the specific model and design of the car. The records for this piece do not provide these details.
1) Before assembly
- First verify the cause of the error. Malfunctioning air conditioners can also generally be caused by problems with the power supply, wiring or other system components.
- Compare the designation of the original and replacement unit, body shape, mounting and number and design of connectors.
- Inspect the used part: check the cover, handles, contacts and possible traces of moisture, oxidation or overheating.
- If the condition of the original system allows, record the diagnostic data and available settings before disassembly.
2) Necessary tools and materials
- Common hand tools suitable for the joints used.
- Plastic disassembly tools if cover or panel parts need to be released.
- Suitable measuring instrument and compatible diagnostic equipment to check the electrical system.
- Aids for marking connectors and means suitable for gentle cleaning of electrical contacts, if cleaning is necessary.
3) Step-by-step assembly procedure
- Stop the vehicle safely, switch off the air conditioning and ignition and secure them against unintentional start-up.
- Follow the manufacturer’s procedure for putting the electronics to sleep and disconnecting the battery. Do not disconnect the unit connectors under voltage.
- According to the service procedure of the specific car, access the unit. Loosen the surrounding covers carefully, without prying through the resistance.
- Photograph or mark the connections of the connectors and wiring so that everything can be returned to its original position.
- Release the connector locks and carefully disconnect the connectors. Do not pull on the wires.
- Unfasten the fasteners and remove the original unit. Also check the condition of the mating connectors and the surrounding wiring.
- Compare the two units again. If the markings or connections are different, do not proceed without verifying suitability against the technical documentation.
- Remove the possible cause of the damage, such as faulty wiring or moisture ingress, to prevent the problem from recurring.
- Sit the replacement unit without tension and fasten according to the manufacturer’s instructions. Connect the connectors and secure their fuses.
- Check that the wiring is not pinched or stretched. Connect the battery and restore power according to the vehicle manufacturer’s procedure.
- Perform a diagnostic check. Perform any initialization or configuration only if the service procedure of the given version requires it.
- Verify the system function and then complete the installation of the removed covers. Make sure that all handles are properly seated.
-
4) Post-assembly checks and function verification
- Test the air conditioner’s reaction to available controls and setting changes depending on the car’s equipment.
- Check the diagnostics and solve any persistent faults further; simply deleting the record does not remove their cause.
- Verify stable function during normal operation. During any test drive, concentrate on driving and carry out detailed checks only after a safe stop.
5) The most common assembly mistakes and how to avoid them
- Exchange without diagnostics: first rule out power, connection and related component failures.
- Selection by car model only: also compare product designations and unit designs.
- Forcibly disconnecting the connectors: release the fuses first to avoid damaging the contacts or wiring.
- Handling under voltage: respect the manufacturer’s procedure for safely disconnecting and reconnecting power.
- Leaving the original cause of the defect: solve the damaged line or source of moisture before putting the spare part into operation.
Reasons why the part is damaged
Electronic air conditioning units can generally be damaged due to the following reasons. It is not a description of the ascertained condition of this particular piece.
- Moisture and oxidation of contacts or electronic circuits.
- Electrical faults, for example a short circuit in the wiring, unstable power supply or overvoltage.
- Thermal stress and aging of electronics during long-term operation.
- Mechanical damage to the cover, handles or connectors during careless handling.
- Incorrect intervention in the electrical installation or inappropriate procedure when disconnecting and connecting the part.