Description
Heater servo motor for CITROEN and PEUGEOT cars
You may receive a direct refund
Air conditioner motor reducer
Part description
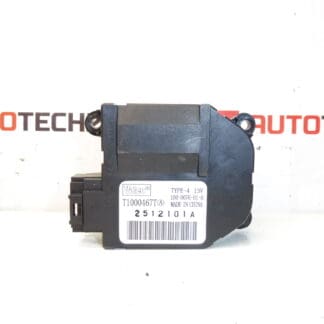
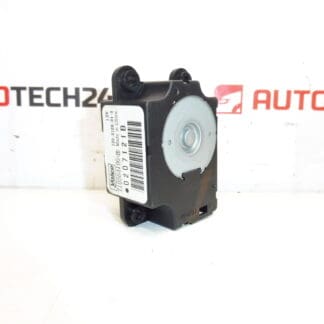
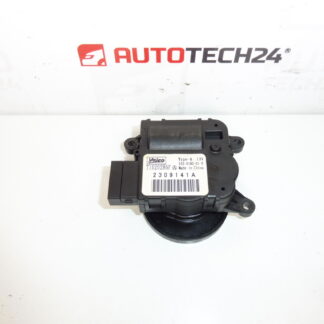
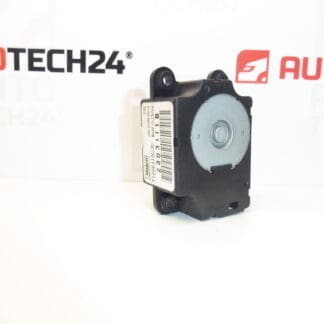
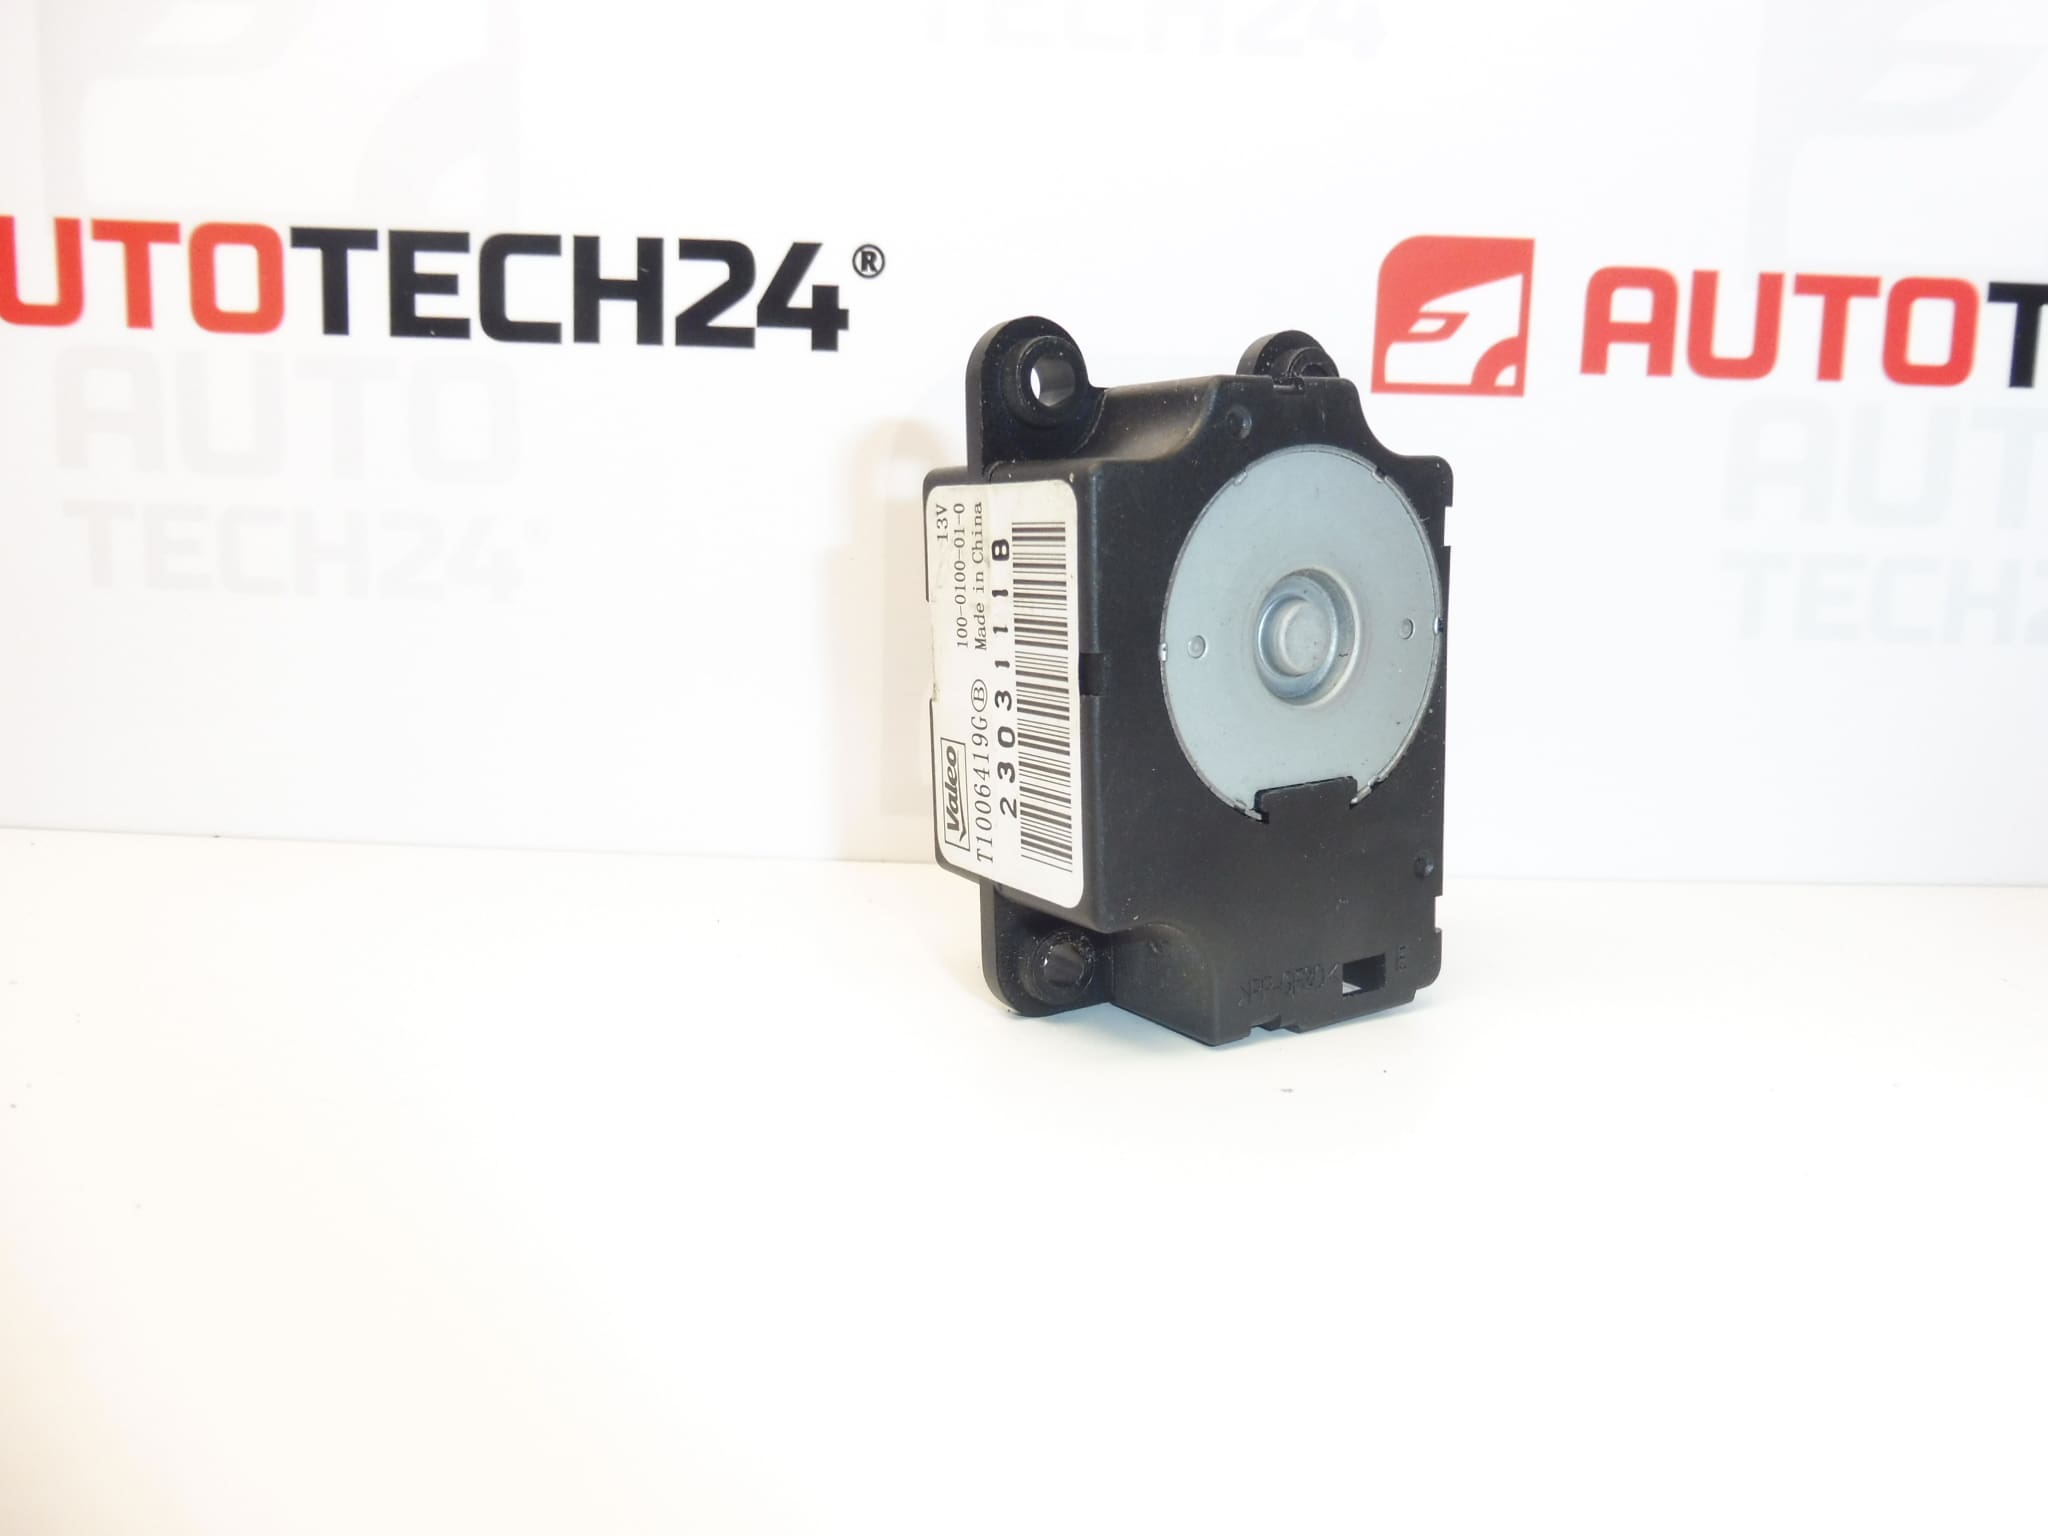
Used Valeo heating servo motor is an electric control element of the heating and air conditioning system of Citroën and Peugeot cars. Motor reducer of this type is used to move the damper in the ventilation system. Its specific function depends on the design of the system in the vehicle.
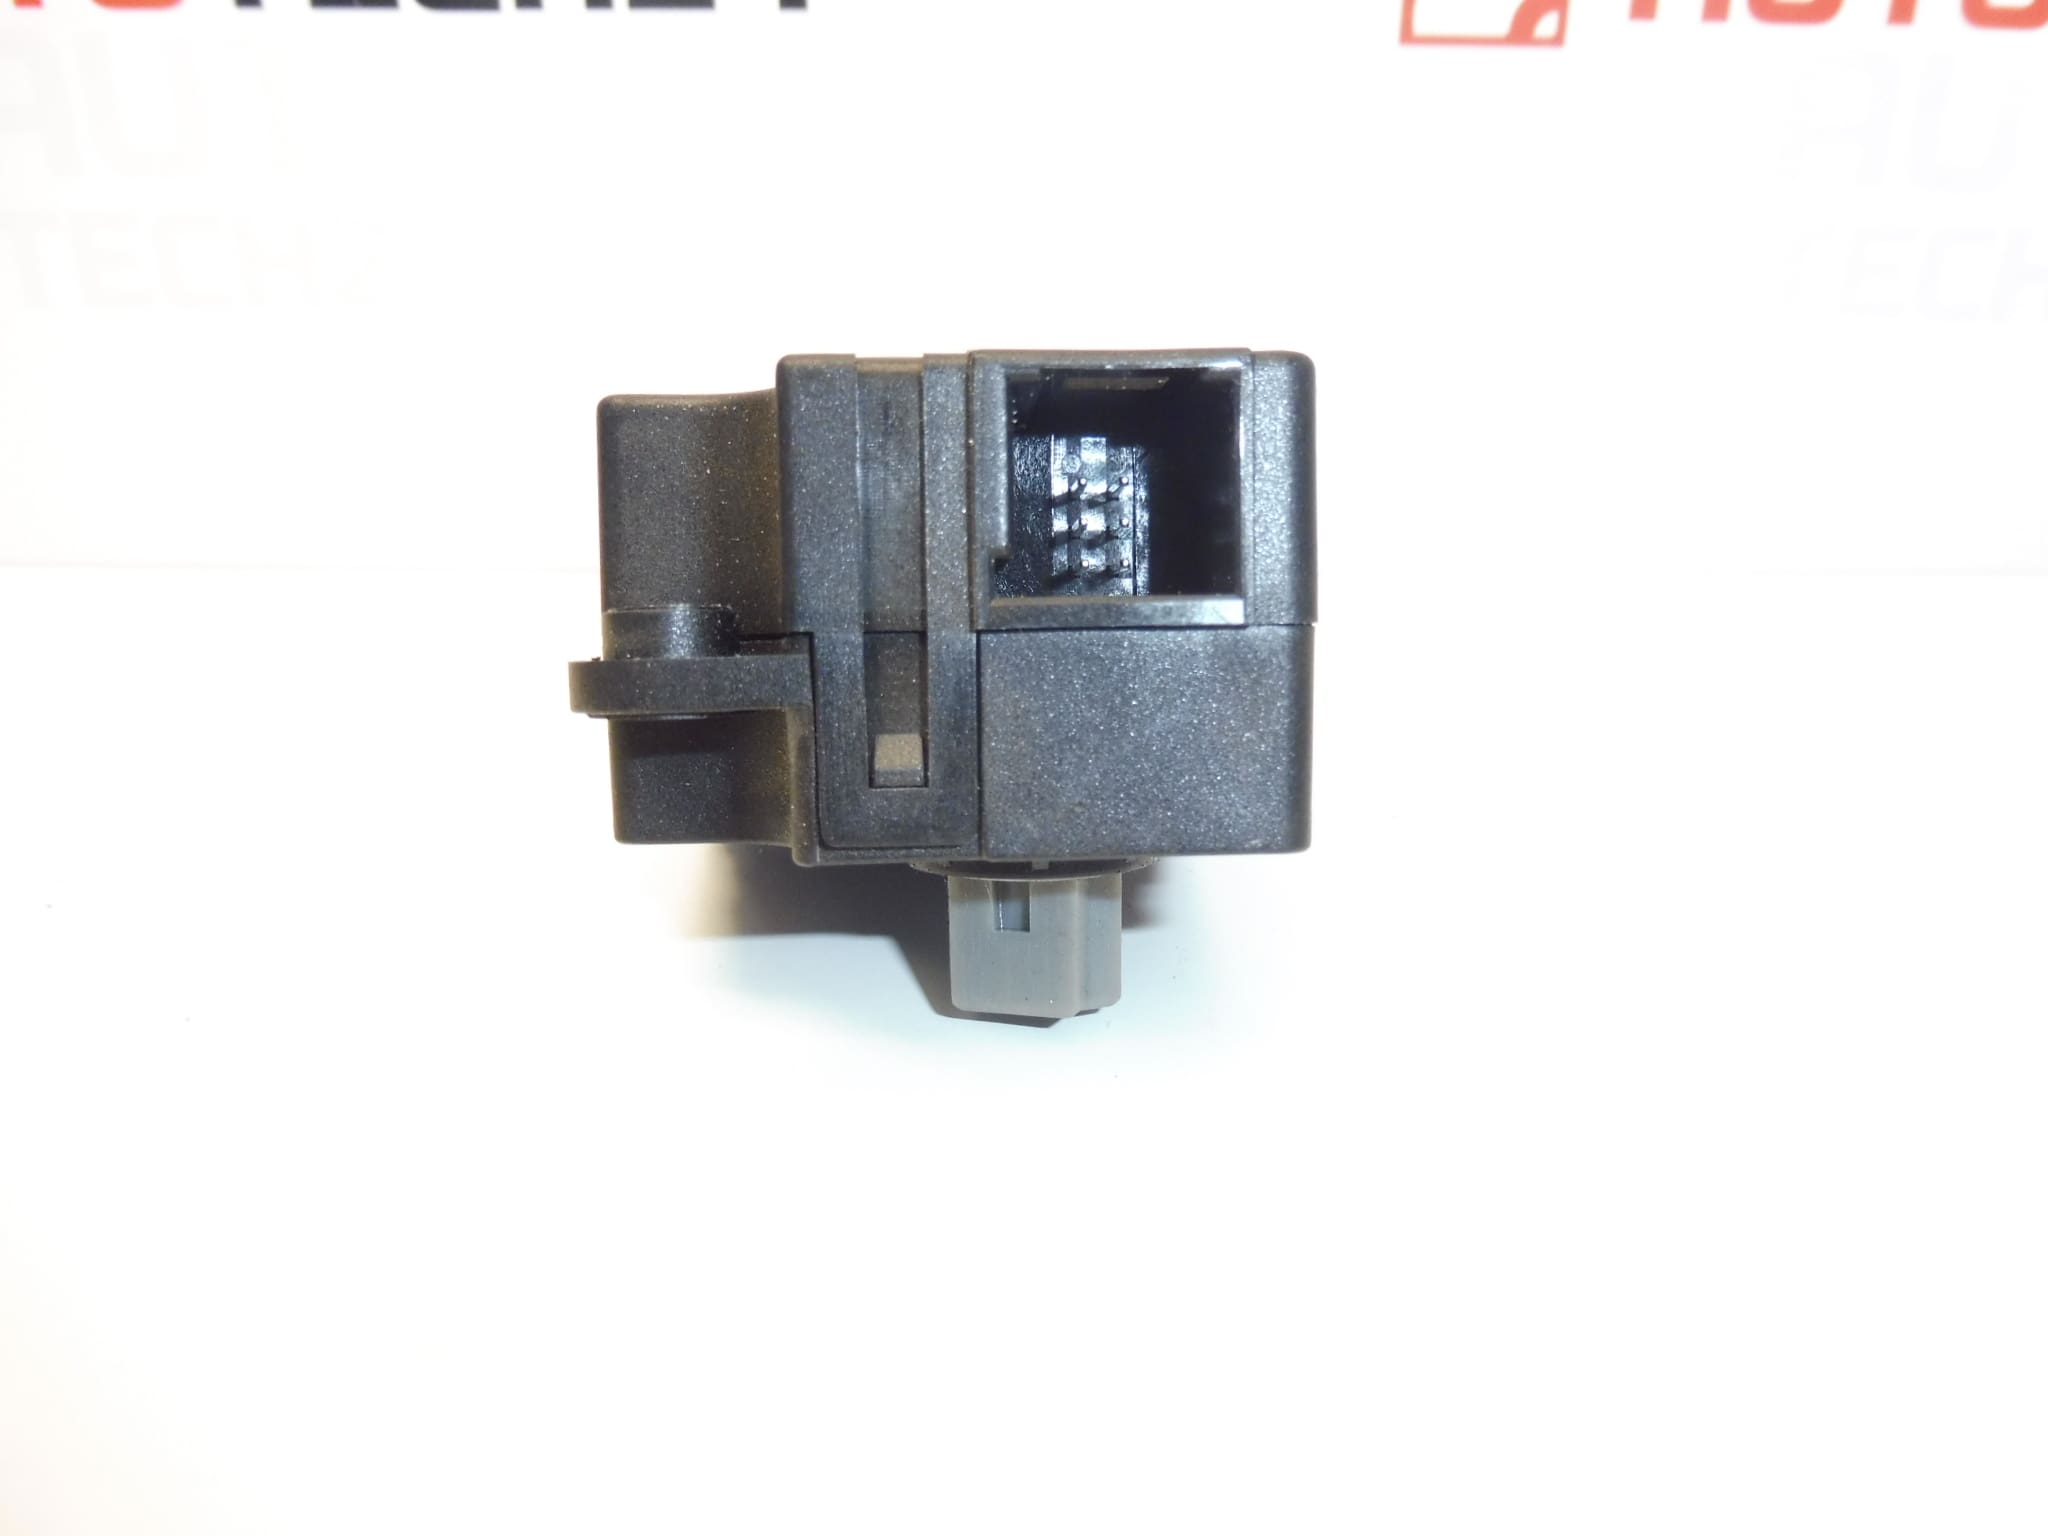
In the documents, the part is assigned to the Citroen C4 II and Peugeot 308 models. The markings T1006419G, 2303111B and 6447NL are important for choosing a replacement, as well as the identical design of the connector, attachment and output mechanism. Replacing a faulty servo motor can help restore proper damper control if the fault is actually in the actuator, not the mechanism or wiring.
Technical information
- Manufacturer: Valeo
- Model: Citroen C4 II; Peugeot 308
- Part type: heating servo motor / air conditioner gear motor
- Condition: used part
- Other numbers: 6447NL
- Years and engines: not specified
- Specific controlled damper and location: not specified
Product codes
- Product codes: T1006419G, 2303111B, 6447NL
Before ordering, compare the designation of the original part and its design. The documents allow for the delivery of a direct replacement; Therefore, matching the car model alone is not the only basis for selection.
Installation recommendations
The following procedure is general, typically for heating and air conditioning servomotors. The exact access to the part, the disassembly procedure and the eventual setting of the end positions depend on the specific model and version of the car. Follow the manufacturer’s service instructions.
1) Before assembly
- Compare the markings, body shape, connector, mounting points and output design with the old piece.
- Check the used part: especially cracks in the cover, damaged handles, deformed contacts and the condition of the output mechanism.
- Check whether the fault is caused by a loose connector, damaged wiring or a stuck flap.
- Do not forcibly rotate the output of the servomotor and do not connect power to unknown contacts.
2) Necessary tools and materials
- Ordinary hand tools corresponding to the joints used and possibly plastic tools for dismantling the lining.
- Flashlight, container for small fasteners and a tool for recording the original position of the part.
- Clean cloth; suitable measuring device and circuit diagram for finding an electrical fault.
- If required by the manufacturer’s procedure, diagnostic equipment to check the function and adjustment of flap actuators.
3) Step-by-step assembly procedure
- Secure the vehicle against movement, turn off the ignition and follow the manufacturer’s instructions for safely disconnecting the electrical system.
- Access the servomotor according to the service procedure. Remove only necessary covers and surrounding components.
- Photograph the position of the motor, the wiring and the connection to the flap mechanism.
- Unlatch the connector and disconnect it by pulling on the body, not the wires.
- Hold the motor, release its fastening and carefully separate it from the driven mechanism.
- Check the connection with the damper and its mechanism. If it is possible to verify free movement according to the service procedure, do it gently and without going over the stops.
- Compare the removed and replacement part, including the shape and position of the outlet. If there is a mismatch, do not proceed with force deployment.
- Sit the replacement servomotor so that it fits correctly into the mechanism and rests on the mounting surfaces. Do not tighten the improperly seated part with screws.
- Fix according to the manufacturer’s instructions, connect the connector and route the wiring away from moving parts and edges.
- Restore power as prescribed. If flap initialization or calibration is required, perform it according to the service procedure.
- Verify the function and then complete the assembly of the covers and other dismantled components.
-
4) Post-assembly checks and function verification
Try the individual heating and air conditioning modes that are related to the replaced drive. Watch for system response, repetitive clicking, skipping or unusual buzzing. Check the firm attachment of the part and the securing of the connector. First verify the function in a stationary vehicle; perform any test drive only after complete assembly, with an emphasis on proper demisting of the windows.
5) The most common assembly mistakes and how to avoid them
- Exchanging the motor without checking the damper: a blocked mechanism can also damage the replacement drive. First, eliminate the cause of stuttering.
- Forcing the output: may damage the gears or the connection to the damper. Check for proper fit before fixing.
- Too much tightening of the fastening: can damage the plastic handles. Follow the manufacturer’s service instructions.
- Unplugged connector or pinched wiring: check connector fuse and wire routing before closing covers.
- Gear wear due to repeated movement and long-term loading.
- Increased resistance or flap lock which overloads the motor and transmission mechanism.
- Wearing of the electric motor, leading to irregular running or loss of movement.
- Moisture and contact corrosion which can disrupt the electrical connection.
- Incompetent handling, especially violent rotation of the output, incorrect seating or damage to the handles during assembly.
Reasons why the part is damaged
The following causes of damage can generally occur with heating and air conditioning servomotors; it is not a description of the detected defects of the offered piece: