Description
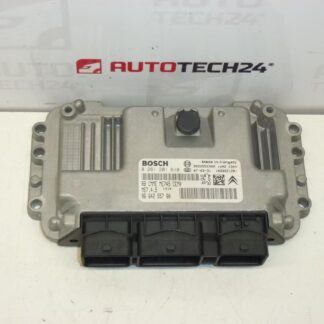
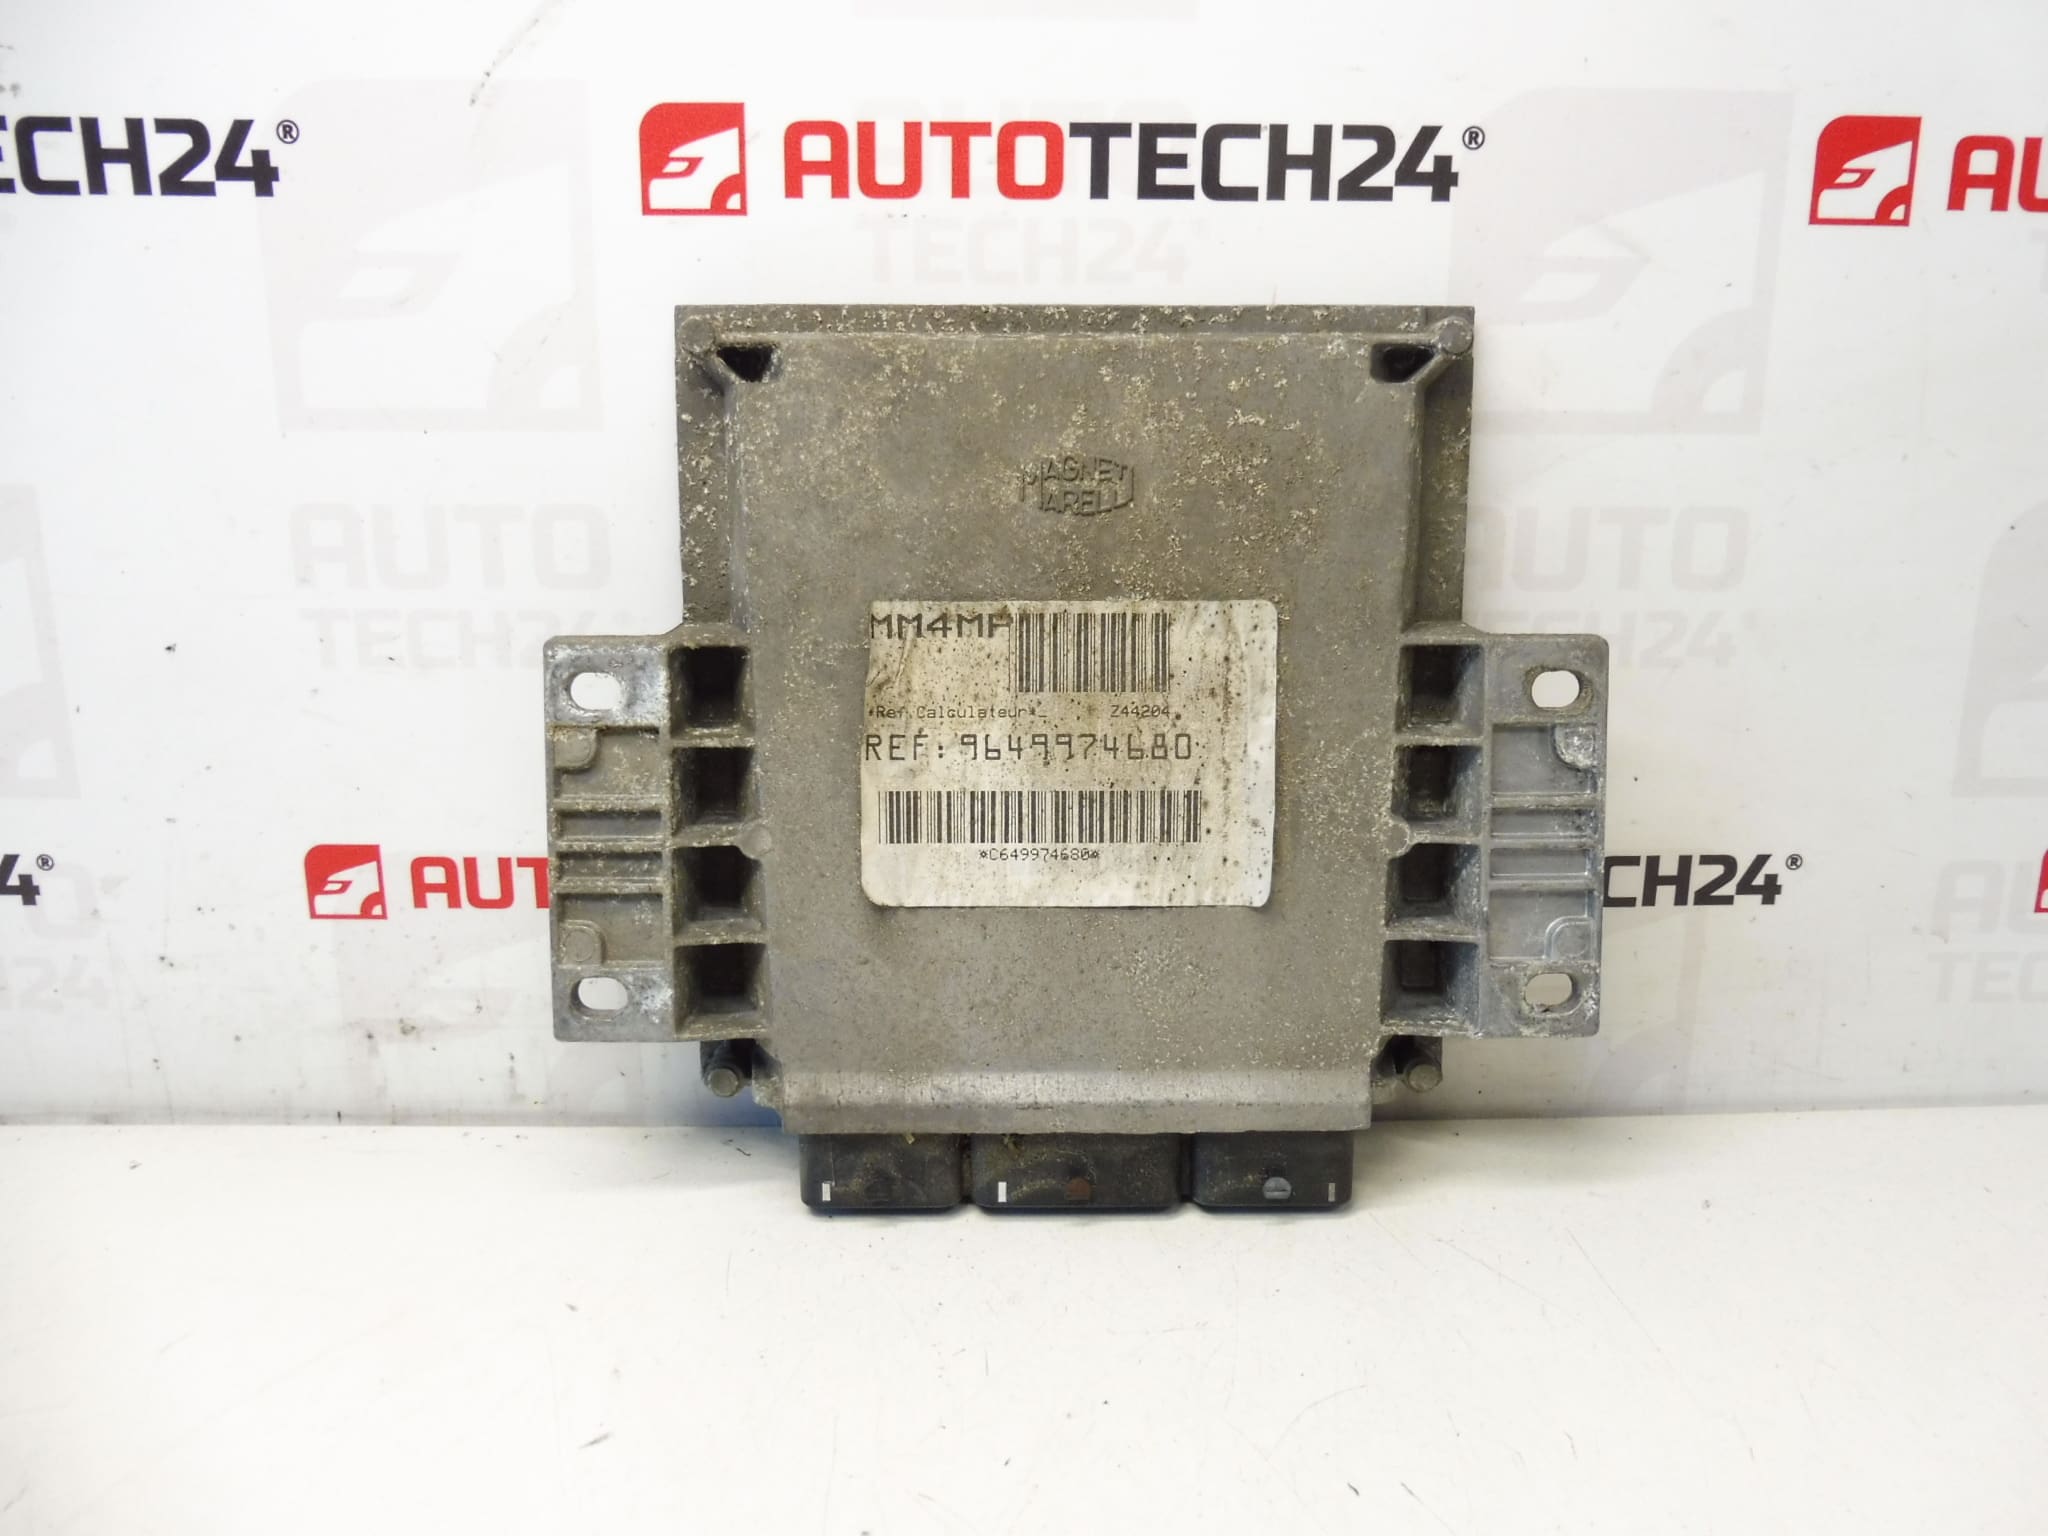
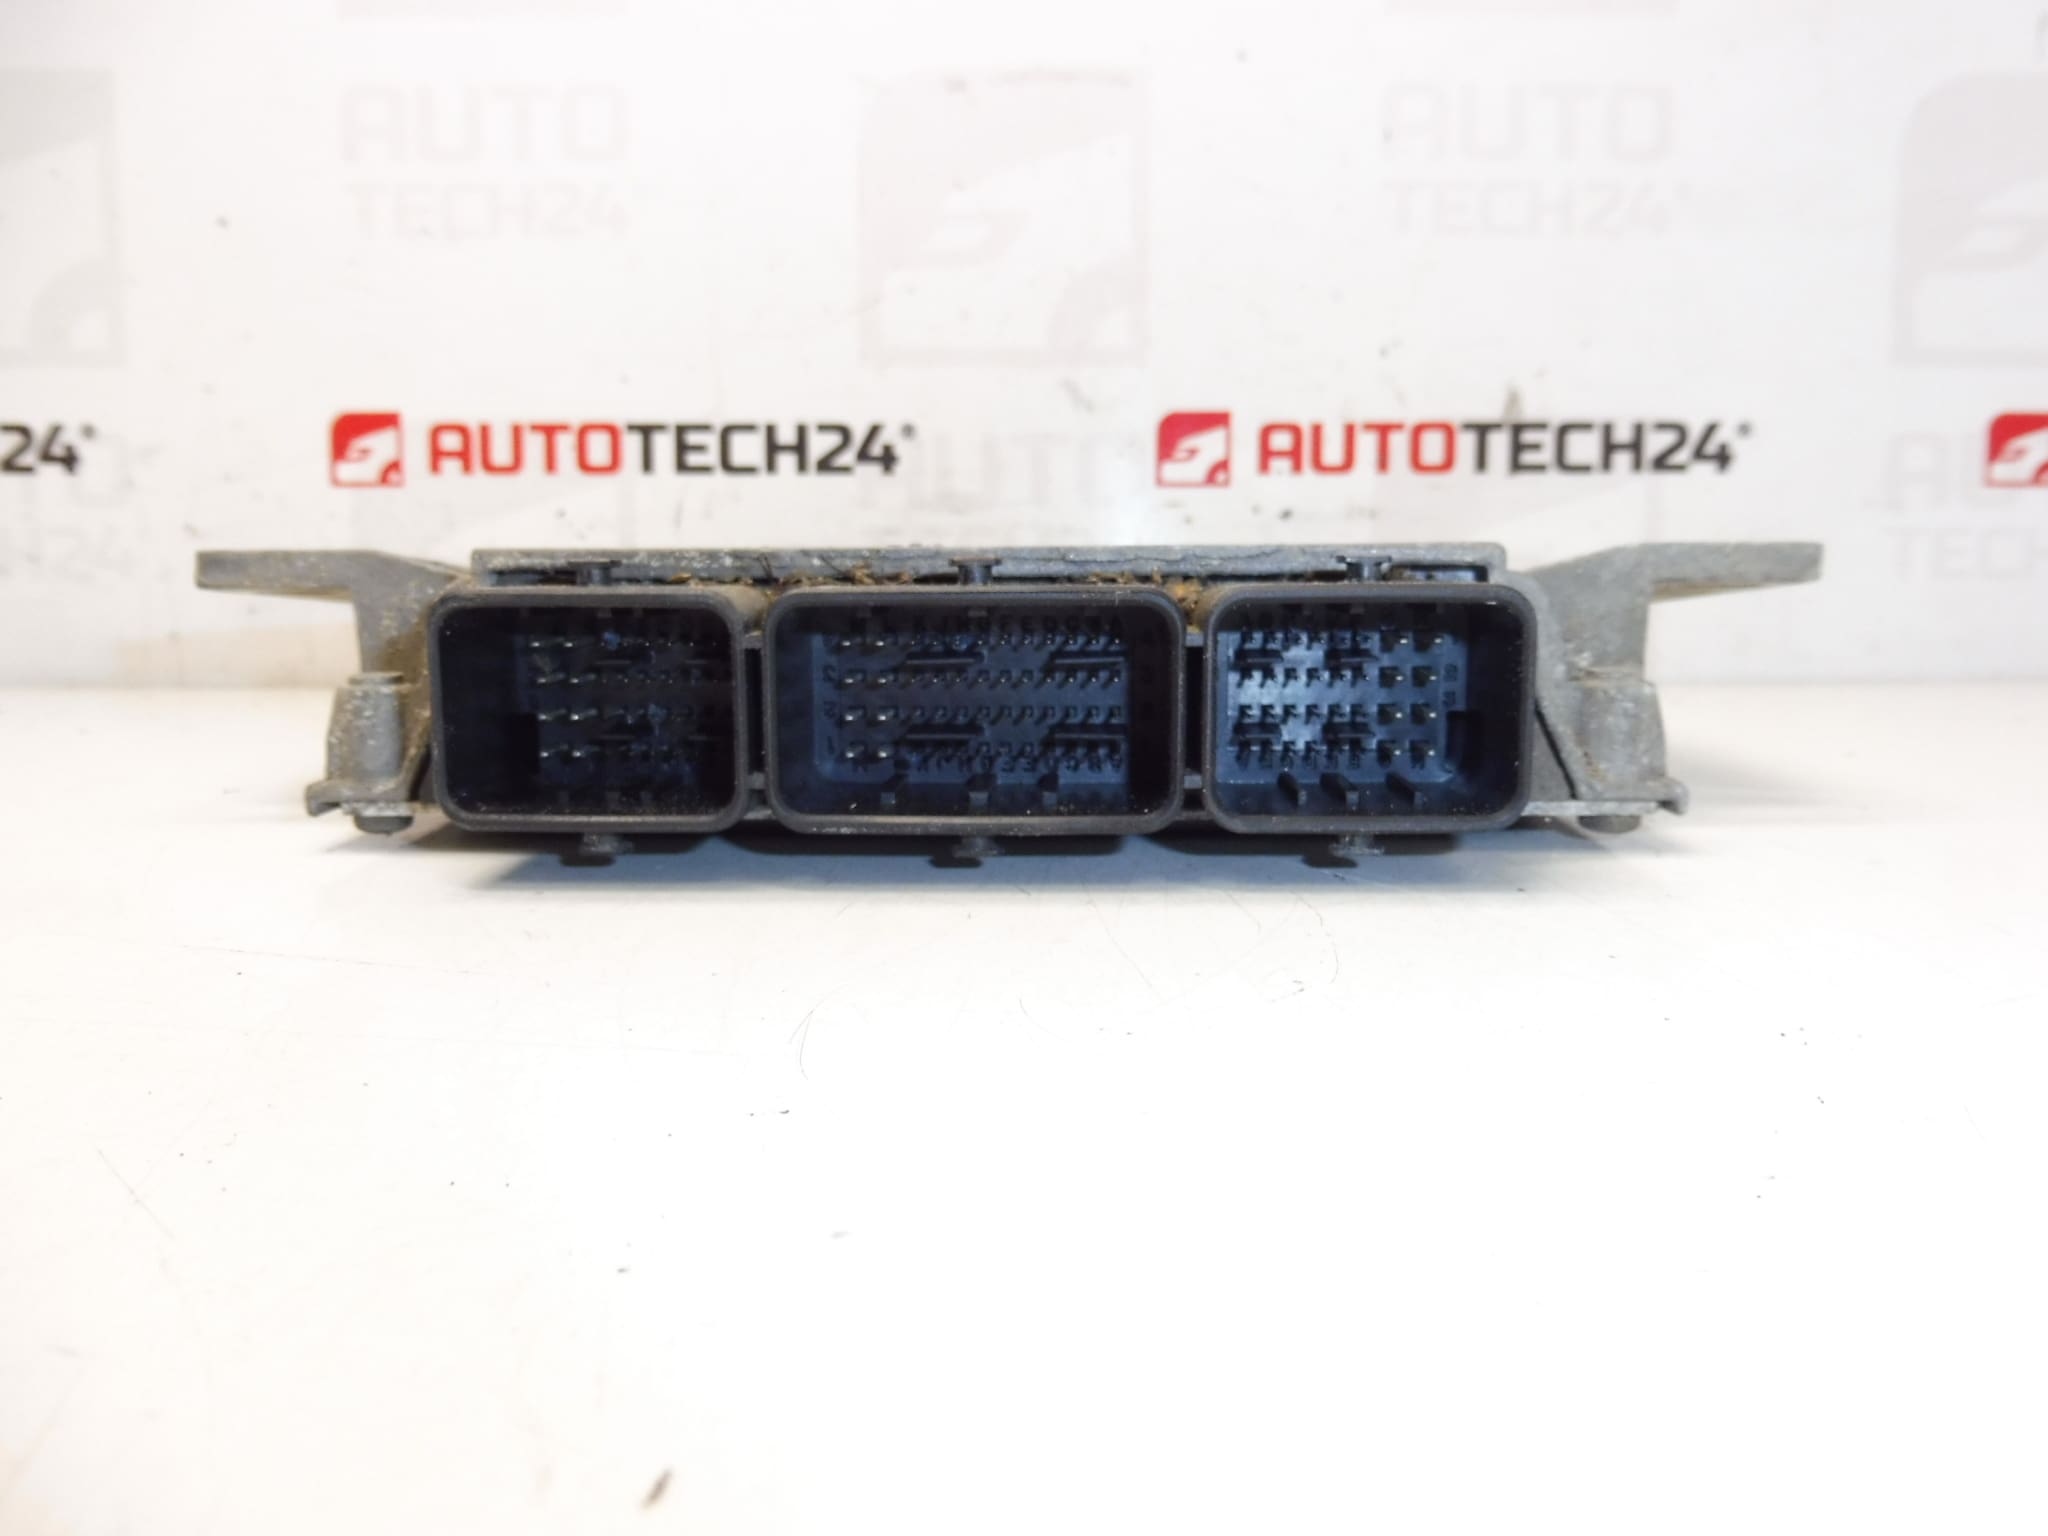
Magneti Marelli Control Unit For Citroën C8 And Peugeot 807 With 2.2 16V Engine.
High-quality Magneti Marelli engine control unit (ECU) designed for Citroën C8 and Peugeot 807 vehicles equipped with the 2.2 16V engine. This unit controls fuel injection, ignition timing, and engine management strategies to ensure optimal performance, drivability and emissions. Ideal for professional workshops and skilled DIYers who replace components by part number: IAW 4MP2.18, 9646169280, 9649974680, 1938VK.
Key Features And Benefits
– Direct replacement for original Magneti Marelli IAW 4MP2.18 units used on selected Citroën and Peugeot MPV models.
– Restores precise injection and ignition control for smoother idle, better throttle response and improved fuel economy when replacing a faulty ECU.
– Supplied with common OEM cross-numbers to simplify lookup by part code.
Function And Typical Symptoms
The ECU is responsible for processing sensor inputs (mass air flow, throttle position, crankshaft/camshaft position, temperature sensors, etc.) and commanding injectors, ignition coils and other actuators. Common symptoms of a failing control unit include intermittent starting problems, stalling, misfires, loss of communication with diagnostic tools, engine warning lights and irregular fueling. In many cases, failures present as unpredictable electrical faults rather than mechanical wear.
Technical Information
- Manufacturer: Magneti Marelli
- Model: Citroën C8 / Peugeot 807 (2.2 16V)
- Product Codes: IAW 4MP2.18
- Other Numbers: 9646169280, 9649974680, 1938VK
Compatibility And Fitment
Fitment is primarily for Citroën C8 and Peugeot 807 models equipped with the 2.2 16V engine that use the Magneti Marelli IAW 4MP2.18 ECU family. Always match the part numbers listed above with the unit being replaced to confirm compatibility.
Replacement Procedure (Overview)
Replacement should be carried out by a trained technician or an experienced DIYer with the right tools. Typical steps:
- Disconnect the negative battery terminal before starting work.
- Locate the ECU (refer to vehicle repair manual for exact position—it may be mounted in the engine bay or under trim panels).
- Remove any covers or brackets securing the unit and carefully unplug all electrical connectors, noting locking tabs.
- Unbolt the ECU and transfer any bracketry or heat shields to the replacement if required.
- Install the new unit, reconnect connectors and secure mounting hardware.
- Perform required initialization, coding or cloning (see next section).
Installation And Coding – Important
– The Unit Is Used And May Be Paired With The Original Vehicle (VIN/PIN/Keys).
– Options For Commissioning:
1) Cloning Data From The Old Unit (EEPROM/Flash) – After Cloning The Unit Becomes Plug And Play.
2) Virginization And Subsequent Initialization/Telecoding Via DiagBox (Or Online) + Key Adaptation.
– Recommended To Be Performed By A Specialist With PSA Service Equipment (DiagBox/Lexia/PP2000).
– Before Removal/Installation Always Disconnect The Battery And Follow Manufacturer Procedures To Avoid Damaging The Unit.
Installation Recommendations
Handle the ECU carefully and avoid static discharge. Ensure connector terminals are clean and free of corrosion before reconnection. If cloning is chosen, use a verified EEPROM/Flash cloning tool or authorized diagnostic equipment. If virginizing and coding is necessary, perform adaptations with official PSA diagnostics to restore immobilizer and engine parameters. Always follow torque values and mounting instructions from the vehicle manufacturer.
Why This Part Most Commonly Fails
Primary causes of ECU failure include water ingress or moisture damage, connector corrosion, thermal stress and solder joint fatigue over many years of service. Voltage spikes from a weak alternator, jump-starting or incorrect battery connection can corrupt internal memory or damage components. Electronic failures often appear as intermittent faults that can be difficult to diagnose without specialist diagnostic tools.
Notes For Professionals
This unit is intended for technicians familiar with engine management systems and immobilizer-related procedures. When replacing an ECU, consider performing a full system scan to identify related sensor or actuator faults that could have contributed to ECU failure.
Keywords For Search
IAW 4MP2.18, Magneti Marelli ECU, Citroën C8 ECU, Peugeot 807 ECU, 9646169280, 9649974680, 1938VK, Engine Control Unit