Description
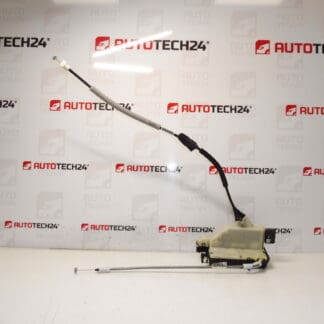
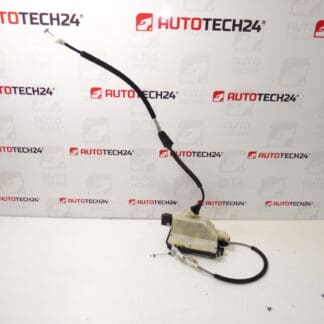
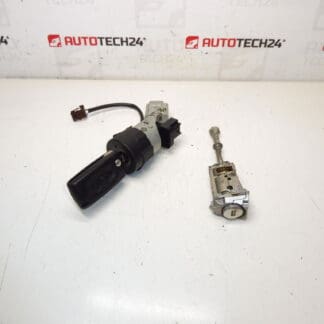
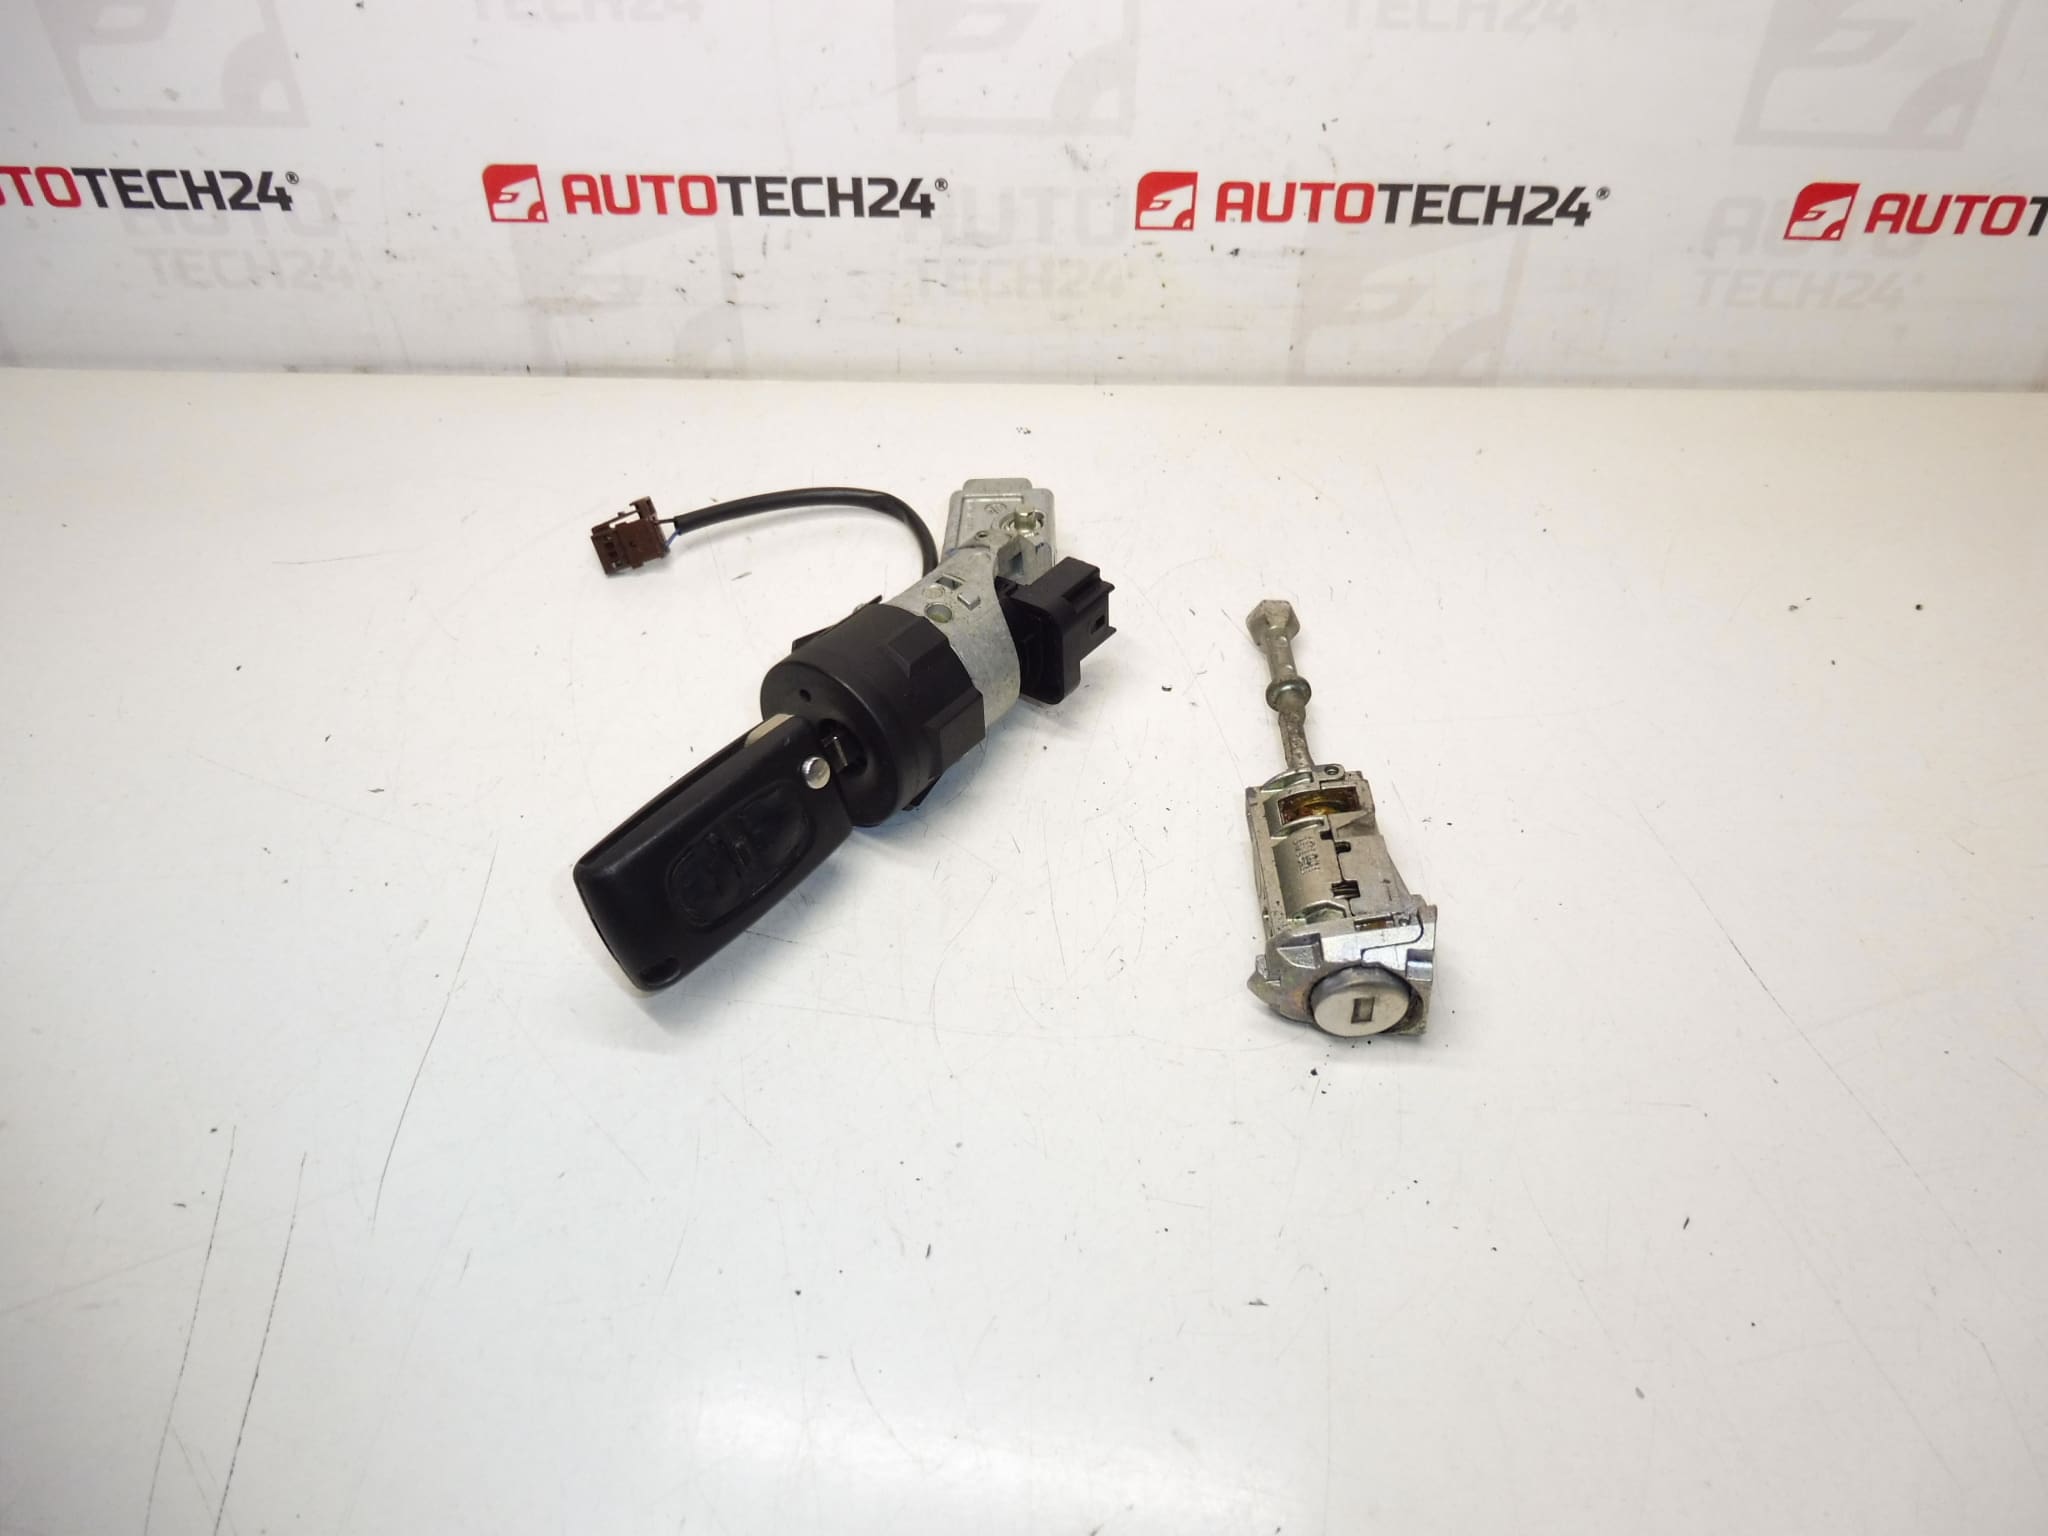
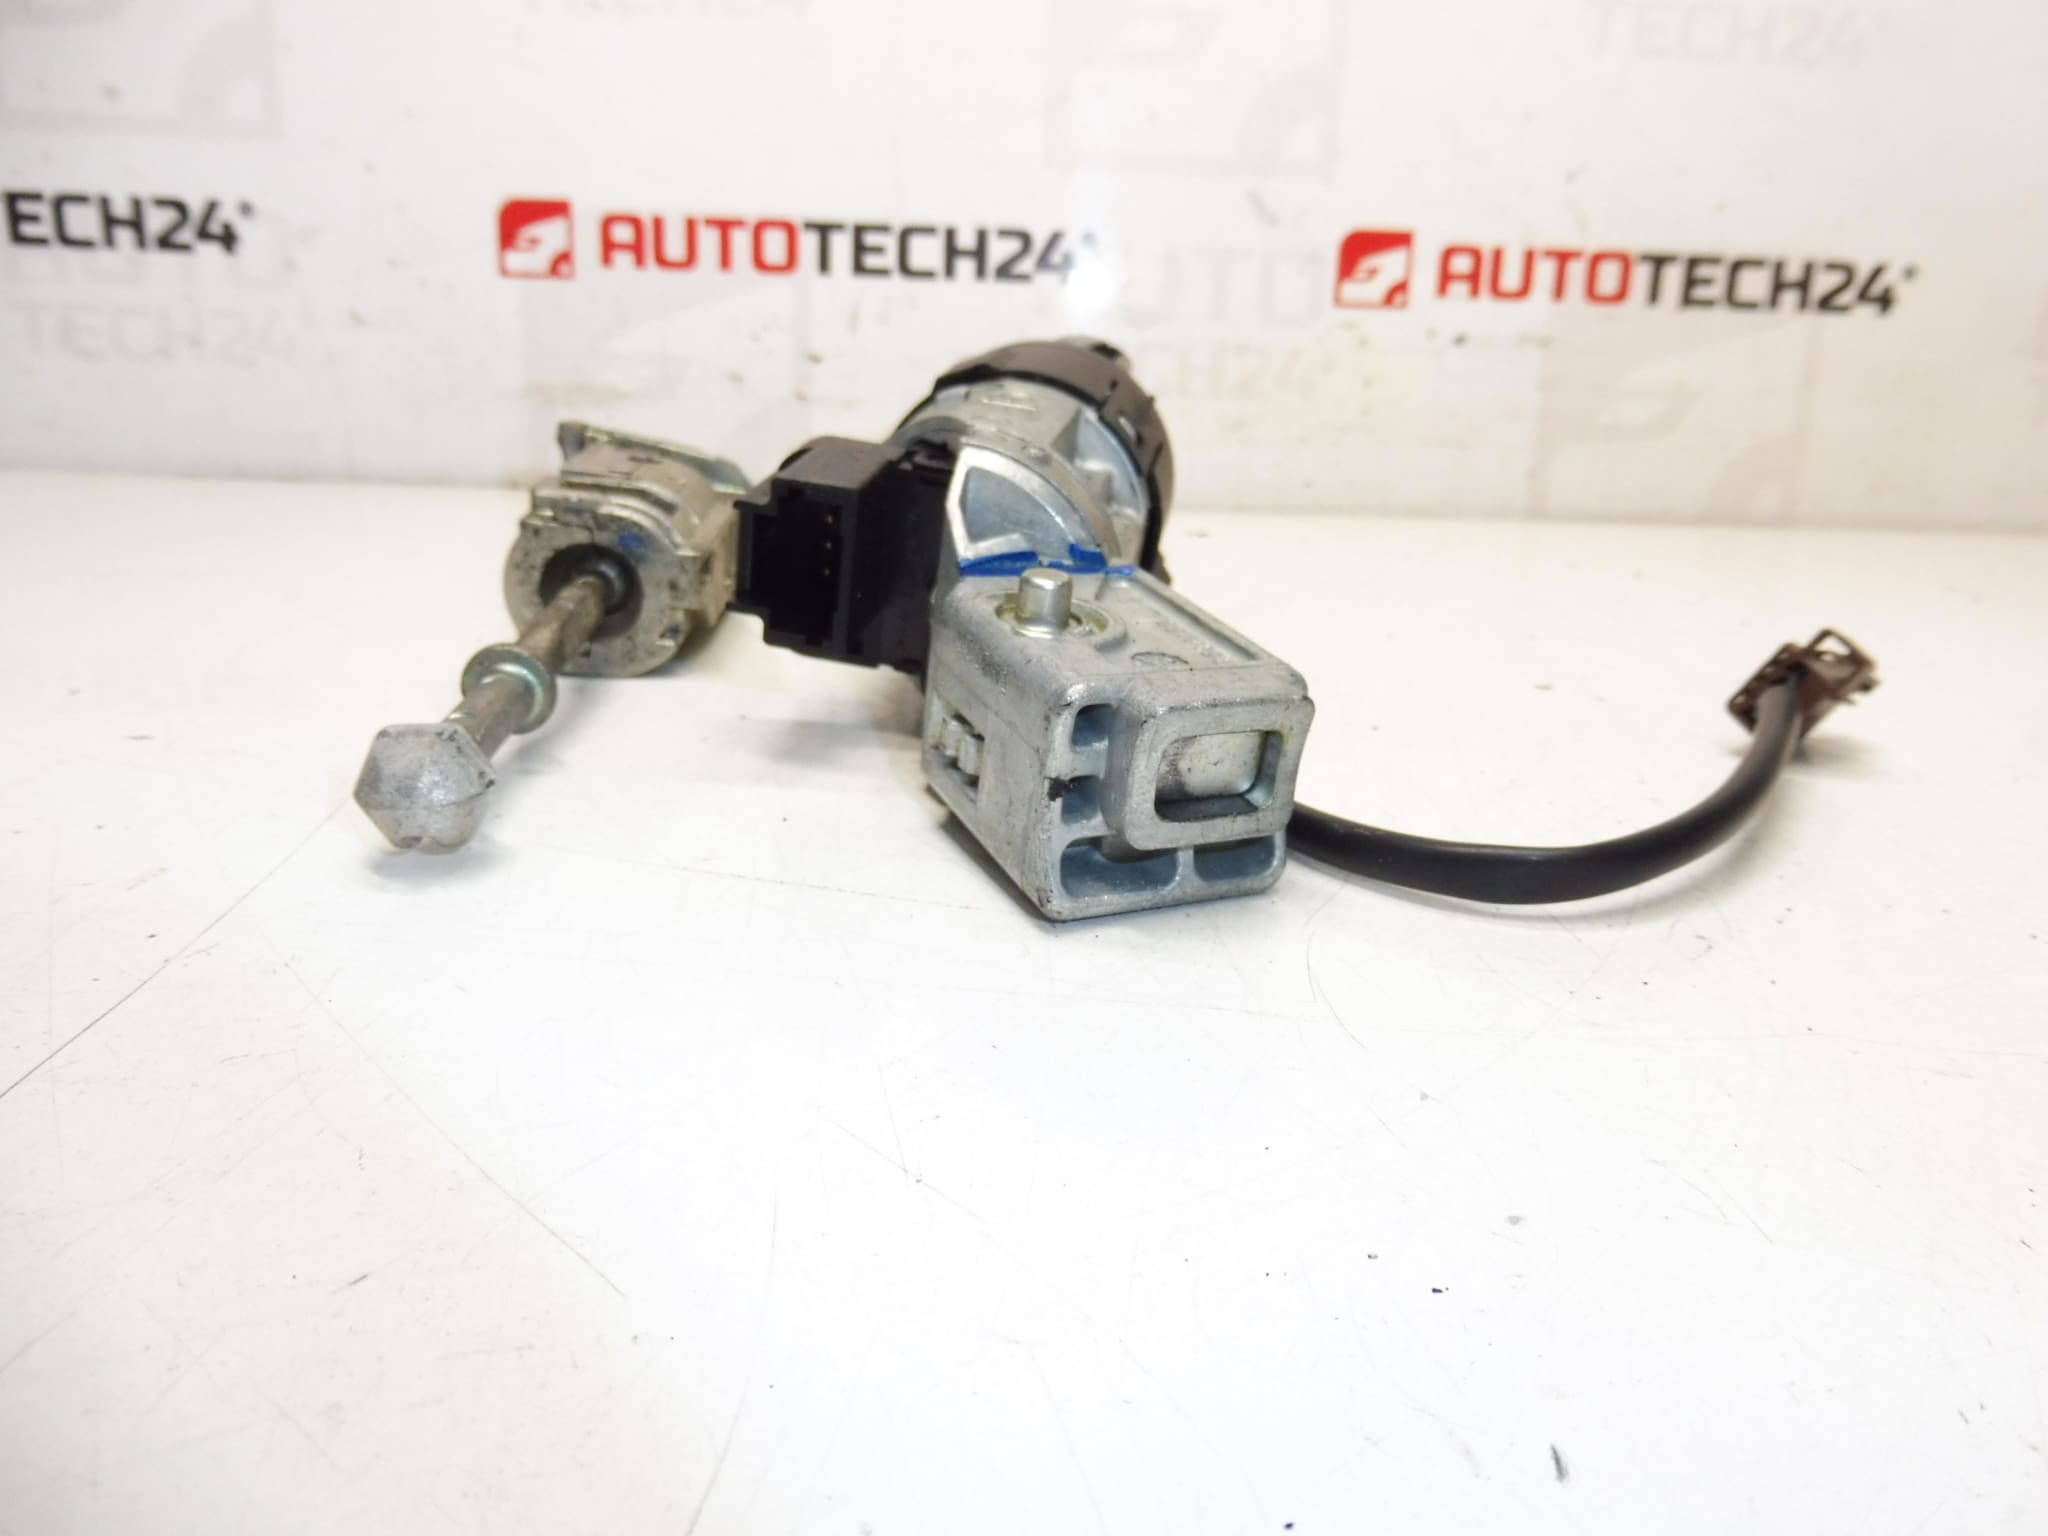
Lock set for CITROËN C4 II B7 vehicles. Driver door lock plus ignition barrel. 2 x Keys.
Product Overview
High-quality lock set designed for Citroën C4 II (B7) models, including the driver door lock and ignition barrel. Supplied with two keys, this set is intended for mechanics and experienced DIY enthusiasts who need a reliable replacement for worn or damaged locking components. Commonly searched by part numbers 9673578480 and 4162PT, this kit restores mechanical security and ignition functionality while supporting central locking operation.
Function And Application
The set replaces the driver door lock mechanism and the ignition barrel (switch housing). The driver door lock secures the door, operates the latch and usually works together with the central locking actuator. The ignition barrel accepts the key to start the engine and contains the mechanical tumblers that engage the steering lock and ignition switch. Proper replacement restores physical locking, key turn smoothness and correct mechanical interaction with the vehicle immobilizer system when keys are programmed.
Replacement Procedure
- Preparation: Gather basic hand tools (screwdrivers, Torx/hex set), trim tools, and a suitable replacement key blank or cutting service. Park the vehicle on a flat surface and engage the parking brake.
- Safety: Disconnect the negative battery terminal before starting to avoid electrical shorts and to protect vehicle electronics.
- Door Lock Removal: Remove the interior door trim to access lock fasteners and connecting rods. Detach rods and electrical connectors, remove mounting bolts, and extract the old lock mechanism.
- Ignition Barrel Removal: Remove steering column covers, release retaining clips or bolts of the ignition barrel/switch housing and carefully withdraw the barrel. Note the orientation and linkages for correct reinstallation.
- Installation: Fit the new driver door lock and ignition barrel in reverse order. Reconnect rods and electrical connectors, secure all fasteners and replace trims.
- Key Cutting And Programming: Have keys cut to match the new barrel. If keys contain immobilizer transponders, they will need to be programmed or synchronized to the vehicle immobilizer system—this step may require dedicated diagnostic equipment.
- Final Check: Reconnect battery, verify door locking/unlocking, check ignition turn and engine start, and test central locking and alarm functionality.
Technical Information
- Manufacturer: Citroën (Stellantis)
- Model: Citroën C4 II (B7)
- Product Codes: 9673578480
- Other Numbers: 4162PT
Installation Recommendations
Always disconnect the battery before starting work. Use plastic trim tools to avoid damaging interior panels. Lightly lubricate moving parts of the new lock with suitable grease; do not use oils that attract dirt. If keys include transponders, programming with manufacturer-level diagnostic tools (e.g., PSA/DiagBox systems) is recommended to ensure proper immobilizer recognition. Check and adjust door striker alignment if the lock does not latch smoothly.
Most Common Failure Causes
Door locks and ignition barrels typically fail due to mechanical wear, corrosion from moisture ingress, broken internal components or linkage fatigue, and worn or bent keys. Ignition barrels can also wear when keys carry heavy keyrings or if foreign objects are forced into the barrel. Electrical issues with central locking actuators or connector corrosion can mimic mechanical lock failure.
What Is Included
- Driver Door Lock
- Ignition Barrel / Switch Housing
- 2 x Keys
Compatibility
Designed to fit Citroën C4 II (B7) series models. Verify part numbers (9673578480 / 4162PT) against vehicle documentation or parts lists before purchase.