Description
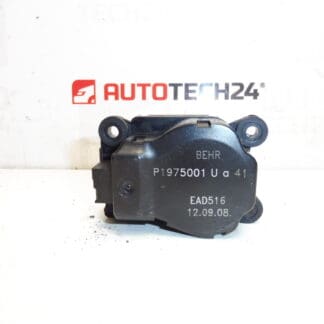
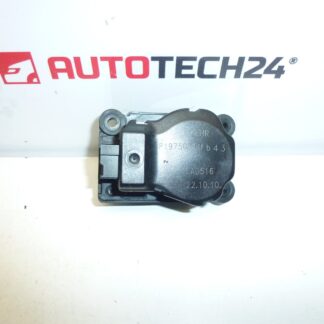
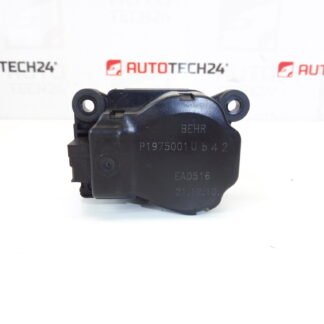
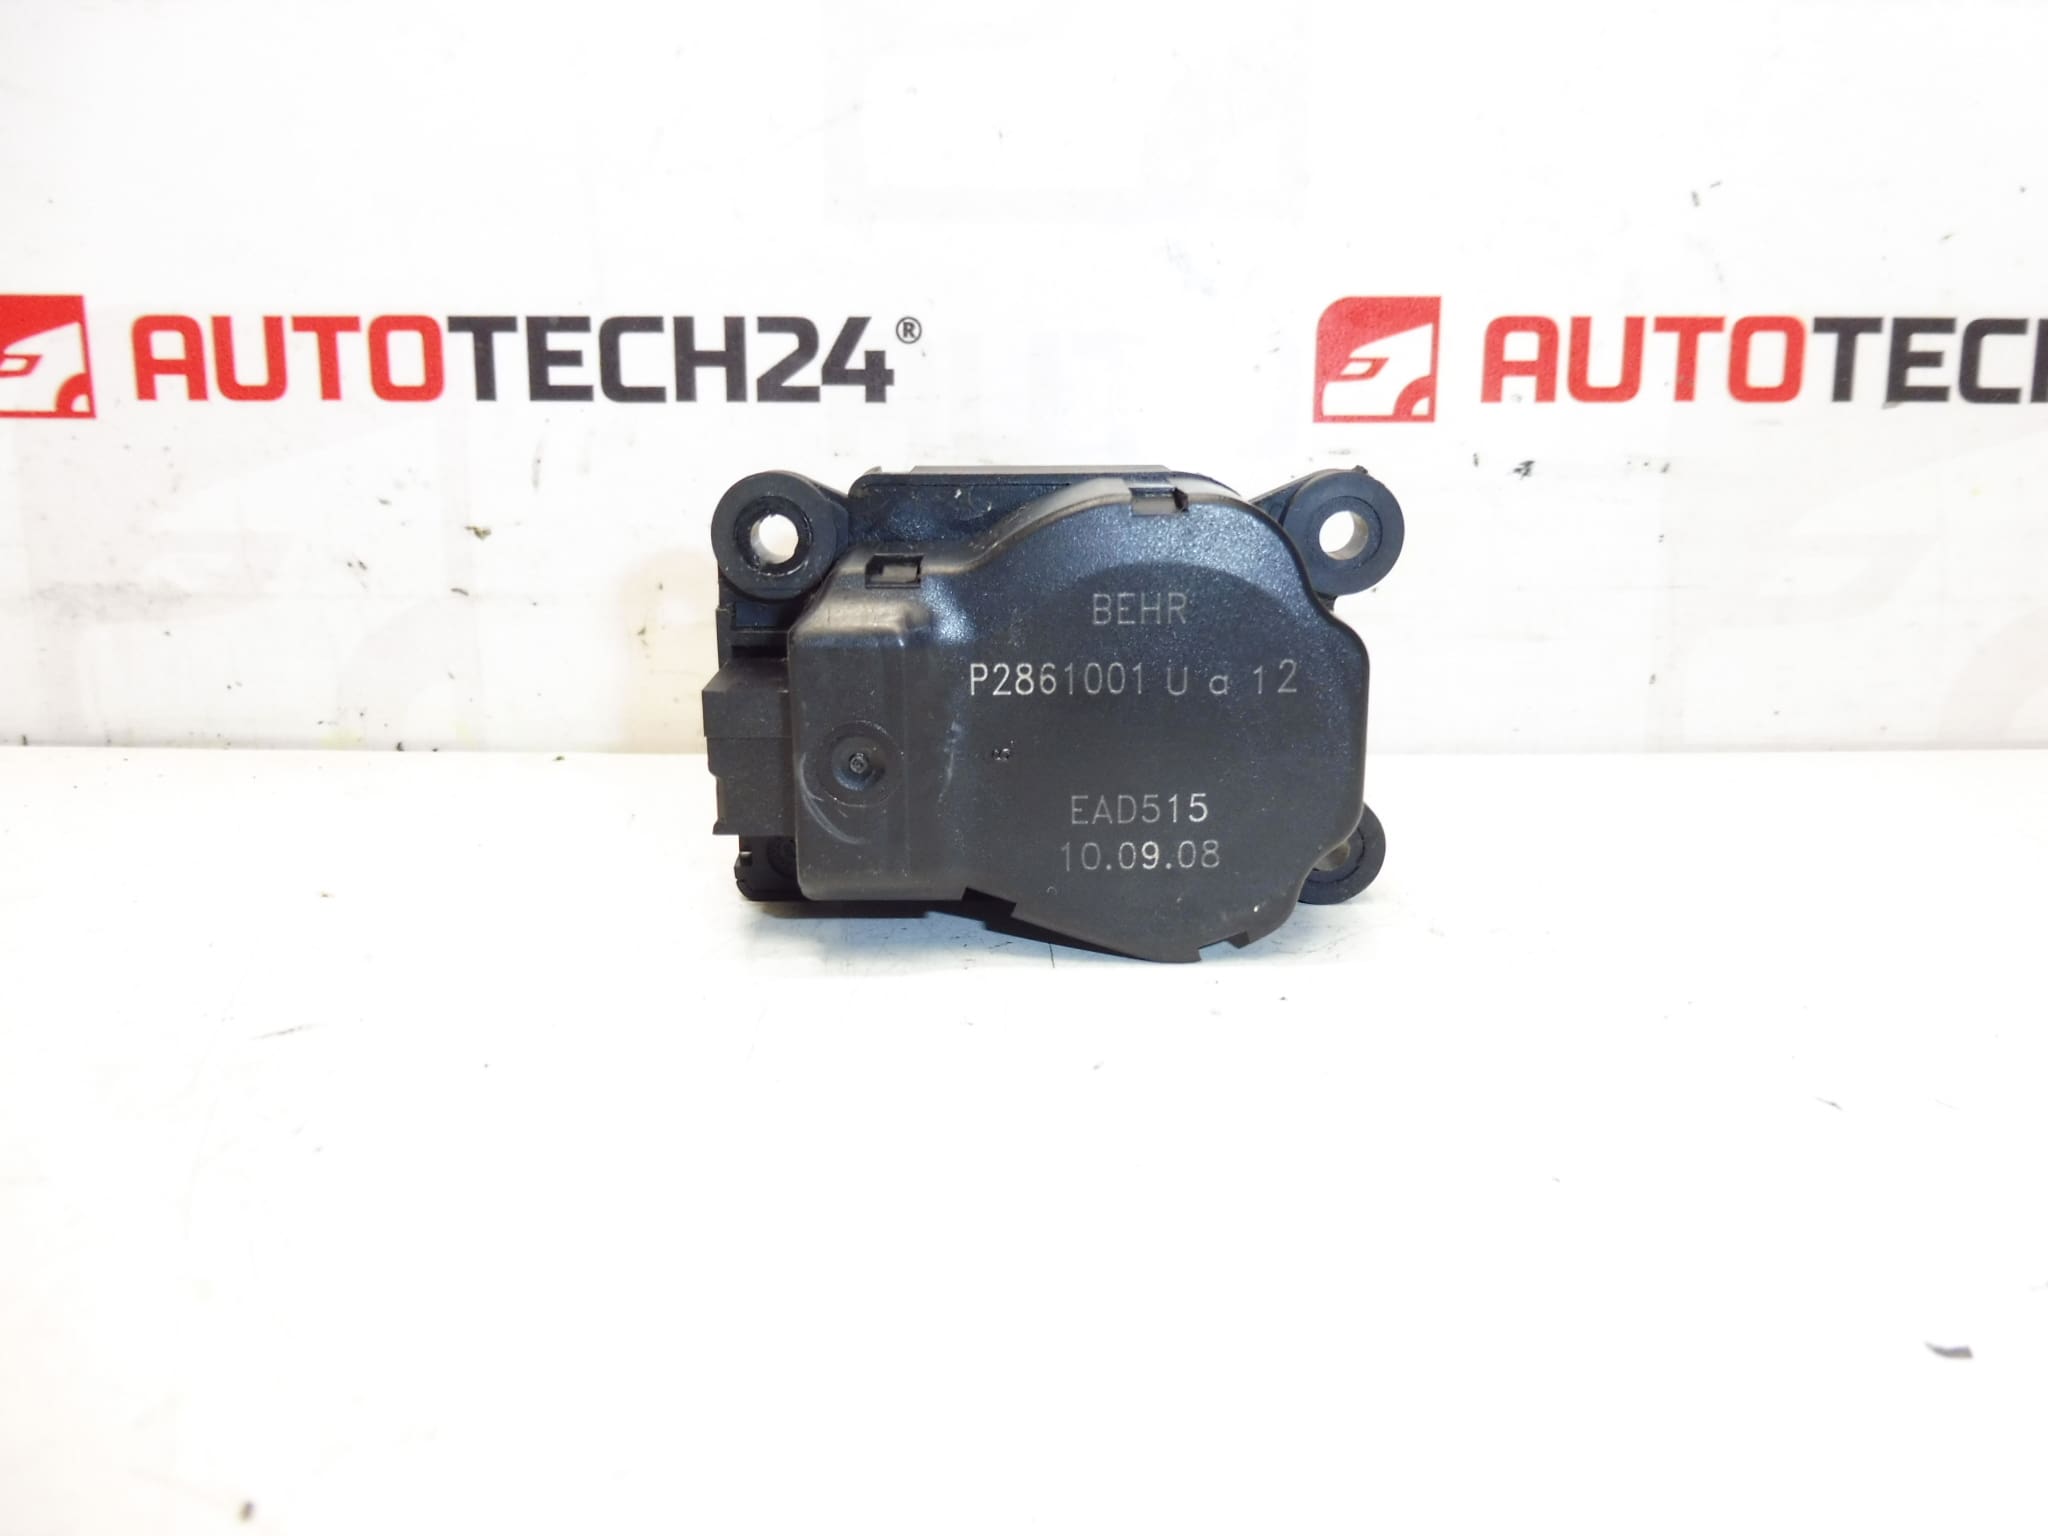
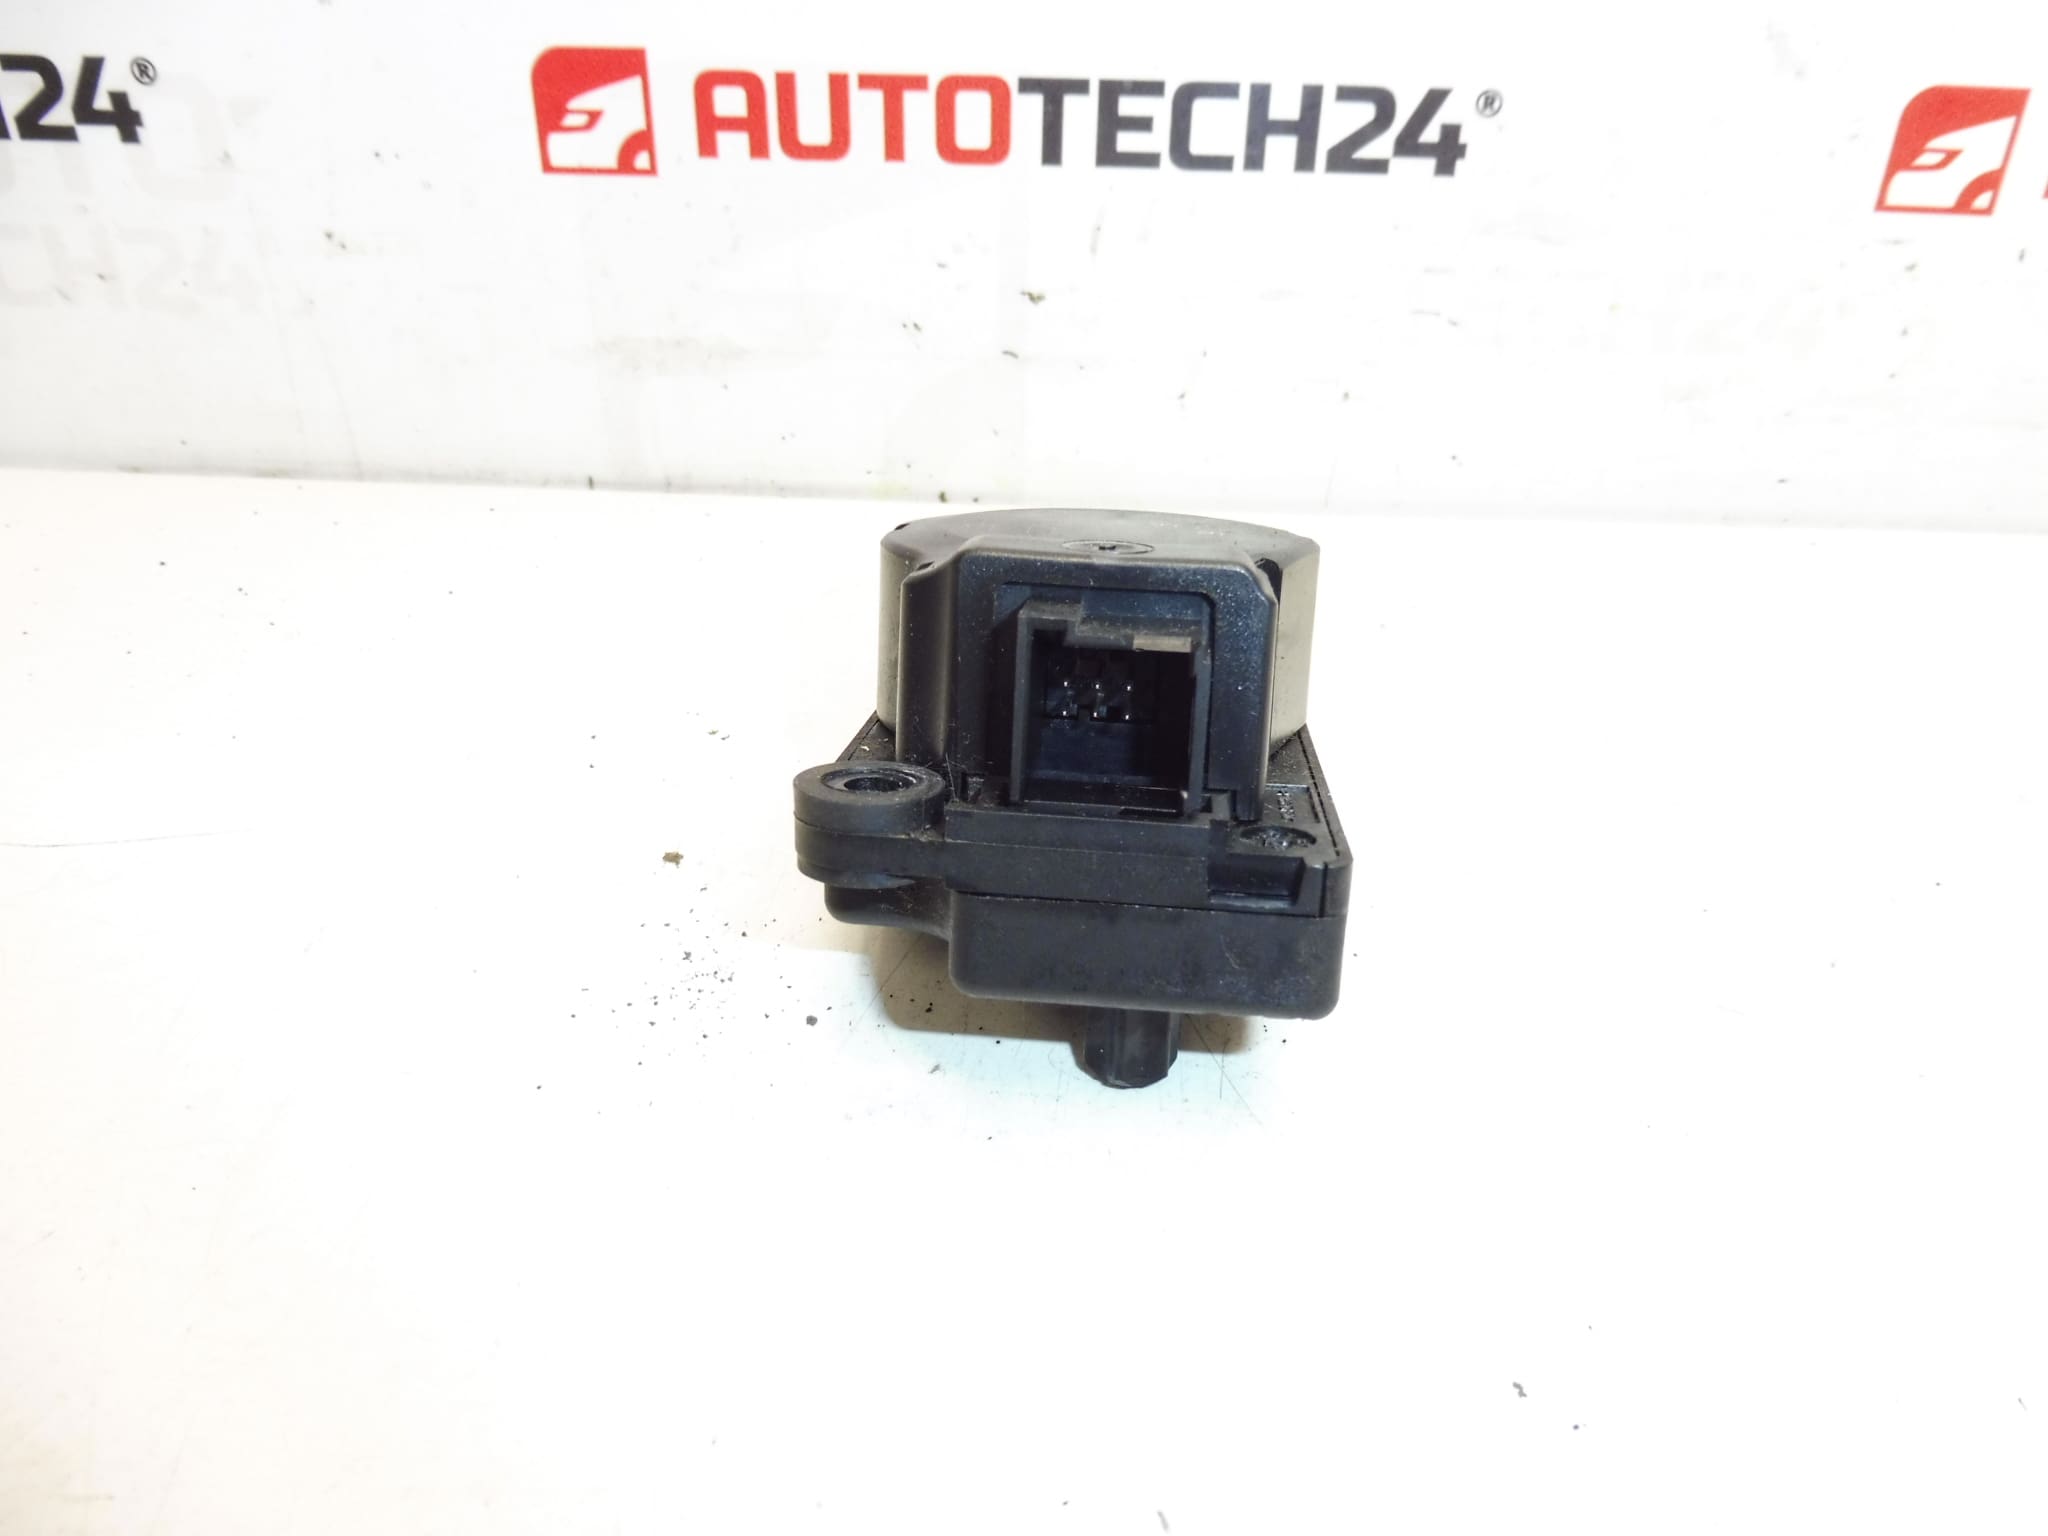
BEHR Heater Servo Motor For Citroën C5 X7 And Peugeot 407 Facelift.
This BEHR heater servo motor is designed as a direct fit for Citroën C5 X7 and Peugeot 407 facelift models. It replaces the faulty HVAC actuator that controls airflow distribution and blend doors inside the heater box. Suitable for professional workshops and experienced DIY mechanics, this actuator is often searched by its product codes EAD515, P2861001U and 12 647947. The unit restores precise flap movement, eliminates intermittent control or constant clicking noises, and brings back correct temperature and venting control in affected cars.
Technical Information
- Manufacturer: BEHR
- Model: Citroën C5 X7; Peugeot 407 Facelift
- Product Codes: EAD515, P2861001U
- Additional Numbers: 12 647947
Function And Application
The servo motor is an electrical actuator mounted to the HVAC housing. Its role is to move blend doors and distribution flaps that route heated or cooled air to the windshield, face or footwell vents. Proper actuator operation is essential for climate control accuracy and automatic climate system functions. This BEHR unit is specified for the climate systems used in Citroën C5 X7 and Peugeot 407 facelift vehicles and replaces worn or failed factory actuators.
Most Common Failure Causes
Servo motors in HVAC systems typically fail due to mechanical wear of internal gears (often made of plastic), gear teeth breakage, water or moisture ingress, or electrical faults in the small DC motor or potentiometer inside the actuator. Symptoms include constant clicking or grinding noises, stuck flaps, loss of temperature control, incorrect air distribution, or no movement when adjusting HVAC controls.
Installation Recommendations
Installation should be performed by a trained technician or an experienced DIY mechanic familiar with dashboard and HVAC disassembly. Typical replacement steps:
- Disconnect the negative battery terminal before starting electrical work.
- Access the actuator by removing the glovebox or center console panels as required for the specific model.
- Unplug the electrical connector and remove mounting screws securing the actuator to the heater box.
- Fit the new actuator, ensuring correct spline alignment with the flap shaft, then tighten screws evenly without overtorquing.
- Reconnect the electrical connector and battery, then perform an actuator calibration cycle by cycling the ignition and operating all HVAC positions to confirm full range movement and correct function.
- Check related components such as flaps, linkages and wiring harness for damage while the unit is accessible.
Practical Tips
- Avoid forcing a seized flap; inspect for obstructions or broken gears.
- If connector pins show corrosion, clean or replace the connector to ensure a reliable electrical connection.
- Test the actuator operation before reassembling trim panels to save removal time if further adjustments are needed.
This BEHR heater servo motor is a targeted replacement part for common HVAC faults on Citroën C5 X7 and Peugeot 407 facelift vehicles. Use the listed product codes when searching to ensure a correct match for the application.