Description
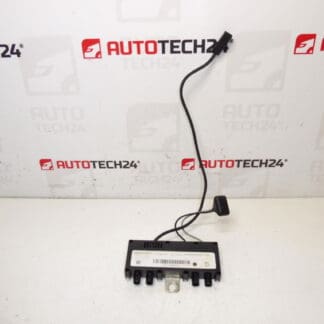
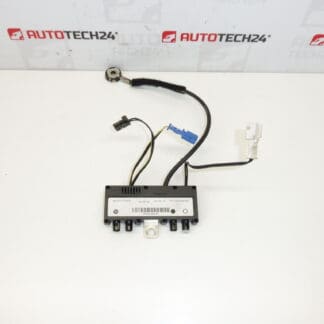
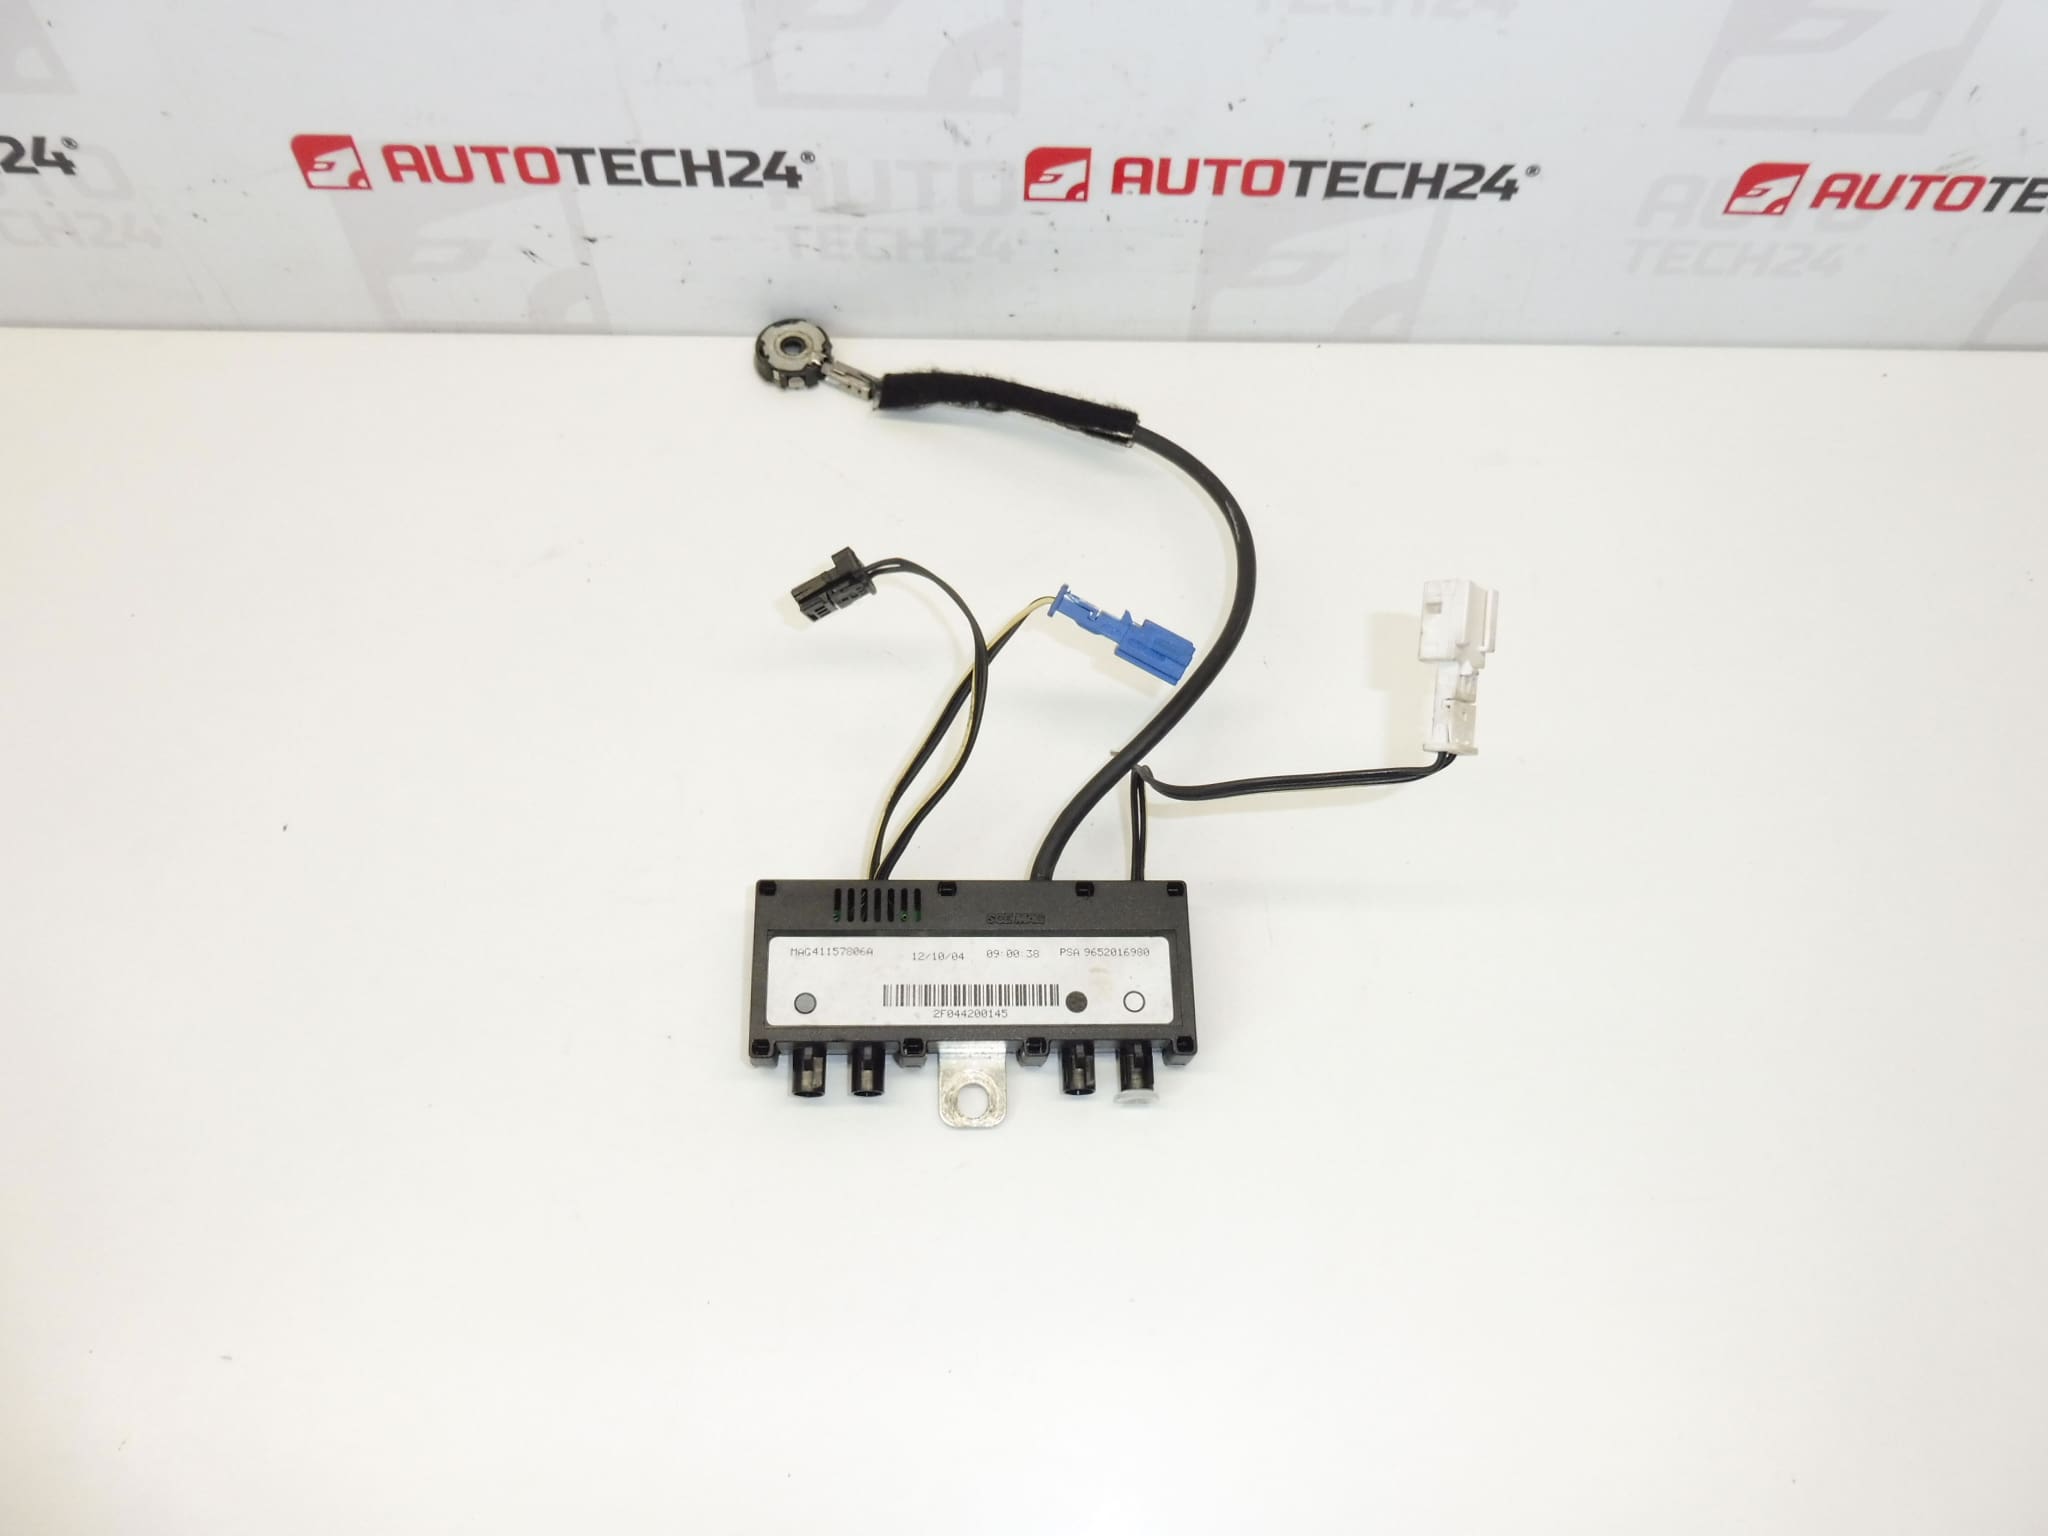
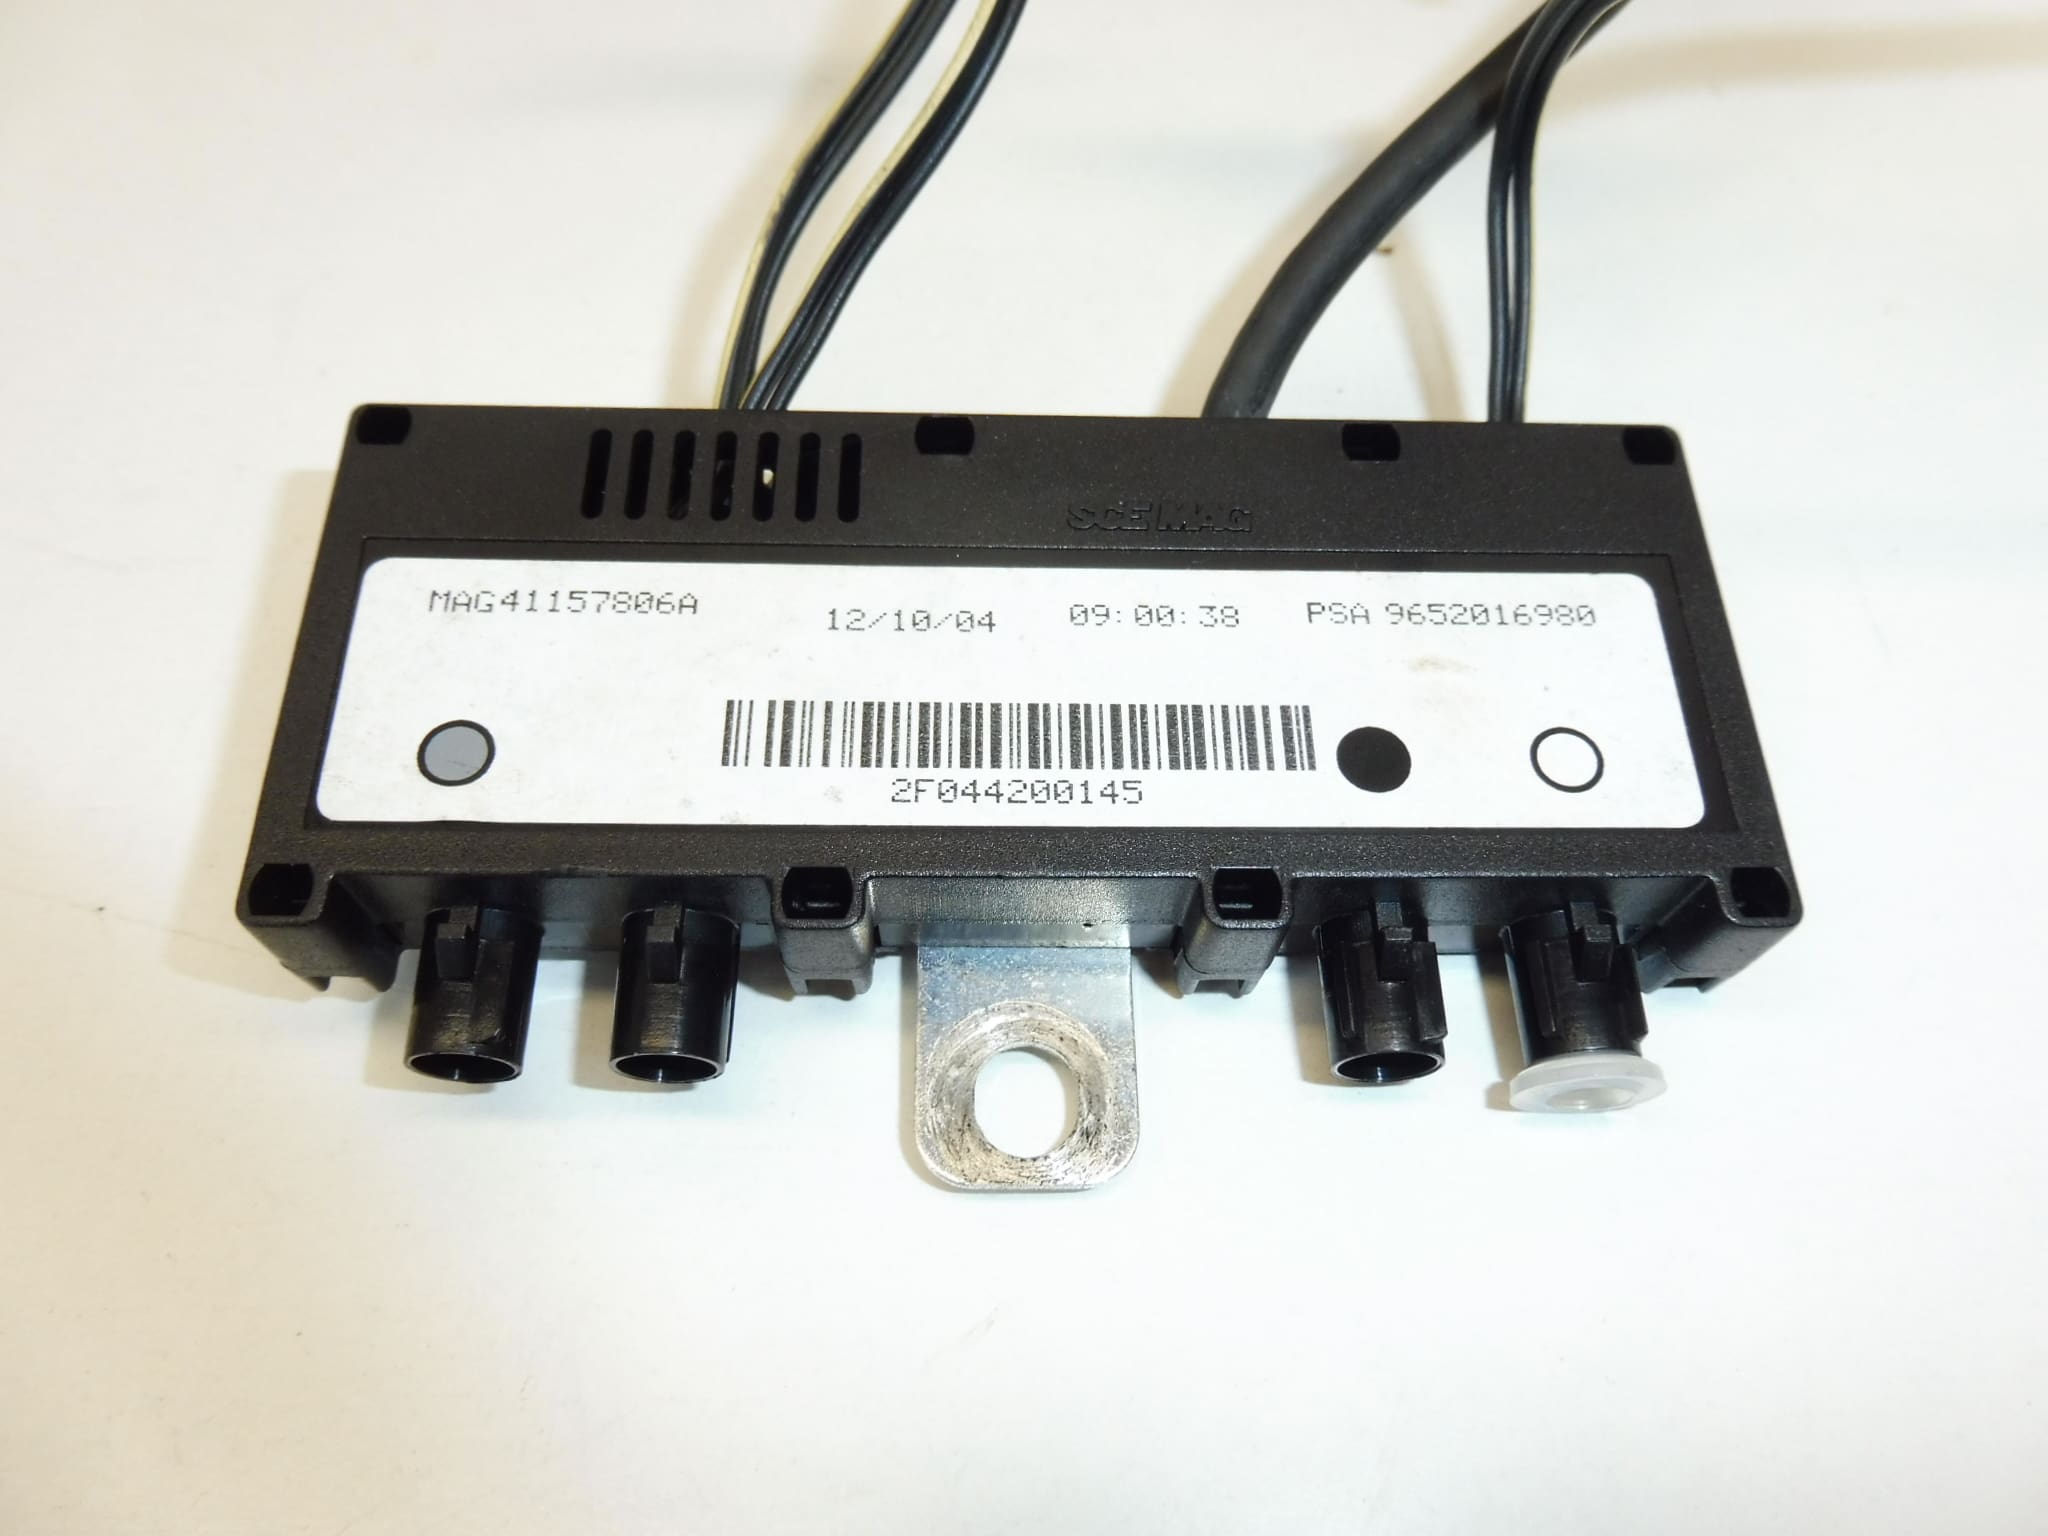
Antenna Impedance Module, Impedance Adapter For Peugeot 307 CC.
This antenna impedance module is a direct-fit impedance adapter designed for the Peugeot 307 CC radio and antenna system. Ideal for professional workshops and DIY mechanics, the unit restores proper antenna matching to improve AM/FM reception and maintain stable connectivity for integrated telephony and hands-free modules. Frequently searched by part numbers 9652016980 and 6561R5, this module is a common replacement when poor signal quality, intermittent reception or noise appears on the factory head unit.
Compatibility And Application
Designed For Peugeot 307 CC models. Cross-Reference Part Numbers: 9652016980, 6561R5. Use These Codes When Searching Or Ordering To Ensure Correct Fitment.
Technical Information
- Manufacturer: Stellantis / Peugeot
- Model: Peugeot 307 CC
- Product Codes: 9652016980, 6561R5
- Other Numbers: Citroën / Peugeot References (Stellantis Group)
Function And Effects
The Module Matches The Antenna Impedance To The Head Unit, Ensuring Maximum Signal Transfer And Minimizing Reflections On The Coaxial Line. Proper Impedance Matching Improves FM/AM Reception, Reduces Static And Dropouts, And Can Affect Hands-Free Telephone Signal Quality When The Factory System Integrates Telephony Antenna Functions.
Common Failure Modes
Typical Causes Of Failure Include Water Ingress Or Moisture Penetration (Especially In Convertible Models), Corroded Or Oxidized Connectors, Damage To The Antenna Mast Or Coaxial Cable, Mechanical Shock, And Deterioration Of Internal Components Over Time. Symptoms Include Weak Or Intermittent Reception, Increased Noise, Loss Of Specific Bands, Or Complete Signal Dropout.
Replacement Procedure
1. Safety First: Disconnect The Battery Before Starting Any Work On The Vehicle Electrical System To Prevent Short Circuits Or Damage.
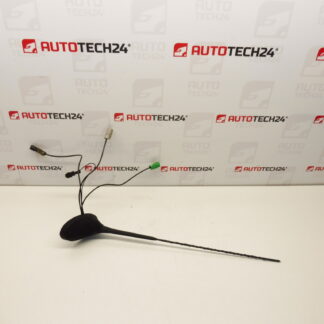
2. Access: The Module Is Typically Located At The Antenna Base Or Mounted Under Trim In The Rear Parcel Shelf/Boot Area On The 307 CC. Remove Interior Trim Panels Carefully To Reach The Unit.
3. Disconnect: Unplug The Coaxial Connector And Any Electrical Plugs. Note Connector Orientation And Retaining Clips.
4. Replace: Install The New Module In The Same Position, Avoid Bending Or Crushing The Coaxial Cable. Ensure A Secure And Clean Connection.
5. Test: Reconnect The Battery And Test Radio Reception And Any Hands-Free Functions Before Reassembling Trim. Confirm Signal Improvement Across Bands.
6. Reassemble: Secure All Panels And Fasteners To Manufacturer Specifications.
Installation Recommendations
Handle Coaxial Connectors Gently; Use Contact Cleaner On Corroded Pins And Apply A Small Amount Of Dielectric Grease To Protect Against Moisture. Check The Coaxial Cable For Continuity And Visible Damage; Replace Damaged Cables Or Connectors To Prevent Recurrence. Avoid Sharp Bends And Keep The Cable Routing Clear Of Moving Parts. If Corrosion Is Present At The Antenna Base, Address The Source Of Water Ingress To Prevent Repeat Failures.
Why The Part Most Often Fails
Because The 307 CC Is A Convertible, The Antenna Area Is More Exposed To Moisture And Condensation, Which Promotes Corrosion And Connector Degradation. Repeated Folding Of The Roof Or Impact To The Antenna Mast Can Also Cause Mechanical Stress. Over Time, Thermal Cycling And Vibration May Weaken Internal Joints Leading To Intermittent Or Complete Failure.
For technicians: Searching By OE Numbers 9652016980 or 6561R5 Is The Fastest Way To Locate The Correct Replacement. Order This Antenna Impedance Module To Restore Factory-Level Reception And Reliable Performance.