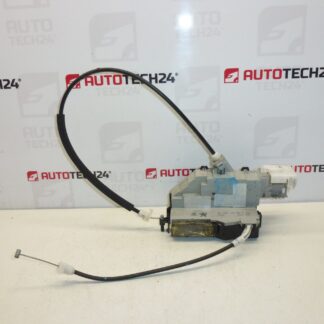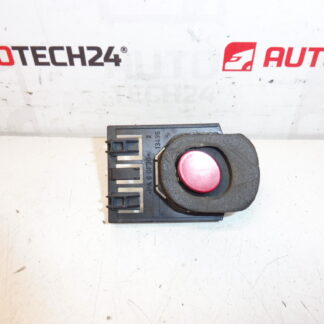
Description
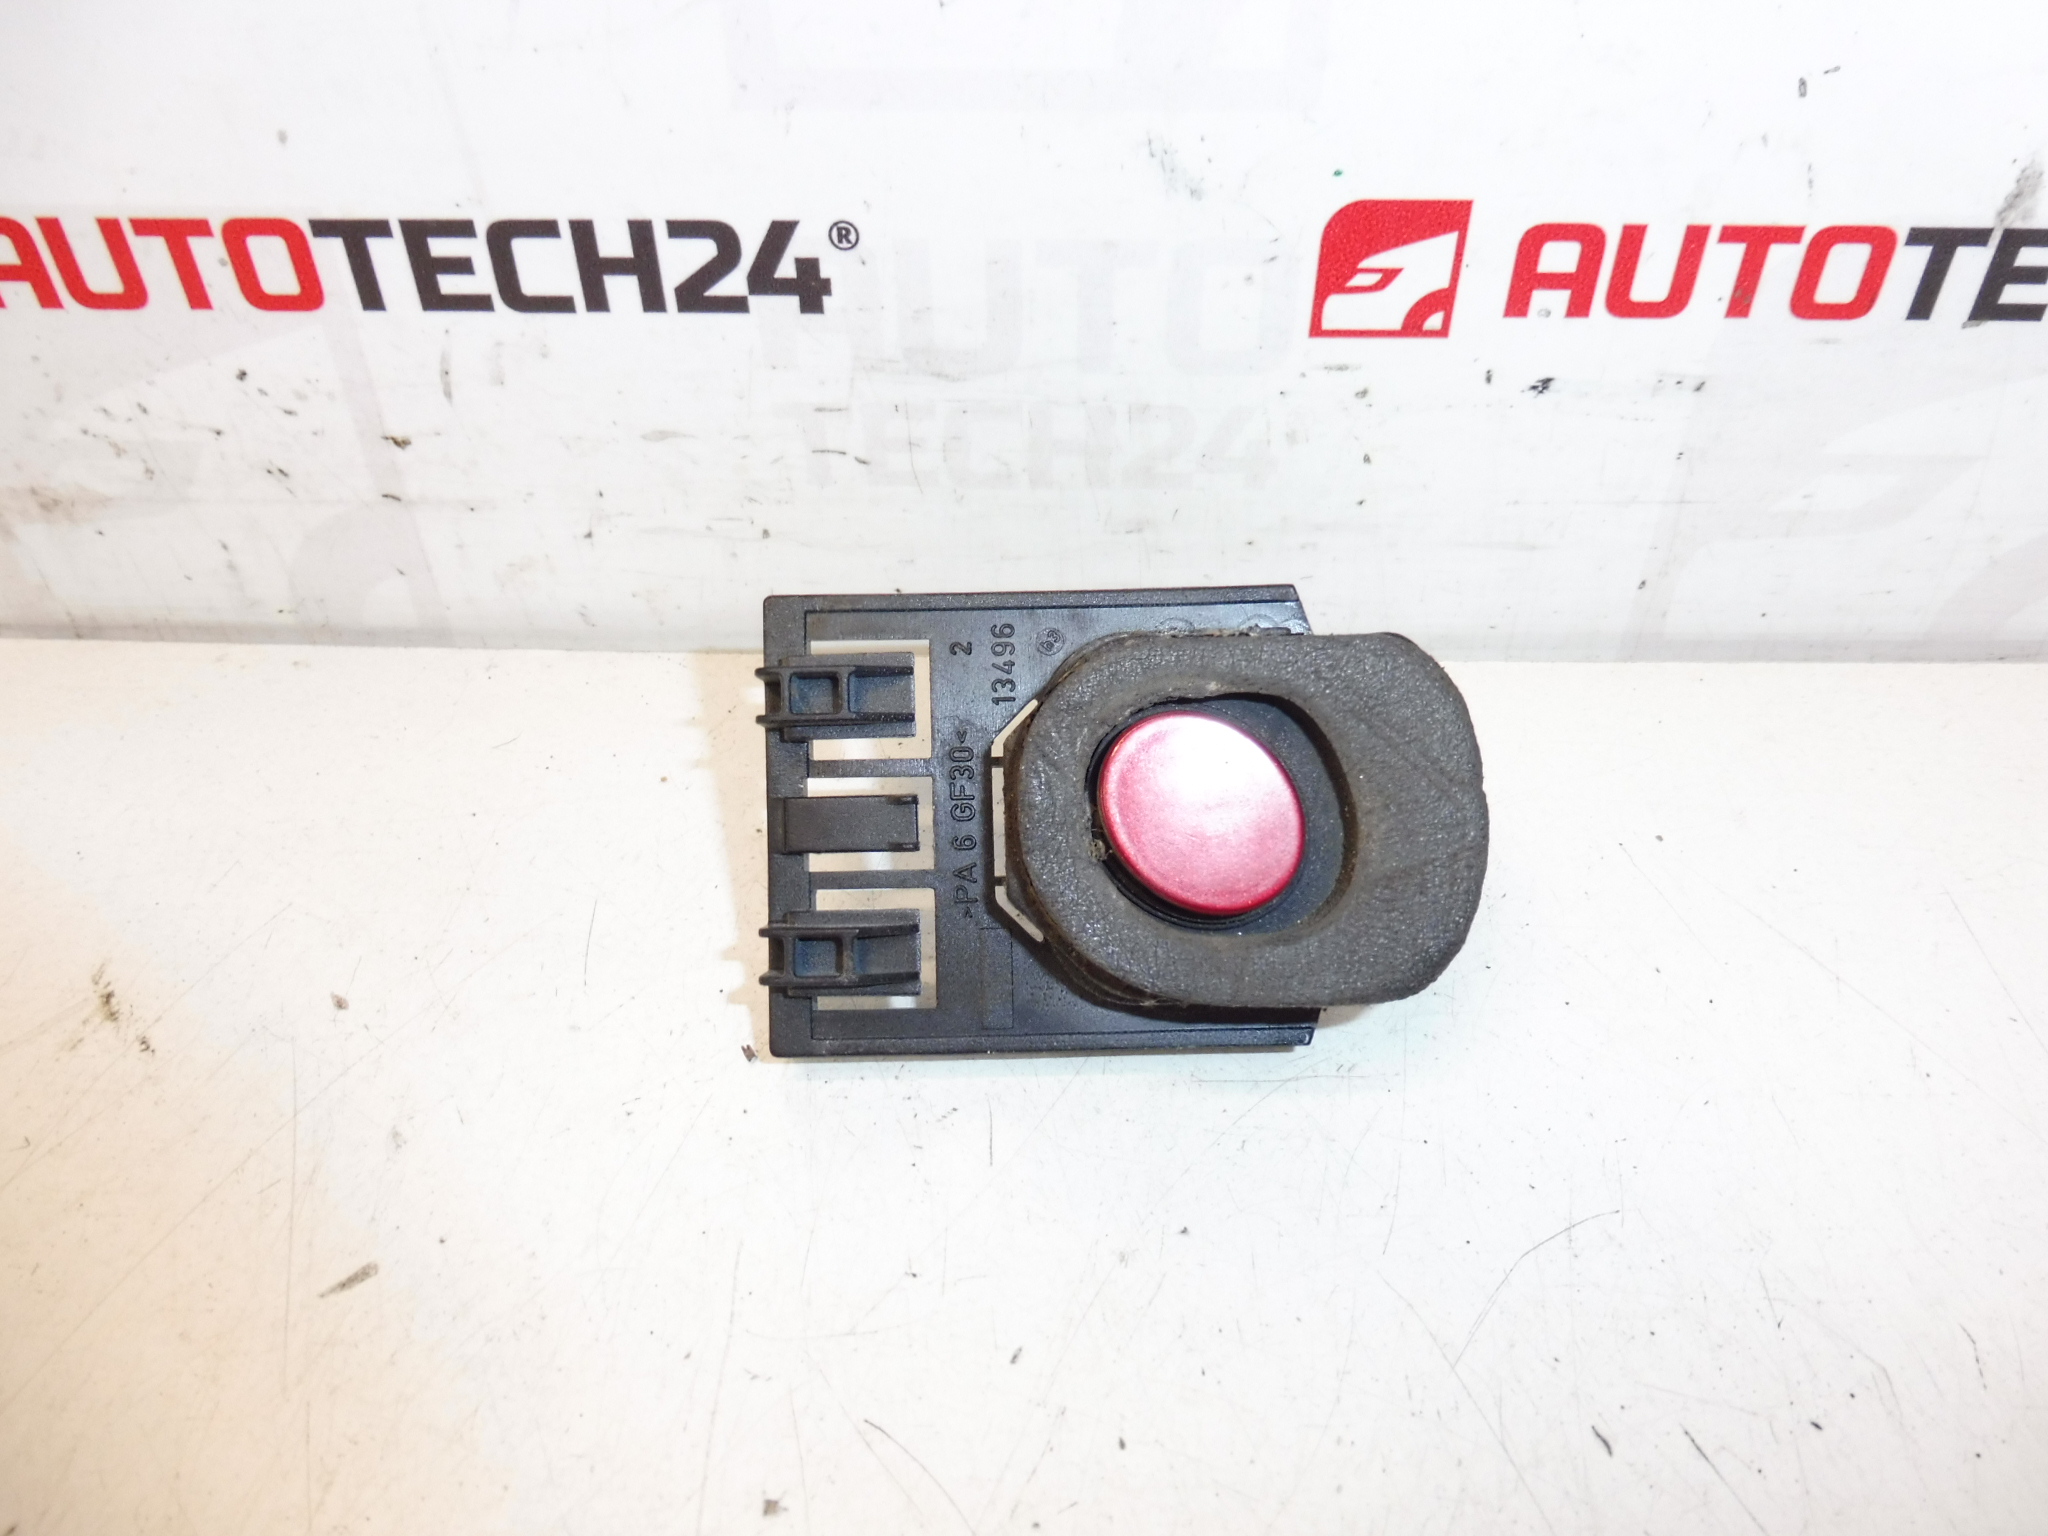
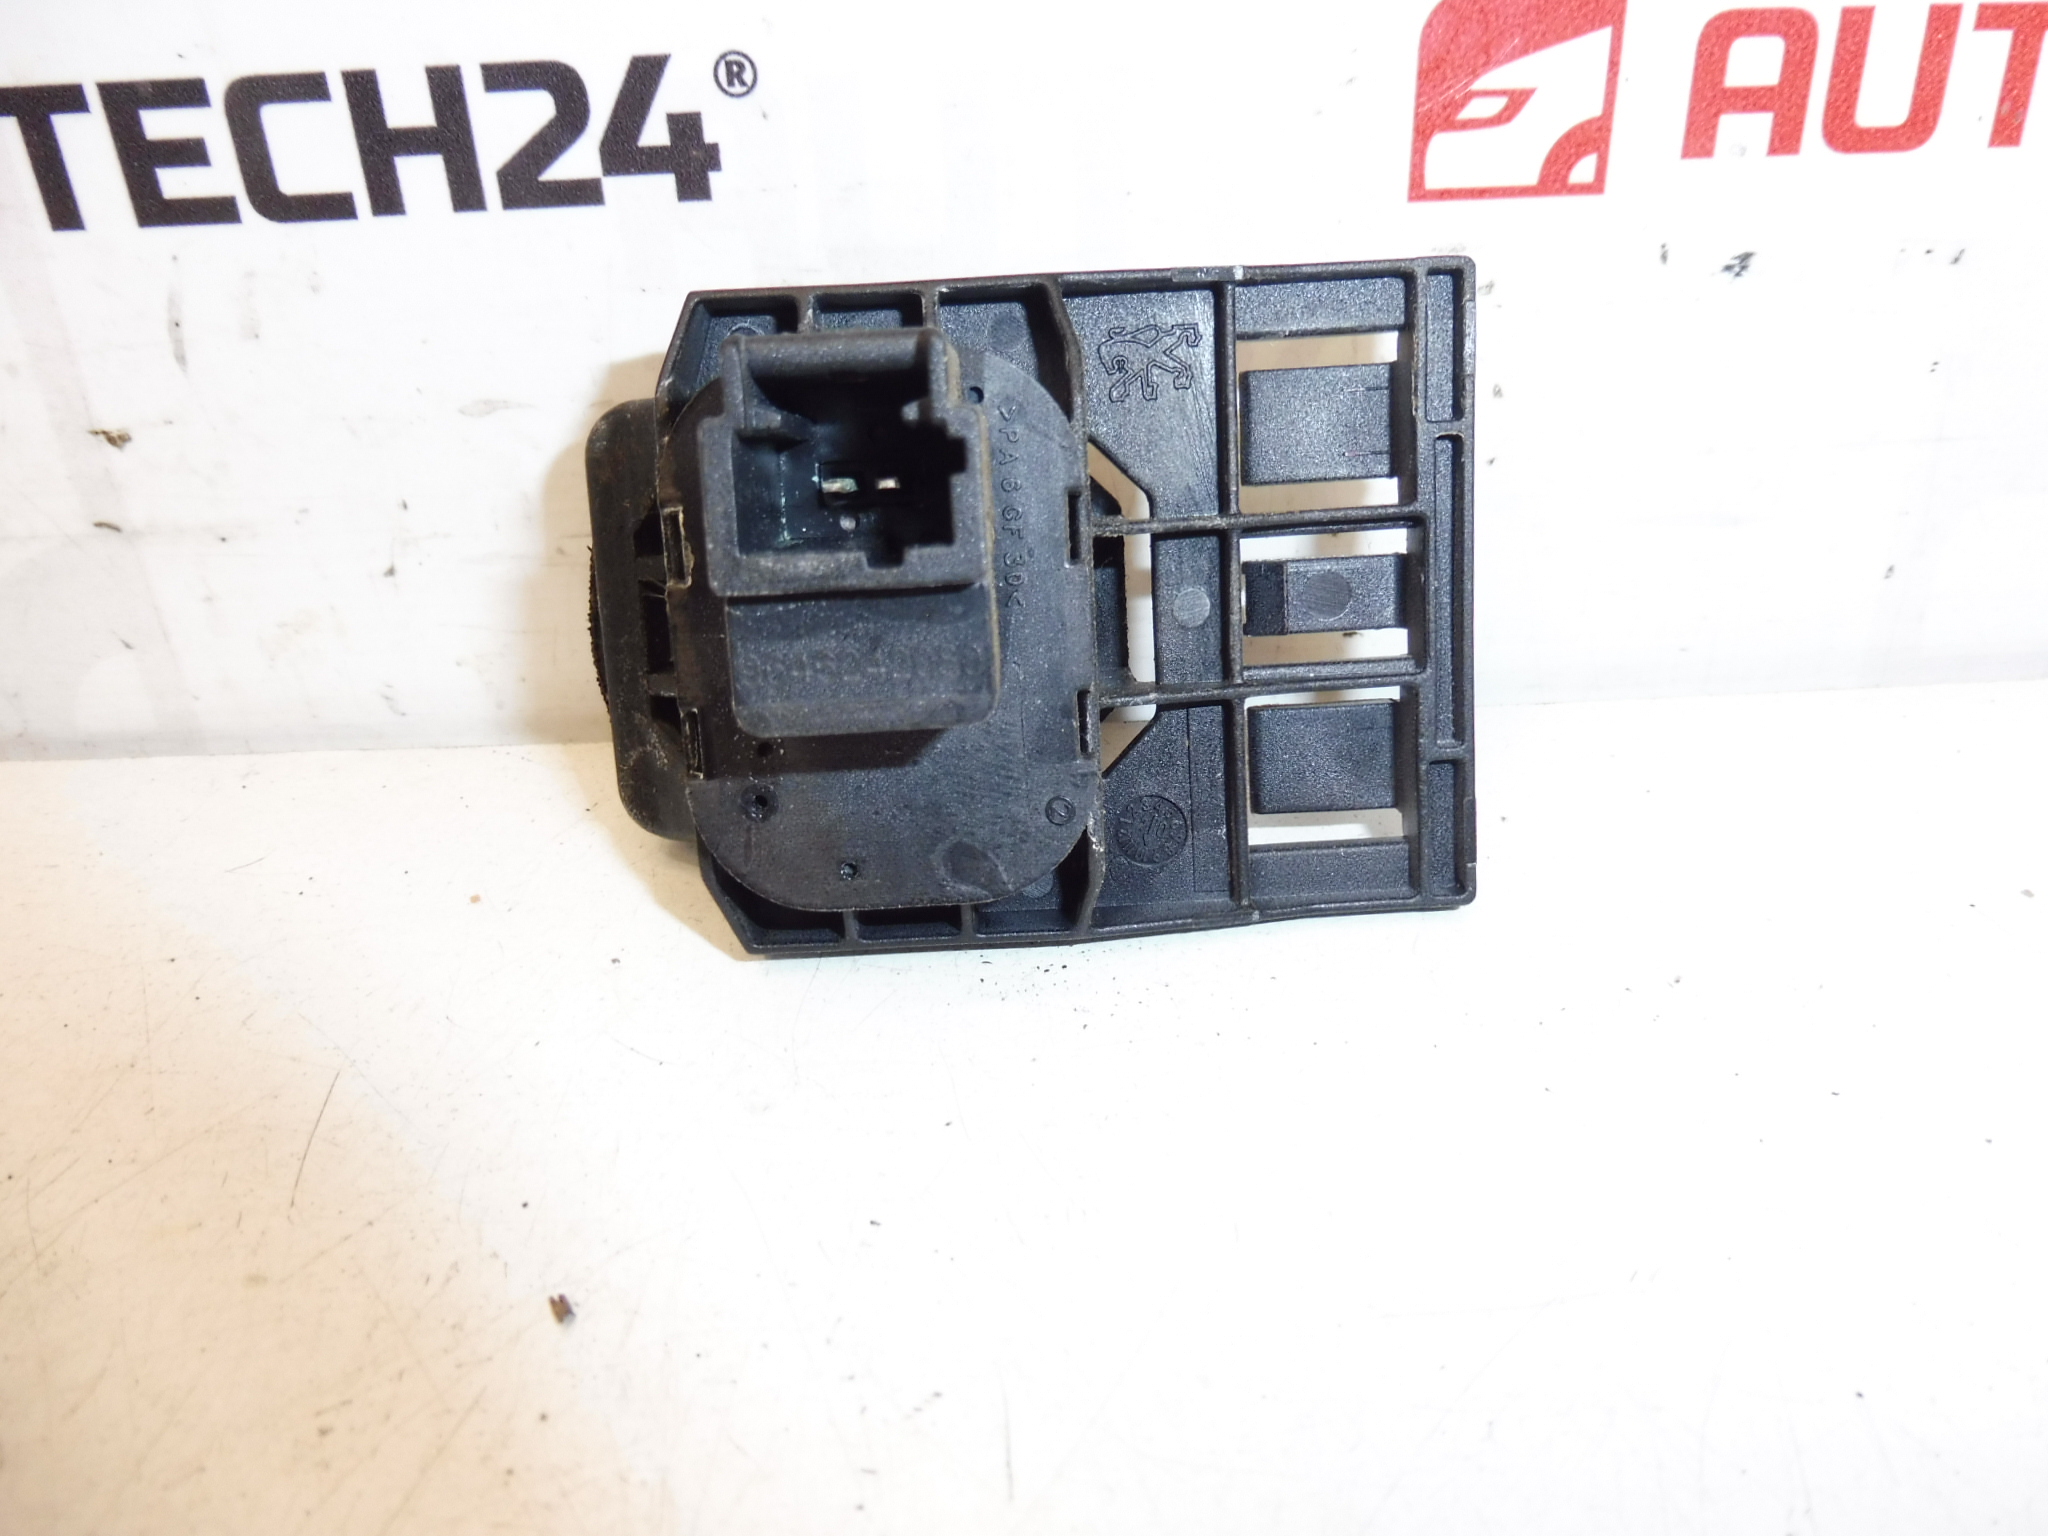
Button for opening the electric lock of the rear tailgate for Peugeot 407 Sedan. Color KKQ – Profond Red Paint.
Overview
This tailgate release button is designed for the electric lock mechanism of the Peugeot 407 Sedan. It provides a direct interface to trigger the rear hatch latch electrically and restores convenient boot opening from the exterior. The part is commonly referenced by product codes and is suitable for mechanics and experienced DIY enthusiasts who need a reliable replacement switch that matches the original appearance (Profond Red).
Features
- Direct-fit replacement for the rear tailgate lock release switch.
- Painted finish: KKQ Profond Red for an original look on matching vehicles.
- Durable mechanical microswitch action for reliable activation of the electric latch.
- OEM product codes referenced for easy identification (see Technical Information).
- Simple electrical connector for fast installation and testing.
Technical Information
- Manufacturer: Stellantis / Peugeot
- Model: Peugeot 407 Sedan
- Product Codes: 872565, 872558
- Other Numbers: NFP
Installation Recommendations
Replacement of the tailgate release button is a straightforward job for a trained technician or an experienced DIYer. Typical procedure:
- Open the tailgate and remove the inner trim panel carefully to access the button housing and wiring harness.
- Unplug the electrical connector from the button and release any retaining clips or screws securing the switch.
- Fit the new button into the housing, ensuring any seal or gasket sits correctly to maintain water resistance.
- Reconnect the electrical connector, reassemble the trim, and test the switch operation several times to confirm proper latch activation.
As a general safety measure, isolate the vehicle electrical system (battery negative) before working on wiring to avoid short circuits or accidental activation. Test the lock operation after installation and check for correct alignment of the button with the tailgate trim.
Most Common Failure Reasons
- Mechanical Wear: Repeated use can wear the internal microswitch, causing intermittent or failed activation.
- Water Ingress: Leaks or damaged seals around the tailgate can allow moisture to reach the switch and corrode contacts.
- Physical Damage: Impacts, heavy loading of the tailgate, or improper removal of trim can damage the button or its mounting tabs.
- Connector Corrosion: Corroded or loose wiring connectors reduce electrical continuity and prevent the actuator from receiving a signal.
Why Choose This Part
Using the correct button referenced by the OEM codes ensures compatibility with the Peugeot 407 Sedan rear locking mechanism and preserves the vehicle’s exterior appearance thanks to the KKQ Profond Red finish. The included product codes make it easy to locate and verify the correct replacement for your vehicle.