Description
Bosch Control Unit – Parking Assist
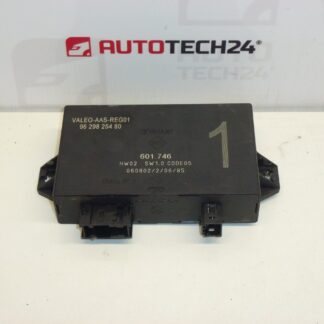
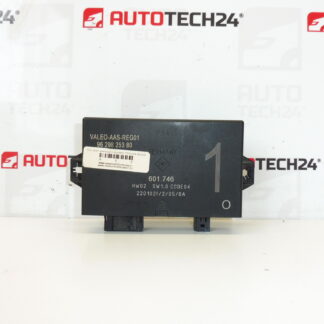
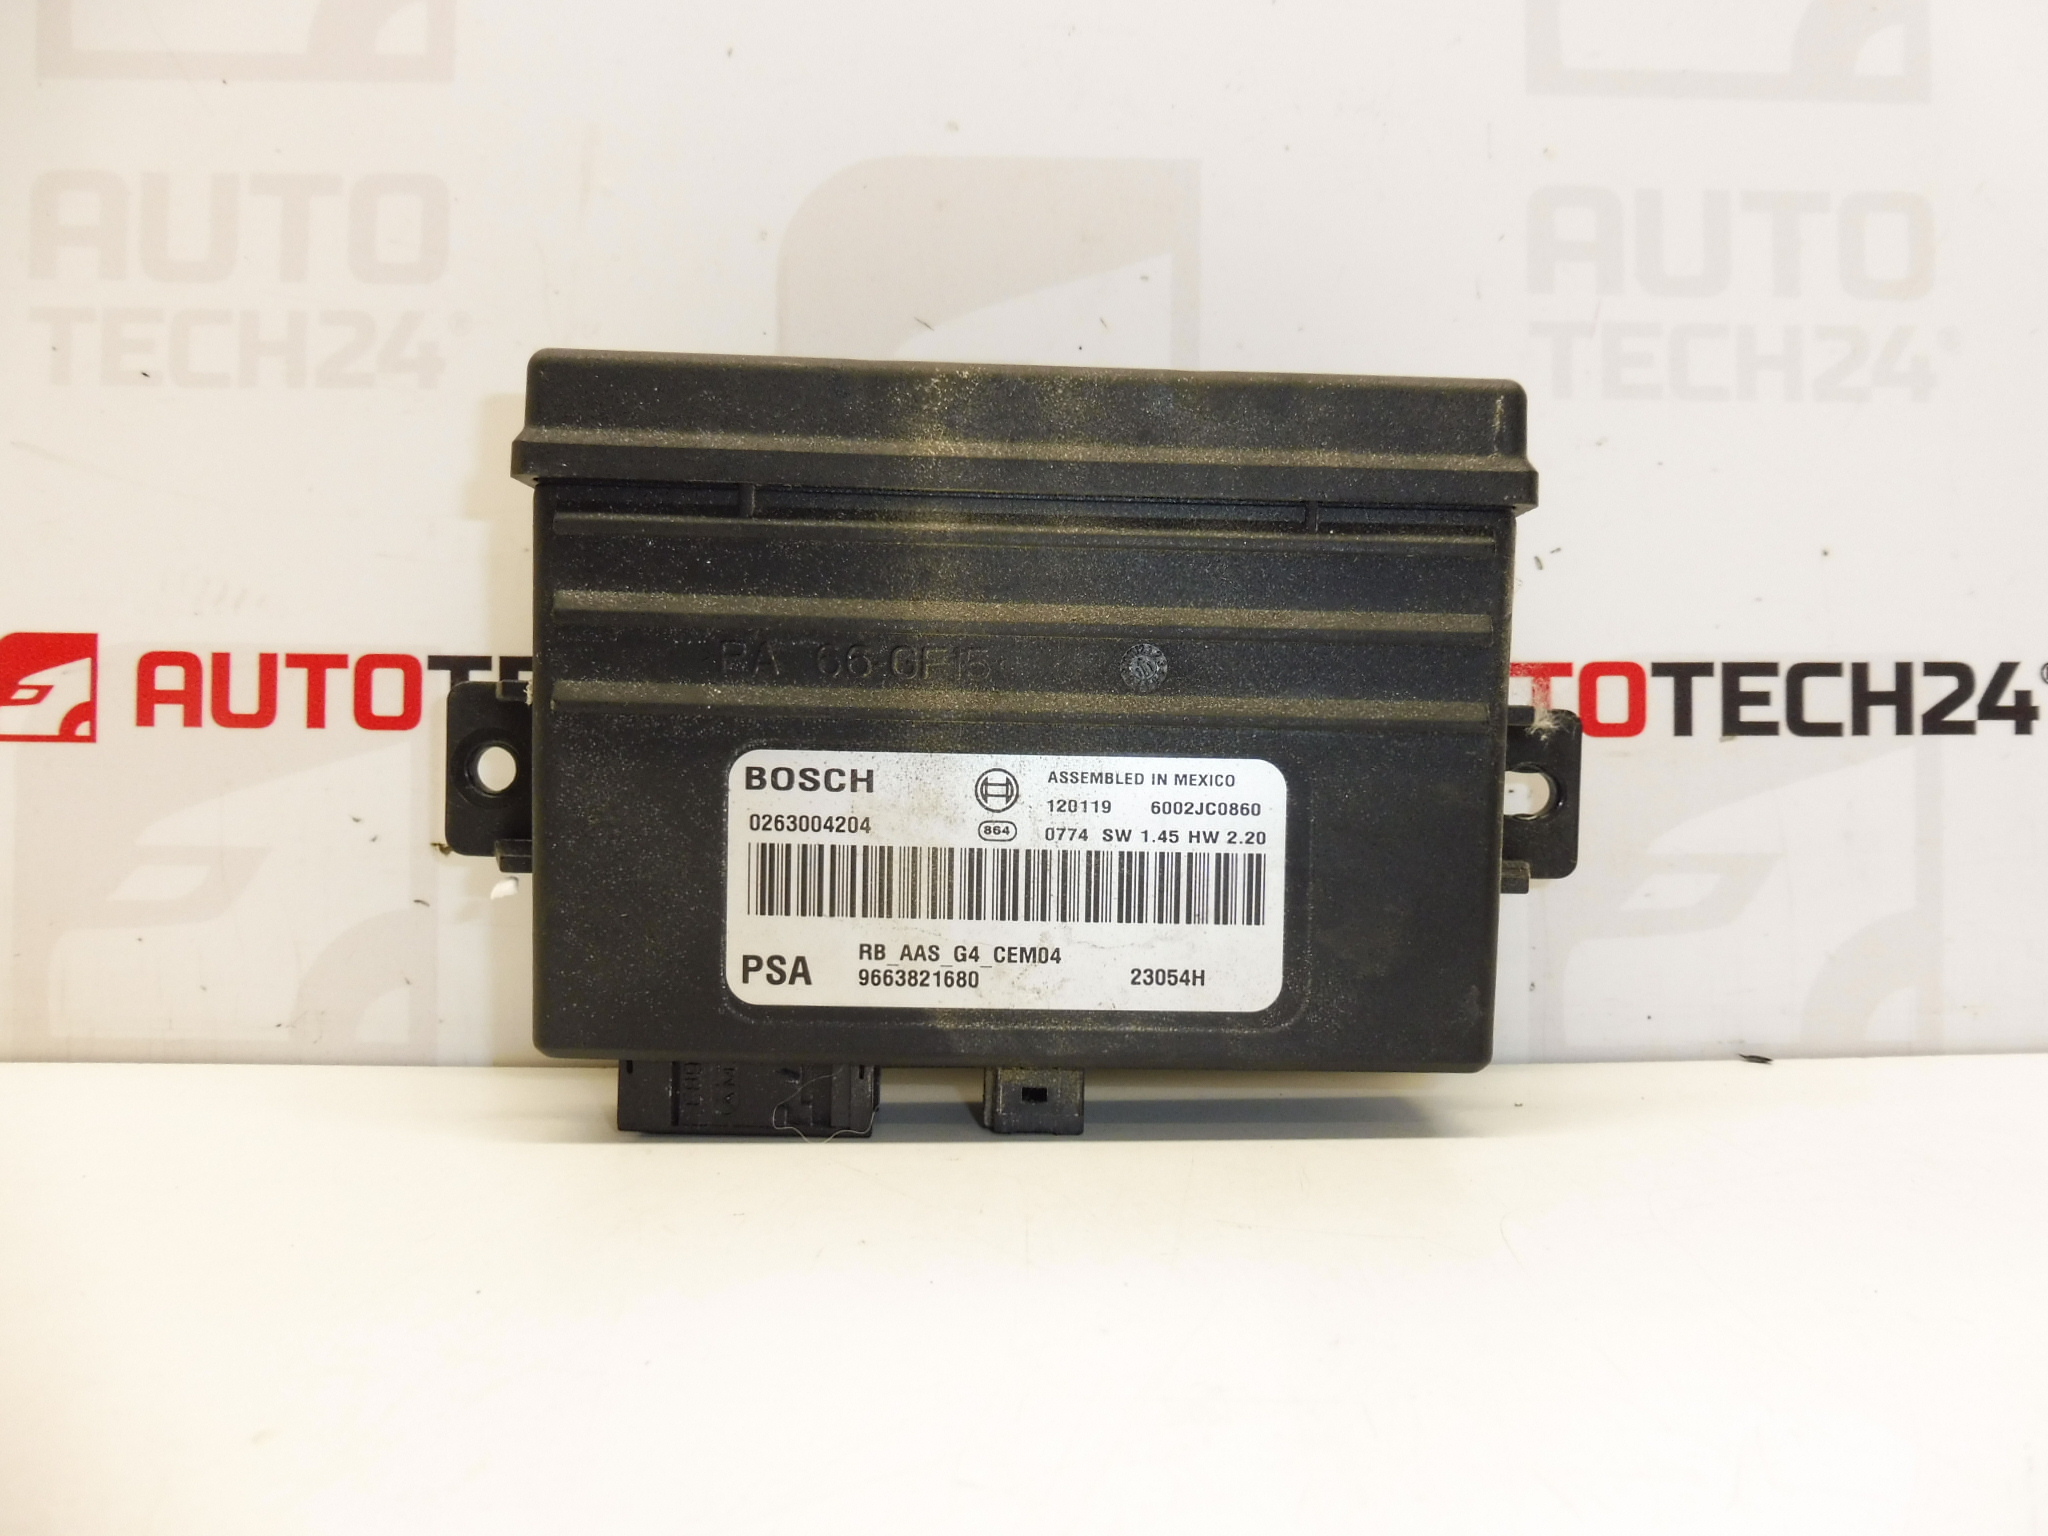
This Bosch parking assist control unit restores reliable ultrasonic parking detection and audible/visual warnings on compatible Citroën and Peugeot vehicles. Ideal for professional workshops and experienced DIY mechanics, the unit matches common OEM part numbers (0263004204, 9663821680 and related references) and is a direct-fit electronic module for vehicles equipped with factory parking sensors. Clear product codes and vehicle fitment make it easy to find the correct replacement part and get the parking system working again.
Function
The control unit processes inputs from the ultrasonic parking sensors, evaluates obstacle distance, and controls the parking warning outputs (buzzers/indicator displays). It communicates with the vehicle network to coordinate warnings and may manage sensor self-tests and diagnostics. Replacing a faulty unit restores sensor processing and eliminates intermittent or absent parking alerts.
Vehicle Compatibility
Commonly fitted to vehicles from the Stellantis group, including but not limited to:
- Citroën C3
- Citroën C3 Picasso
- Citroën C4 Picasso
- Citroën C5
- Peugeot 207
- Peugeot 308
Installation
Typical replacement steps: disconnect the negative battery terminal, remove interior or bumper trim to access the module (commonly located in the luggage compartment or behind the rear bumper trim), unplug sensor and wiring connectors, remove fasteners and extract the old unit, install the replacement, reconnect connectors and trim, then reconnect the battery. After physical installation, verify sensor operation and run any required diagnostics or initialization routines to confirm proper function.
Installation Recommendations
- Always disconnect the battery before starting to avoid short circuits and to protect the module electronics.
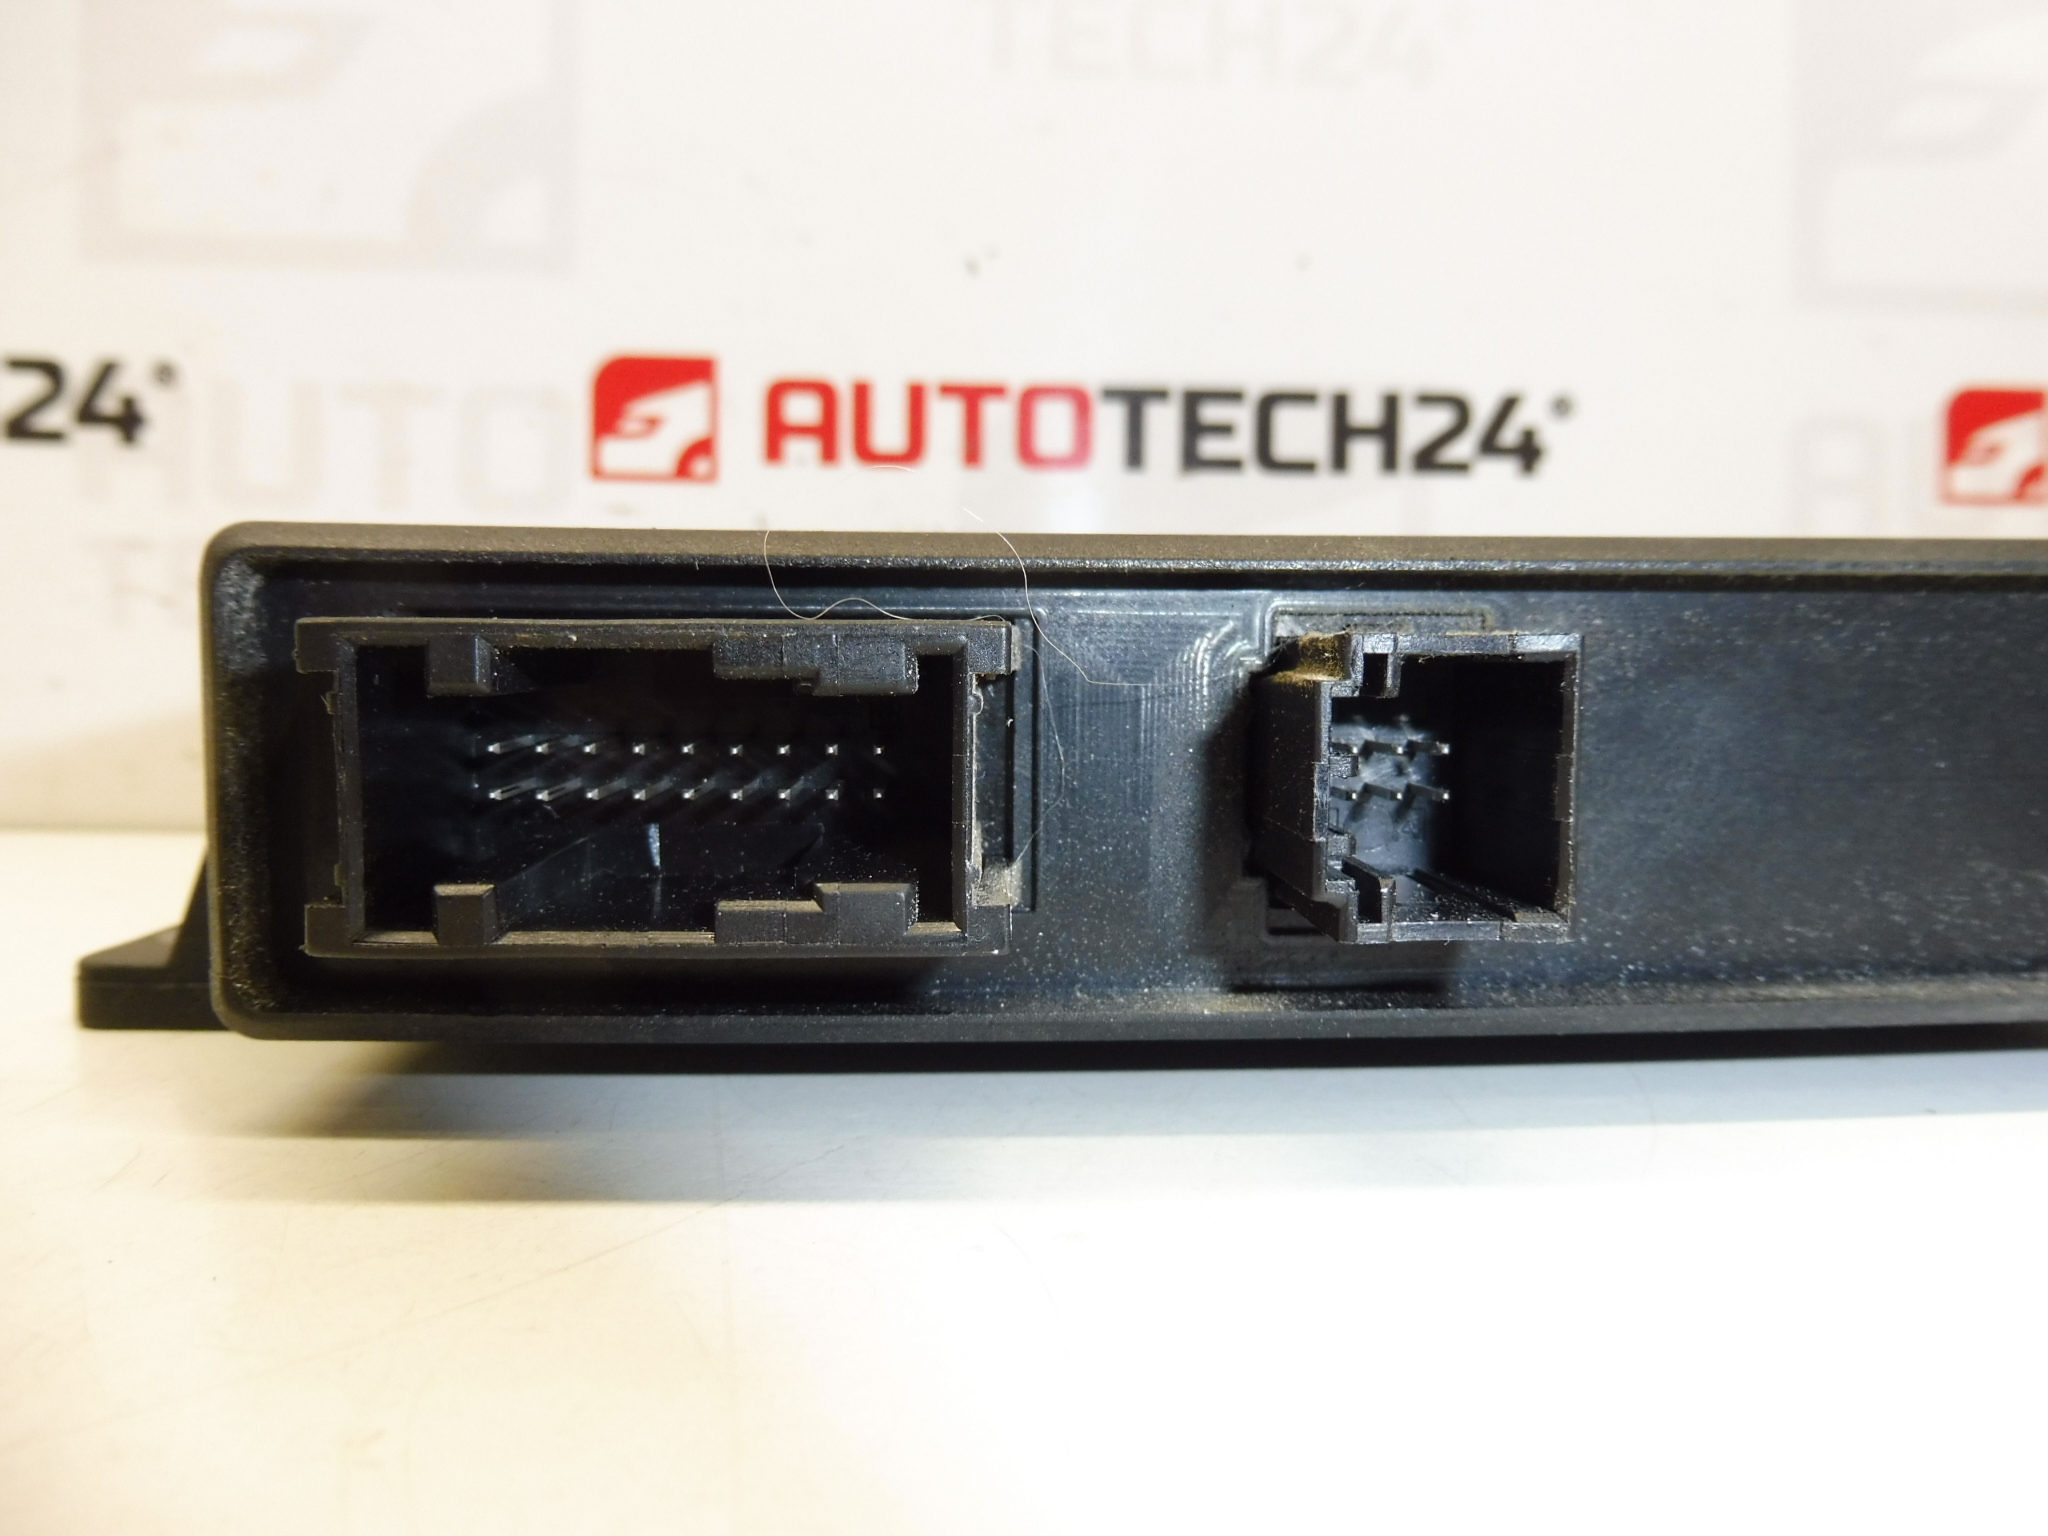
- Handle the control unit by its housing; avoid touching connector pins and PCB areas to prevent ESD damage.
- Inspect and clean all connectors and sensor cabling before reassembly; secure any loose wiring and repair corroded contacts.
- After installation, perform a functional check of all parking sensors and follow manufacturer procedures for system initialization or adaptation if required.
- Use appropriate diagnostic tools for fault reading and clearing; if calibration or coding is needed, perform it with PSA-compatible diagnostic equipment.
Technical Information
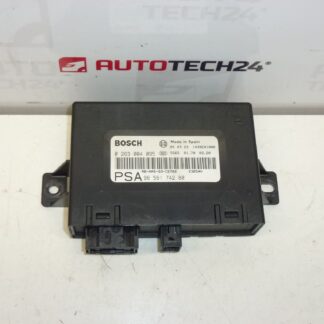
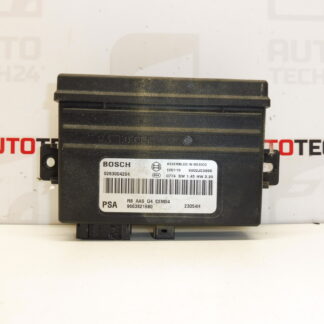
- Manufacturer: Bosch
- Model: Parking Assist Control Unit
- Product Codes: 0263004204, 9663821680
- Other Numbers: 1606383380, 1606383480, 1606516180, 1606516380, 6590EV, 6590EW
Why This Part Fails
Common causes of parking assist control unit failures include:
- Moisture ingress and condensation leading to corrosion of connectors or internal components.
- Physical damage from rear impacts or aggressive service on bumper assemblies.
- Corroded or damaged wiring and connectors causing intermittent signals or short circuits.
- Faulty or shorted sensors that overload the control unit inputs.
- Electrical surges or poor battery/charging system health affecting module electronics.
Service Tips
When diagnosing parking system faults, check sensor condition and wiring first (broken sensors or damaged cables are frequent culprits). Use a diagnostic tool to read stored fault codes, which helps isolate whether the control unit or peripheral components have failed. Replace damaged sensors and repair harness faults before replacing the control unit to avoid repeat failures.