Description
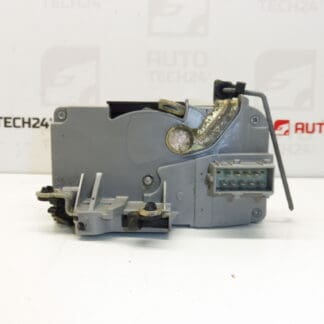
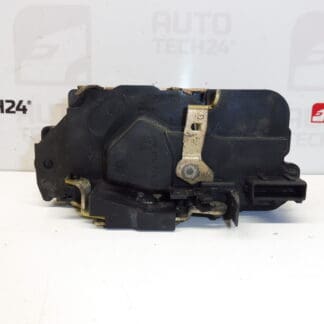
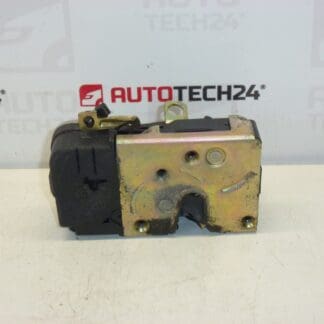
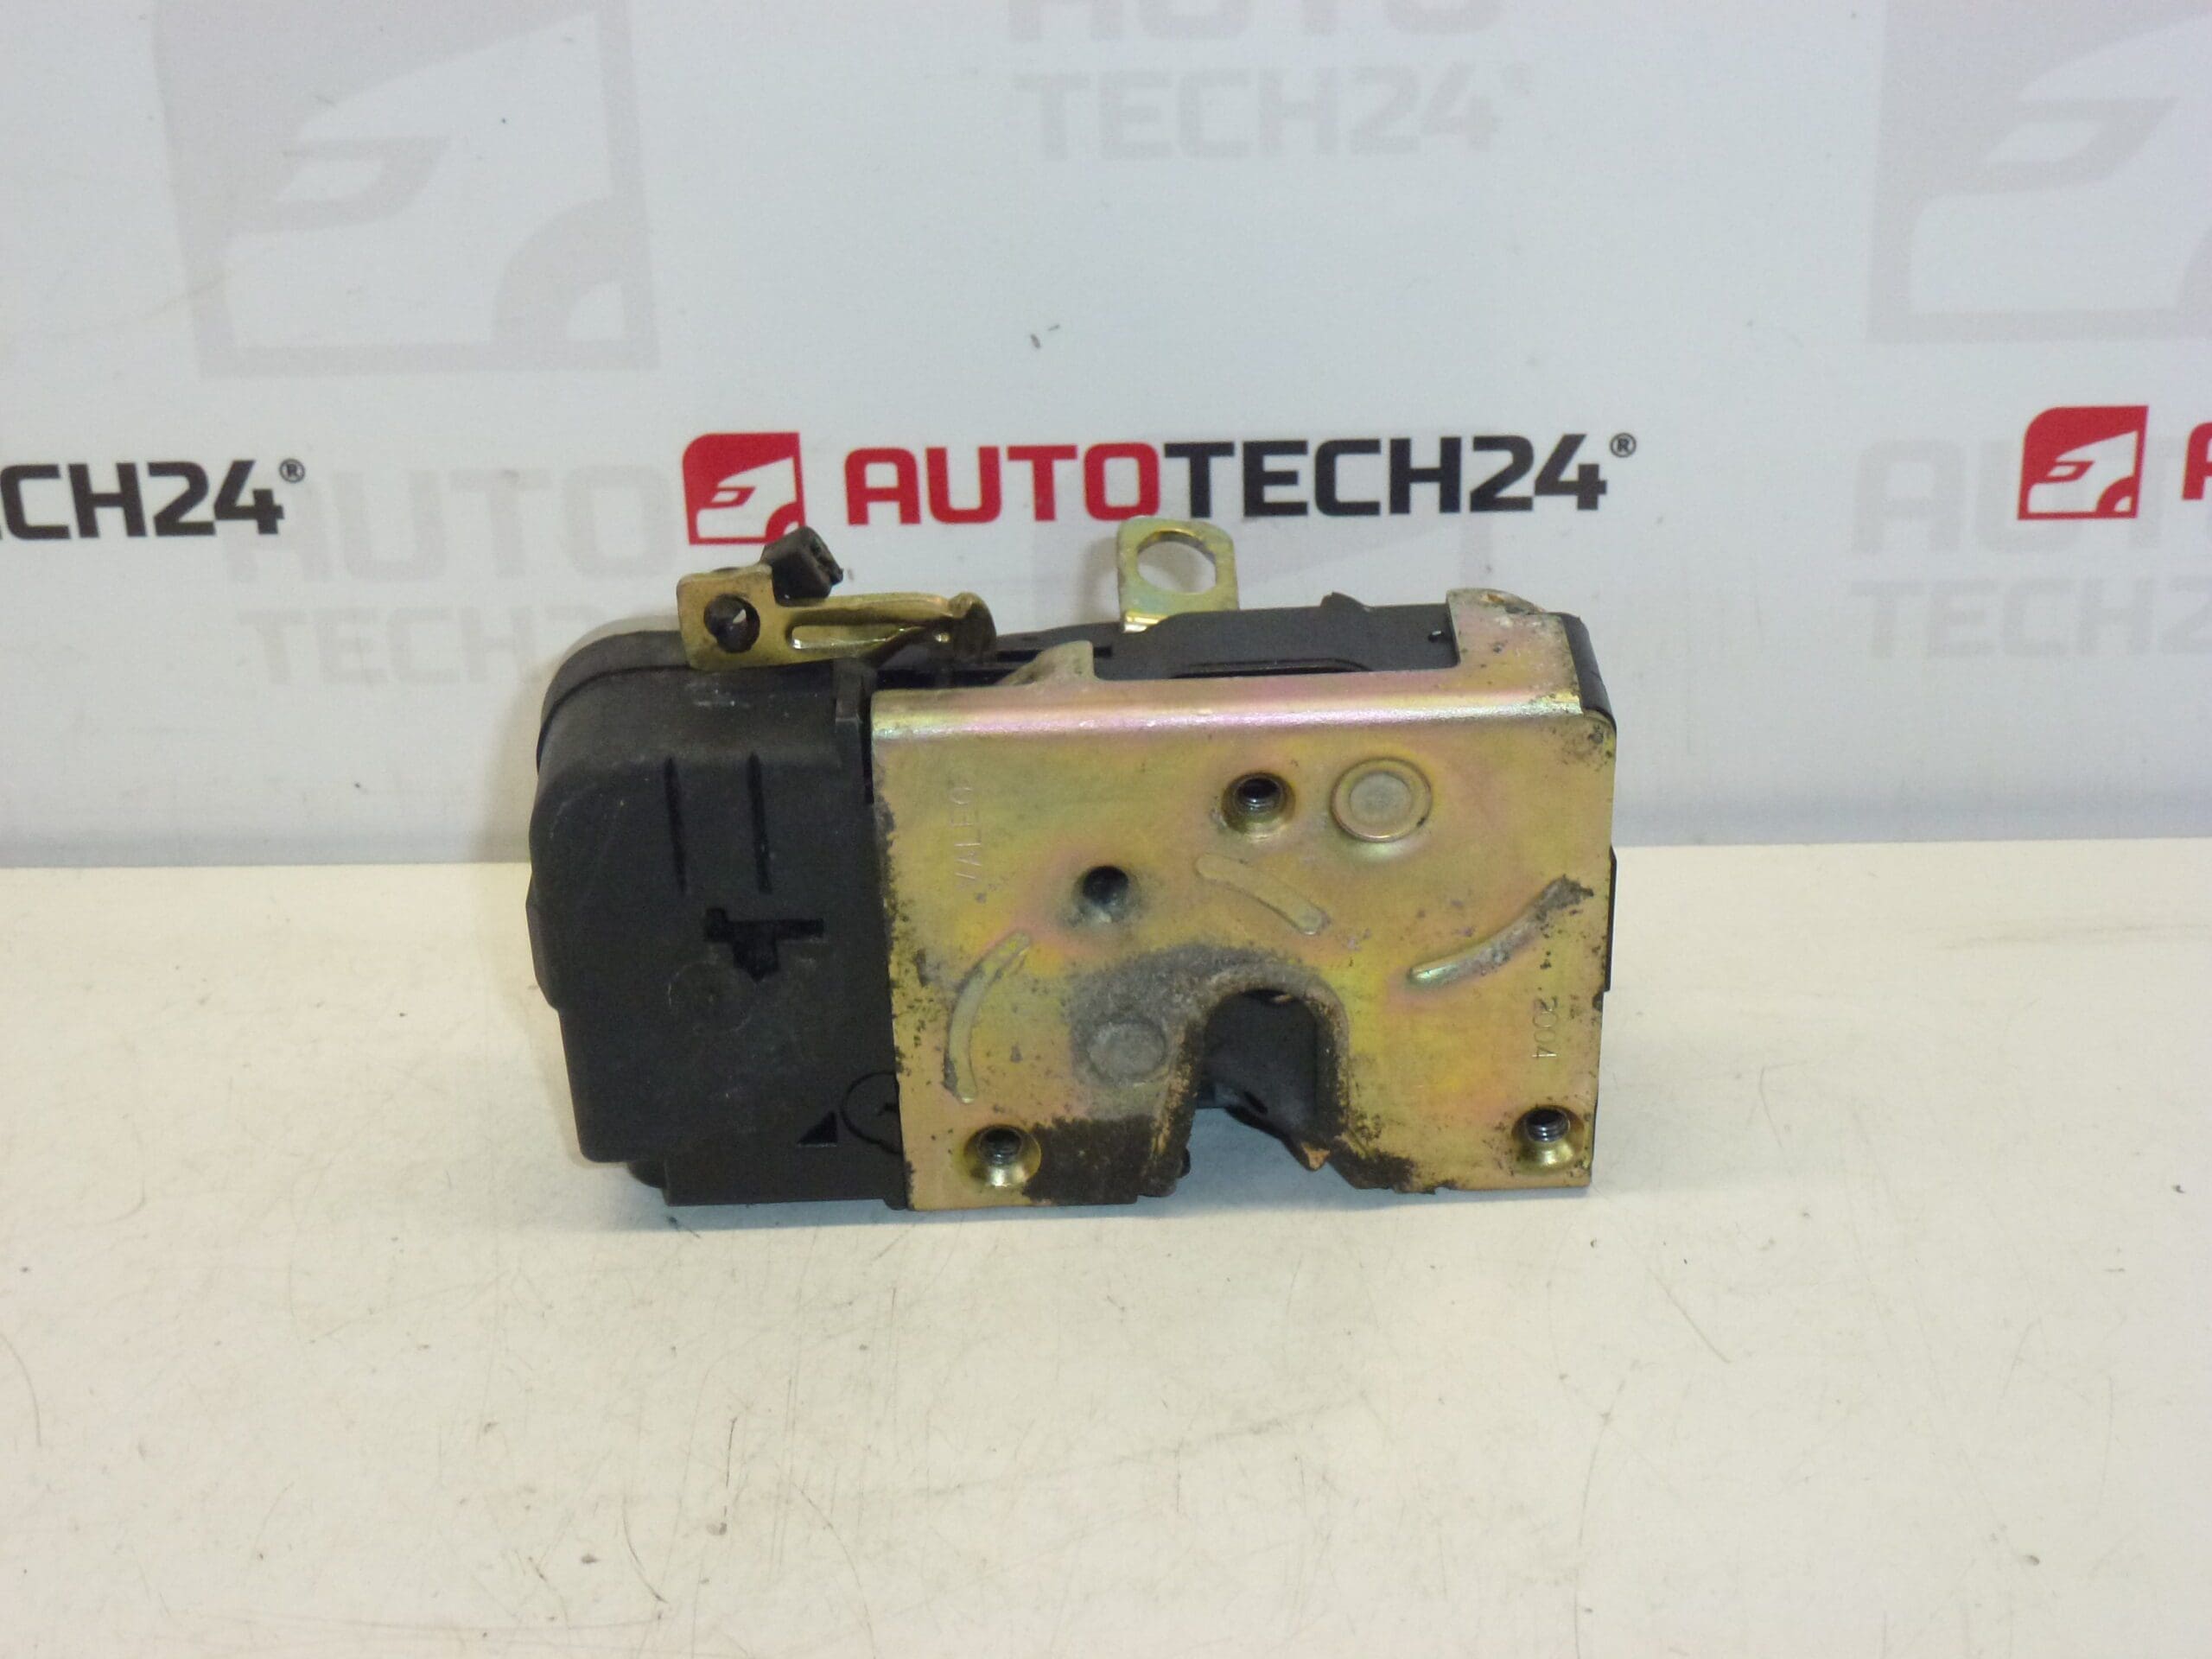
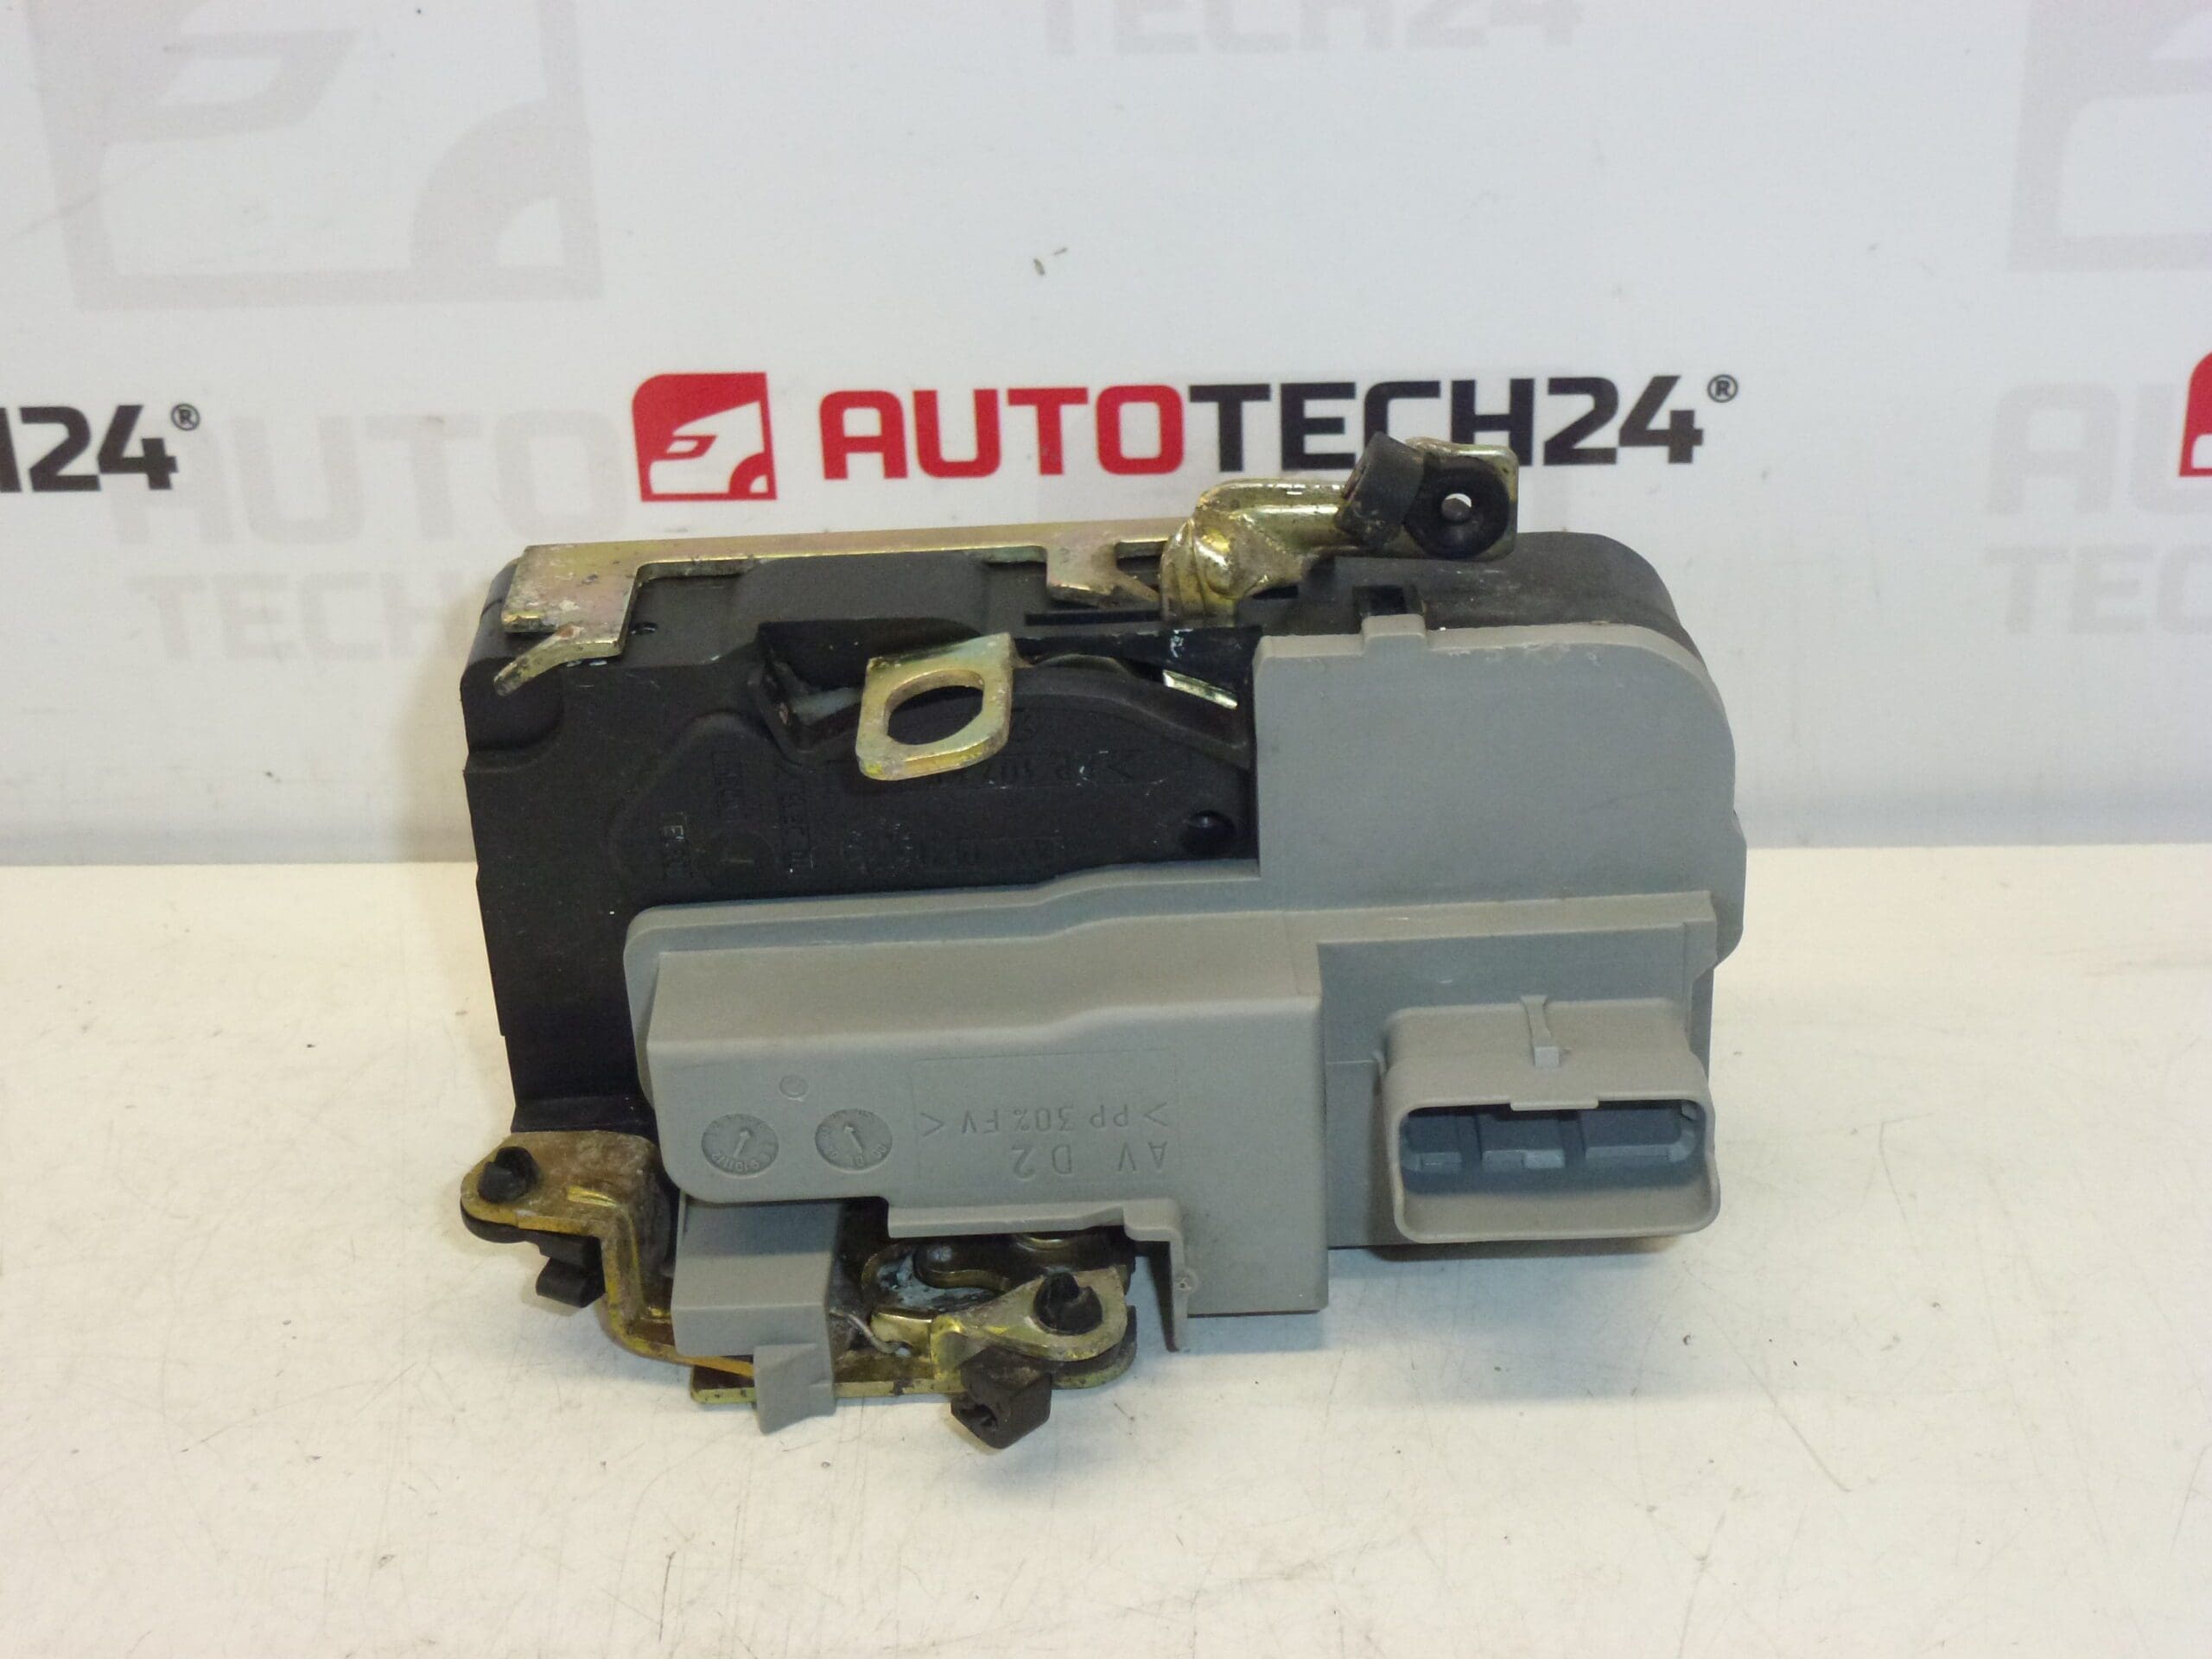
Electric central locking lock for the right front door for PEUGEOT 206 vehicles. Fits 3-door, 5-door and CC Coupe. NOTE: This model features an oval connector and is intended for OPR numbers higher than 08574.
Reliable Electric Right Front Door Lock / Central Locking Actuator designed specifically for Peugeot 206. Built to replace worn or damaged original locks, this unit restores secure central locking operation and smooth door latching. The actuator is commonly searched by part number 9136J1 and is supplied with the oval electrical connector pattern used on later-production Peugeot 206 units (OPR > 08574).
Benefits
Designed for professional fitment and DIY mechanics, this replacement lock offers direct-fit compatibility for the right front door, fast installation and reliable operation under normal conditions. It helps eliminate issues such as intermittent locking, non-responsive central locking on the right front door and mechanical latch sticking.
Technical Information
- Manufacturer: Stellantis (Citroën/Peugeot)
- Model: Peugeot 206
- Product Codes: 9136J1
- Other Numbers: NFP; OPR Greater Than 08574; Oval Connector
Compatibility
Fits Peugeot 206 3-Door, 5-Door and CC Coupe variants that use the oval connector configuration and have OPR numbers higher than 08574. Always compare the connector shape and mounting points with the original unit to confirm fitment.
How It Works
The unit houses a small electric motor and gearing that drive the locking mechanism and connect to the door latch assembly via mechanical linkages. When the central locking signal is received, the actuator moves the latch between locked and unlocked positions, while also allowing manual operation from the interior/exterior handles.
Replacement Procedure (Overview)
- Disconnect Battery: For safety, disconnect the negative battery terminal before starting.
- Remove Door Trim: Carefully remove the interior door panel and any vapor barriers to access the lock assembly.
- Disconnect Electrical Connector: Unplug the oval electrical connector from the actuator.
- Detach Linkages: Release or unclip the mechanical rods/linkages connected to the lock (note their positions for reassembly).
- Unbolt Lock: Remove the fastening screws or bolts holding the lock assembly to the door and extract the unit.
- Install New Unit: Fit the replacement lock, secure bolts, reconnect linkages and electrical connector, then test locking/unlocking before reassembling the door trim.
Perform final checks to ensure smooth operation of manual handles, central locking function, and that the door closes and latches correctly.
Installation Recommendations
- Use Proper Tools: Use trim removal tools to avoid damaging panels and retainers.
- Keep Fasteners Organized: Note the position of all clips and screws for correct reassembly.
- Check Connector And Pins: Inspect the oval connector for corrosion, bent pins or dirt—clean gently if required.
- Test Before Reassembly: Verify electrical and mechanical operation before refitting door trim.
- Observe Safety: Disconnect the battery before working on electrical components and follow standard workshop safety procedures.
Why This Part Fails
Most Failures Are Caused By:
- Water Ingress And Corrosion: Moisture can corrode electrical contacts or cause internal gears to seize.
- Mechanical Wear: Repeated use causes gears, plastic components or linkages to wear or break over time.
- Connector Problems: Bent pins, loose mating or contaminated connectors can produce intermittent or no operation.
- Impact Or Door Damage: Accidents or heavy slamming can damage the lock mechanism or alignment.
Replacing the actuator with a correct-fit unit and ensuring the door seals and drainage are intact will reduce the likelihood of repeat failures.