Description
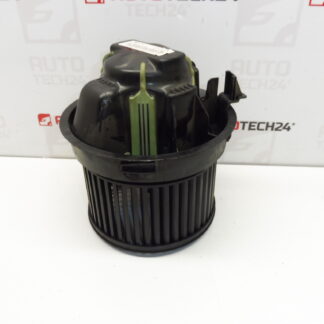
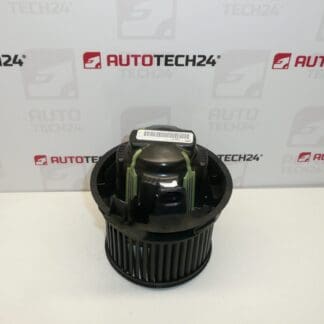
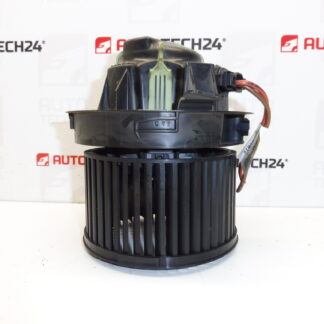
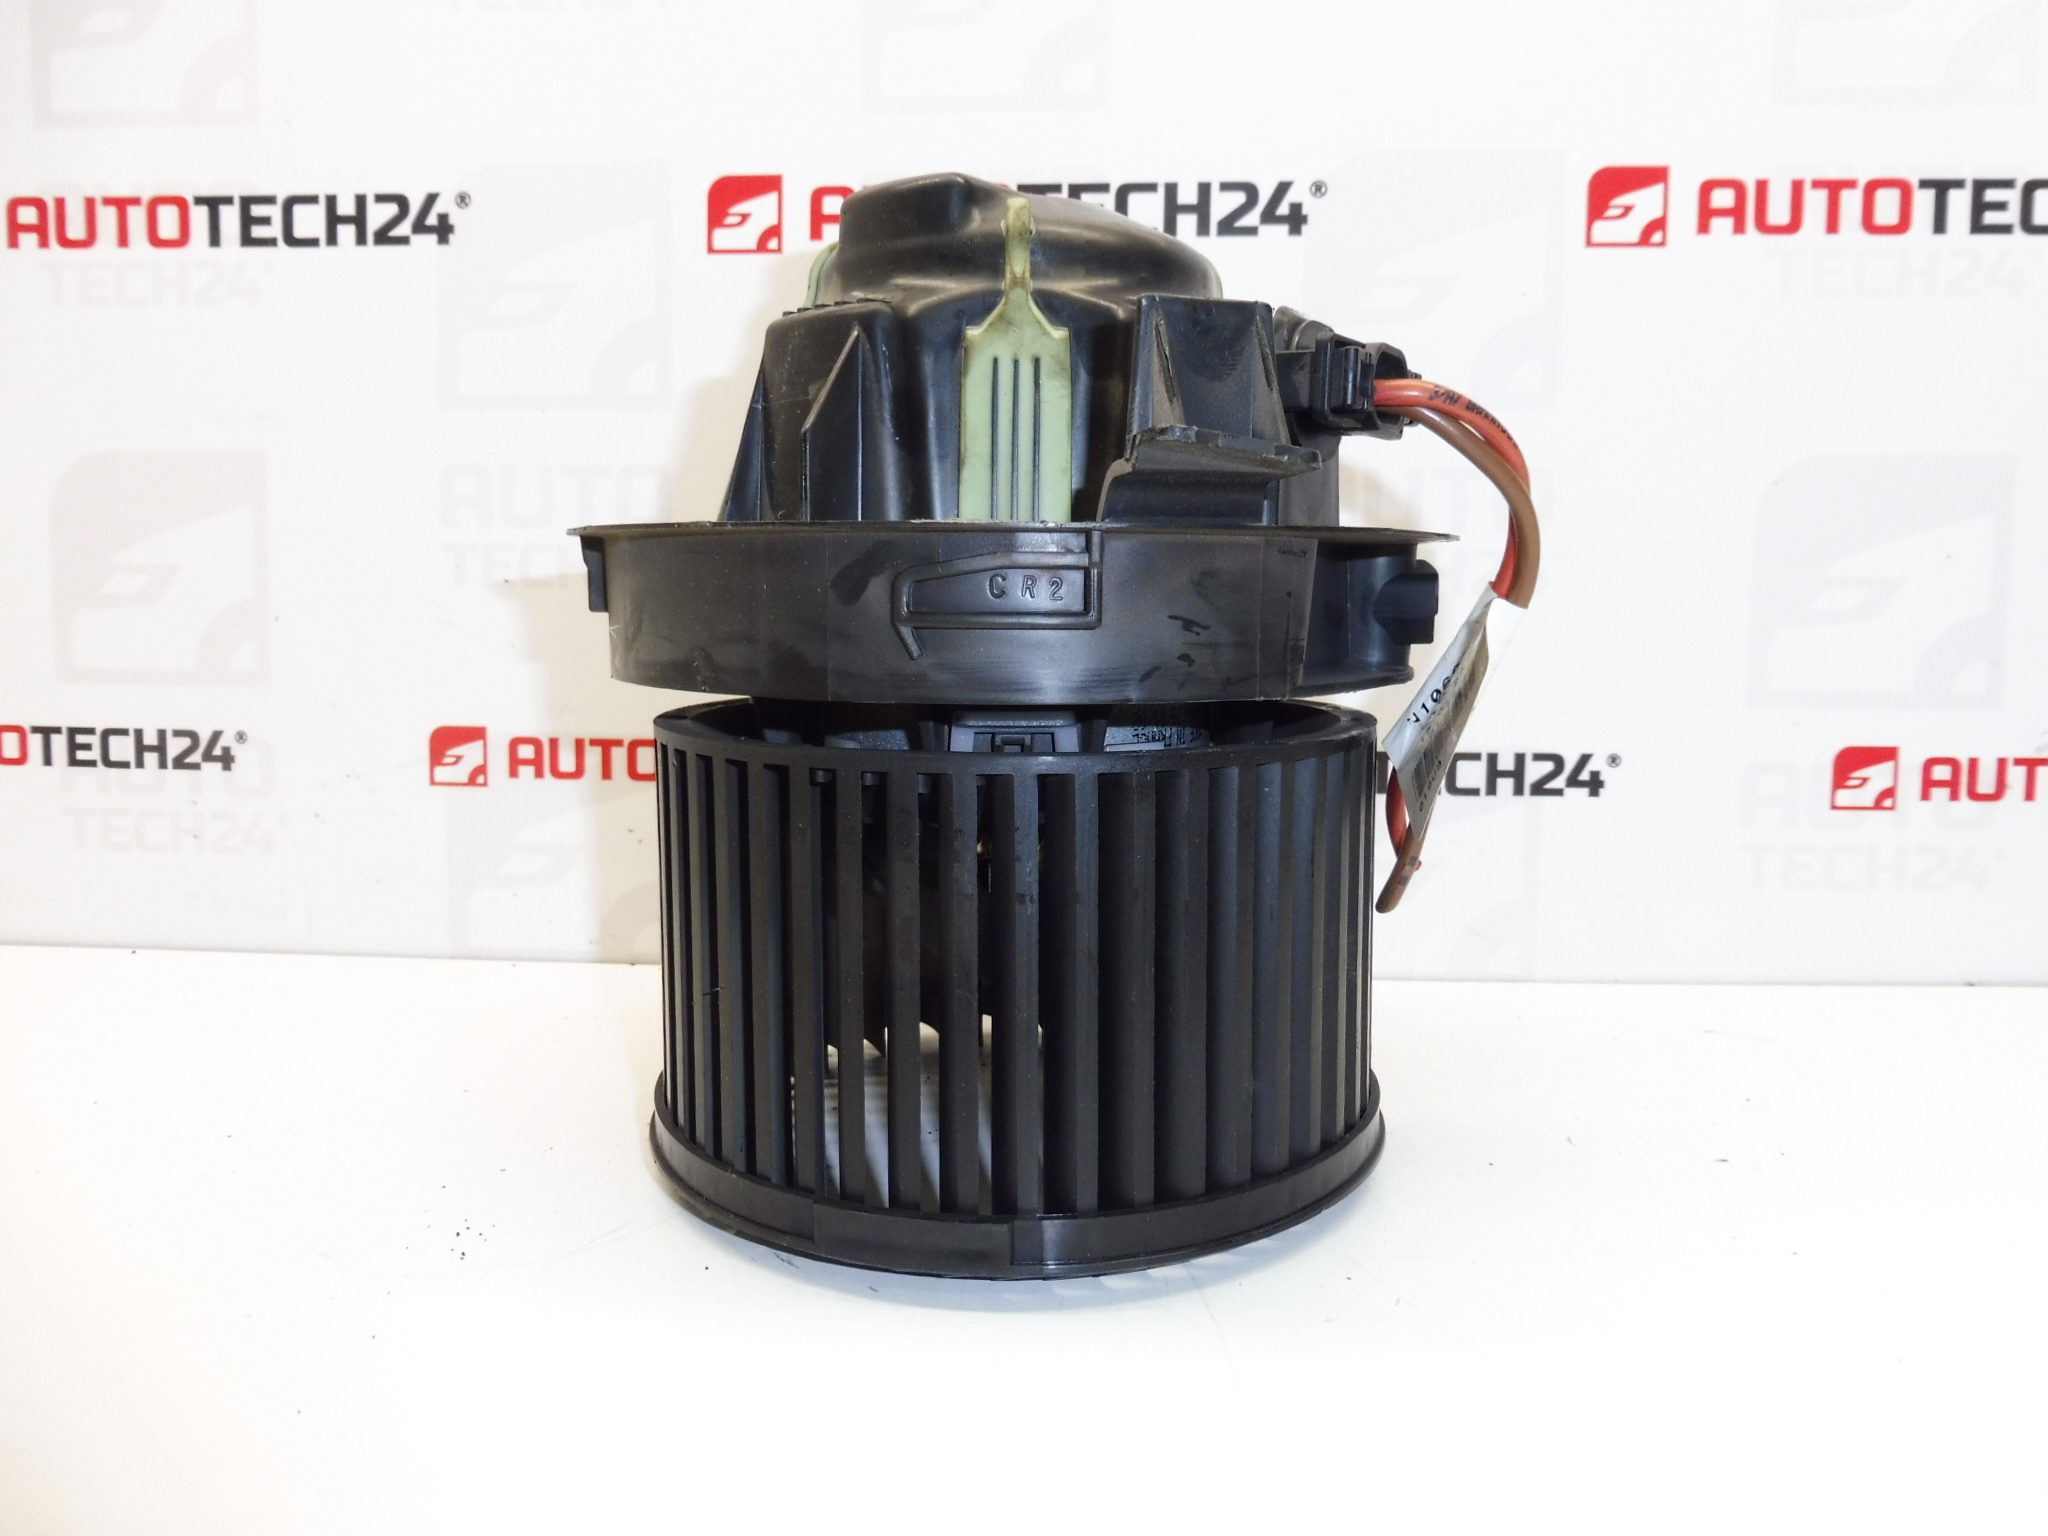
Heating fan from Valeo for Peugeot 207 cars
Part description
The Valeo heater fan is an electrical component of the heating/ventilation system that ensures air flow into the cabin. If the original fan is noisy, runs erratically or does not spin at all, replacing it with the correct part according to the number is the fastest way to restore a functional blower and comfort in the interior.
This is a used car part intended for Peugeot cars, and for correct identification it is crucial to compare the markings and product codes on the part.
Technical information
- Manufacturer: Valeo
- Model: Peugeot 207
- Other numbers: not specified
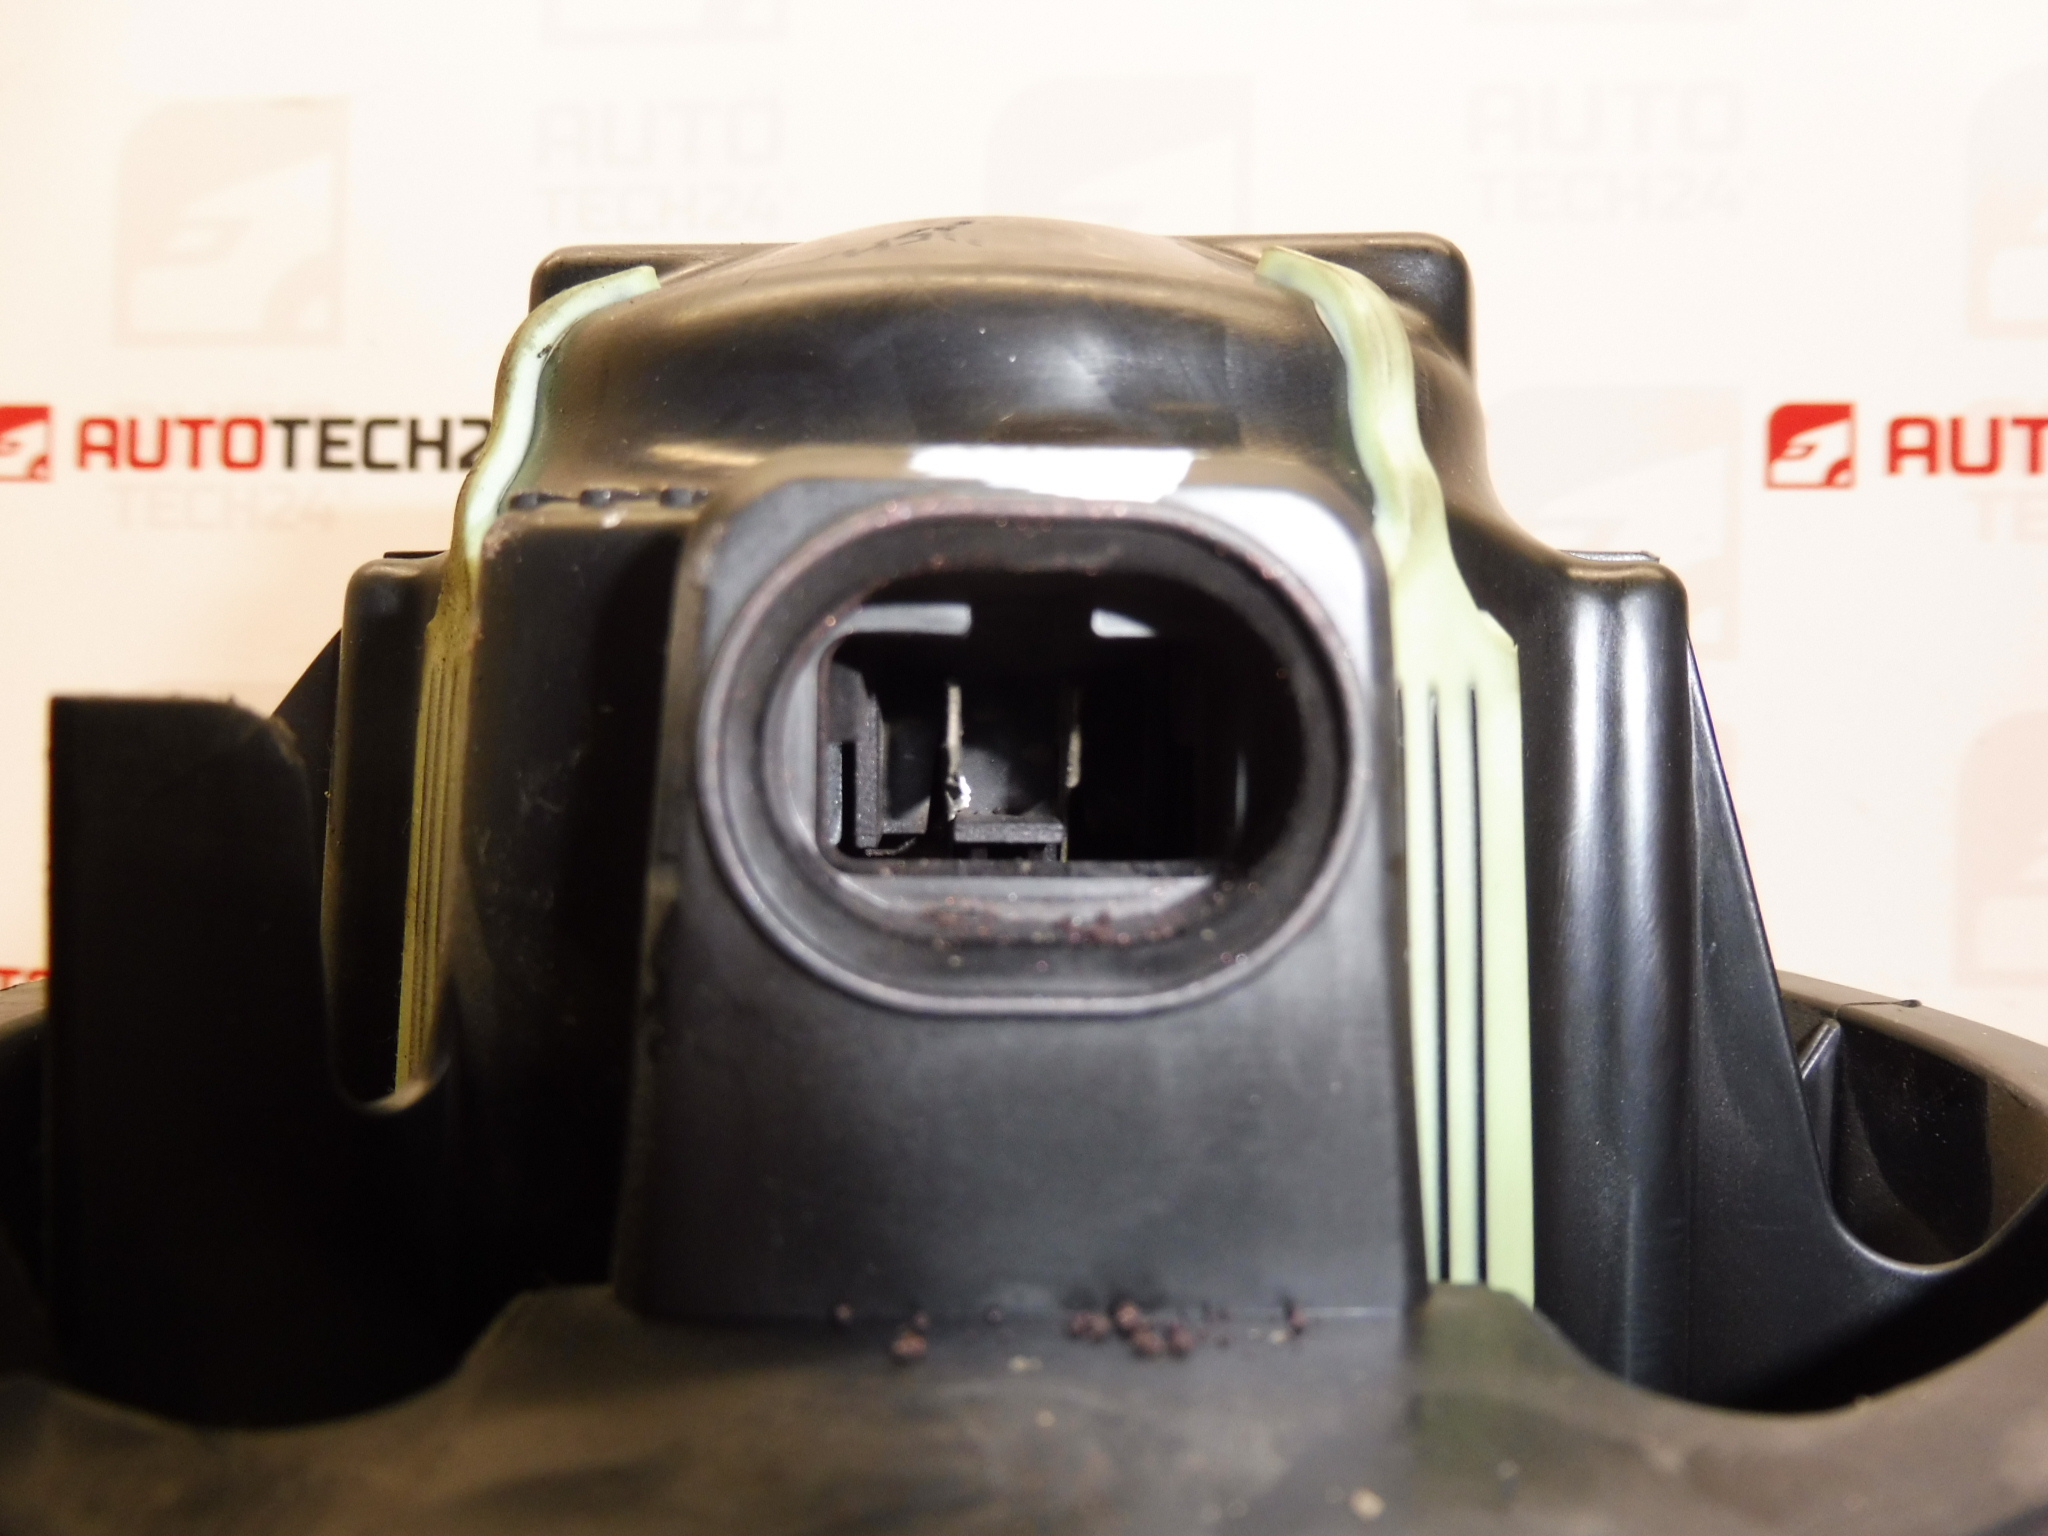
Product codes
- Product codes: N102992G, 6441V5
Installation recommendations
In general/typically, heater fan replacement varies by vehicle model and access to the fan unit. The procedure below is a practical general guide for this type of electrical part.
1) Before assembly
- Check the compatibility of the part with the old part: codes N102992G and 6441V5, fan body shape, mounting, connector type and position.
- Visually check the condition: undamaged blades, no cracks, no obvious burnout of the connector, free running (no rubbing).
- If the problem was “unable to turn on”, it is advisable to check in advance whether the fault was outside the fan (e.g. power supply/connector) – according to the possibilities of diagnostics and measurements.
2) Necessary tools and materials
- Basic set of hand tools (screwdrivers, socket wrenches/according to the type of connections)
- Plastic pry bar for removing covers/paneling (according to access)
- Flashlight
- Electrical contact cleaner (recommended)
- Work gloves
3) Step-by-step assembly procedure
- Turn off the ignition and disconnect the battery for safety.
- Ensure access to the heater fan (remove the necessary covers/panelling depending on the car design).
- Disconnect the fan electrical connector; unlock the connector without force to avoid breaking the latches.
- Check the connector and wiring – treat any oxidation with contact cleaner.
- Unfasten the fan mounting (screws/latches depending on the design) and carefully remove the fan.
- Compare the old and the new (used) piece once again – attachment, connector, dimensions, markings.
- Clean the seating area (dust/leaf debris) so that the fan seats properly and nothing interferes with the blades.
- Install the fan into the seat in the correct position and secure it using the original mounting method.
- Connect the electrical connector and make sure it is fully engaged and free of play.
- Reinstall the removed covers/trims.
- Connect the battery.
- Perform a functional test of the fan (various speeds, smooth running, no unusual noises).
-
4) Post-assembly checks and test drive/function verification
- Verify that the fan runs quietly and without vibration.
- Check that the reaction to the change in speed of the fan is smooth and without dropouts.
- After a short ride, listen to the fan again – whistling or screeching often indicates dirt in the seat or a seating problem.
5) The most common assembly mistakes + how to avoid them
- Swapping a part by appearance without checking codes → always compare the marking N102992G / 6441V5 and the connector.
- Damage to the connector or latches → unlock the connector correctly, do not pry with force.
- Mounting in a dirty area → before mounting, clean the seat so that nothing rubs against the blades.
- Cabling check omitted → in the case of the original “doesn’t work” fault, also check the condition of the contacts so that the problem does not recur.
Reasons why the part is damaged
- Bearing wear (noise, whistling, vibration, gradual grinding).
- Clogging with dirt (leaves, dust) – increased resistance, imbalance, noisy operation.
- Connector damage or transition resistors – heating, blackouts, erratic running.
- Long-term load (frequent operation at higher speeds) – faster mechanical wear.