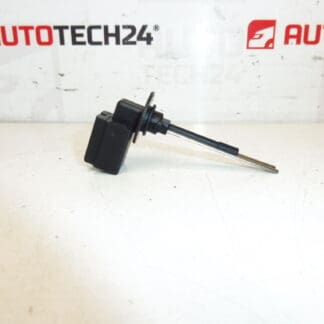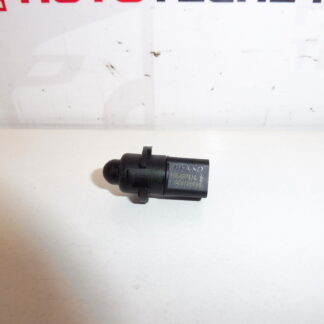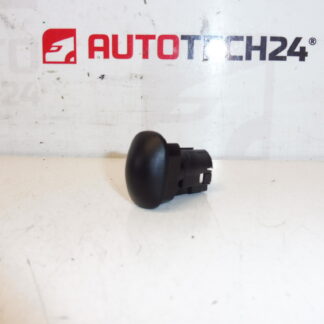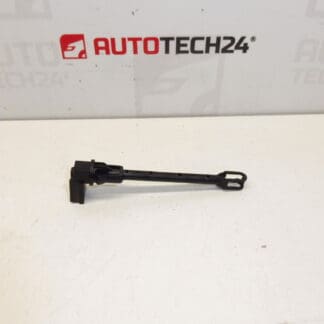
Description
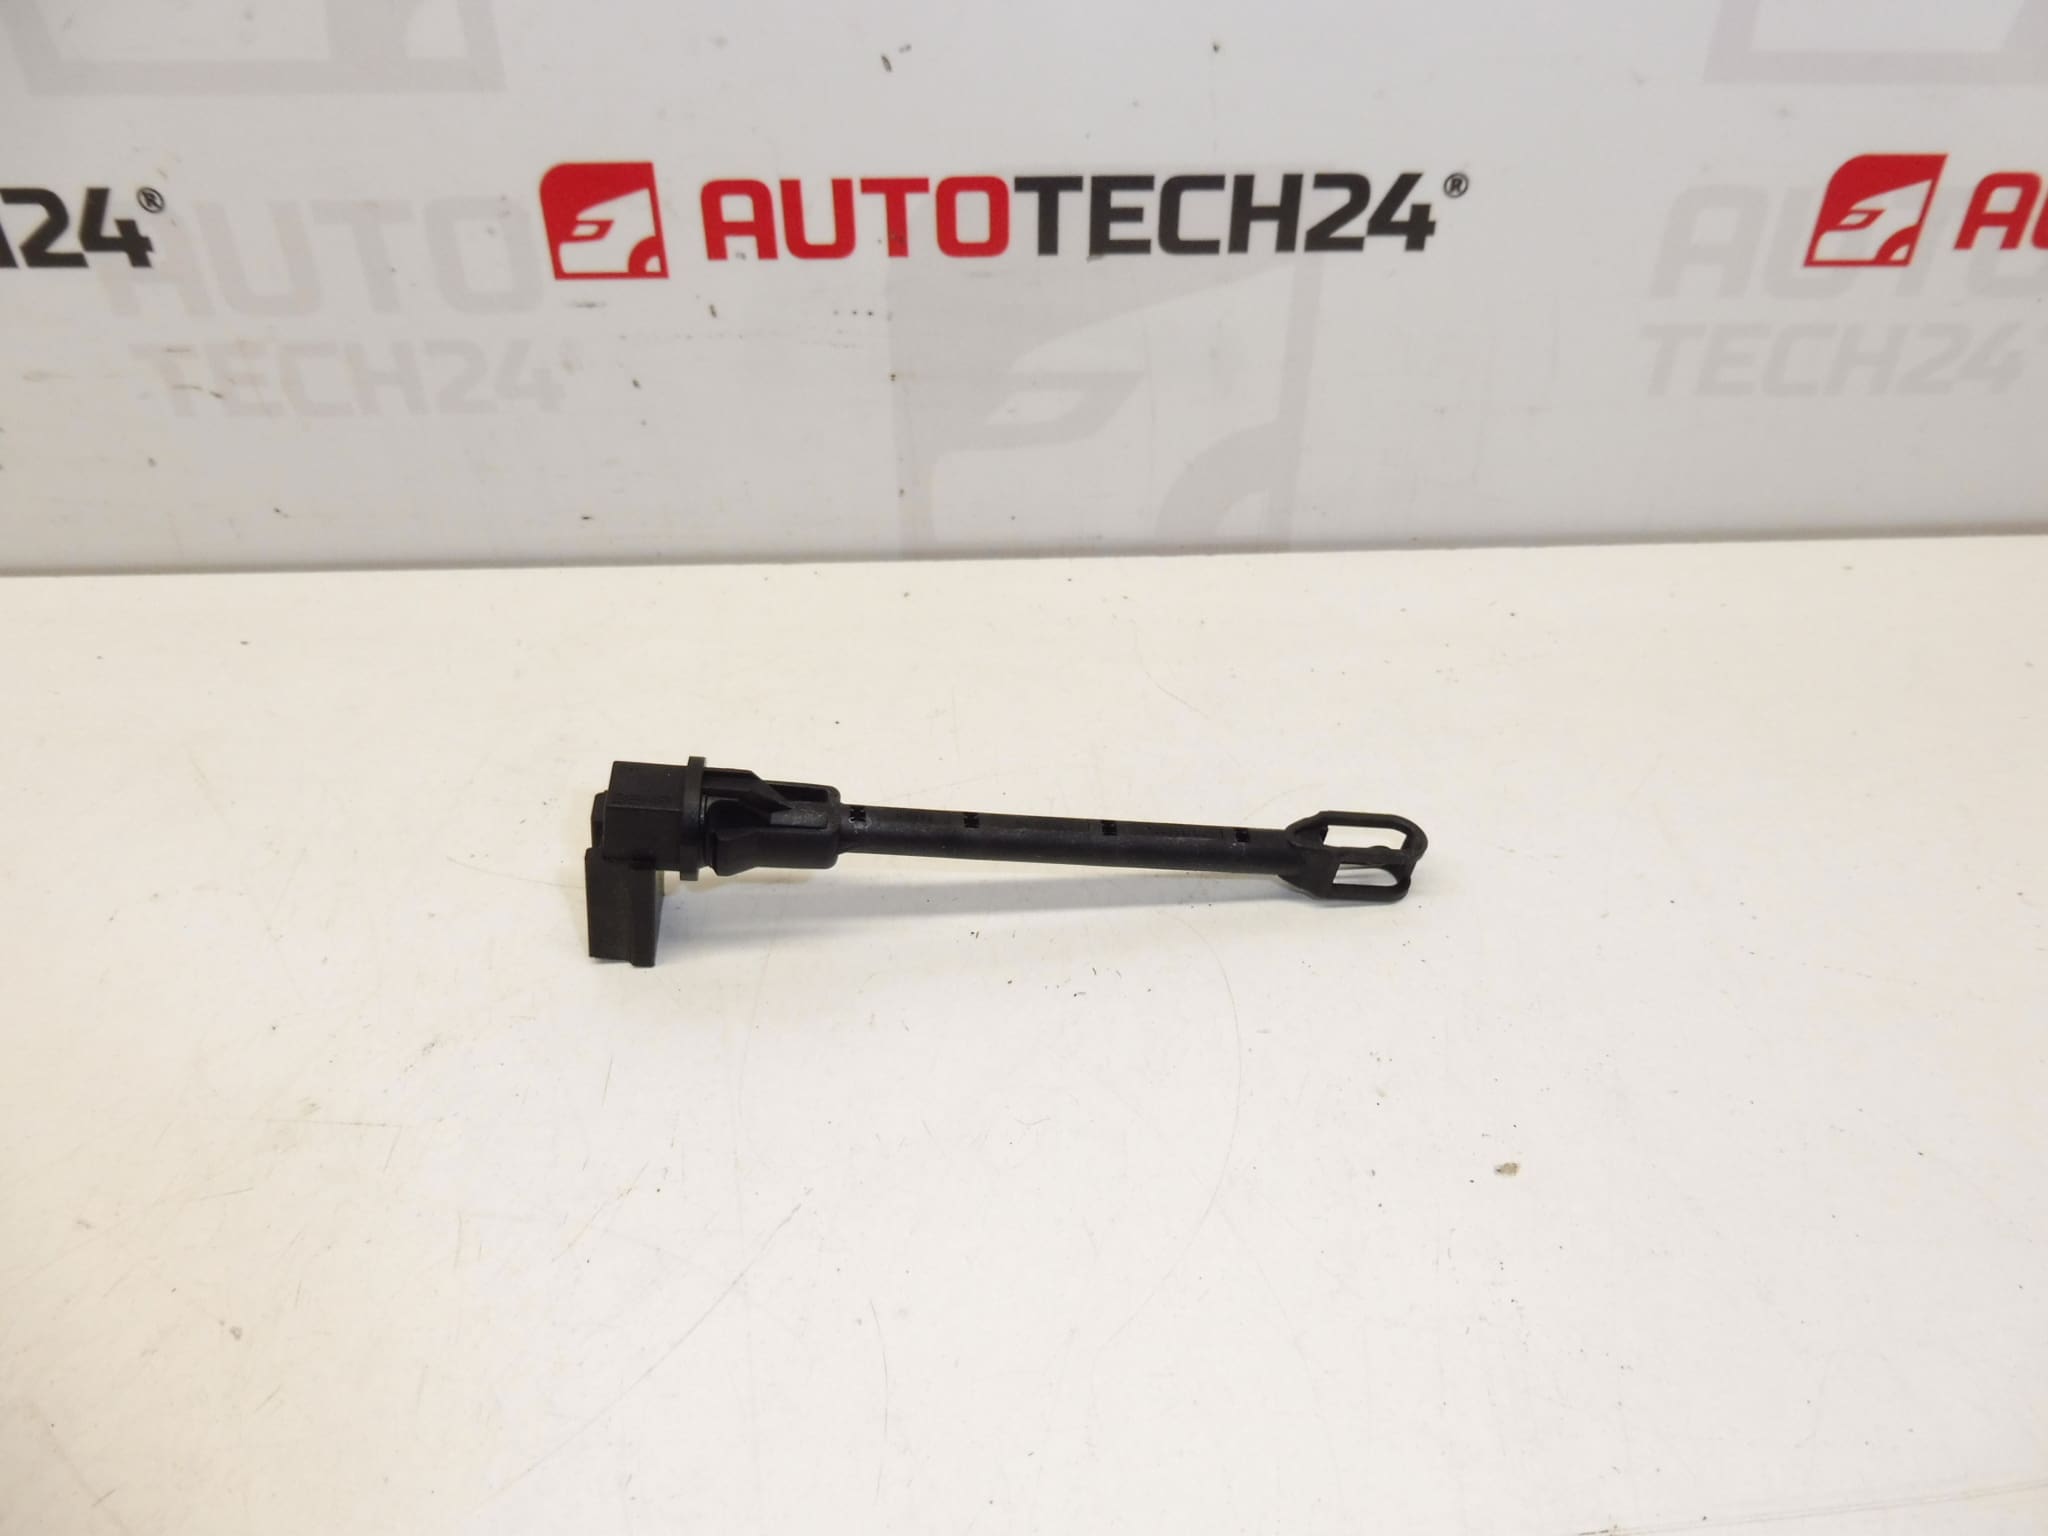
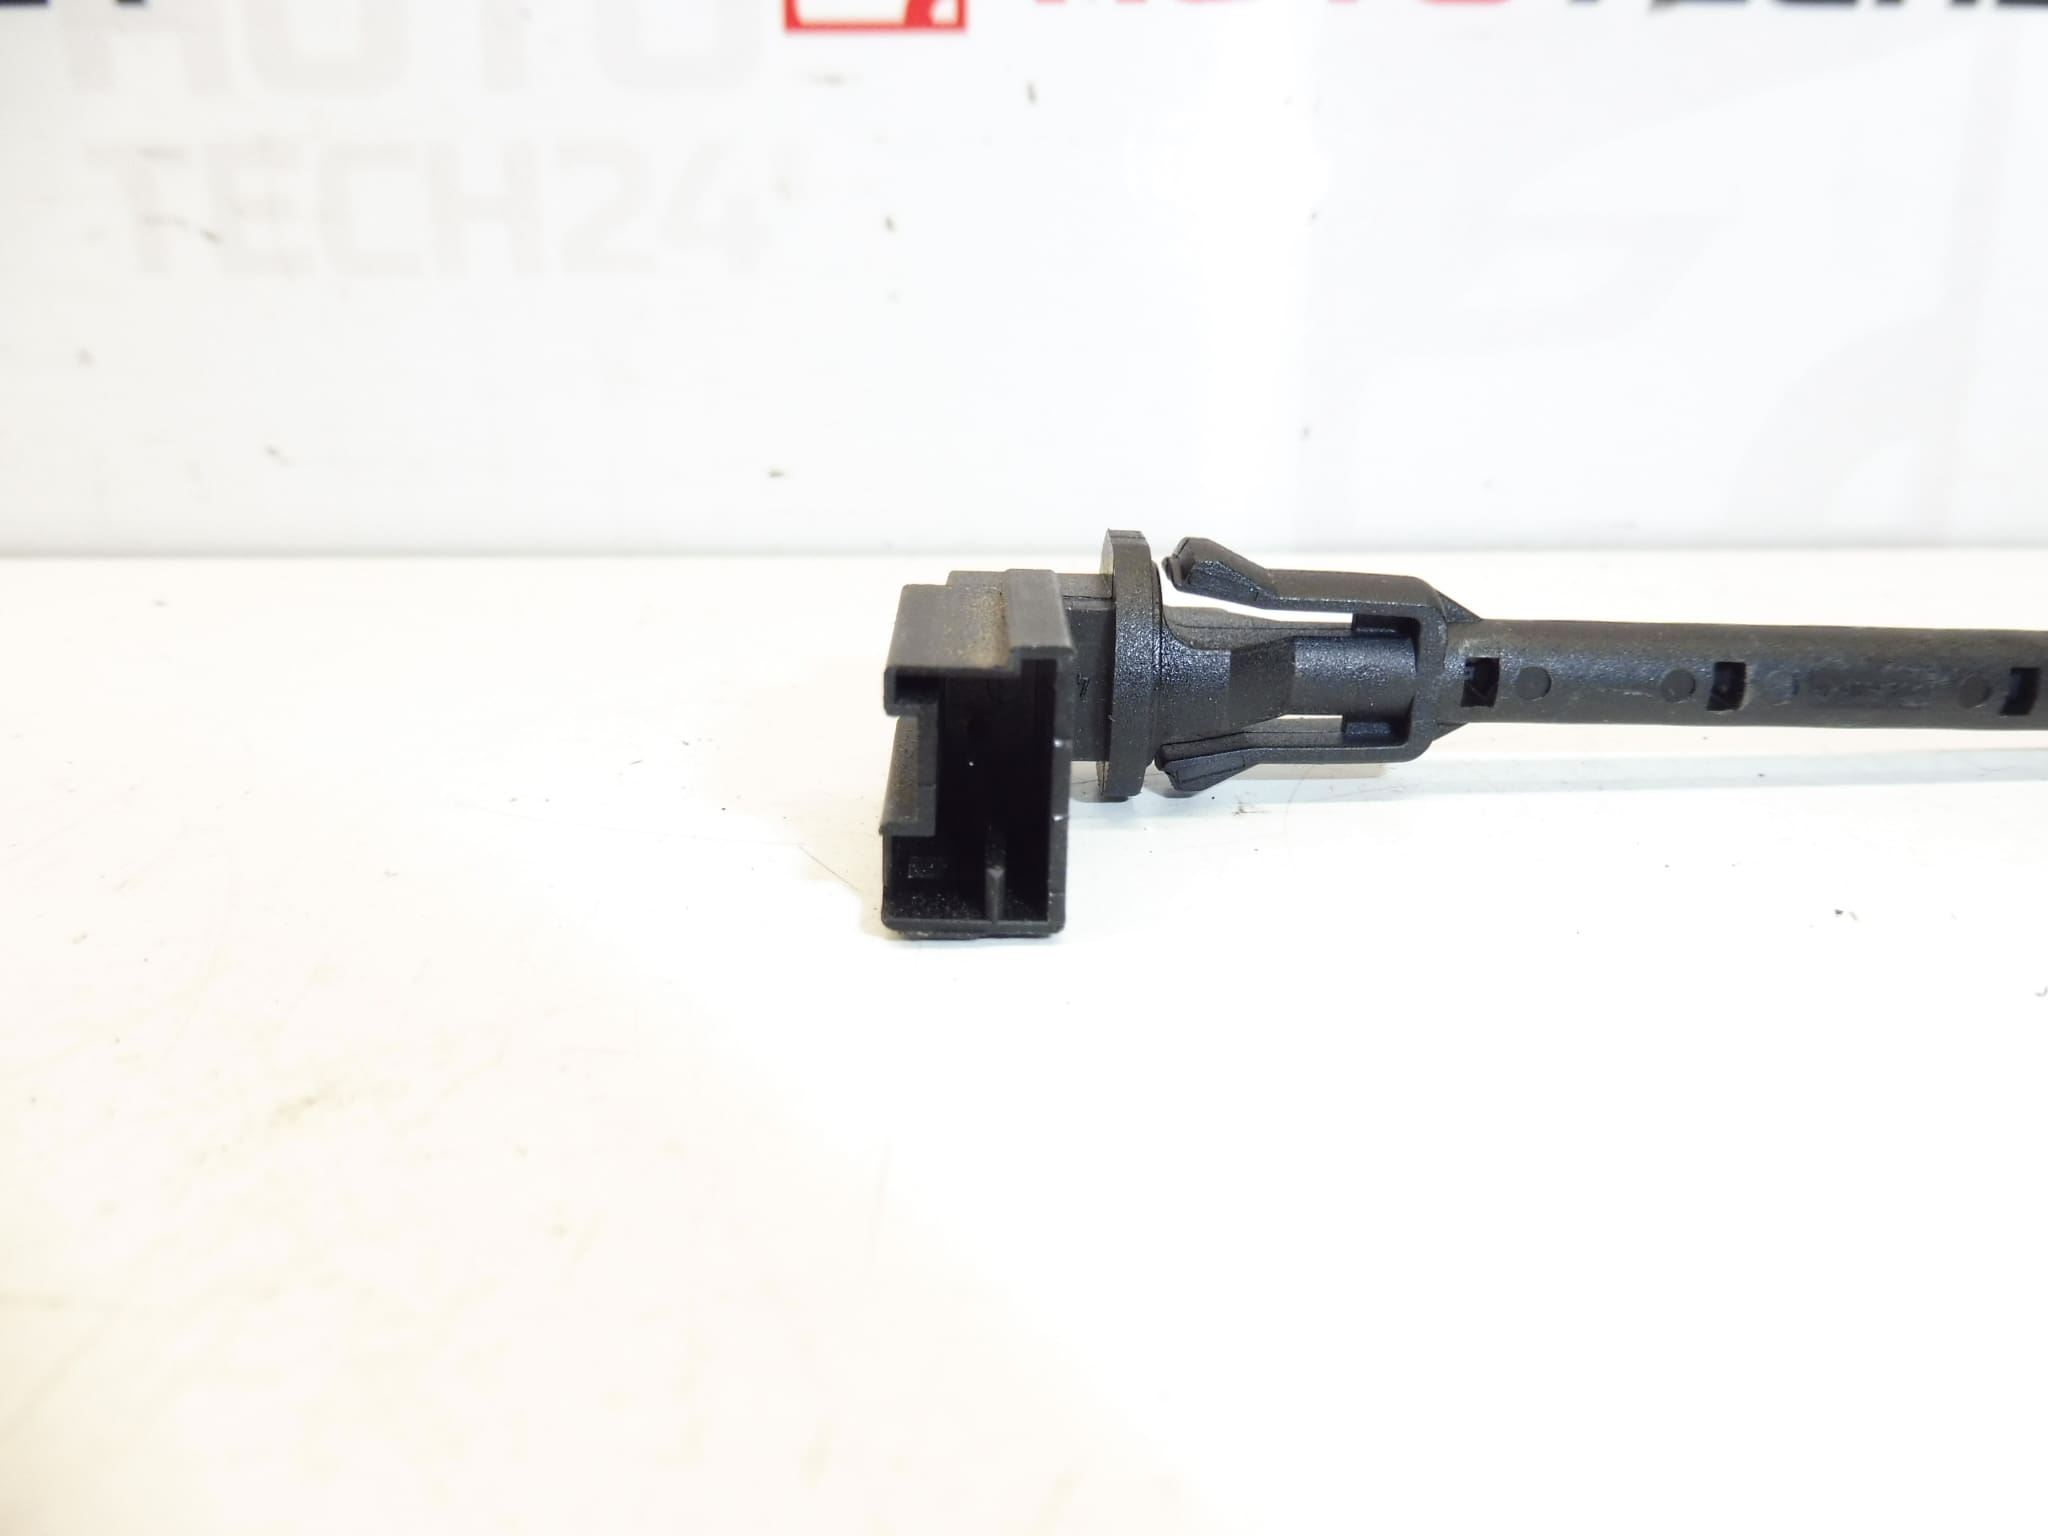
Internal air temperature sensor
Evaporator probe
Part description
This used temperature sensor for Citroën and Peugeot cars is intended for applications where reliable temperature sensing is required in relation to interior air and evaporator. The part is also searchable by 105133044 B and 6445JW, which facilitates correct identification during repair or replacement.
This is an electrical component from the category of temperature sensors, which can be important for the proper functioning of the comfort and regulation system. It is an advantage for mechanics and do-it-yourselfers that when replacing according to the original number, the corresponding part can be found more quickly.
Technical information
- Manufacturer: Stellantis Citroën Peugeot
- Model: Citroën Xsara Picasso, Peugeot 206, Peugeot 307
- Other numbers: 105133044 B, 6445JW
Product codes
- Product codes: 105133044 B, 6445JW
- Model names: Citroën Xsara Picasso, Peugeot 206, Peugeot 307
Installation recommendations
Generally/typically for this type of electrical part, the exact method of replacement depends on the specific design of the car and access to the part. With a used sensor, it is always important to carefully compare it with the old one and handle the connector and cabling carefully.
1) Before assembly
- Check if the part shape, connector, mounting and marking 105133044 B or 6445JW match the old sensor.
- Check the condition of the contacts, whether they are oxidized, bent or mechanically damaged.
- Check the sensor body for cracks or other damage.
- Disconnect the battery before starting work, if this is in accordance with normal service practice for the vehicle in question.
2) Necessary tools and materials
- regular set of hand tools
- screwdrivers or a plastic pry bar for removing covers
- cleaning agent for electrical contacts
- clean cloth
- work gloves and lighting of the work area
3) Step-by-step assembly procedure
- Secure the vehicle against movement and prepare a work area.
- Depending on the design of the car, remove the covers or parts of the trim that prevent access to the sensor.
- Carefully disconnect the electrical connector from the old part without pulling on the cables.
- Release the original sensor from the holder or mount in a manner consistent with its design.
- Compare the old and new part side by side, especially the connector, body shape and markings.
- If necessary, gently clean the connector and the surroundings of the storage from dirt.
- Place the used sensor in the correct position so that it sits without tension or force.
- Connect the connector and verify that the connection is tight and clicks properly.
- Reinstall all removed covers and trim.
- Restore power to the vehicle if it was disconnected.
-
4) Post-assembly checks and test drive/function verification
- Check that the connector is tight and the wiring is not pinched.
- Verify that the system works without dropouts or fluctuations after installation.
- If possible with the car, observe the behavior of the related system during normal operation.
- After a short test drive or operational check, recheck the correct seating of the part.
5) The most common assembly mistakes + how to avoid them
- Exchanging a part based on appearance – always compare the product numbers as well.
- Damage to the connector – disconnect the connector gently and without prying with an inappropriate tool.
- Insufficient seating of the sensor – after assembly, verify that the part is properly seated.
- Neglecting to check the contacts – oxidized or loose contacts can cause malfunction even after replacement.
- Pinch of wiring when refitting covers – check cable routing before assembly.
Reasons why the part is damaged
- normal wear and tear of material
- long-term temperature stress
- moisture, condensation or oxidation of contacts
- mechanical damage during disassembly or improper handling
- loose or dirty electrical connector
- vibration and stress of cabling in operation