Description
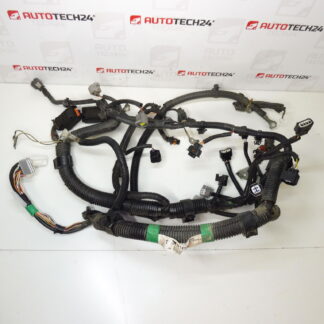
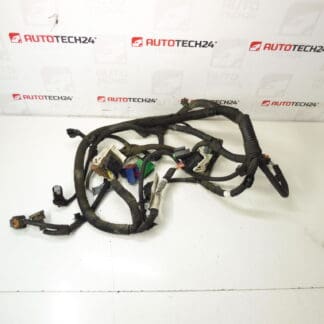
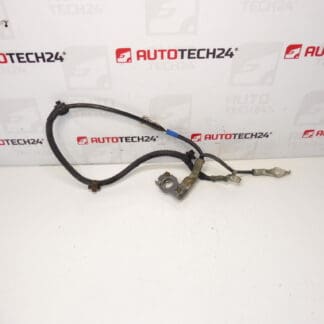
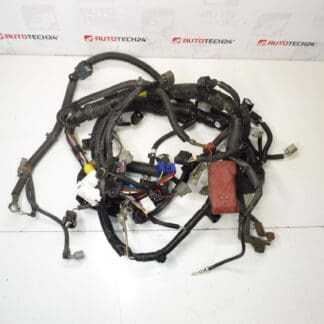
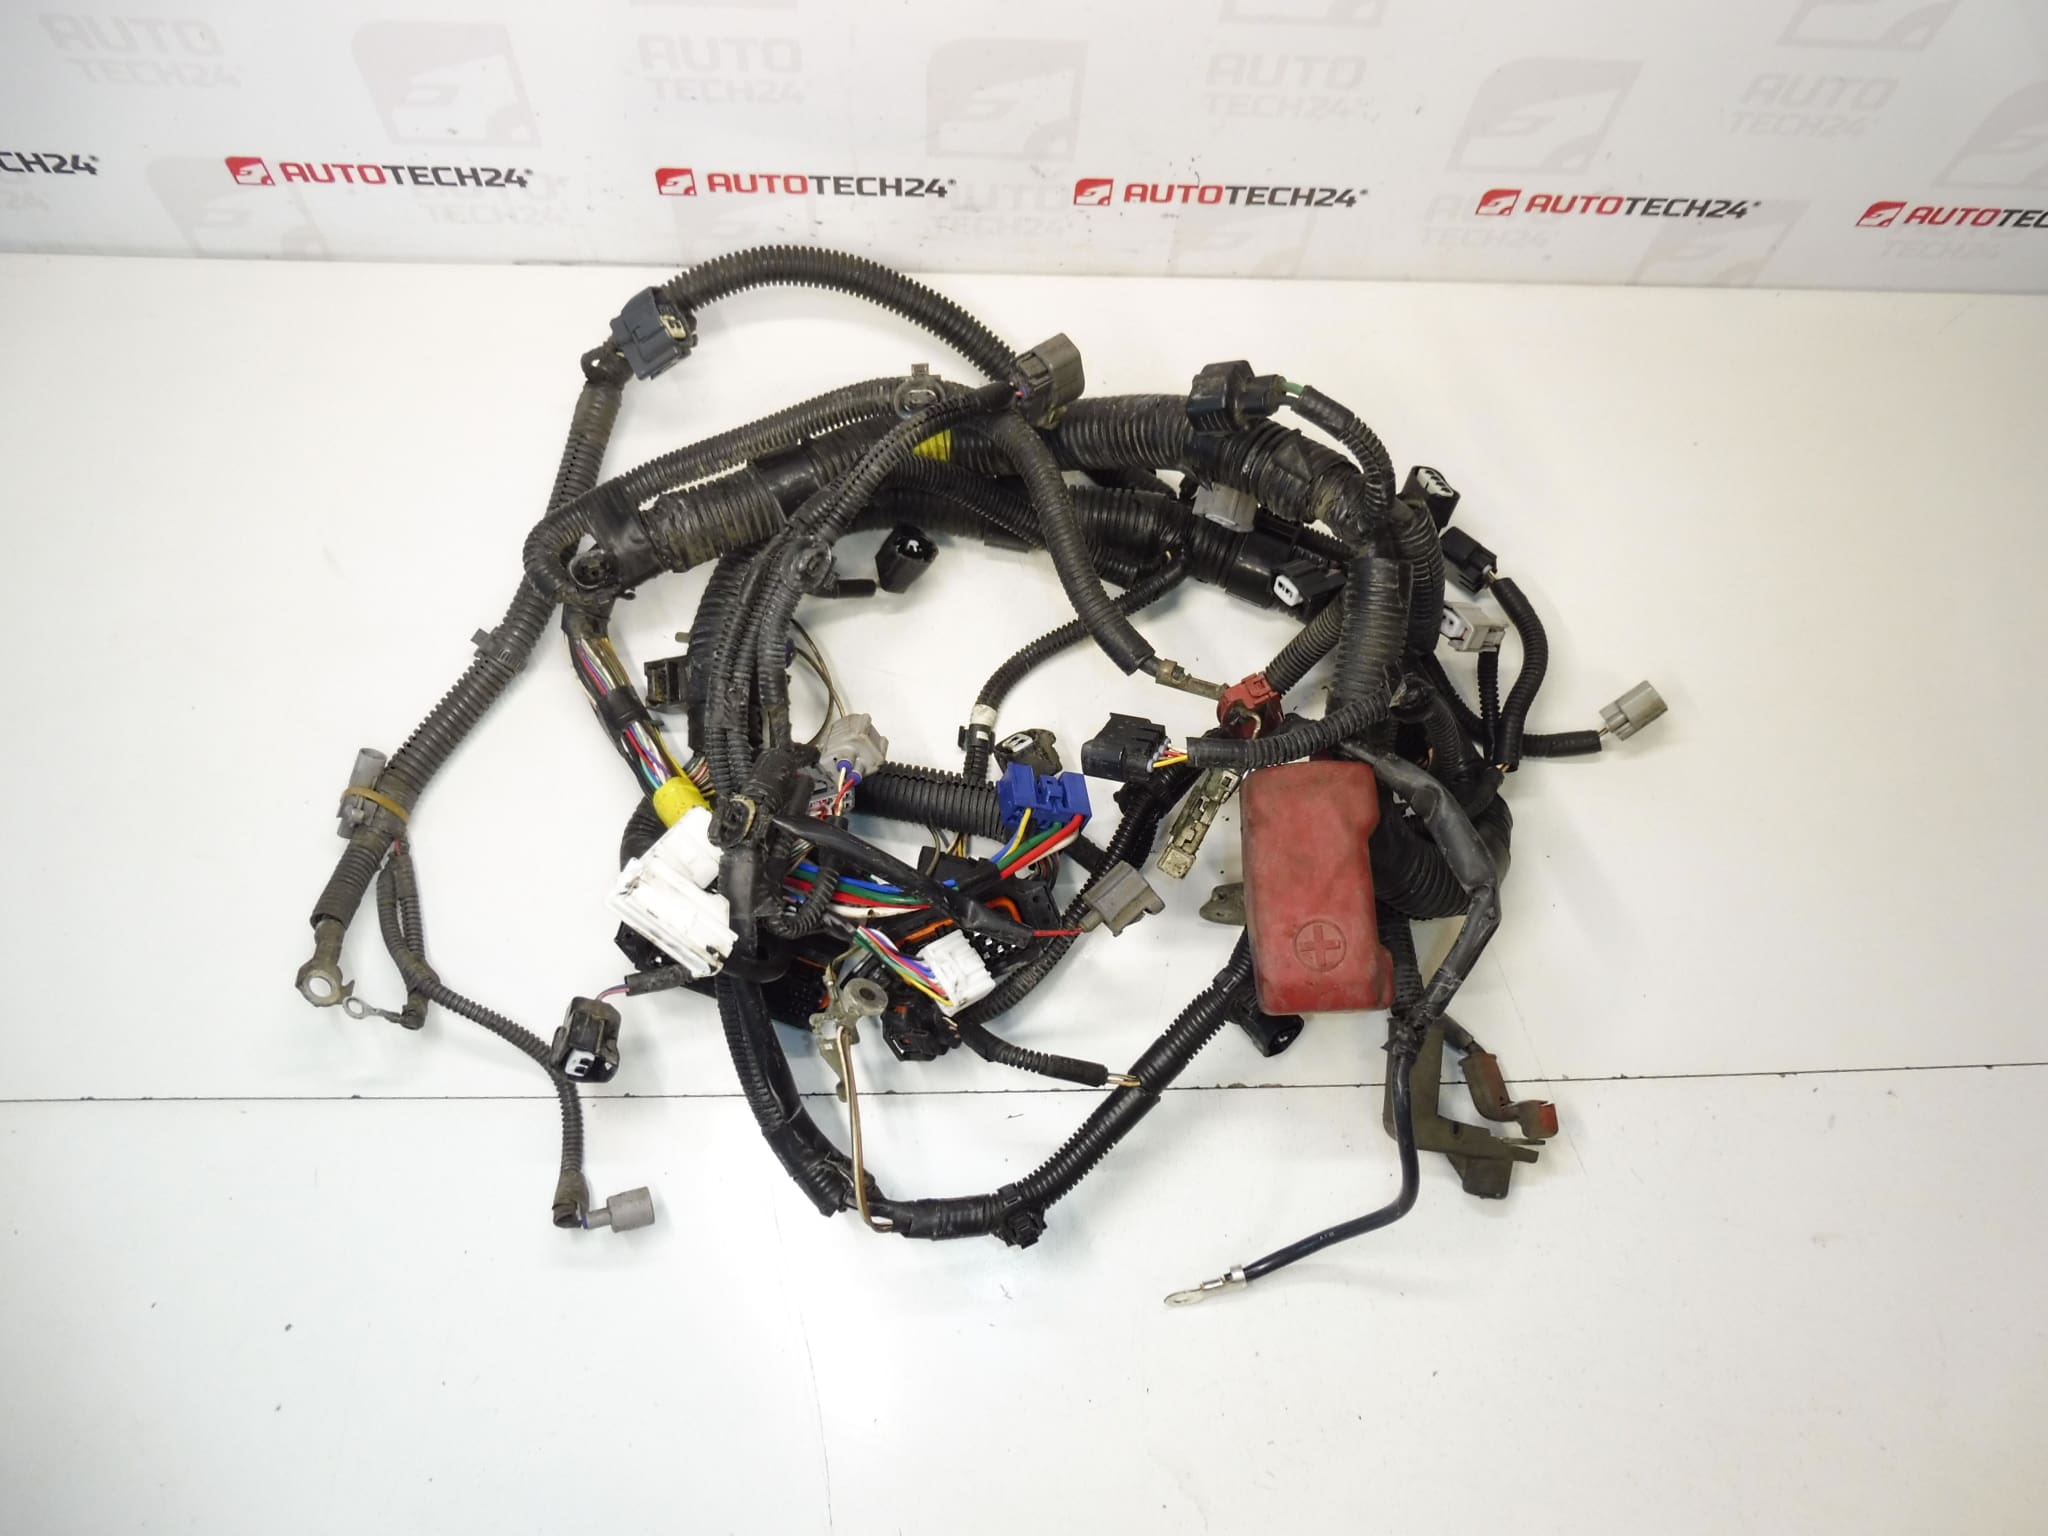
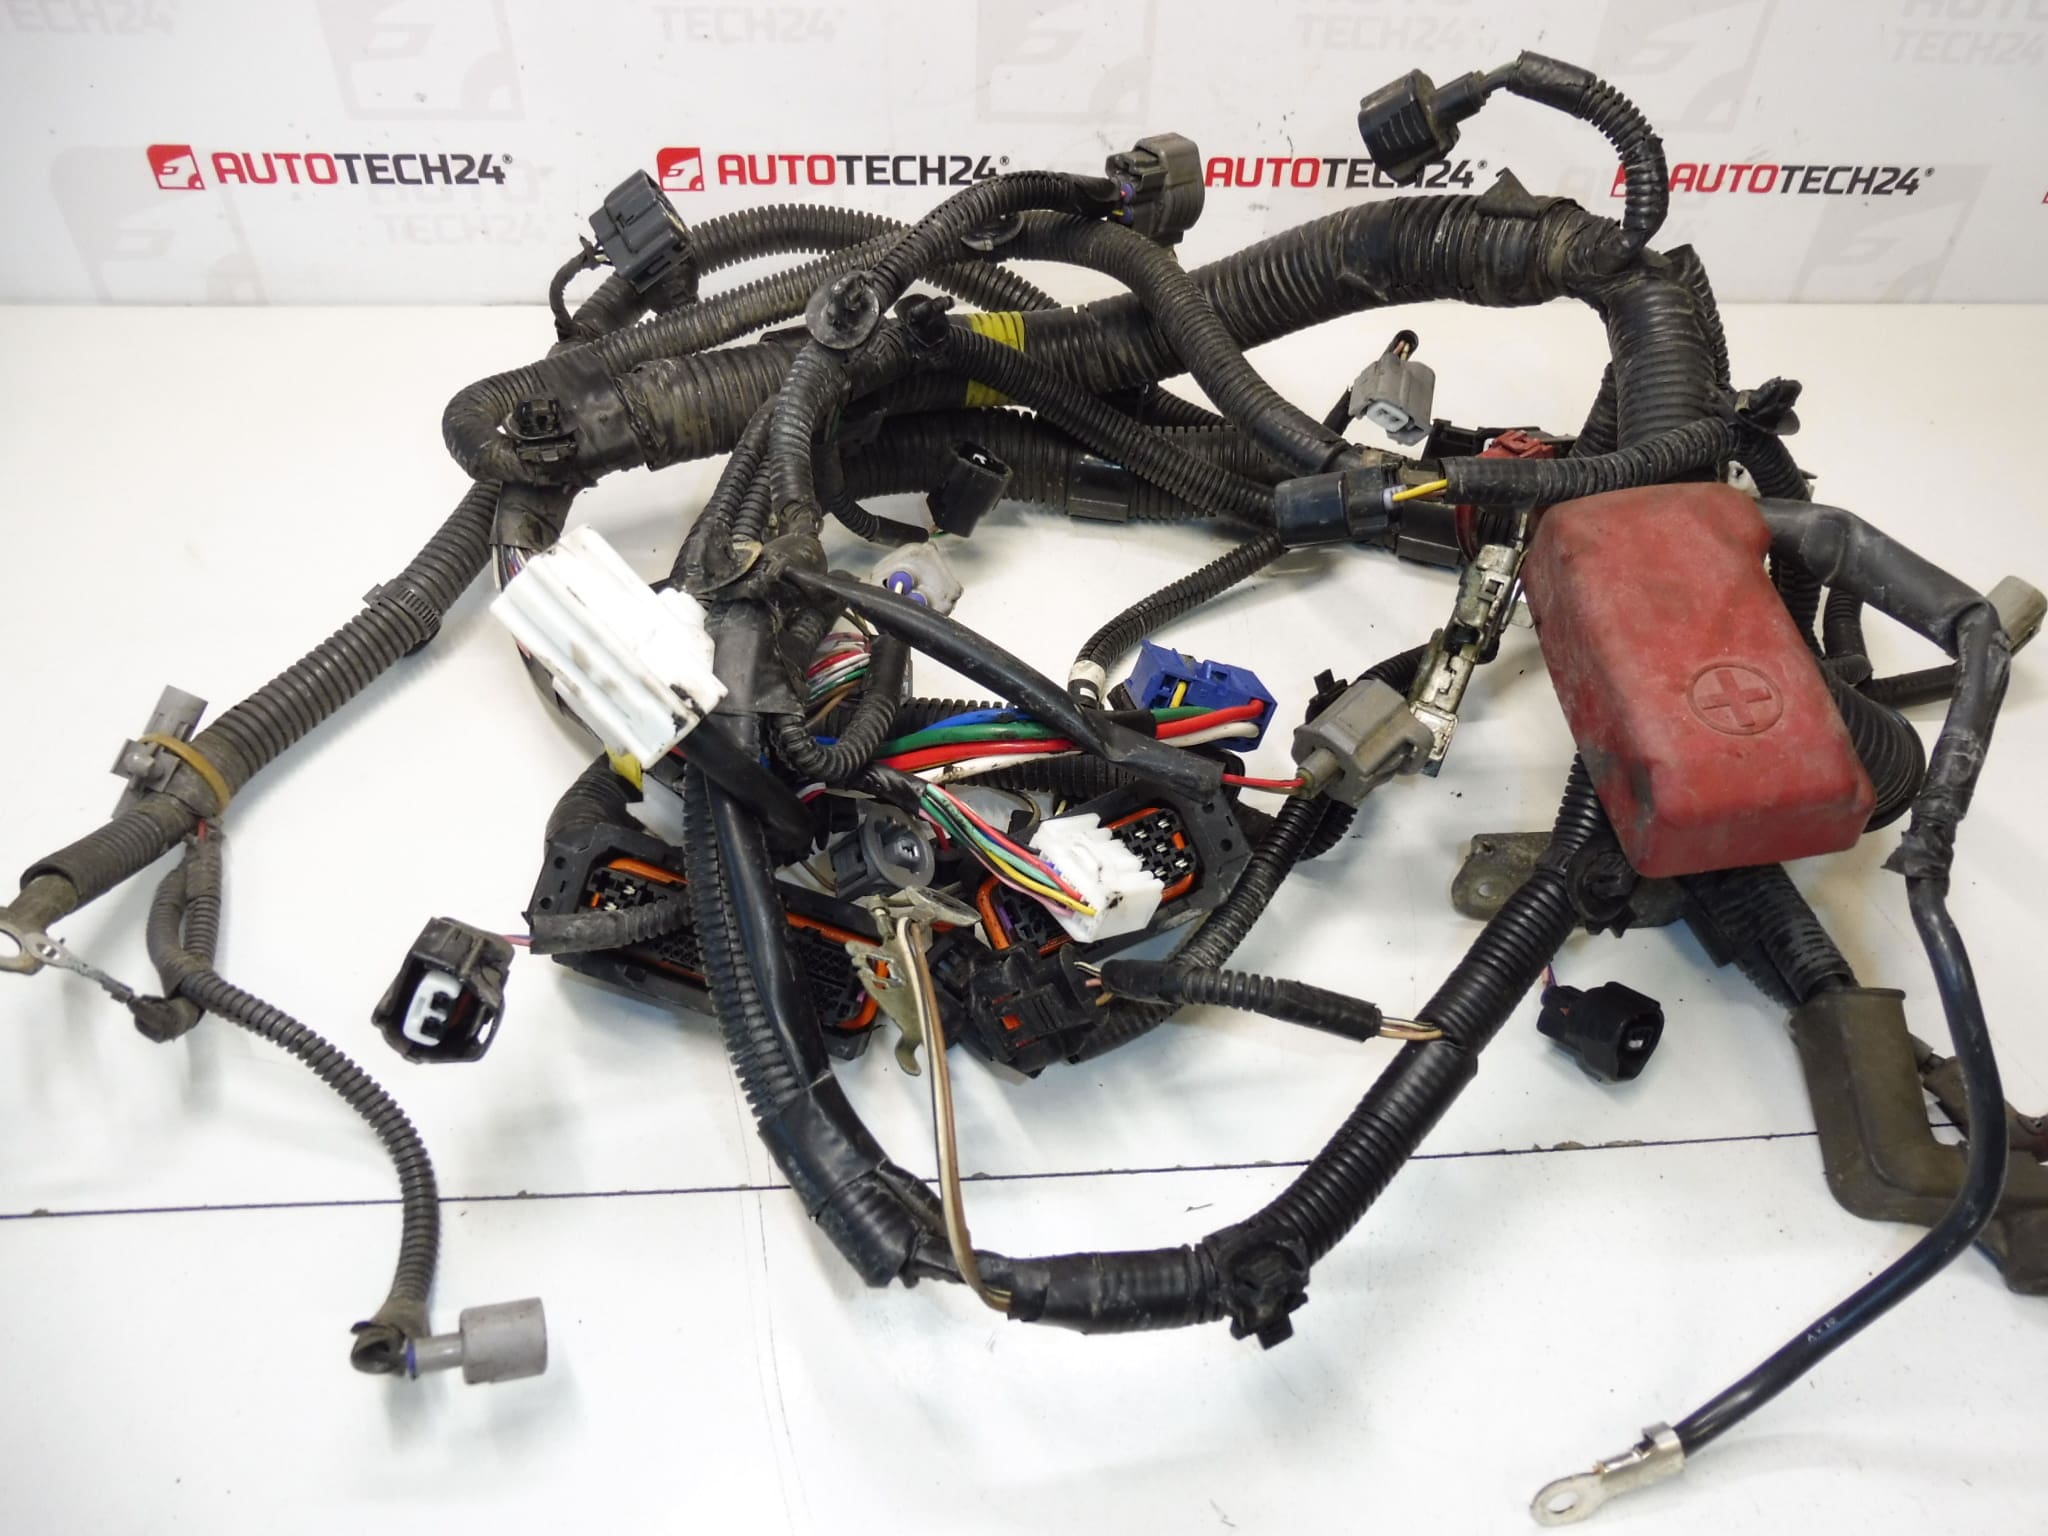
Complete engine wiring harness for vehicles with an automated manual transmission. For Citroën C1, Toyota Aygo and Peugeot 107 1.0 automatic.
Overview
This complete engine wiring harness is designed for 1.0 petrol models equipped with an automated manual (robotic) gearbox. It provides all main power and signal connections between the engine control units, sensors, actuators and the transmission control elements, ensuring reliable communication and power distribution across the engine bay. Ideal for professional workshops and experienced DIY mechanics who need a direct-fit replacement part identified by the common part number 821210H310.
Features and Benefits
- Direct Fit Replacement: Designed to match original routing and connector interfaces for straightforward installation.
- Complete Assembly: Includes the main loom and associated connectors required for engine and gearbox integration.
- OEM Cross-Reference: Supplied with manufacturer reference codes for easy identification during ordering.
- Durability Focus: Engine bay grade insulation and protective sleeving to resist heat and abrasion under normal conditions.
- Improves Reliability: Replacing a damaged harness restores proper sensor and actuator signals, eliminating intermittent faults and transmission-related errors.
Compatibility
Fits the following models (1.0, automated transmission):
- Citroën C1
- Toyota Aygo
- Peugeot 107
Technical Information
Manufacturer: Stellantis
Model: Citroën C1 / Toyota Aygo / Peugeot 107 1.0 Automatic
Product Codes: 821210H310
Other Numbers: B000687980
Installation Recommendations
Safety first: Always disconnect the battery before beginning work to avoid short circuits and protect electronic modules. Follow these general steps for replacement:
- Park the vehicle on a level surface and disconnect the negative battery terminal.
- Remove any covers or trim that obstruct access to the engine harness routing, including airbox or battery tray if necessary.
- Label or photograph connector locations before unplugging to ensure correct reconnection.
- Unclip the old harness from its retainers and unplug all connectors from sensors, actuators and control units.
- Route the new harness following the factory path, secure with OEM-type clips and ties, and reconnect all connectors until they click firmly into place.
- Reinstall removed components, reconnect the battery and clear any stored fault codes using a diagnostic tool. Verify correct operation of engine and gearbox functions during a controlled test drive.
This replacement is suitable for experienced DIYers but some steps may require workshop tools and diagnostic equipment to clear and verify transmission-related faults. When in doubt, seek a professional with appropriate tools.
How The Part Is Replaced On The Vehicle
The harness is removed by disconnecting the battery, detaching obstructing components, unplugging every connector along the loom and unfastening all clips and mounts. The new harness is fitted by reversing these steps, ensuring connectors are fully seated and the loom is secured away from heat sources and moving parts.
Why This Part Typically Fails
Engine wiring harness failures are most often caused by mechanical damage and environmental factors rather than manufacturing defects. Common causes include:
- Abrasion or chafing where the harness rubs on bodywork or engine components.
- Heat damage from exhaust components or prolonged high underbonnet temperatures leading to brittle insulation.
- Corrosion of connector pins due to moisture ingress or salt exposure, causing poor electrical contact.
- Rodent damage where wiring insulation is chewed.
- Accidental damage during previous repairs or improper routing/retention.
Addressing the root cause during installation and securing the harness correctly significantly reduces the risk of repeat failures.