Description
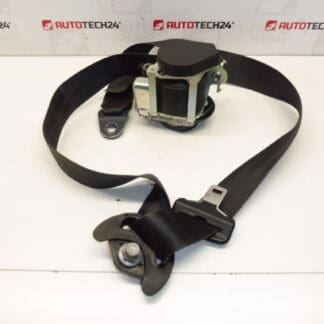
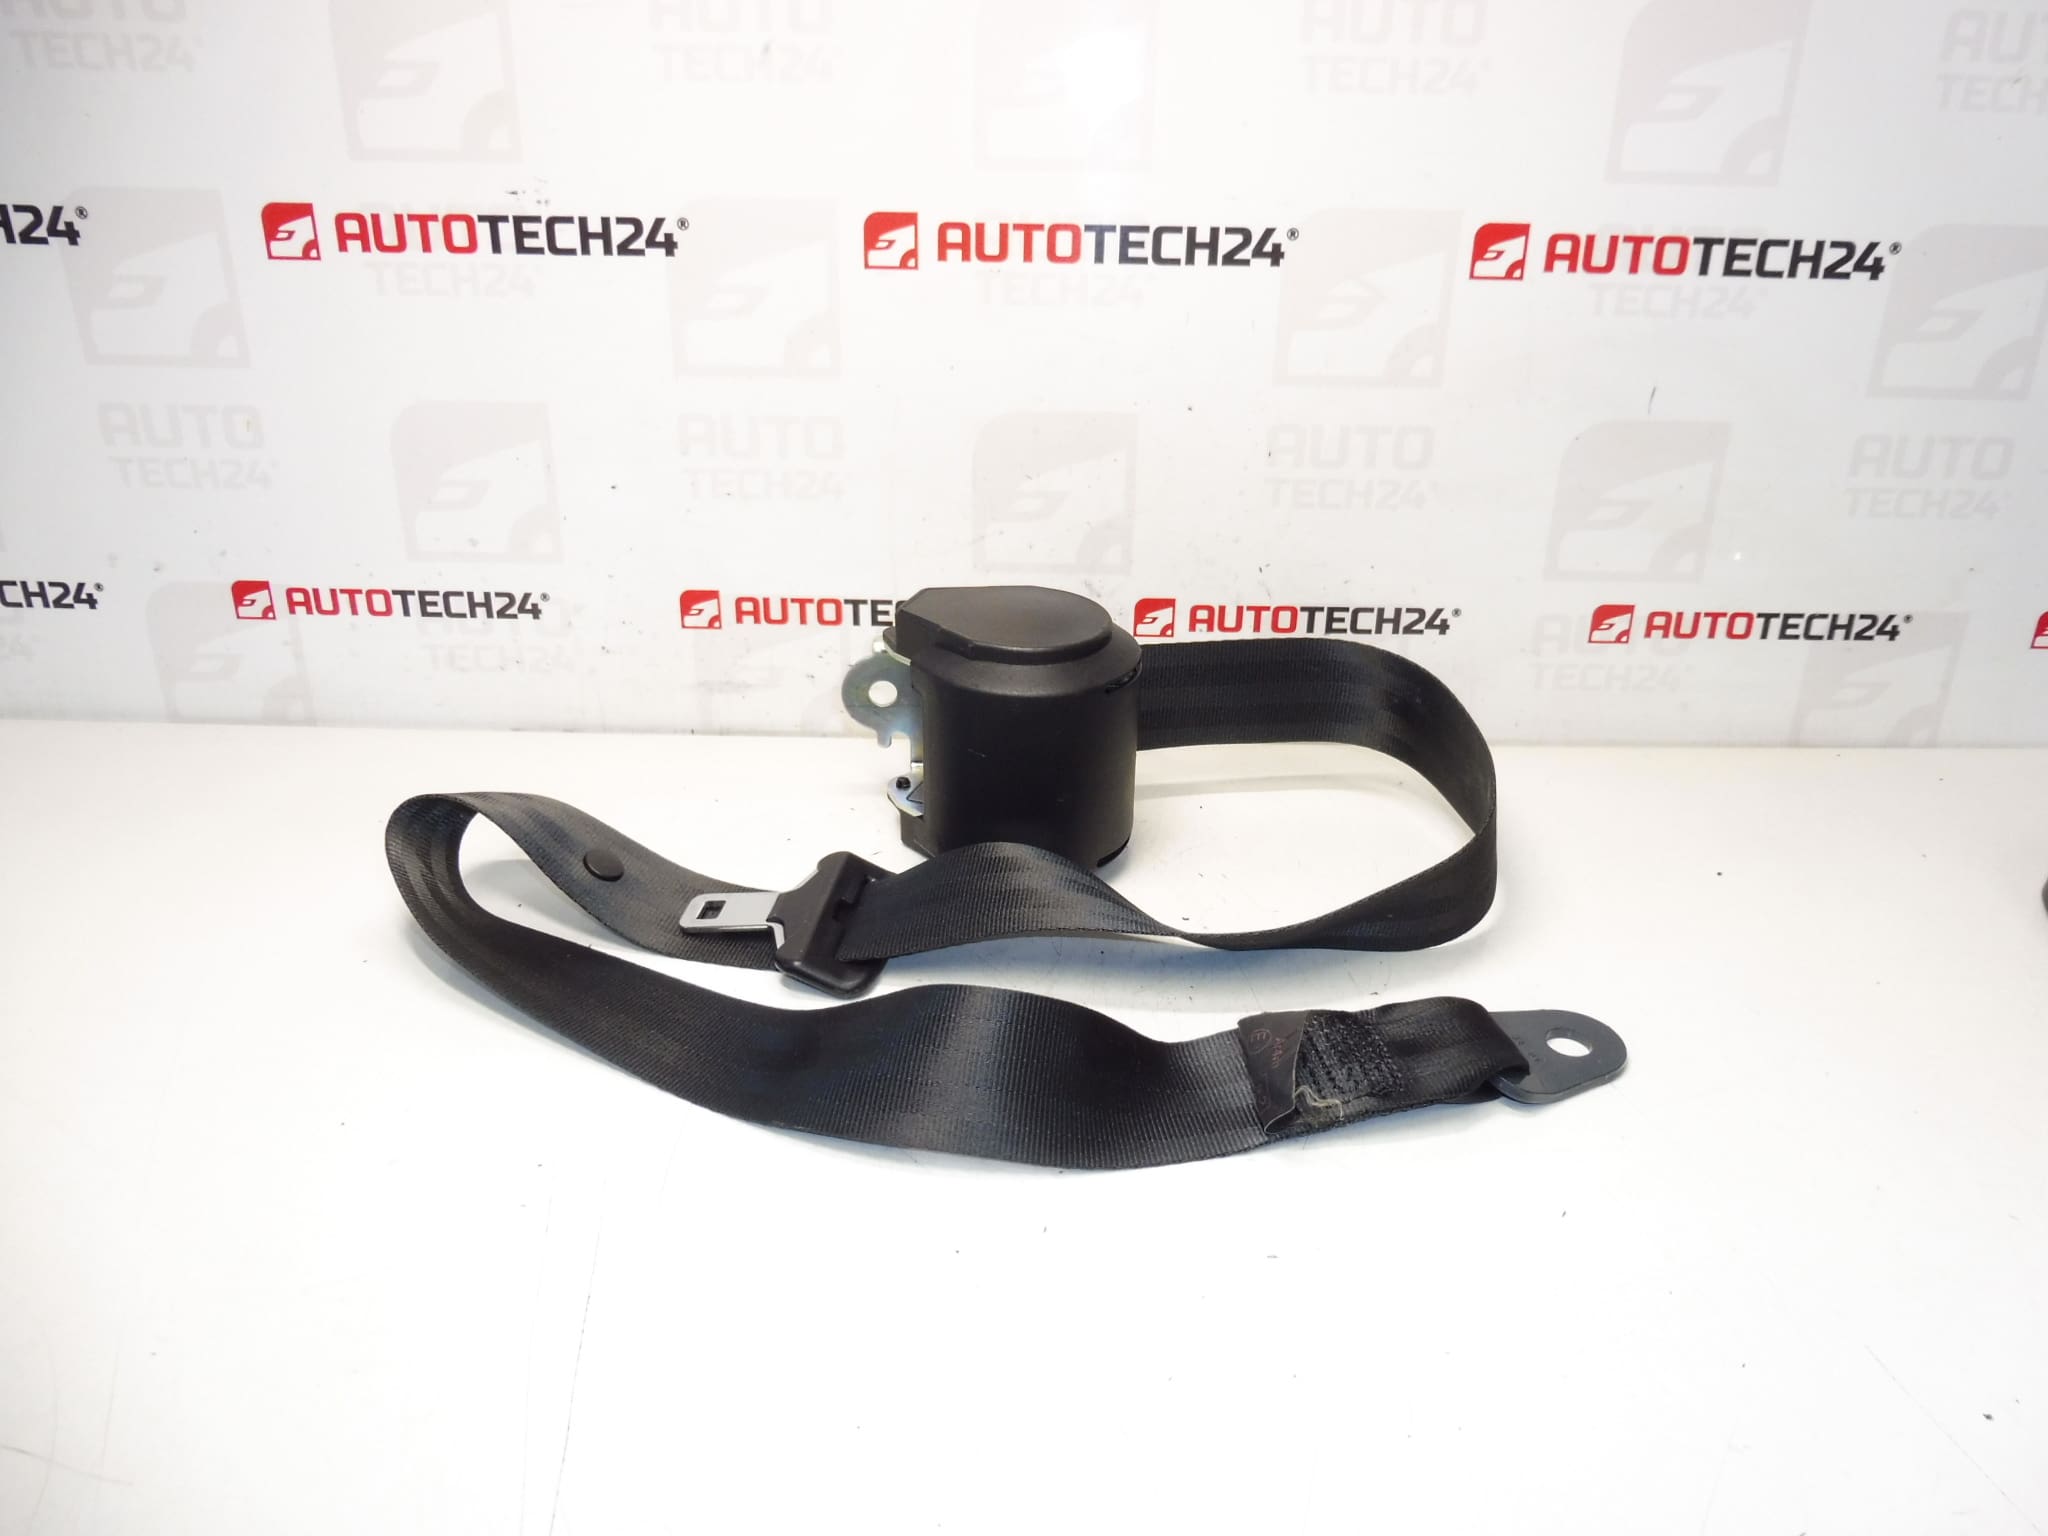
Seat belt for Citroën C8 and Peugeot 807. Center rear seat in the second row – behind the driver and front passenger. Color FXX – Black.
This center rear seat belt is a direct replacement for the original belt fitted to Citroën C8 and Peugeot 807 vehicles. Ideal for professional workshops and DIY mechanics, the assembly is supplied in black (Color FXX) and is commonly searched by its product codes. It restores occupant restraint performance for the middle passenger in the second row and is suitable for vehicles where the original belt shows wear, damage or has been deployed.
Technical Information
- Manufacturer: Stellantis (Citroën / Peugeot)
- Model(s): Citroën C8, Peugeot 807
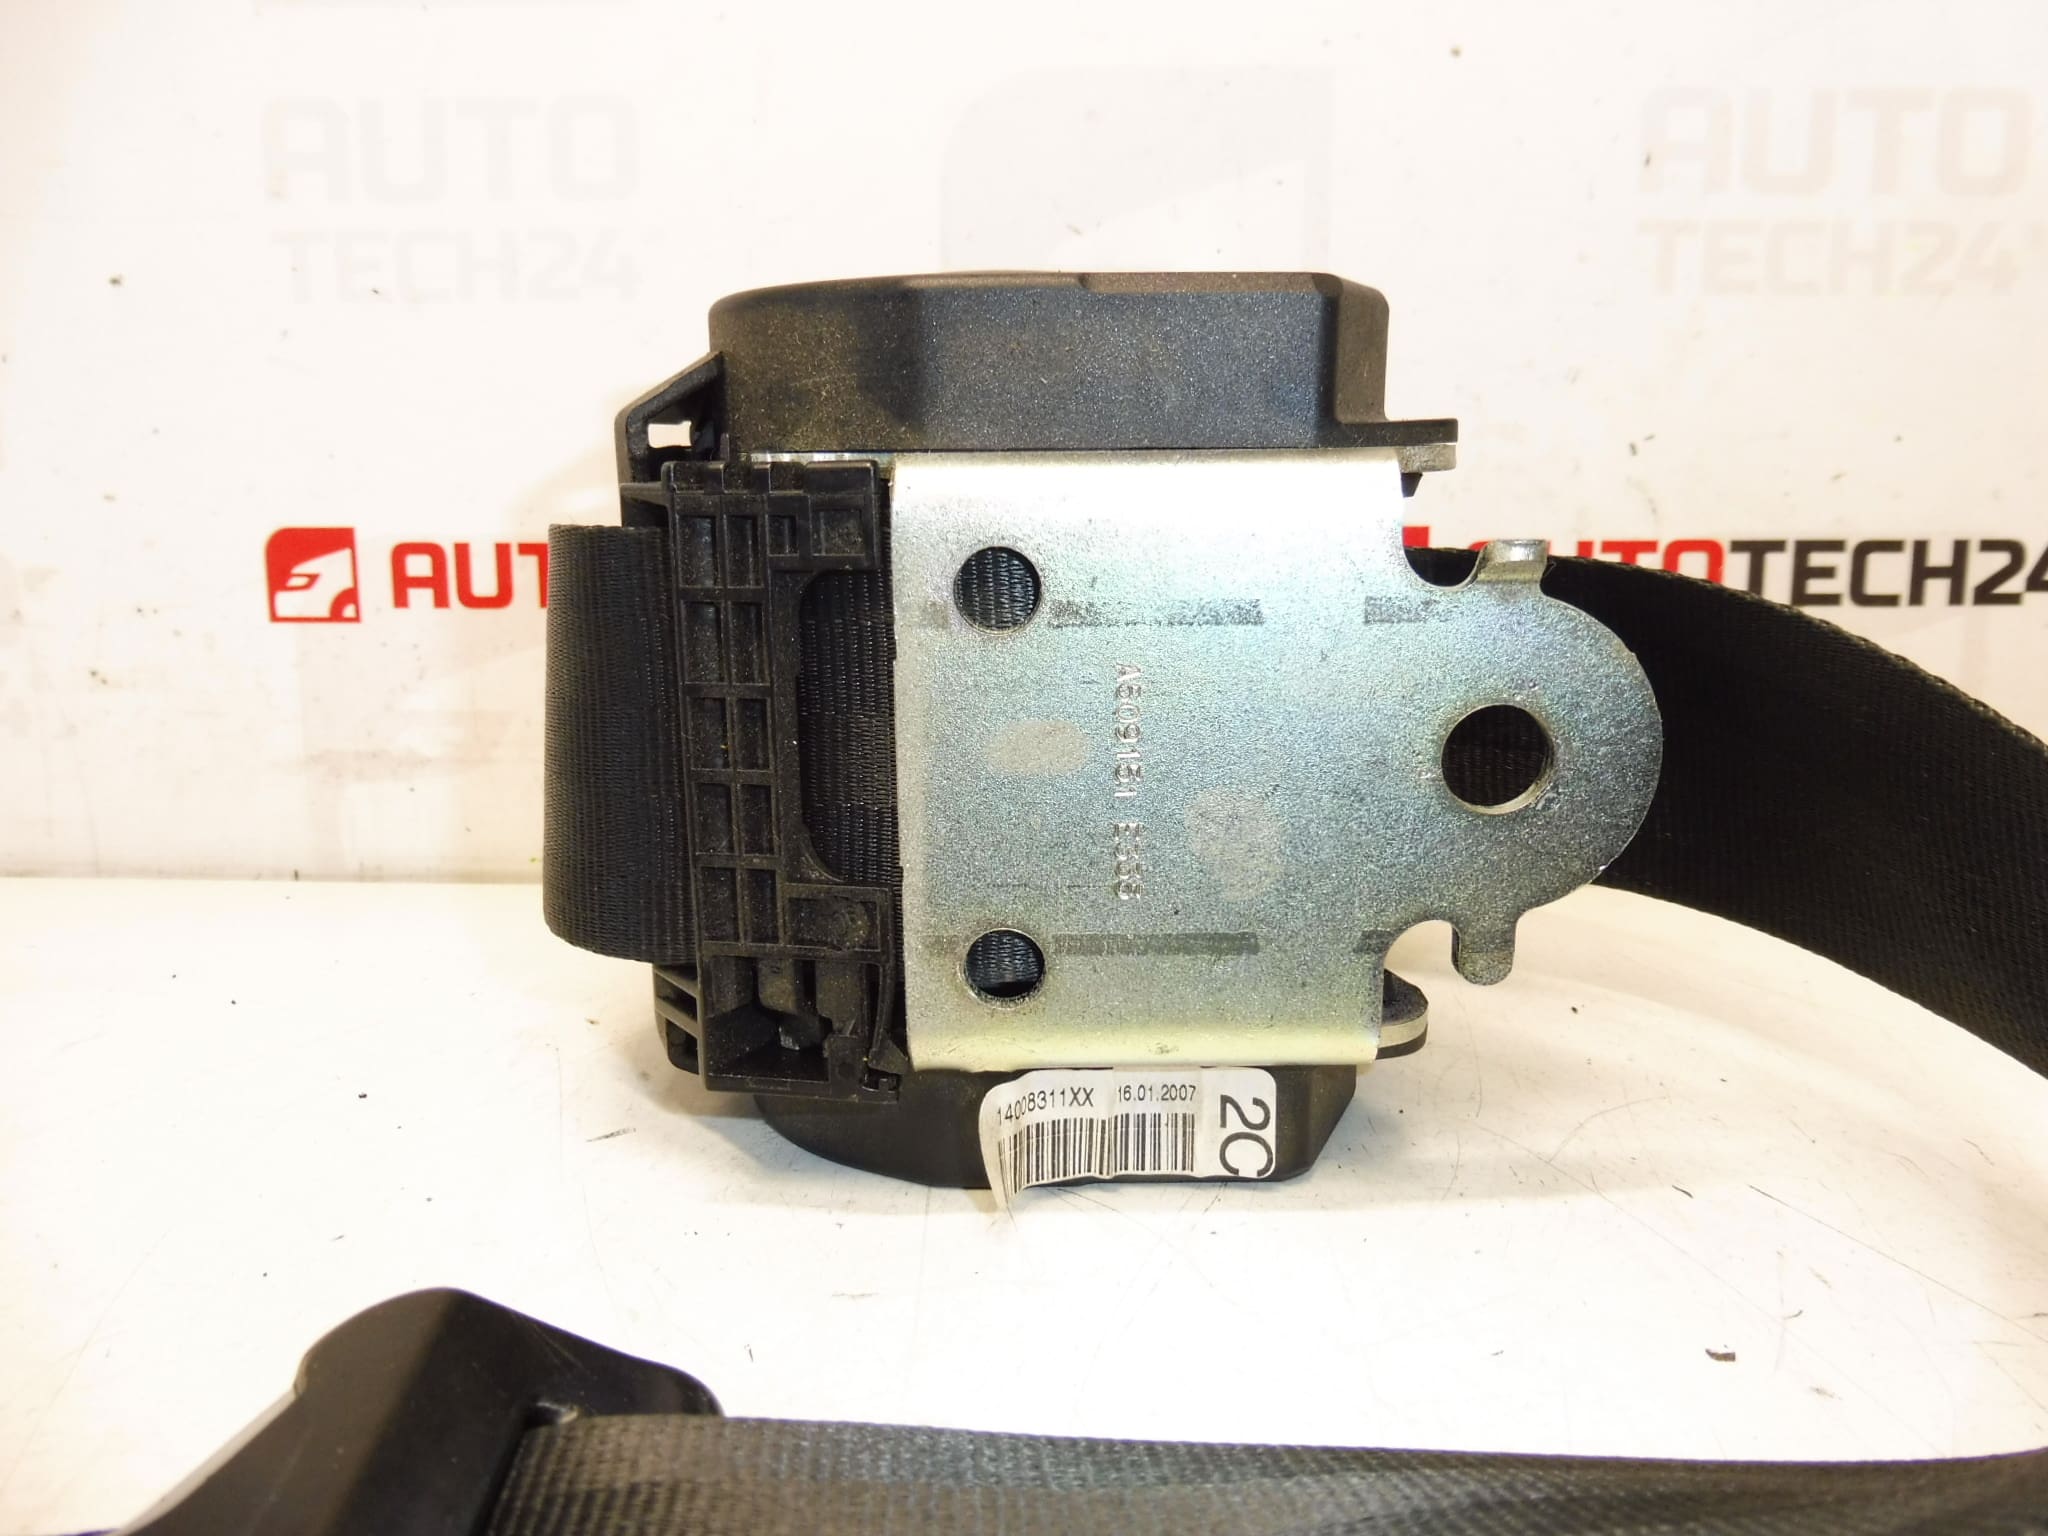
- Product Codes: 14008311XX, 8974A0
- Additional Numbers: No additional OEM cross numbers provided
Installation Recommendations
Always follow the vehicle manufacturer’s service manual. General steps and best practices for a safe replacement:
- Disconnect the negative battery terminal and wait at least the time recommended by the vehicle manufacturer before working on any components related to the restraint system.
- Remove the relevant interior trim panels to access the belt retractor, upper anchorage and lower mounting points.
- Unbolt the old belt from its anchor points. Inspect mounting bolts and replace if damaged or corroded.
- Install the new belt making sure the webbing is not twisted and the retractor is oriented correctly. Refit and tighten bolts to the manufacturer’s torque specifications.
- Reconnect any electrical connectors associated with pretensioners only if present, and restore the battery. Clear any fault codes with appropriate diagnostic equipment and verify that the restraint system shows no errors.
- Perform a functional check of the buckle and retractor: the belt should extend and retract smoothly and lock under a strong, sudden pull.
Why It Fails
Seat belts typically fail or require replacement due to visible wear or events that compromise their function. Common causes include:
- Abrasion and Fraying: Repeated use, sharp edges on seats or objects can damage the webbing.
- Contamination: Dirt, chemical spills or prolonged exposure to moisture can degrade fabric and metal components.
- Retractor Mechanism Faults: Internal ratchet or spring failures, corrosion or jamming prevent proper locking or retraction.
- Pretensioner Deployment: Belts with deployed pretensioners must be replaced after a collision; deployment damages internal components.
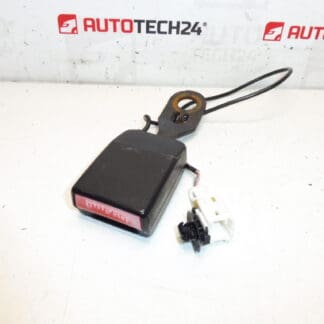
- Buckle Malfunction: Debris or wear can prevent secure latching or release.
Replace the belt immediately if the webbing is cut, frayed, discoloured, or if the retractor or buckle do not operate correctly. For safety-critical components like seat belts, always use correctly specified replacement parts and follow safe installation procedures.