Description
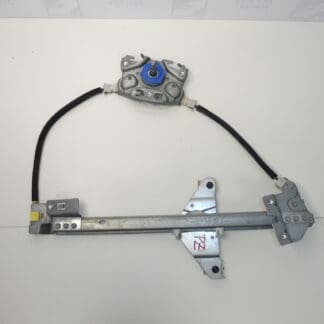
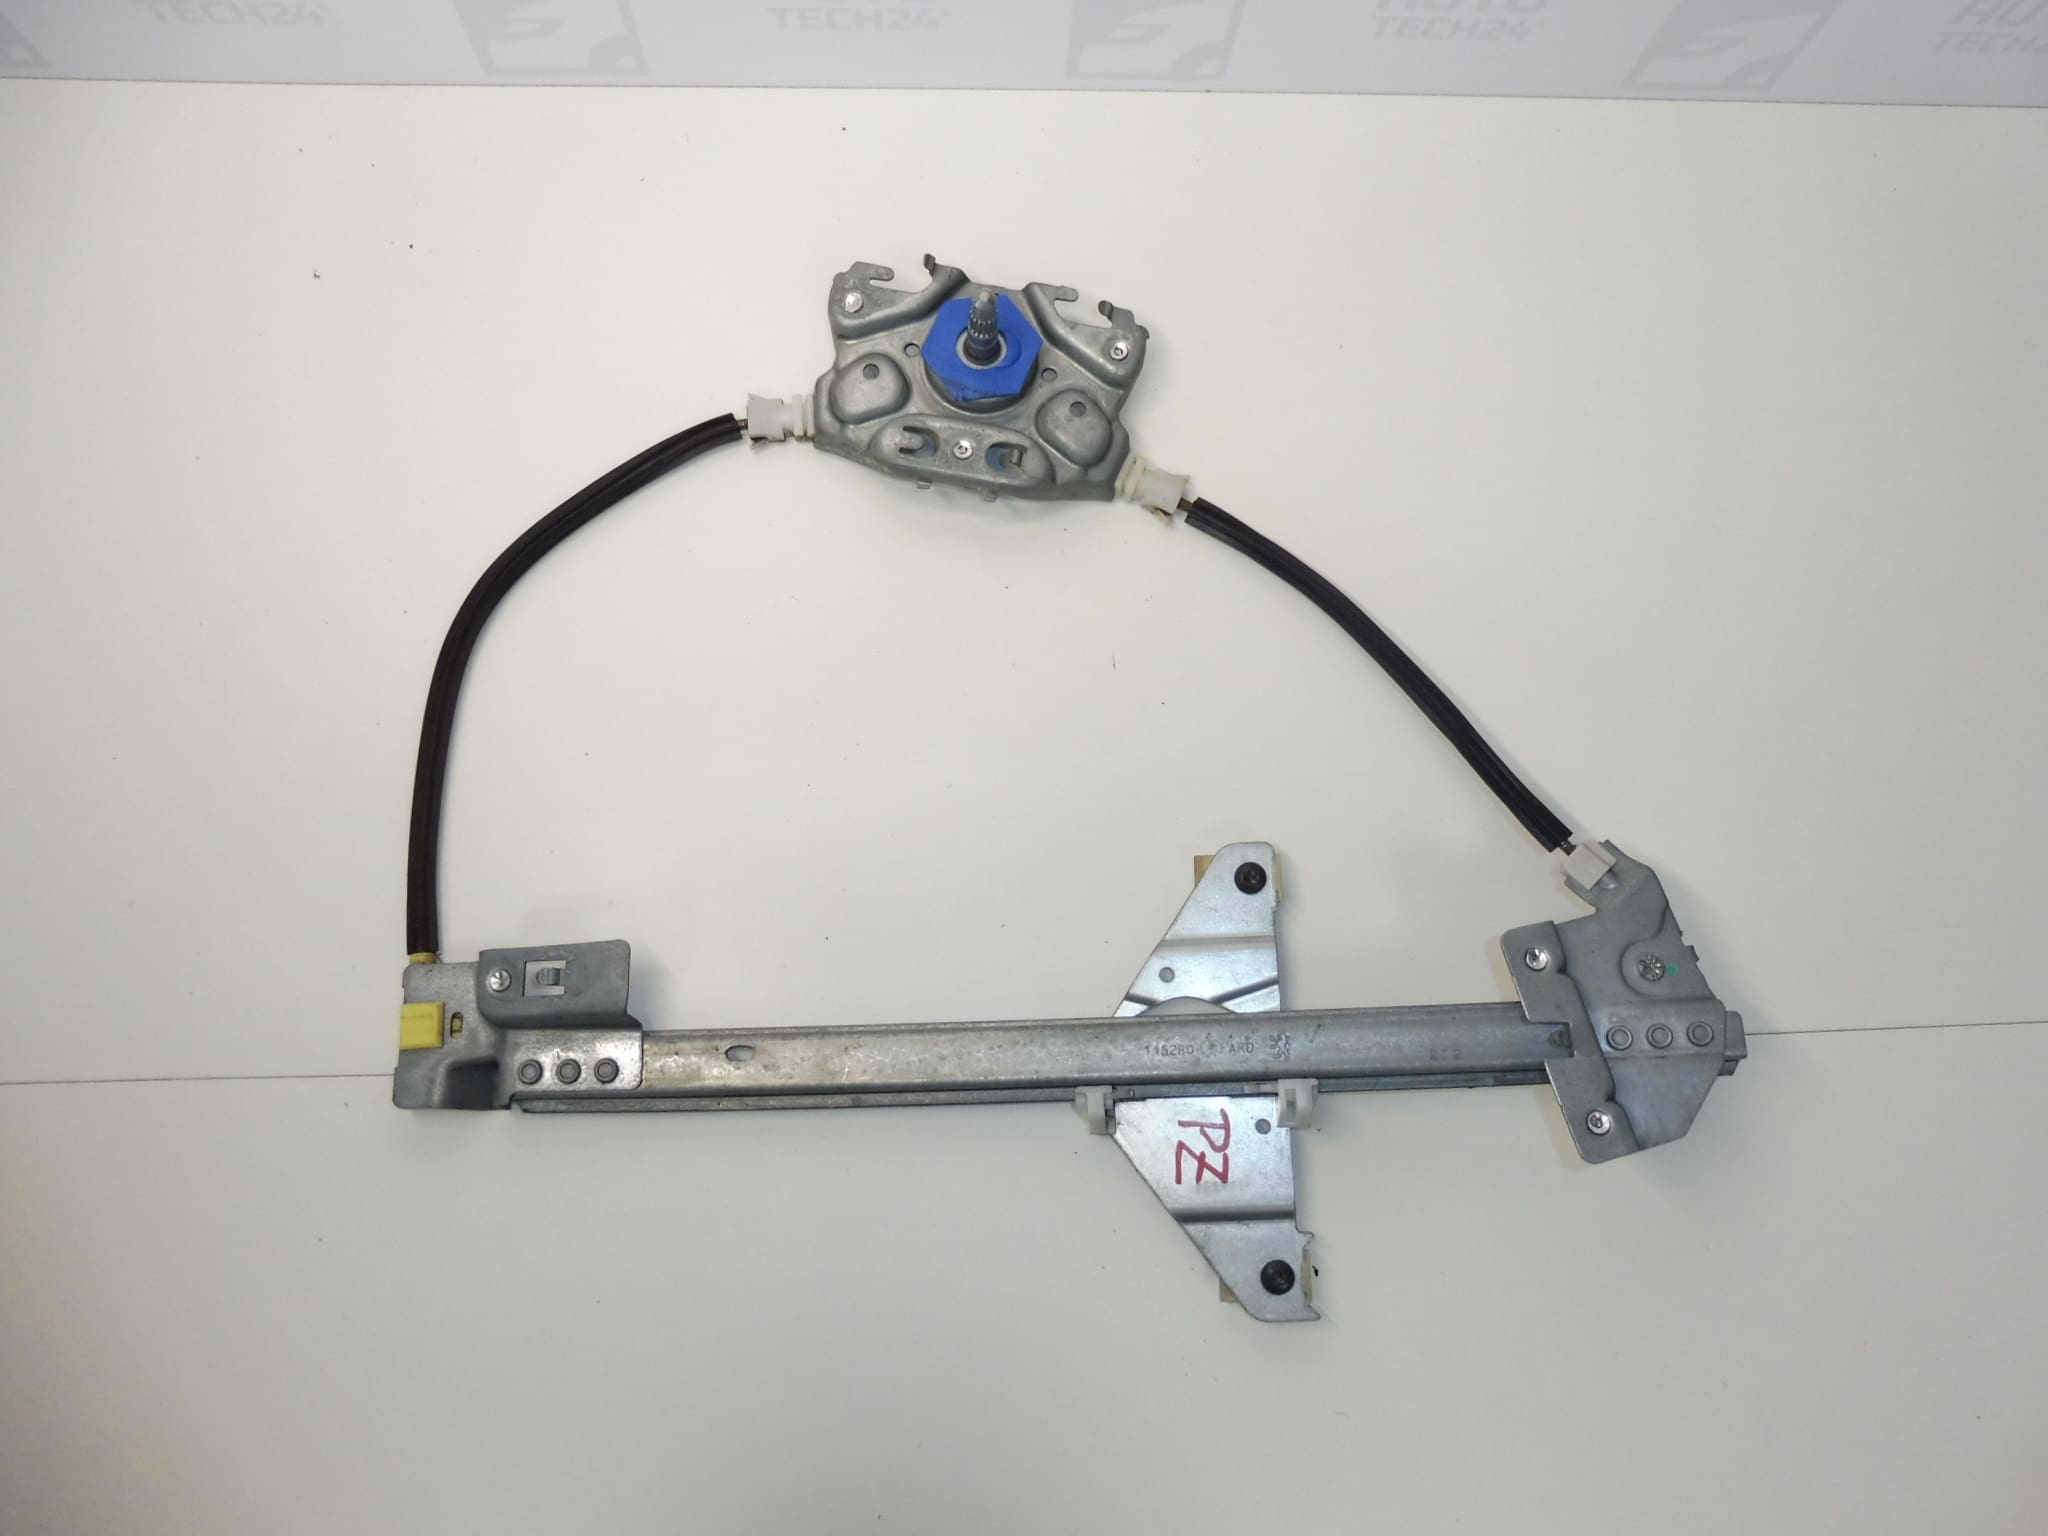
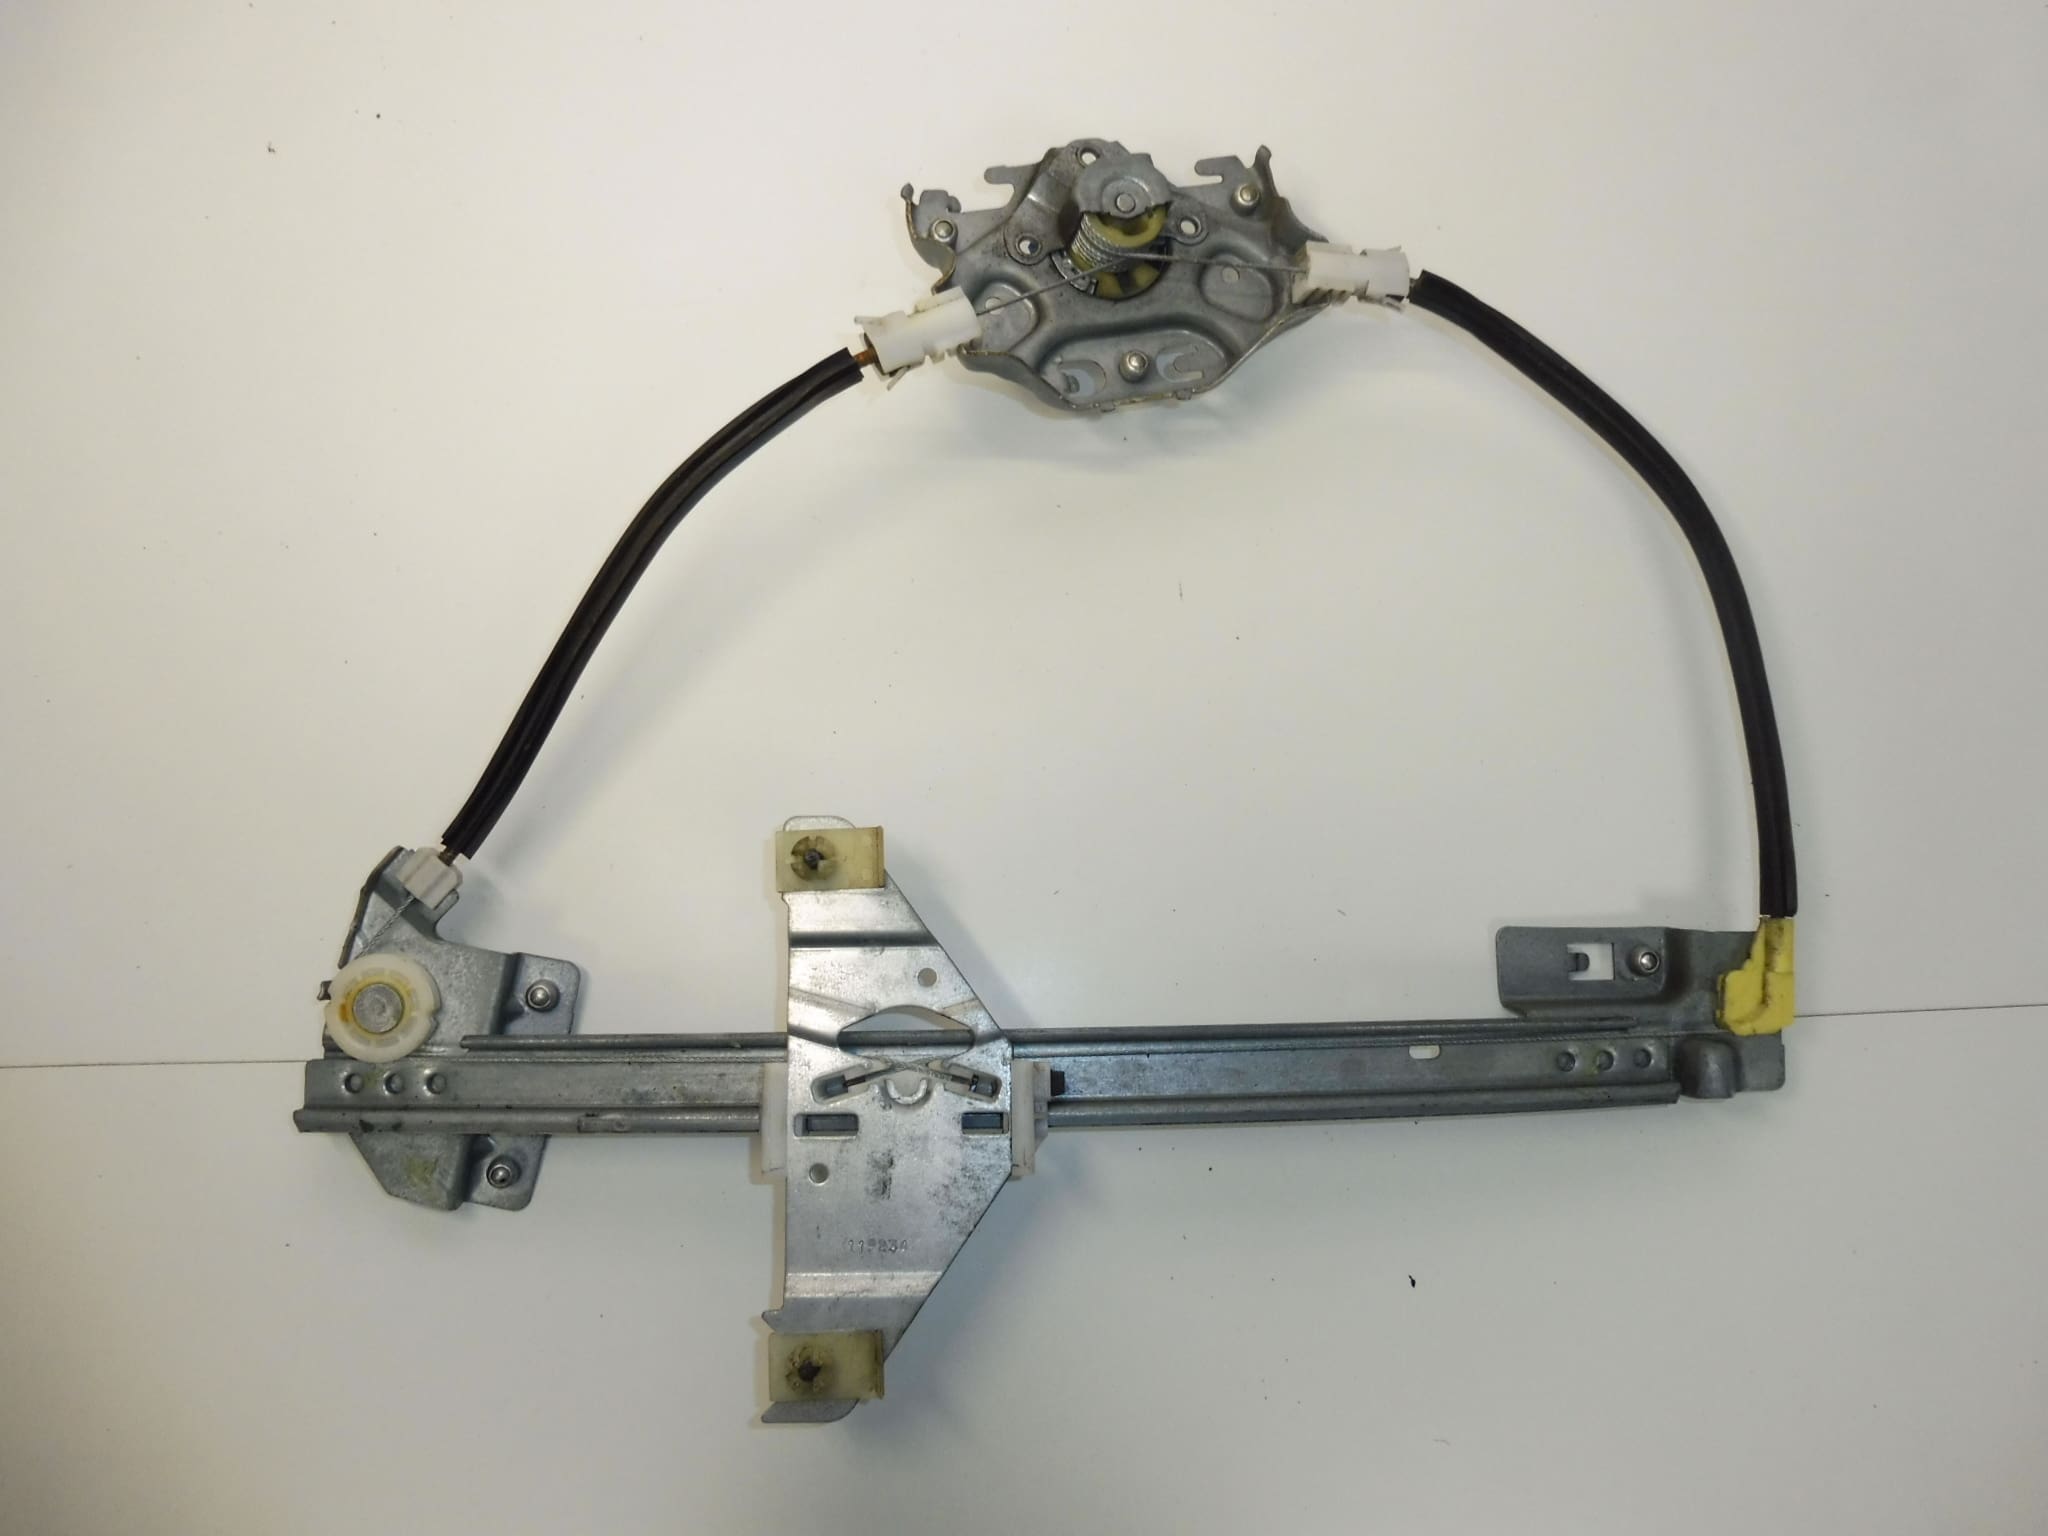
Mechanism for lowering the right rear window for PEUGEOT 307 vehicles
Passenger side
Manual window operation
Part description
Used Peugeot 307 right rear window regulator mechanism, bearing the designation 9224A5, is used to raise and lower the glass with manual operation. It is intended for the passenger side and offers a replacement option for a damaged mechanism without having to buy a new part.
When choosing, compare the product number, mechanism design and mounting points with the original part. This is a manually operated window regulator, not an electric version. Replacing it may resolve problems with the window sticking or moving unevenly if the mechanism itself is the cause.
Technical information
- Manufacturer: not specified; the source information lists the designation Stellantis CITROEN PEUGEOT.
- Model: Peugeot 307.
- Part type: window regulator mechanism.
- Position: right rear window, passenger side.
- Operation: manual.
- Condition: used part.
- Other numbers: not specified.
- Additional designation in the source information: NFP.
Product codes
- Product codes: 9224A5.
- Model: Peugeot 307.
Number 9224A5 is the primary detail to use when searching for this part. Before installation, also compare the design and manual control connection with the removed mechanism.
Installation recommendations
The following procedure is general for manual window regulator mechanisms. The exact removal procedure for the door trim, the method of securing the glass and the regulator mounting points depend on the specific vehicle configuration. Follow the manufacturer’s service procedure.
1) Before installation
- Compare the part number, right rear configuration, mounting points, glass attachment and manual control connection.
- Inspect the used mechanism for deformation, cracks, significant corrosion or damaged moving parts.
- Inspect the window guides and seals. Excessive glass resistance can also put strain on the replacement regulator.
- Prepare a safe support or means of securing the glass. Once released from the mechanism, the glass must not fall into the door.
2) Required tools and materials
- Standard hand tools suitable for the fasteners in the door.
- Plastic trim removal tools and a suitable glass securing tool.
- Protective gloves, protection for edges and painted surfaces, and cleaning products suitable for the materials involved.
- Equipment for removing and reinstalling fasteners, depending on the actual mounting method.
3) Step-by-step installation procedure
- Secure the vehicle against movement and make sure there is enough room to work by the open door.
- Following the service procedure, remove the manual window control, covers and door trim. Keep the fasteners organized to avoid mixing them up.
- If there is a protective film or moisture barrier beneath the trim, carefully peel or release it so it can be properly resealed.
- If the mechanism moves, position the glass to allow access to its mounting points. Do not force a stuck window.
- Secure the glass against falling, then disconnect it from the mechanism using the method appropriate to the design.
- Release the original regulator’s fasteners and carefully remove it. Protect the glass, guides and any wiring inside the door.
- Inspect and clean the accessible window guides and contact surfaces. Resolve the cause of excessive resistance or incorrect glass tracking before installing the replacement part.
- Insert the replacement mechanism, position it correctly and secure it according to the manufacturer’s instructions. The mechanism must not be twisted or under strain after installation.
- Connect the glass to the mechanism, check that it is seated in the guides and remove the temporary support only once it is securely fastened.
- Temporarily fit the manual control and slowly check the window’s movement. If it sticks, becomes misaligned or encounters unusual resistance, stop and correct its positioning.
- Restore the moisture barrier, refit the door trim and manual control. Finally, check the operation of the fully assembled window again.
4) Post-installation checks and function test
- Slowly lower and raise the window several times. It should move smoothly, without skipping or significant resistance.
- Check that the glass remains correctly guided, seats against the seal when closed and does not drop on its own.
- Check that the manual control and door trim are secure. No loose parts should be heard when closing the door.
- Test the regulator while the vehicle is stationary. A short test drive, if necessary, may reveal rattling or increased noise around the closed window.
5) Common installation mistakes and how to avoid them
- Glass not secured properly: always support or secure it safely before disconnecting it from the mechanism.
- Mechanism or glass not positioned correctly: check the guides and the position of the connections before fully reassembling the door.
- Forcing it when it sticks: first find the cause of the resistance to avoid damaging the gearing or mounting points.
- Leaving dirty or damaged guides in place: replacing the regulator alone may not resolve the cause of the strain.
- Door moisture barrier not sealed: after installation, restore its proper adhesion and seal.
Reasons why the part can become damaged
Manual window regulators generally become damaged mainly through wear of moving parts or prolonged overloading. The following causes are general and do not describe the condition of the part offered for sale:
- Wear to the gearing and joints from repeated use and age.
- Increased resistance in the glass guides caused by dirt, damaged seals or incorrect window positioning.
- Forcing the control handle when the glass is stuck or frozen.
- Moisture and corrosion, which impair the mechanism’s movement and weaken its parts.
- Door deformation or incorrect previous installation, causing the mechanism to operate out of position.