Description
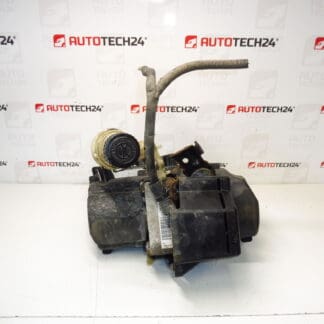
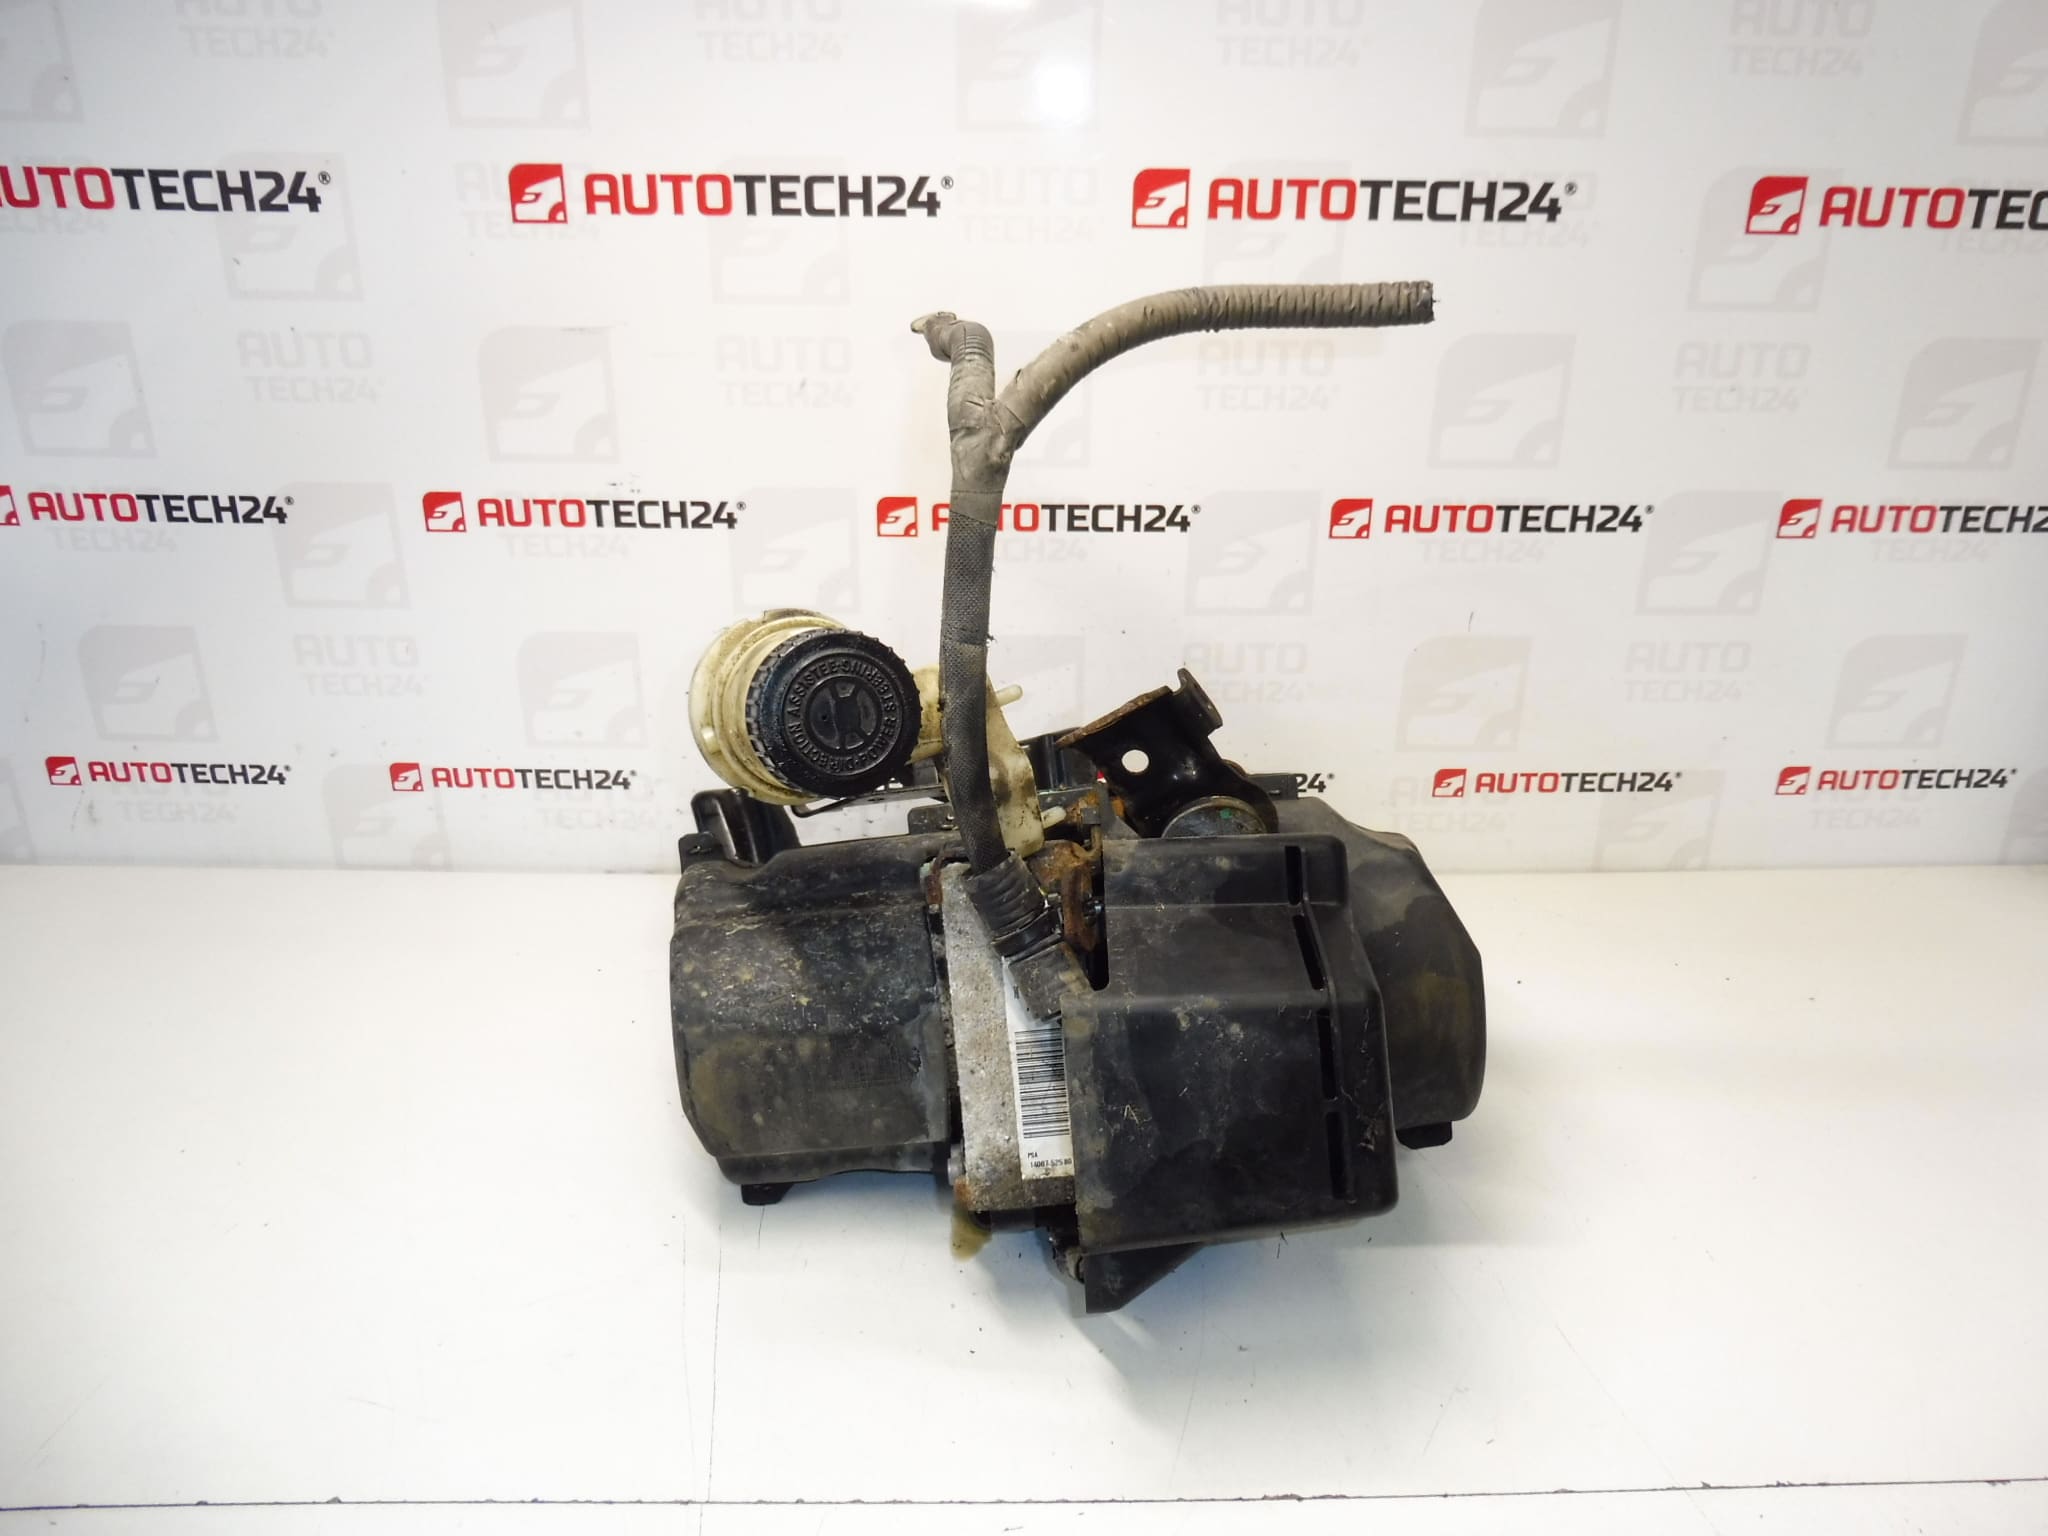
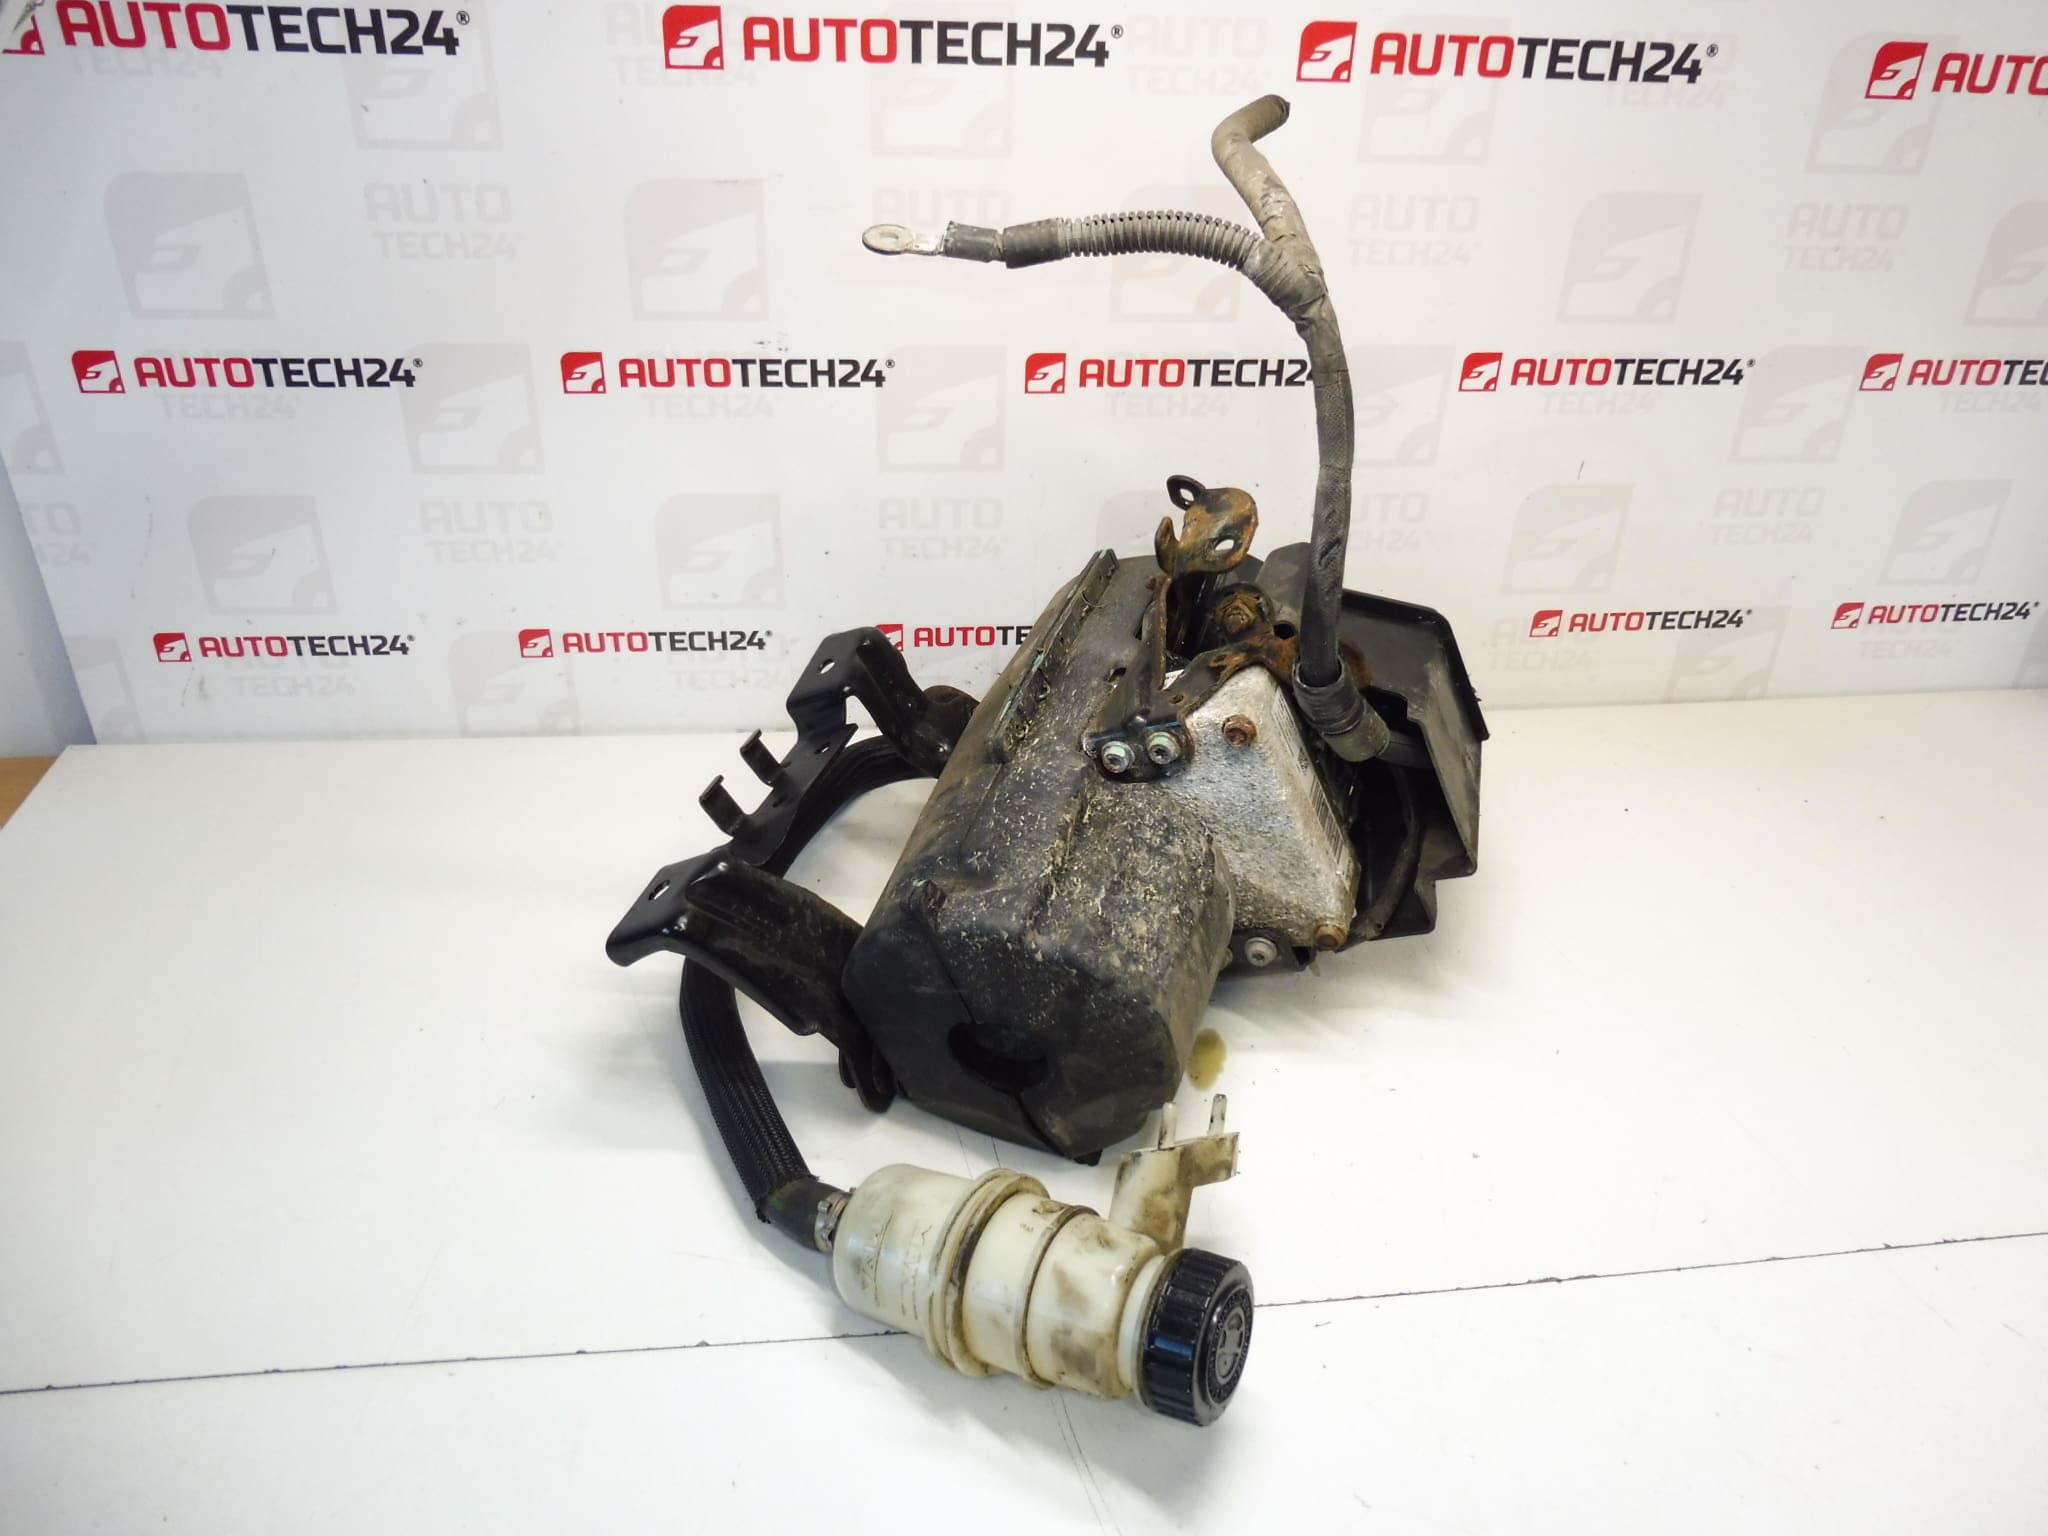
Electric servo pump for CITROEN C8 JUMPY 2 Peugeot 807 Expert 2 cars
Fully functional – tested
With a piece of wiring
Part description
We sell used power steering pump (HPI) – electric power steering pump for Citroën and Peugeot cars. This is a part from Stellantis/PSA that provides steering assistance regardless of engine speed (typically according to the requirements of the power steering system).
The part is fully functional and tested and also includes a piece of wiring, making it easy to plug in or repair a damaged connector/line. When choosing, be guided primarily by matching product numbers – for these parts, it is the fastest and surest way to correct fitting.
Technical information
- Manufacturer: Stellantis (Citroën/Peugeot)
- Model: Citroën C8, Citroën Jumpy II, Peugeot 807, Peugeot Expert II
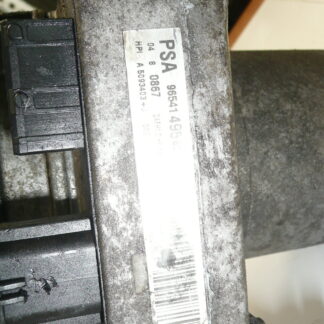
- Other numbers: 1400752580, 4007NJ, 1680897380
Product codes
- Product codes: A5095965+C, 1400752580, 4007NJ, 1680897380
Installation recommendations
Generally/typically for an electric power steering pump, proper installation is a combination of mechanical fit, proper wiring (if part of the system), and flawless electrical wiring. The exact steps may vary depending on the specific car design and configuration.
1) Before assembly
- Compare with old work all numbers and markings (especially A5095965+C, 1400752580, 4007NJ, 1680897380).
- Check the connectors, pins and the attached piece of wiring – whether it is torn, oxidized or mechanically damaged.
- Visually check the condition of the body and mounts (cracks, deformations, impact marks).
- If your system uses fluid lines, check the threads/connections and cleanliness of the mating surfaces (without presuming a specific type of connection).
2) Necessary tools and materials (in general)
- Basic set of gola/wrenches and screwdrivers
- Cleaning agent for degreasing, rags, or brush for connectors
- Insulating material for cabling (tape, shrink tube) as needed
- Diagnostics to check the system (recommended, not mandatory)
3) Step-by-step assembly procedure
- Turn off the ignition, wait and disconnect the battery (to protect the electronics and work safety).
- Ensure access to the part (dismantle the covers and holders that get in the way – depending on the specific car).
- Disconnect the electrical connectors of the original pump; unlock the connectors carefully so as not to break the fuses.
- If the system is connected to the line, prepare for leakage of operating fluids according to the vehicle design (work clean, protect surrounding components).
- Unfasten the mounting and remove the original servo pump.
- Compare the old and new piece again: mounting, connectors, orientation and product number match.
- Mount the servo pump in the brackets and seat it without tension; only then gradually tighten the fasteners.
- Connect the electrical connectors; if you use a piece of cabling, make the connection professionally (firm connections, proper insulation, securing against vibrations).
- Check the cable routing – it must not rub against sharp edges or be under tension.
- Reinstall any covers/components that were removed for access.
- Connect the battery and turn on the ignition; monitor the system for non-standard behavior (lights, unusual sounds).
-
4) Post-assembly checks and test drive/function verification
- Verify that the booster works smoothly throughout the entire range of steering wheel rotation (on the spot and when driving slowly).
- Check for unusual sounds, vibrations, or fluctuations in booster effect.
- Inspect electrical connections and wiring; check for looseness after a short drive.
- If you have diagnostics, perform a system check and, if necessary, delete the stored faults caused by disassembly (if relevant for the car in question).
5) The most common assembly mistakes + how to avoid them
- Exchanging a part according to appearance – the matching of product numbers and connectors is always decisive.
- Damage to connectors/pins when disconnecting – use proper release, do not pull on cables.
- Poorly repaired wiring – make solid connections, good insulation and strain relief.
- Cable routing in contact with moving/sharp parts – secure with tapes/grips, check after test drive.
- Working without a disconnected battery – risk of damage to electronics and malfunctions.
Reasons why the part is damaged
- Moisture and corrosion in the connectors (oxidation of pins, transition resistances, reinforcement failures).
- Damaged or improperly repaired wiring (broken wires, bad connections, short circuit).
- Vibration and mechanical stress (loose mounting, cracked holders, stress on connectors).
- Electrical overvoltage / weak power supply (problems in recharging, bad grounding – can shorten the life of electrical parts).
- Long-term overloading of the system (frequent maneuvering at low speed and high steering loads can generally increase thermal stress).