Description
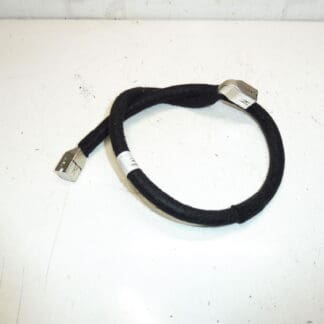
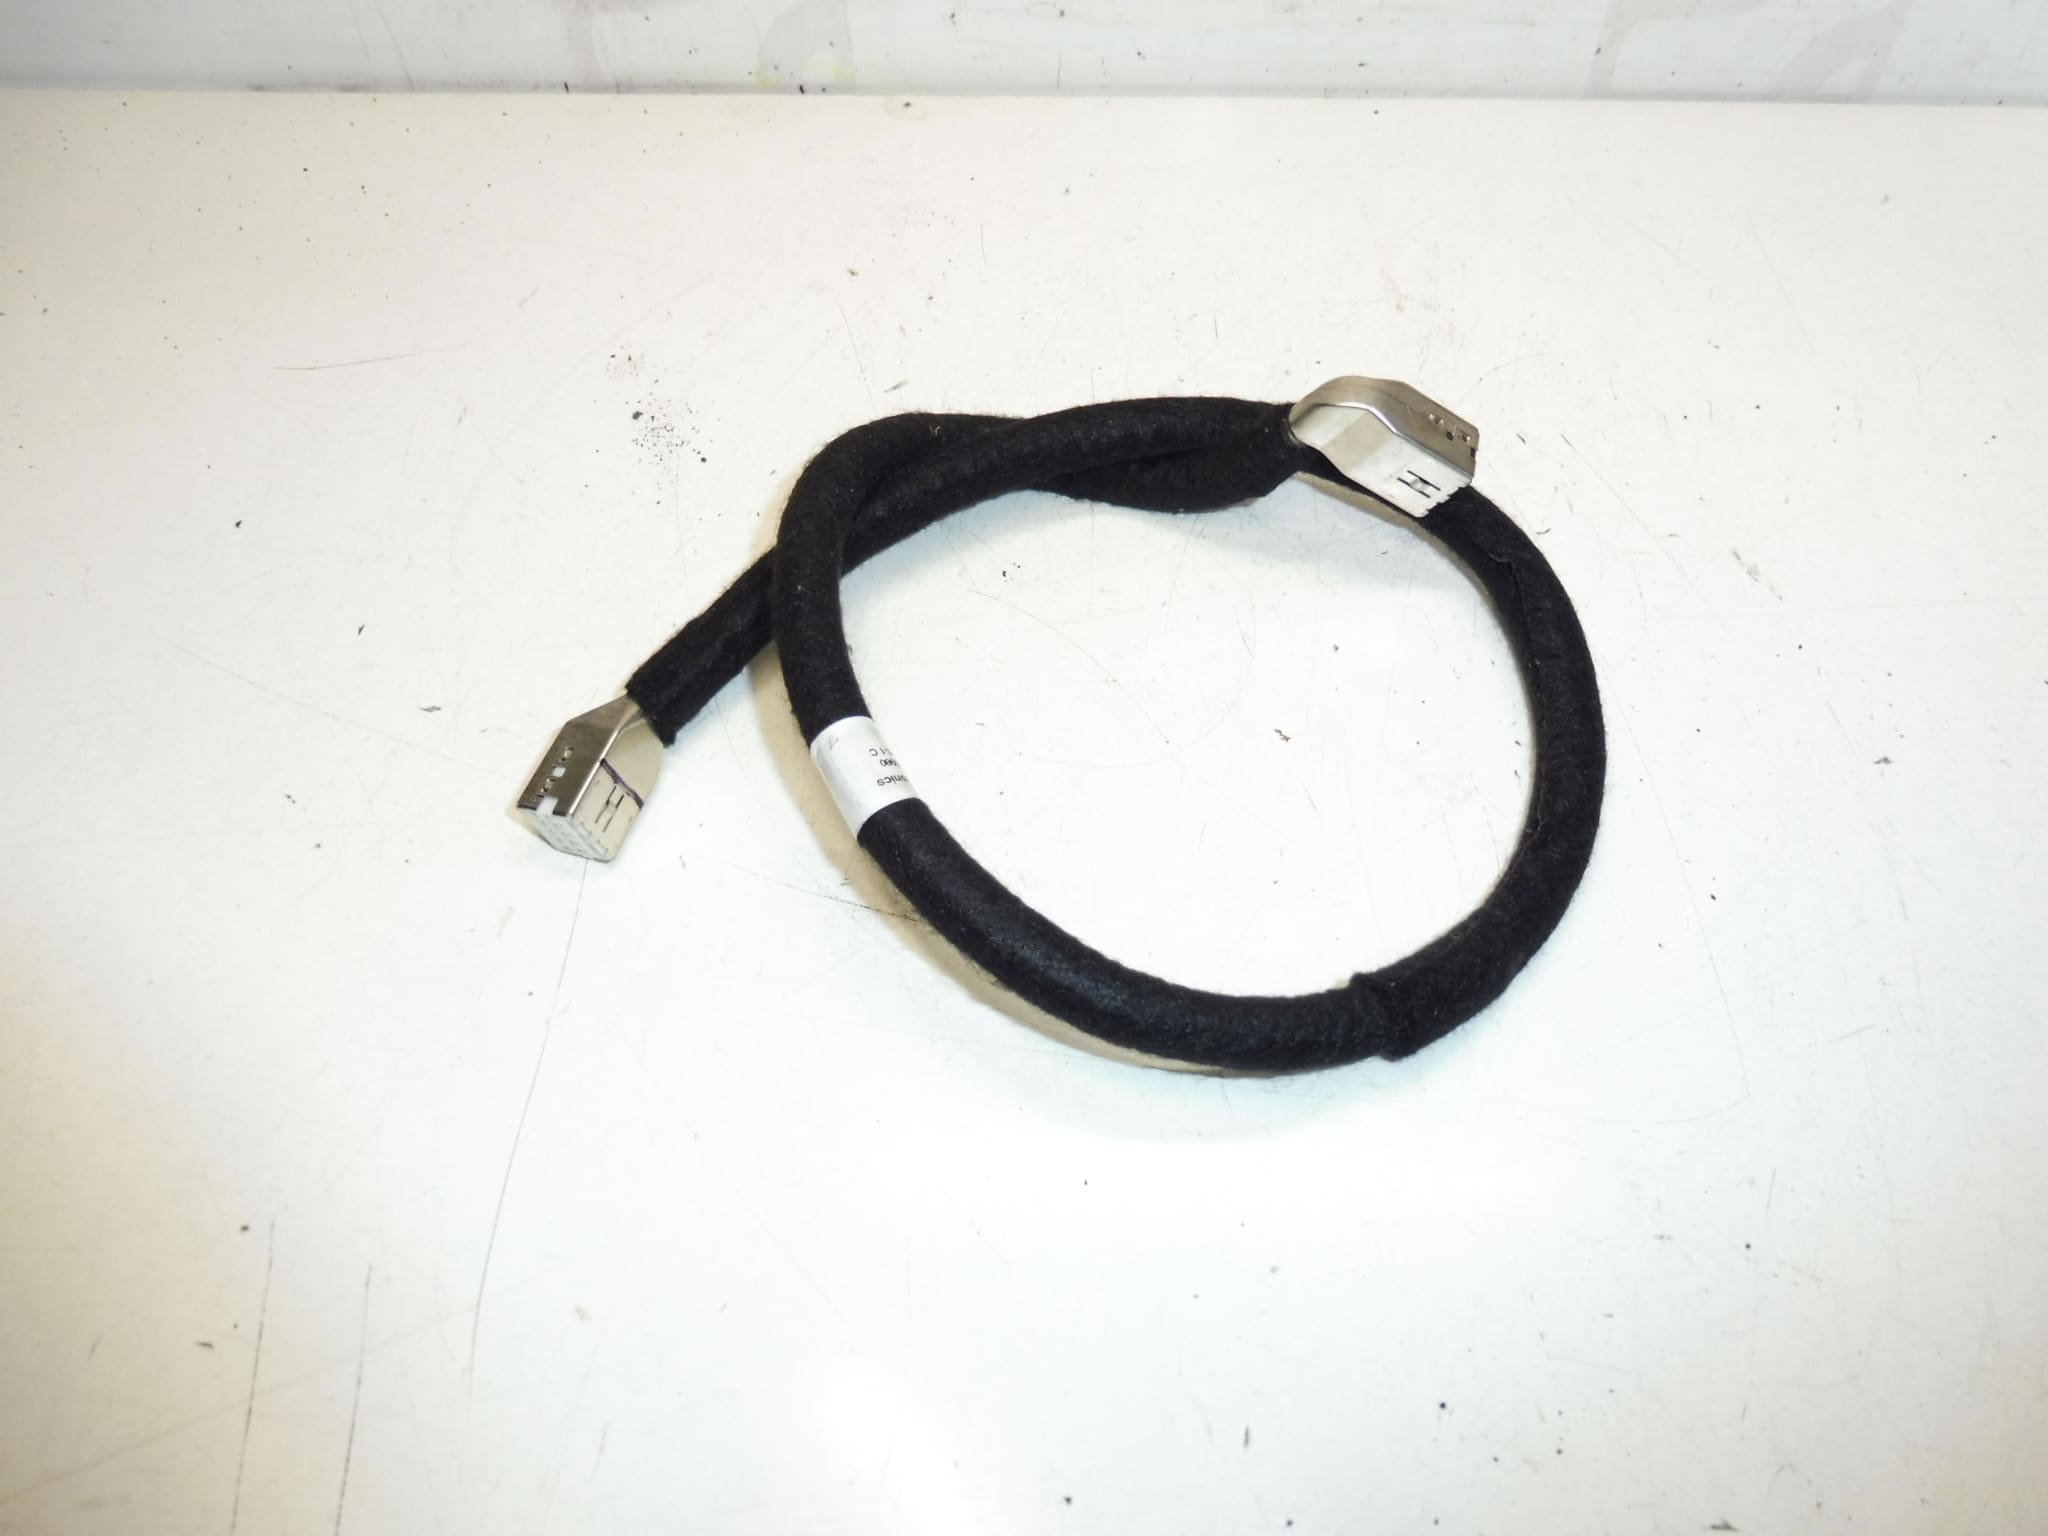
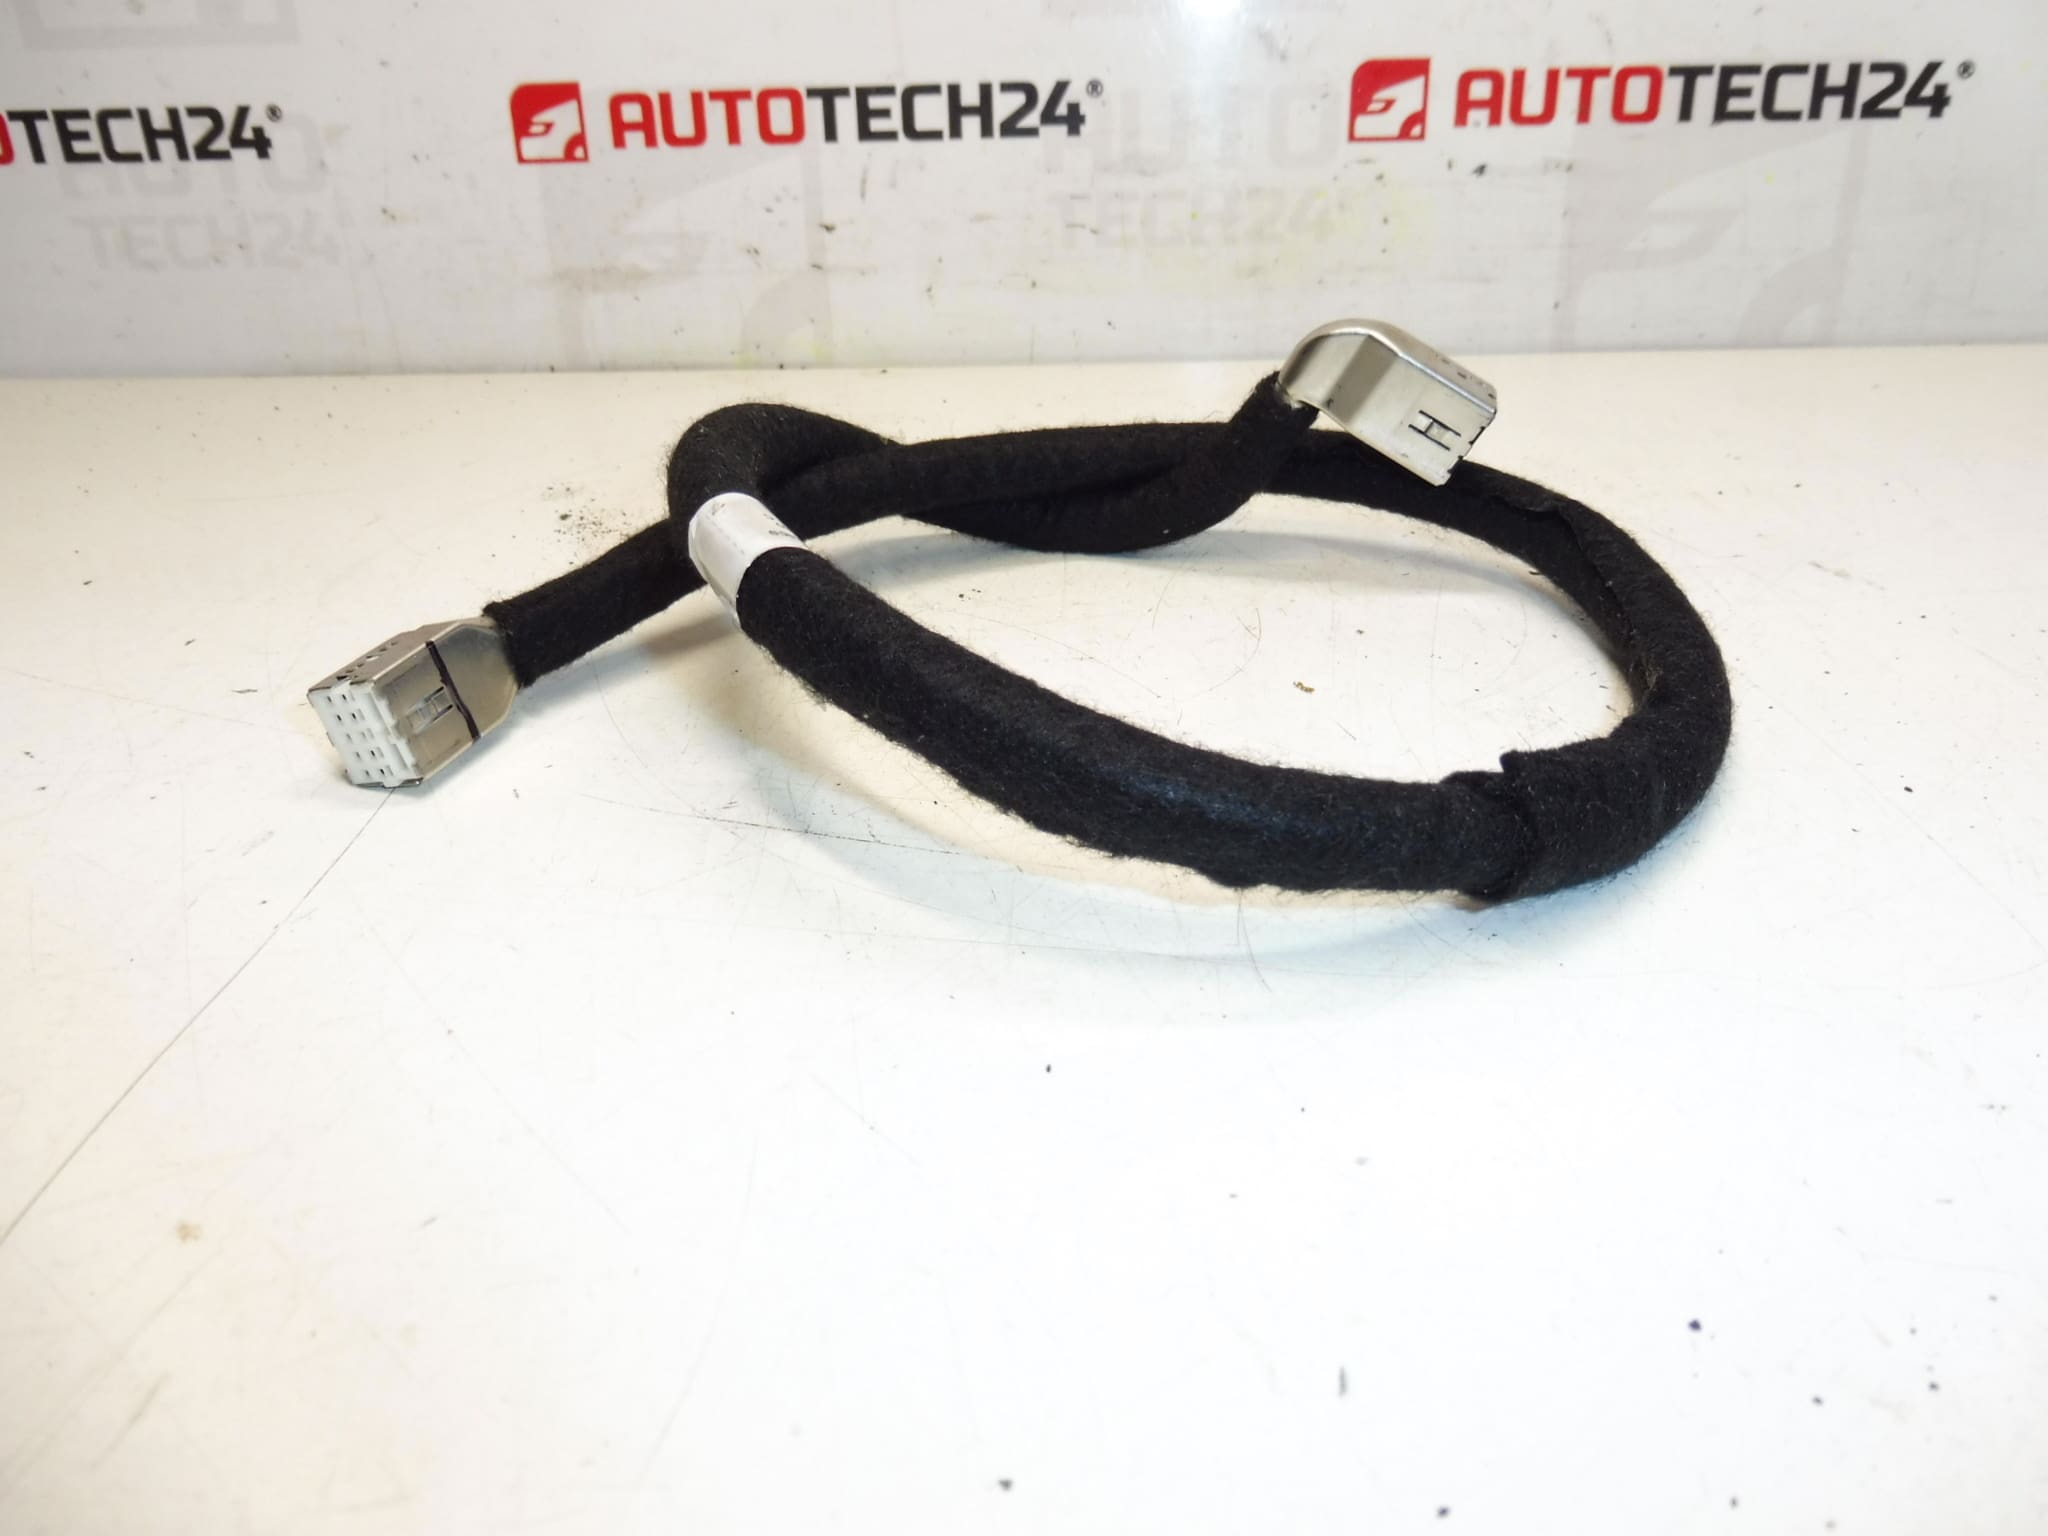
Multi-function video screen cable for PEUGEOT 407 facelift cars
It is from a PEUGEOT 407 2008
Part description
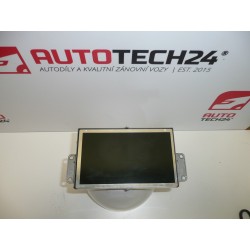
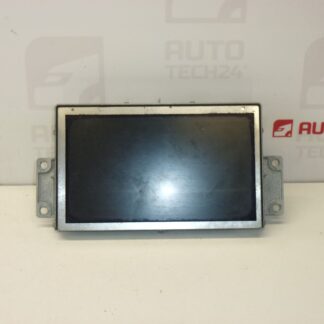
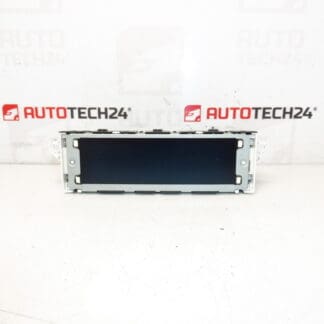
This is a screen cable (multifunctional video display) intended for the Peugeot 407 in the facelift version. Suitable as a replacement in the event of damage to the original cabling, picture dropouts or when repairing/restoring the display function after tampering with the electrical installation. Thanks to the specific designation, it is often searched for by part number 9662390980 and additional code 6563ZZ.
Technical information
- Manufacturer: Stellantis (Citroën / Peugeot)
- Model: Peugeot 407
- Other numbers: 6563ZZ
Product codes
- Product codes: 9662390980, 6563ZZ
Installation recommendations
Generally/typically applies to replacing the wiring to the display (exact steps may vary depending on the specific equipment and design of the car):
1) Before assembly
- Compare the numbering (9662390980 / 6563ZZ) and the design of the connectors with the old piece.
- Check for broken connector locks, damaged insulation, dented pins, or cracks in the connector body.
- Check that the cable is not broken anywhere and that the harness is not attacked by corrosion/oxidation on the contacts.
2) Necessary tools and materials
- Basic set of screwdrivers and bits
- Plastic crowbar for dismantling interior parts
- Flashlight
- Cable tapes / textile tape for wiring (to secure the wiring)
- Contact cleaner (if the connectors are dirty/oxidized)
3) Step-by-step assembly procedure
- Turn off the ignition and disconnect the battery.
- Get access to where the display and its wiring are (remove the necessary covers/trimming gently with a plastic pry bar).
- Document the original condition: take a picture of the cable routing and the location of the handles.
- Carefully unlock the connectors – don’t pull on the cable, but on the body of the connector.
- Release the cable from all clips and guides so that it can be removed without force.
- Compare the new and original cable (length, connector types, securing).
- Install the cable in the original route – make sure it does not break anywhere and is not under tension.
- Connect the connectors and make sure they snap and lock into place.
- Secure the cable in the grips; if necessary, complete the fixation with tapes so that the bundle does not move and does not rub against the edges.
- Reinstall the removed covers/trims.
- Connect the battery.
-
4) Post-assembly checks and test drive/function verification
- Verify the function of the display (stable image, no dropouts when the car moves).
- Check that the cable does not touch any sharp edges and is not pinched after mounting the plastics.
- When driving for a short time, observe whether the defect manifests itself in vibrations (typically a badly clicked connector).
5) The most common assembly mistakes + how to avoid them
- Pulling on the cable instead of the connector → there is a risk of pulling out the wires; always hold the connector body.
- Unsnapped locks → image dropouts; after connecting, lightly check that the connector holds.
- Bad wiring of the bundle (pinches, sharp edges) → penetration of the insulation over time; follow the original route and fixation.
- Assembly without disconnecting the battery → risk of short circuit; always disconnect the battery first.
Reasons why the part is damaged
- Mechanical stress on the cable (bending, tension, vibration) leading to breakage of the wires.
- Loose or oxidised connector – loss of contact and signal fluctuations occur.
- Unprofessional disassembly of the interior (prying, pulling) and damage to connector locks.
- Rubbing of insulation by edges or pinching when reassembling plastic parts.
- Moisture in the connector area and subsequent corrosion of the contacts.