Description
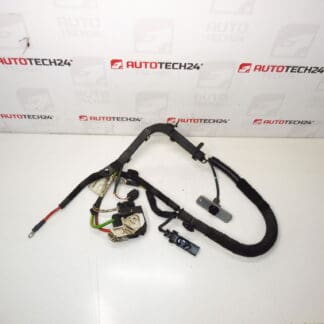
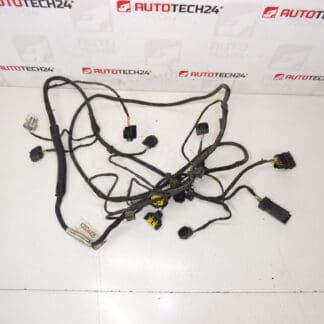
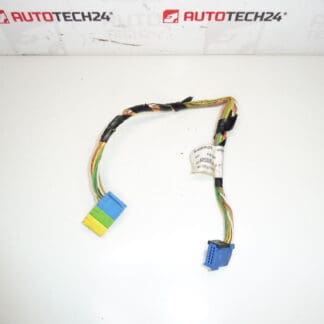
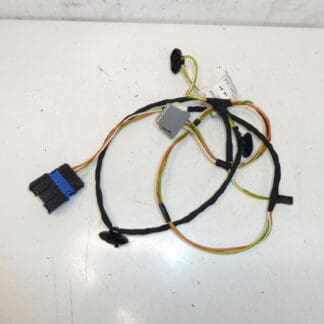
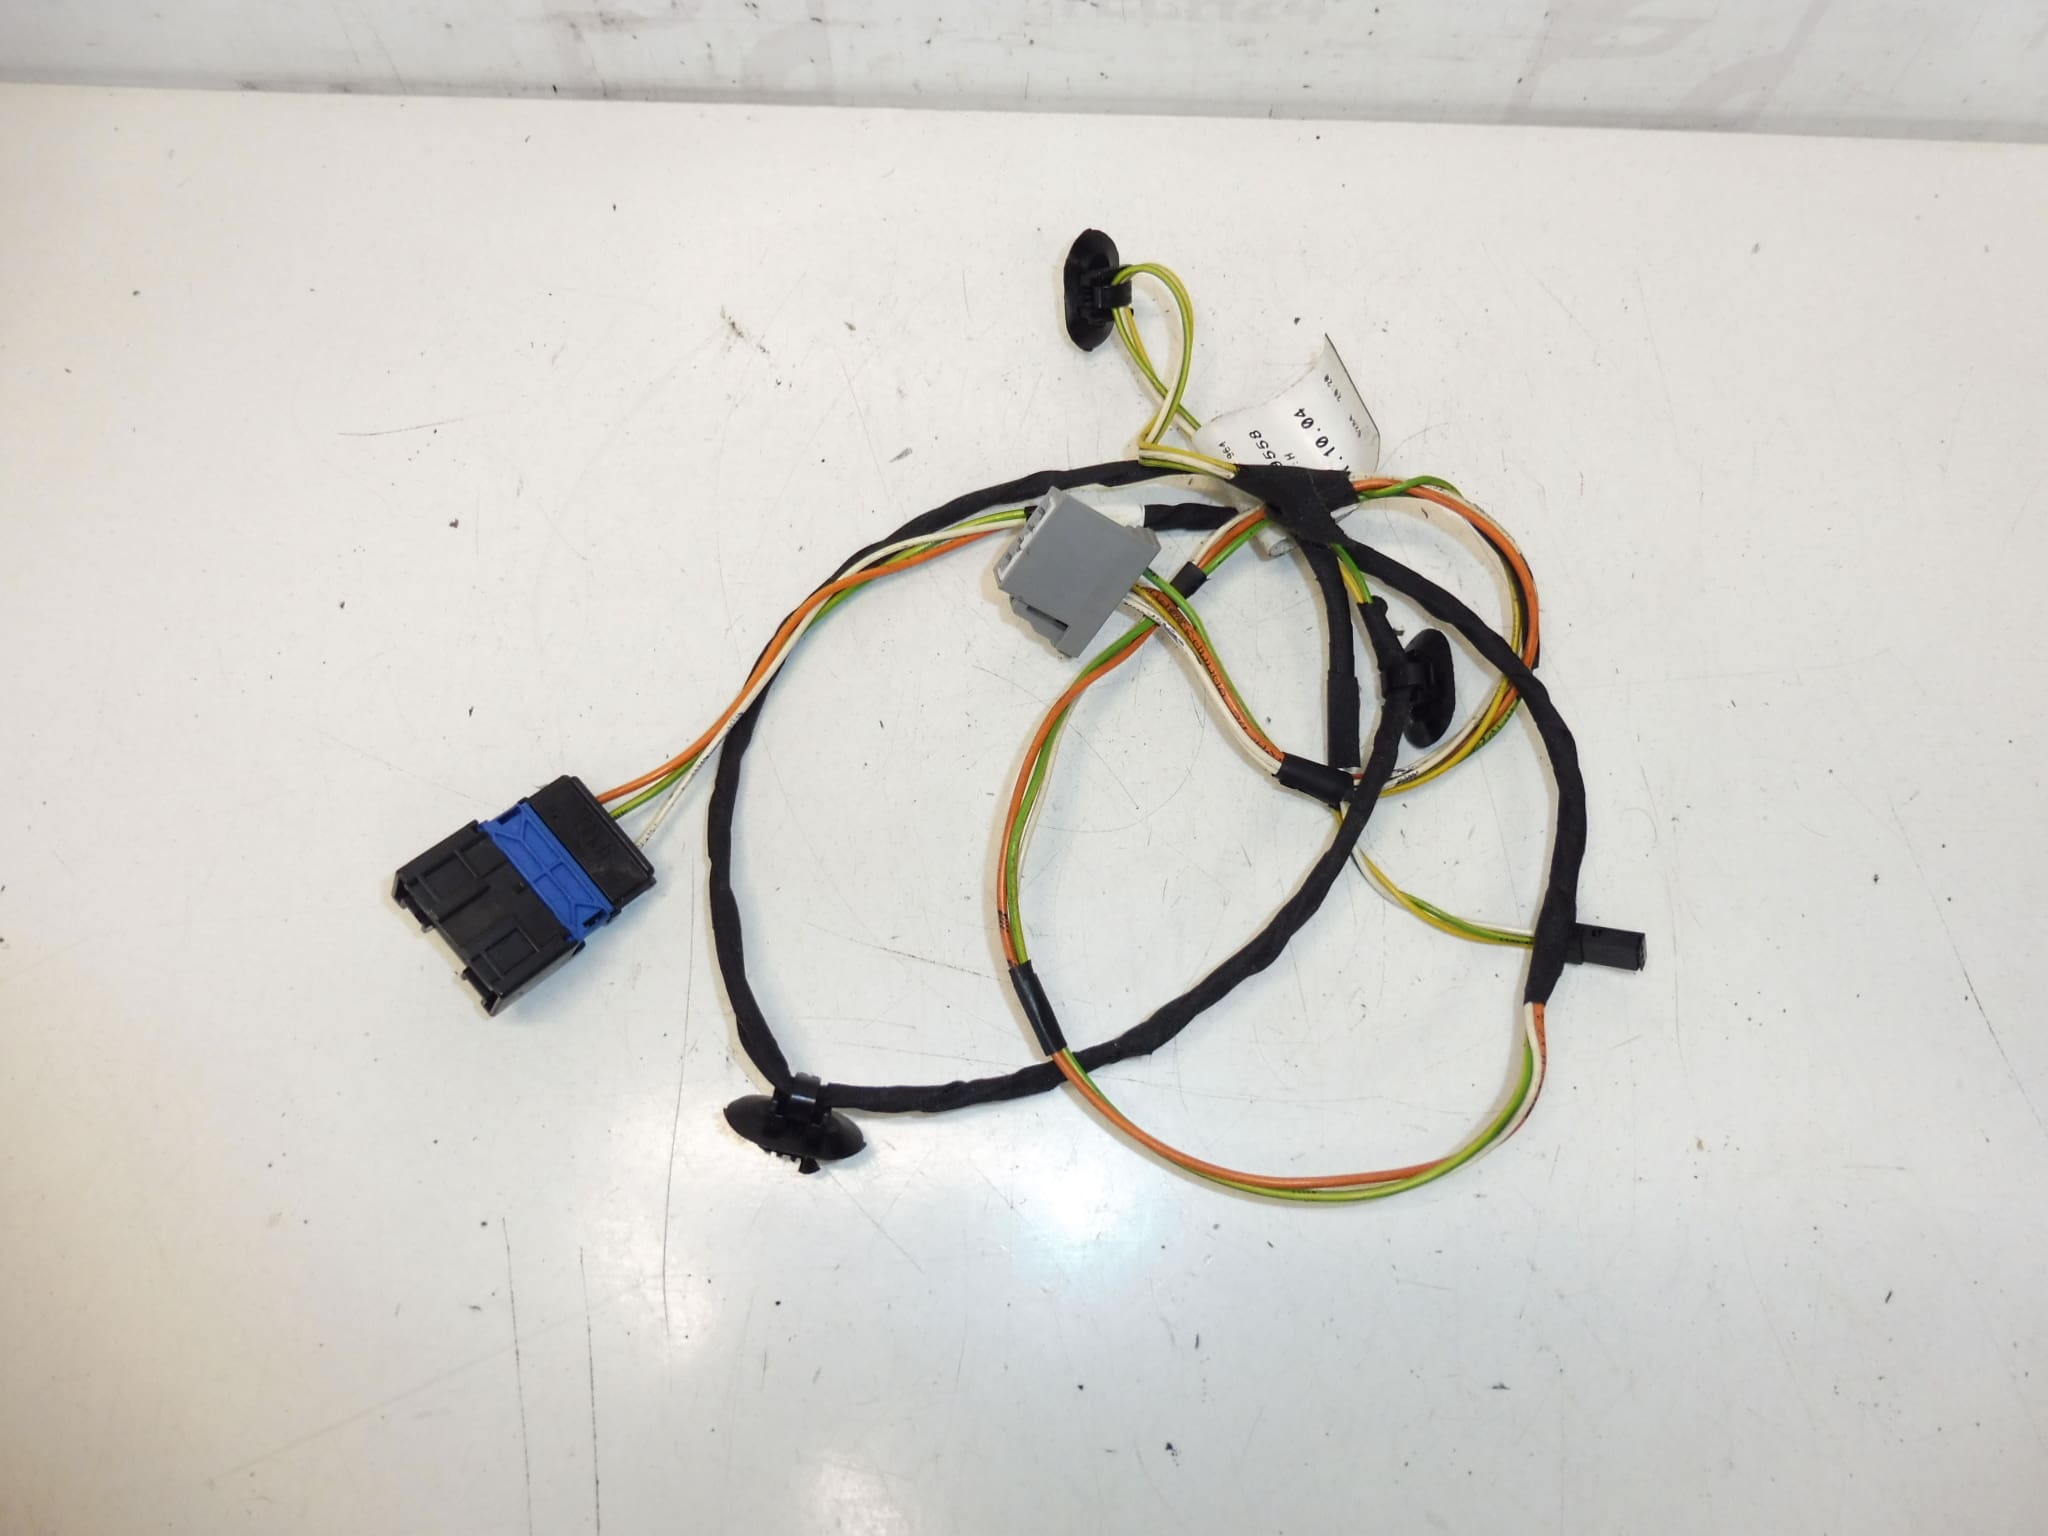
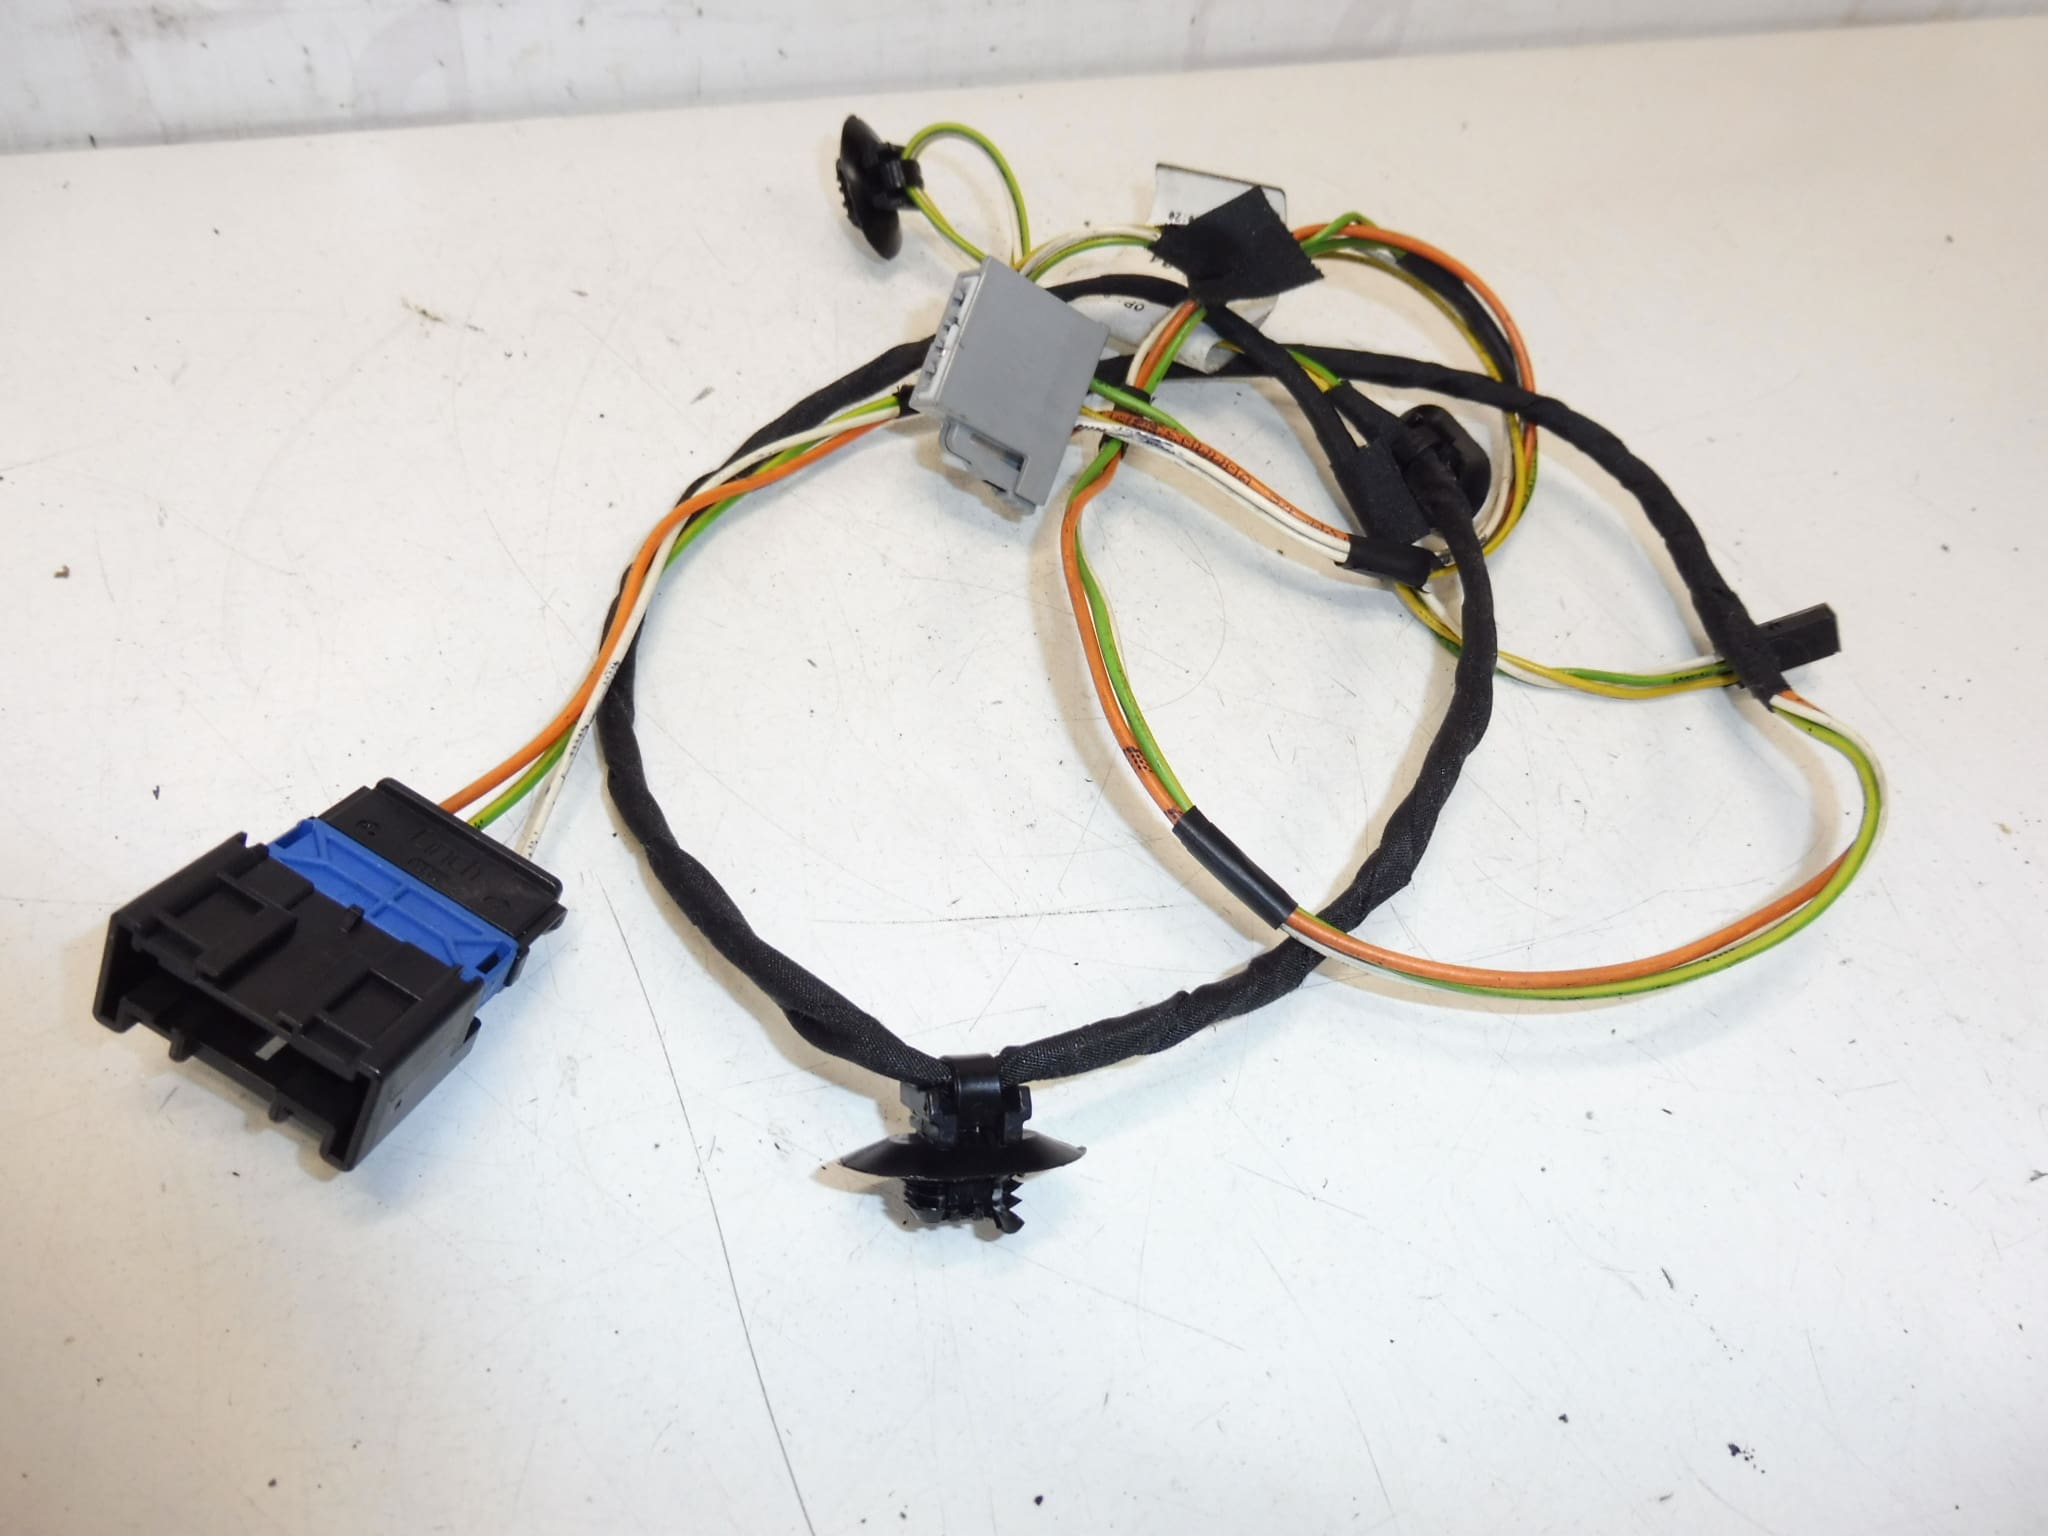
Complete front driver’s seat harness for PEUGEOT 407 cars
Part description
This used driver’s seat wiring harness is for Peugeot 407 cars. It is an electrical component that serves to connect the electrical elements of the seat and subsequent circuits as part of the vehicle’s original installation. Parts of this type are often searched for by serial numbers, so we also list 9649424380 and 6533XH.
The bundle is suitable for mechanics and DIYers who are looking for a genuine used part to repair damaged wiring, broken wires or defects caused by wear in the seat area. The advantage of an original part is that it preserves the original connectors and cable routing corresponding to the given design.
Technical information
- Manufacturer: Stellantis Citroën Peugeot
- Model: Peugeot 407
- Other numbers: 9649424380, 6533XH
Product codes
- Product codes: 9649424380, 6533XH
- Model names: Peugeot 407
Installation recommendations
In general, when replacing the seat wiring harness, the exact procedure may vary depending on the specific car design and equipment. Below is a safe and practical general procedure typical for this type of part.
1) Before assembly
- Check that the used harness matches the old part by connectors, wire length, branch shape and codes 9649424380 / 6533XH.
- Inspect wire insulation for frayed, blistered or improperly repaired.
- Check connectors, latches and pins for bent, oxidized or loose.
- Disconnect the battery and wait a reasonable time before starting work, especially if there are other electrical components in the seat area.
2) Necessary tools and materials
- set of common hand tools
- plastic pry bar for removing covers
- flashlight
- electrical contact cleaner
- clamps or clips if needed to reattach the bundle
- protective gloves
3) Step-by-step assembly procedure
- Turn off the ignition, secure the vehicle against movement and disconnect the battery.
- Access the seat area and surrounding covers so that the original wiring harness can be safely removed.
- Carefully document the handling of the original bundle, for example with photographs, so that the new piece can be stored in the same way.
- Sequentially disconnect all connectors of the old bundle without violence and check the state of the contacts.
- Release the harness from all brackets, clamps and leads to avoid damaging the conductor insulation.
- Compare the disassembled part with the delivered part according to the numbers, terminations and layout of the individual branches.
- If necessary, clean the connectors with electrical contact cleaner and allow them to dry.
- Store the used bundle in the same route as the original piece and make sure it is not twisted or stretched.
- Connect all connectors so that they are fully seated and properly latched.
- Fix the bundle in all holders and check that it does not touch any sharp edges or moving parts.
- Reinstall all covers and parts that had to be removed for access.
- Reconnect the battery and perform a basic function check.
-
4) Post-assembly checks and test drive / function verification
- Verify that all connected electrical functions related to the seat respond without dropouts.
- Check that the wiring is not strained or chafing when the seat is moved or used normally.
- Listen for the sound of the harness catching on the structure or covers as the seat moves.
- After a short ride, visually verify again that the harness remains properly stored and secured.
5) The most common assembly mistakes + how to avoid them
- Swapping connectors – mark or photograph everything before disconnecting.
- Poor harness routing – route the wiring the same way as the original to avoid pulling or chafing.
- Insufficient securing of fasteners – recheck all fastening points after assembly.
- Assembly with damaged pins – always check the condition of the contacts before connecting.
- Work without disconnecting the battery – always safely disconnect the vehicle’s power supply for electrical components first.
Reasons why the part is damaged
- repeated mechanical stress on the wiring when using the seat
- rubbing of the insulation against the structure or the edges of the surrounding parts
- damage to connectors during careless disassembly or previous repair
- oxidation of contacts due to moisture
- interruption of conductors in places of frequent bending
- unprofessional intervention in the original wiring