Description
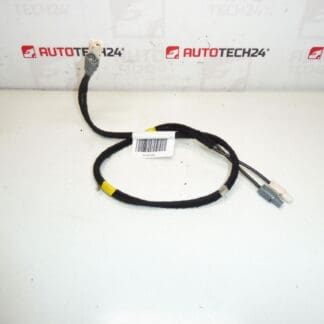
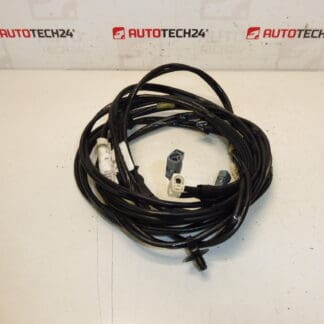
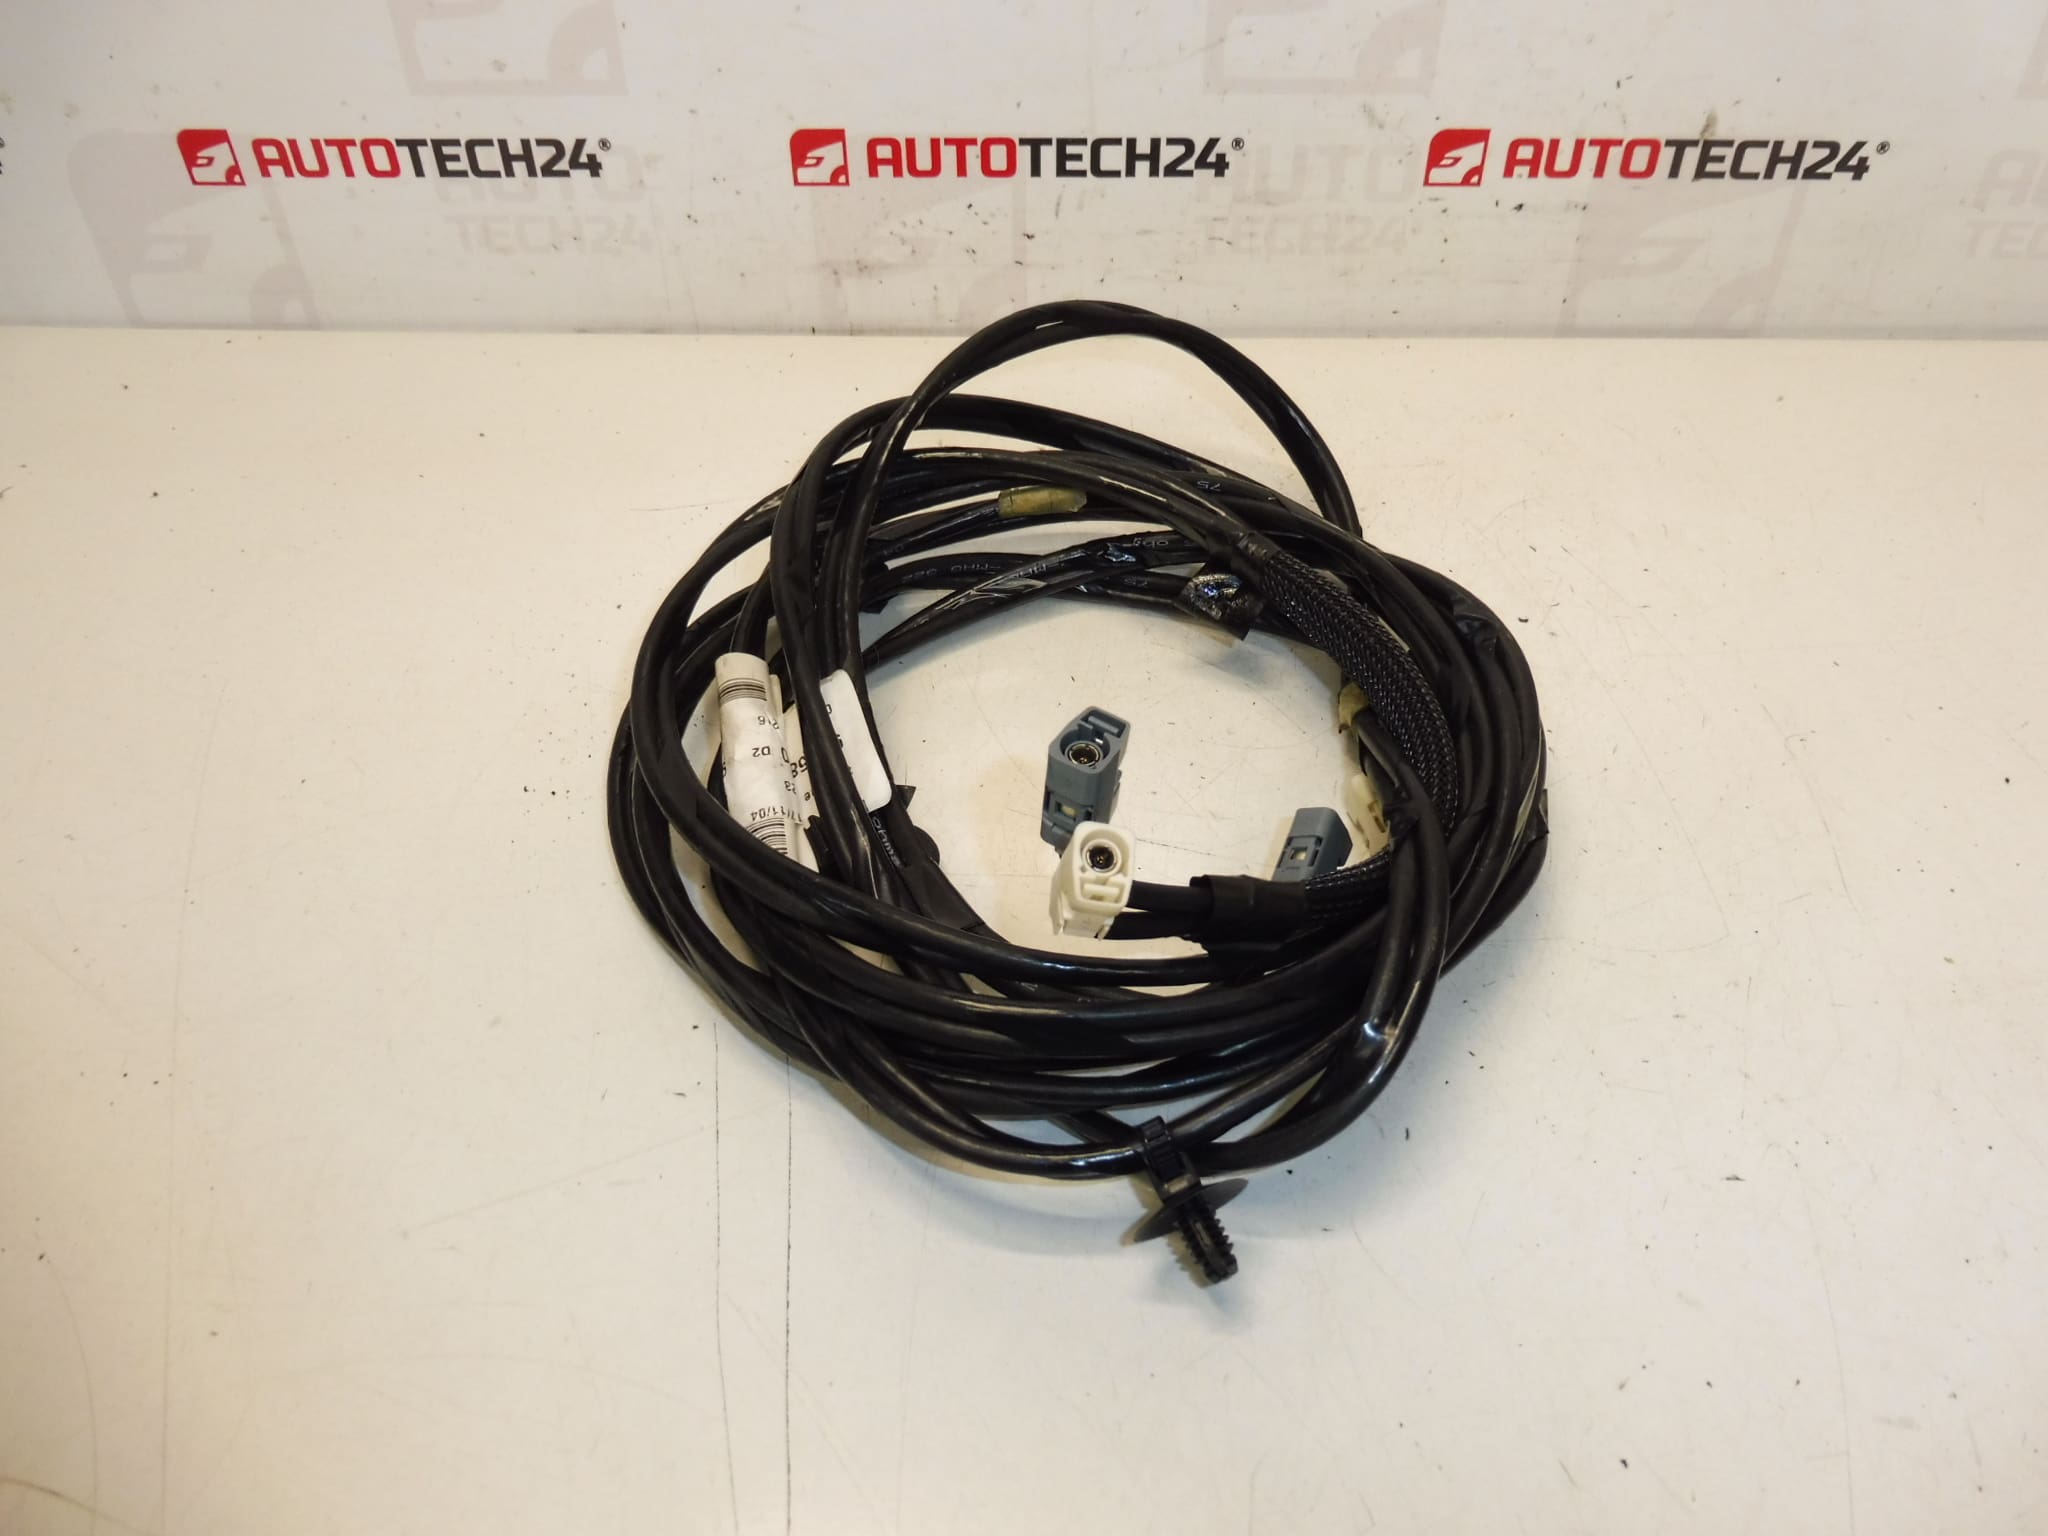
Complete antenna harness for PEUGEOT 407 cars
Part description
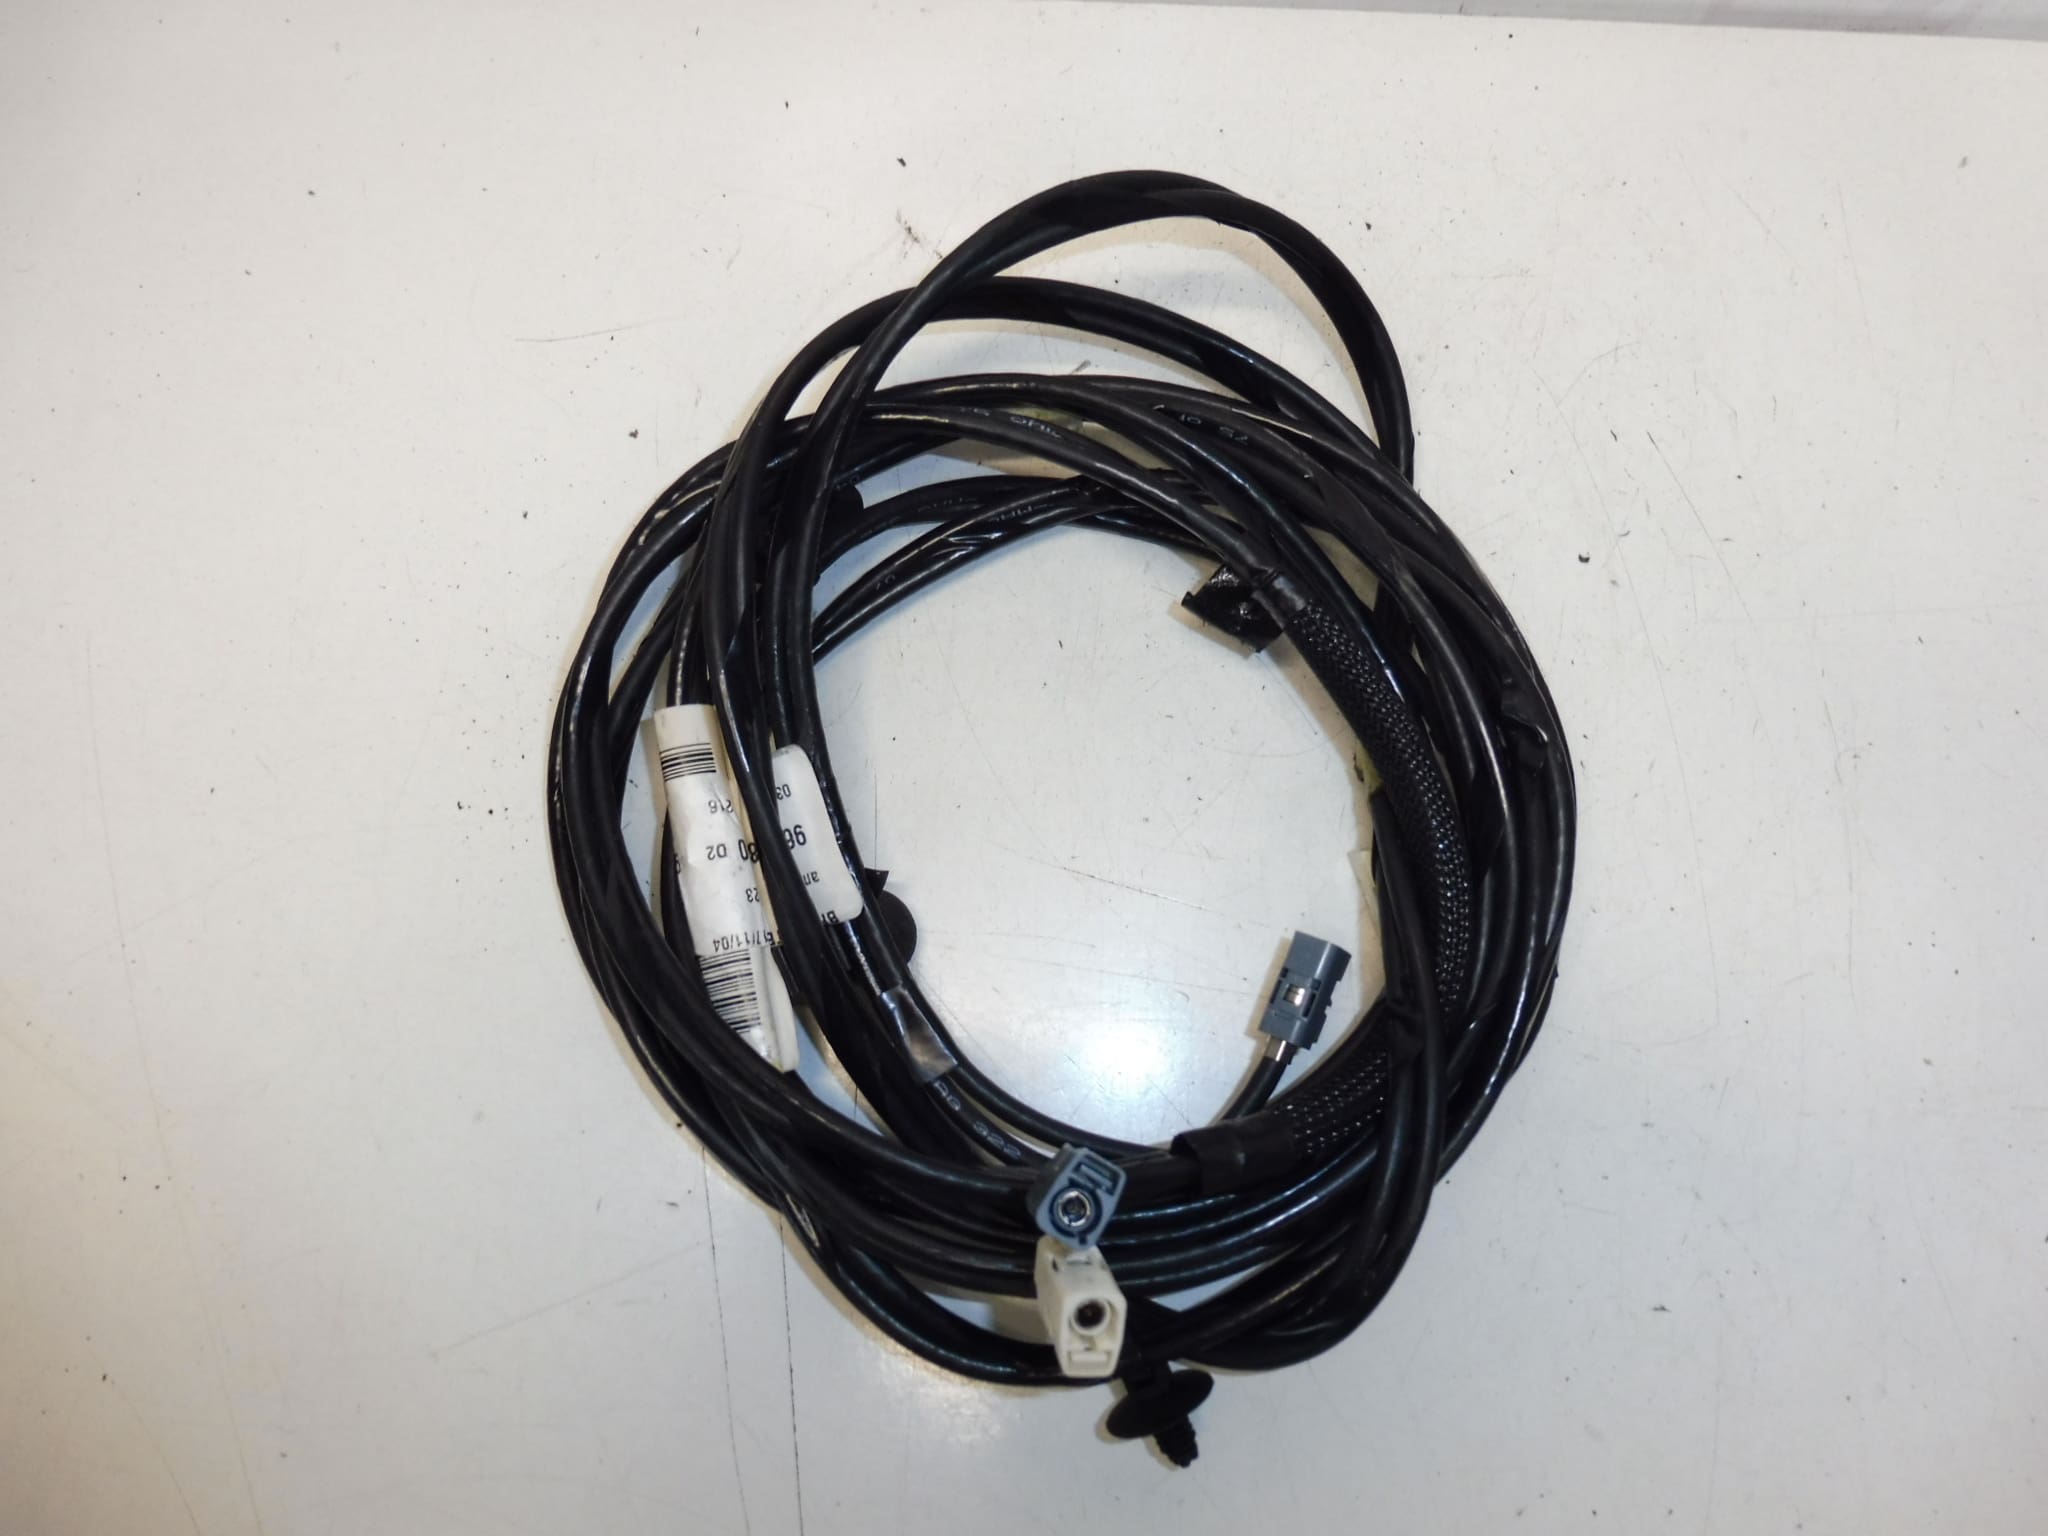
This used antenna cable harness is intended for Peugeot 407 cars and serves as an important part of connecting the antenna system with other elements of the vehicle. This is a part that can be critical in solving problems with poor radio reception, signal loss or damage to the original wiring.
The advantage is the marking with original codes, according to which mechanics and home repairmen are often looking for the right part. If you need to replace a damaged antenna harness, this part is a good choice for a repair without unnecessary modifications.
Technical information
- Manufacturer: Stellantis Citroën Peugeot
- Model: Peugeot 407
- Other numbers: NFP
Product codes
- Product codes: 9655815280, 6561V1
- Model names: Peugeot 407
Installation recommendations
Generally/typically for antenna wiring harness replacement, the exact procedure may vary depending on the specific car design and wiring. Before the assembly itself, it is advisable to proceed carefully in order not to damage the connectors, upholstery or connected electrical parts.
1) Before assembly
- Check whether the new and original part match in shape, length of harness, type of connectors and method of attachment.
- Inspect the connectors for cracks, bends or oxidation.
- Check the condition of the insulation of the cables along their entire length, especially at the bends and grommets.
- Before working, it is advisable to disconnect the battery, especially if you will interfere with the interior wiring.
2) Necessary tools and materials
- Basic set of hand tools
- Plastic pry bar for panel removal
- Cleaning agent for electrical connectors
- Work light
- Possibly zip ties or original fasteners if applicable
3) Step-by-step assembly procedure
- Turn off the ignition and secure the vehicle against movement.
- Disconnect the battery if the nature of the work requires it.
- Remove any necessary covers, trim or access parts to access the original antenna harness.
- Carefully document the routing of the original cable and the location of individual mounts.
- Disconnect the old harness connectors without using excessive force.
- Remove the original wiring from the brackets, grommets and conduits.
- Compare the old and new parts side-by-side to avoid mounting a mis-routed harness.
- Place the new antenna harness in the original route, taking care not to twist or strain it.
- Connect all connectors so that they are properly secured and free of play.
- Fix the bundle in all available holders and protect it from rubbing against sharp edges.
- Reinstall all removed covers and trim.
- When finished, reconnect the battery and perform a function check.
-
4) Post-assembly checks and test drive/function verification
- Test radio reception and signal stability.
- Check for dropouts while moving the wiring or while driving.
- Check that there are no leaks and that the trim is properly seated.
- After a short ride, check again that the wiring is in place.
5) The most common assembly mistakes + how to avoid them
- Switching connectors – always compare the shape and position of the connectors before snapping.
- Damage to latches – do not disconnect the connectors by force, release the fuse first.
- Insufficient mounting – secure the cable against vibration and abrasion.
- Overlooking damage to the used part – always check the insulation and condition of the contacts before assembly.
- Long-term mechanical stress and vibrations during vehicle operation
- Damage to the wiring during unprofessional disassembly of the trim or car radio
- Oxidized or loose connectors
- Moisture seeping into joints or cable routing
- Pinching of the harness during previous repair or installation of interior parts
- Aging of the insulation and its subsequent cracking