Description
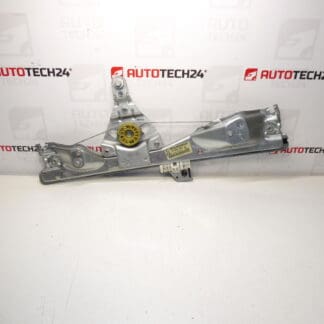
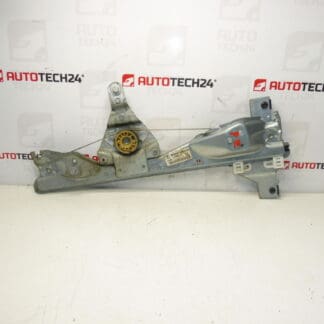
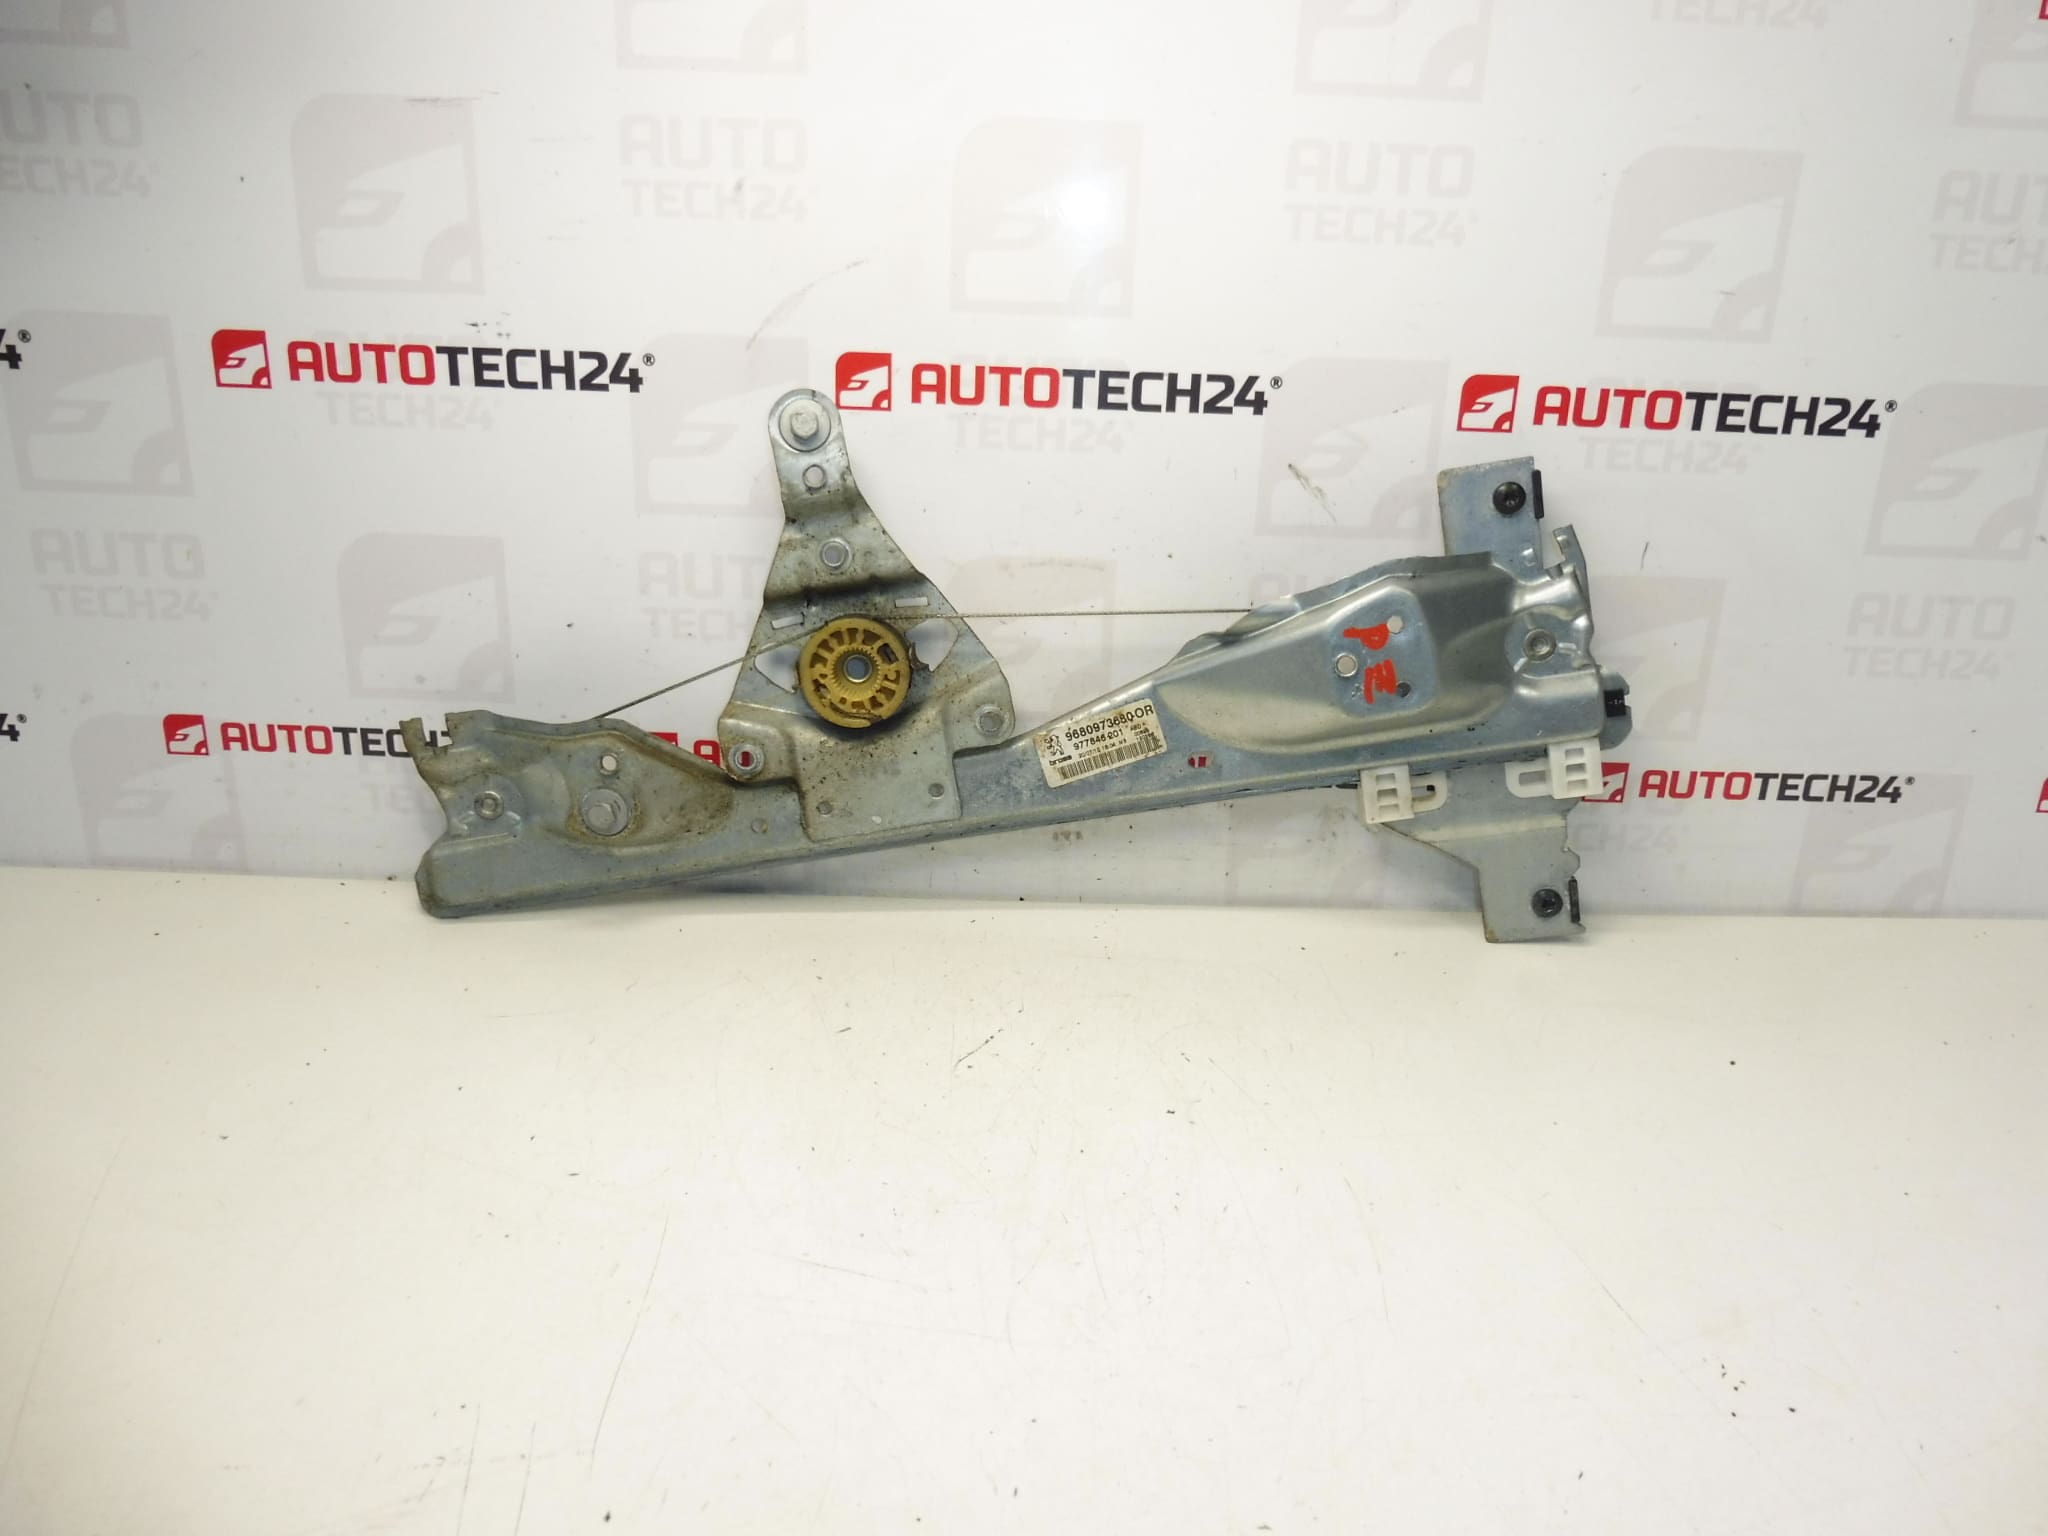
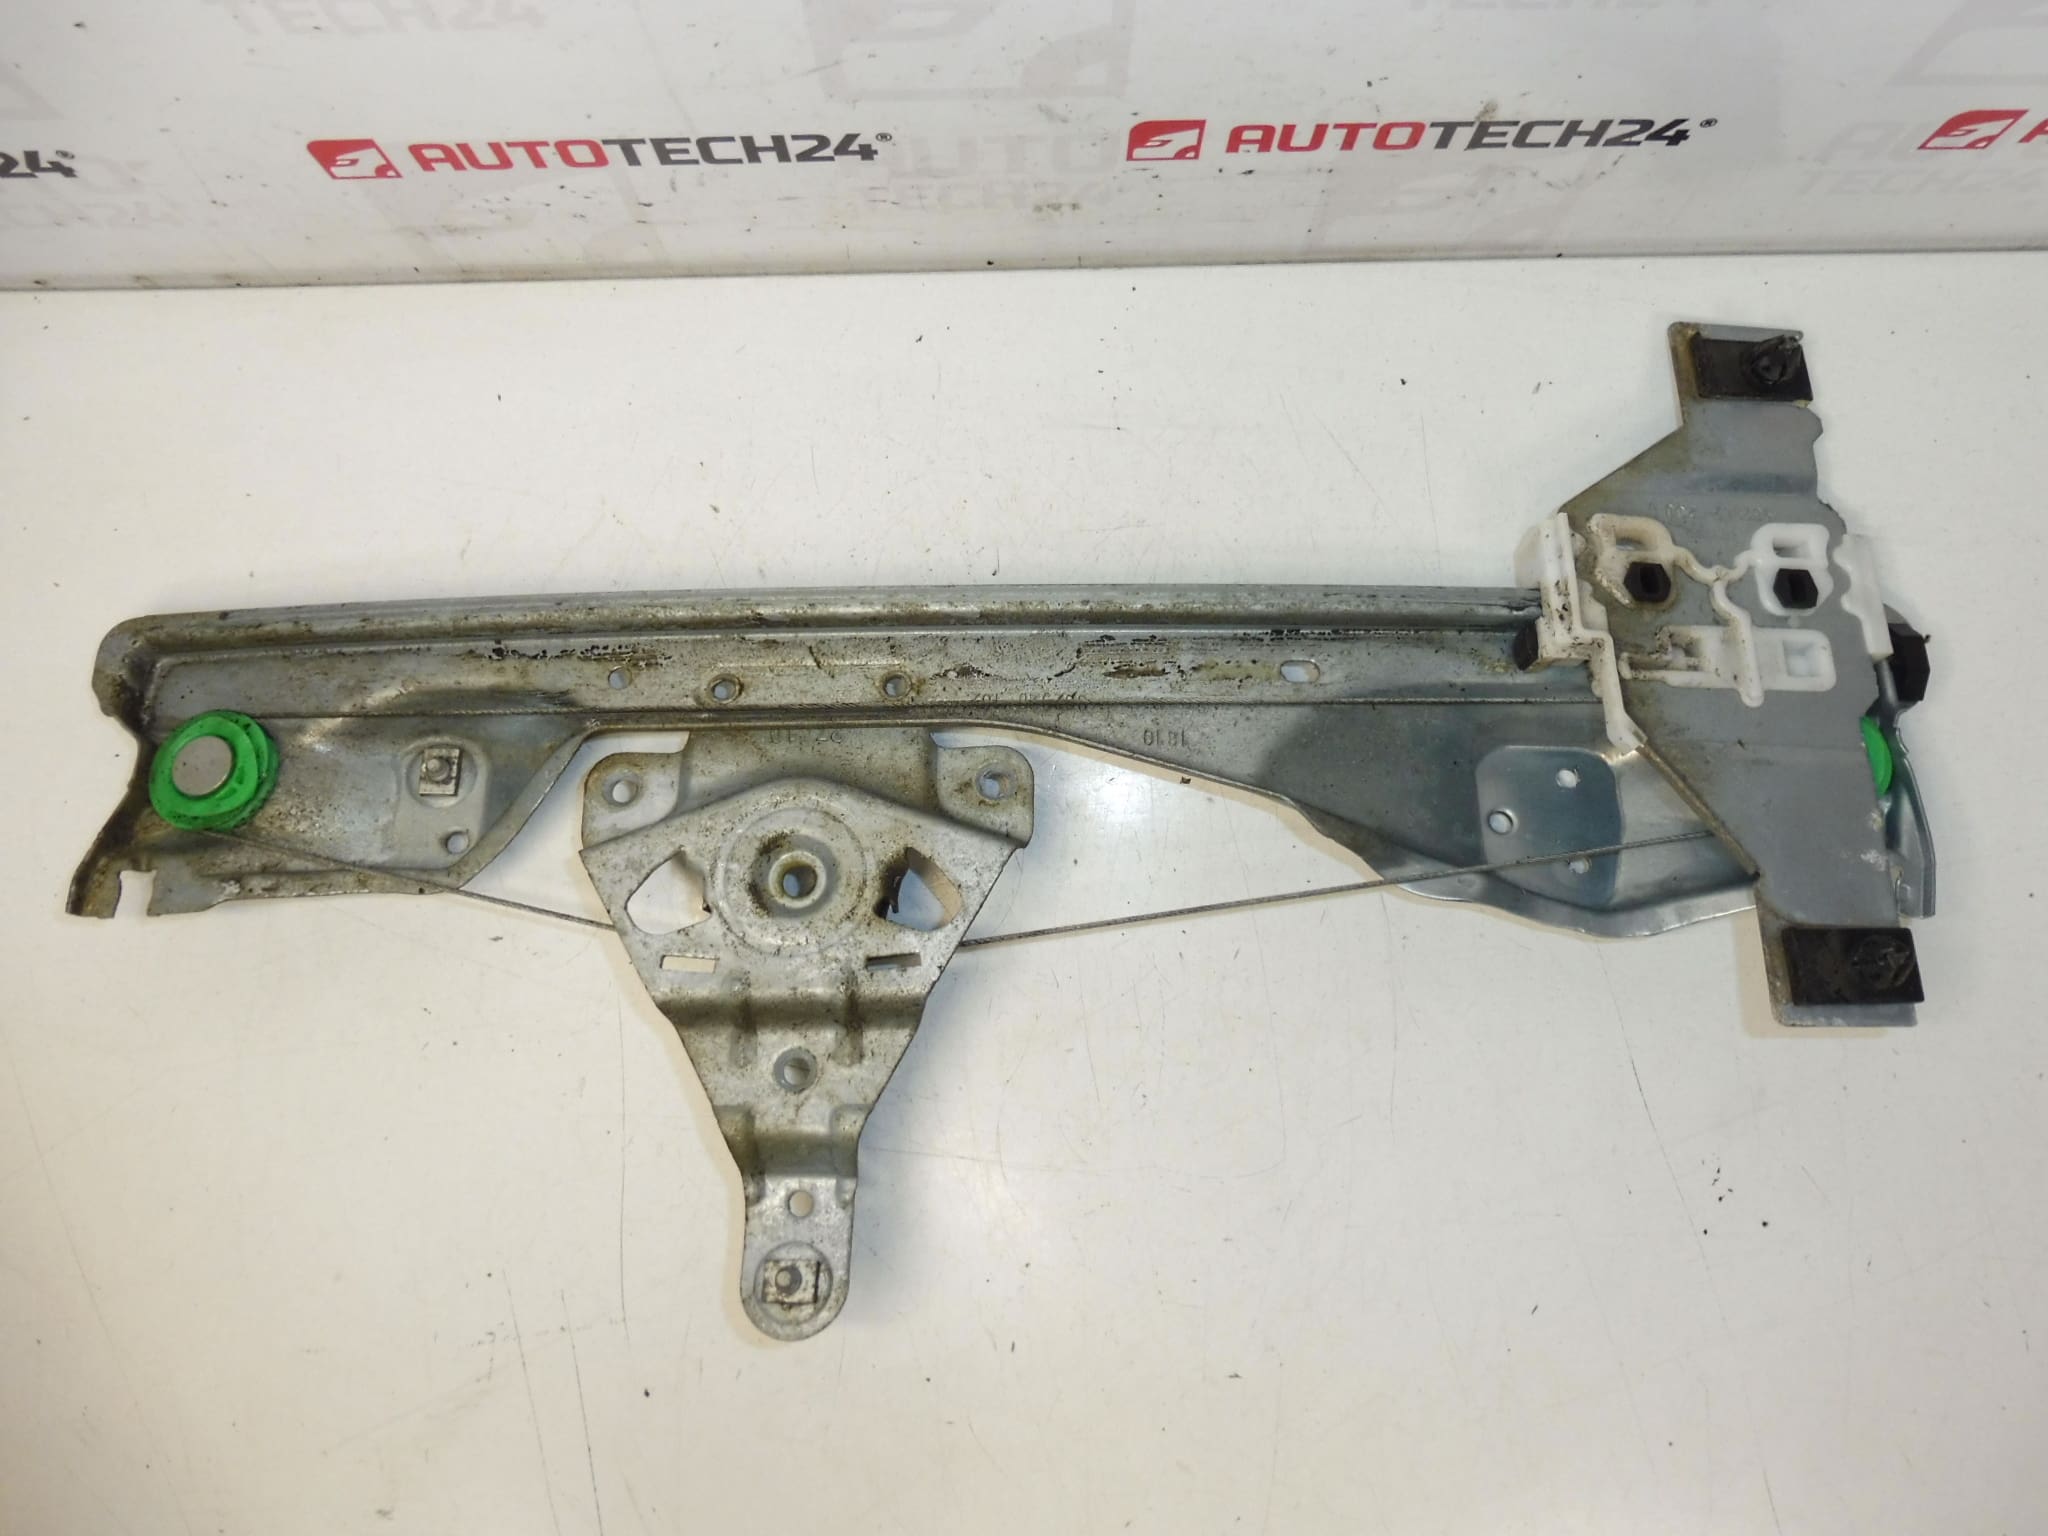
Mechanism for lowering the right rear window for PEUGEOT 308 T7 cars
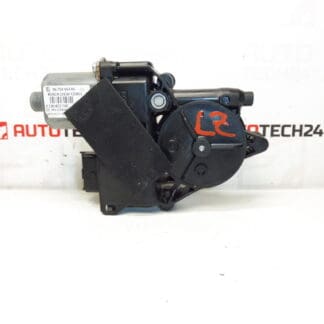
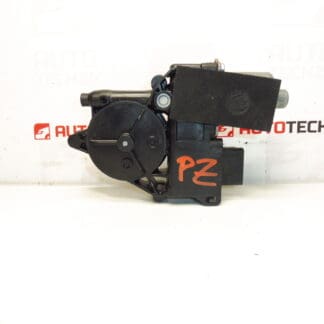
The motor can be bought extra
Part description
This used right rear window retractor is for Peugeot 308 T7. It is an important part for the correct movement of the window pane when opening and closing the window. If the original puller is damaged, snags or does not hold the glass in the correct position, replacing this part is a practical solution to restore function.
The offer includes the mechanism itself, while the motor can be purchased separately. Thanks to the given codes, the part can also be easily traced by number, which will be appreciated by both car repair shops and home mechanics when looking for the right used car part for Citroën Peugeot cars.
Technical information
- Manufacturer: Stellantis Citroën Peugeot
- Model: Peugeot 308 T7
- Other numbers: 9680973680, 9224E9
Product codes
- Product codes: 9680973680, 9224E9
- Models from labels/backgrounds: Peugeot 308
Installation recommendations
Generally/typically for this type of part, the exact replacement procedure may vary depending on the specific car design and door design. Below is a practical general procedure for replacing the window pull mechanism.
1) Before assembly
- Check that the new used part matches the original piece in shape, fit and mechanism guidance.
- Compare codes 9680973680 and 9224E9 with the old part if they are readable on it.
- Check whether the mechanism is mechanically deformed, cracked or excessively corroded.
- Check the condition of cables, guides and attachment points.
- If you are transferring the original motor, check its function and the condition of the connector.
2) Necessary tools and materials
- A common set of hand tools
- Screwdrivers and possibly bits for disassembling the door panel
- Plastic crowbar for removing upholstery
- Work gloves
- Cleaning agent for removing dirt from the door area
- Or a suitable lubricant for moving parts, if appropriate for the design
3) Step-by-step assembly procedure
- Turn off the ignition and secure the car against movement.
- Remove the relevant door trim to gain access to the pull mechanism.
- Carefully remove protective coverings or foils if they prevent access to the part.
- Ensure the window glass is in a safe position so that it does not slip and get damaged during work.
- Disconnect the original mechanism, possibly also the motor, if it is part of the original assembly and is transferred to the new part.
- Release the attachment points of the old mechanism and carefully remove the entire part from the door area.
- Compare the old and new mechanism side-by-side, especially the mounting, guiding and connection to the glass.
- Put the new mechanism in place and seat it first without final tightening so that the position can be fine-tuned.
- Attach the mechanism to the glass and to the door fixing points according to the design of the design.
- If you are installing the original or purchased motor, fit it correctly and connect the connector.
- Manually check the free movement of the mechanical parts and only then fasten everything carefully.
- Before fully assembling the door, perform a trial verification of the window movement function.
-
4) Post-assembly checks and test drive/function verification
- Check that the window moves smoothly without jerking, stuttering or unusual noises.
- Verify that the glass fits correctly in the upper and lower positions.
- Check that the mechanism holds the glass stably and does not tilt.
- After reassembling the door, try the window function again.
- When driving, check that there are no vibrations or play from the door after assembly.
5) The most common assembly mistakes + how to avoid them
- Incorrect comparison of the part before assembly – always compare the numbers and design with the old part.
- Damage to the door trim – use appropriate tools to remove the trim.
- Insufficient securing of glass – glass must be securely fixed during work.
- Crooked seating of the mechanism – check for correct position and free movement before final fixing.
- Omitting the door pre-assembly test – always verify the function before reassembling all the cover parts.
Reasons why the part is damaged
- Wear of mechanical parts during long-term use.
- Damage to the cables or guiding elements of the mechanism.
- Stiffening of moving parts due to dirt and moisture.
- Excessive strain on a frozen or hardened window.
- Defective or weak motor that overloads the mechanism.
- Deformation after previous unprofessional repair or intervention in the door.