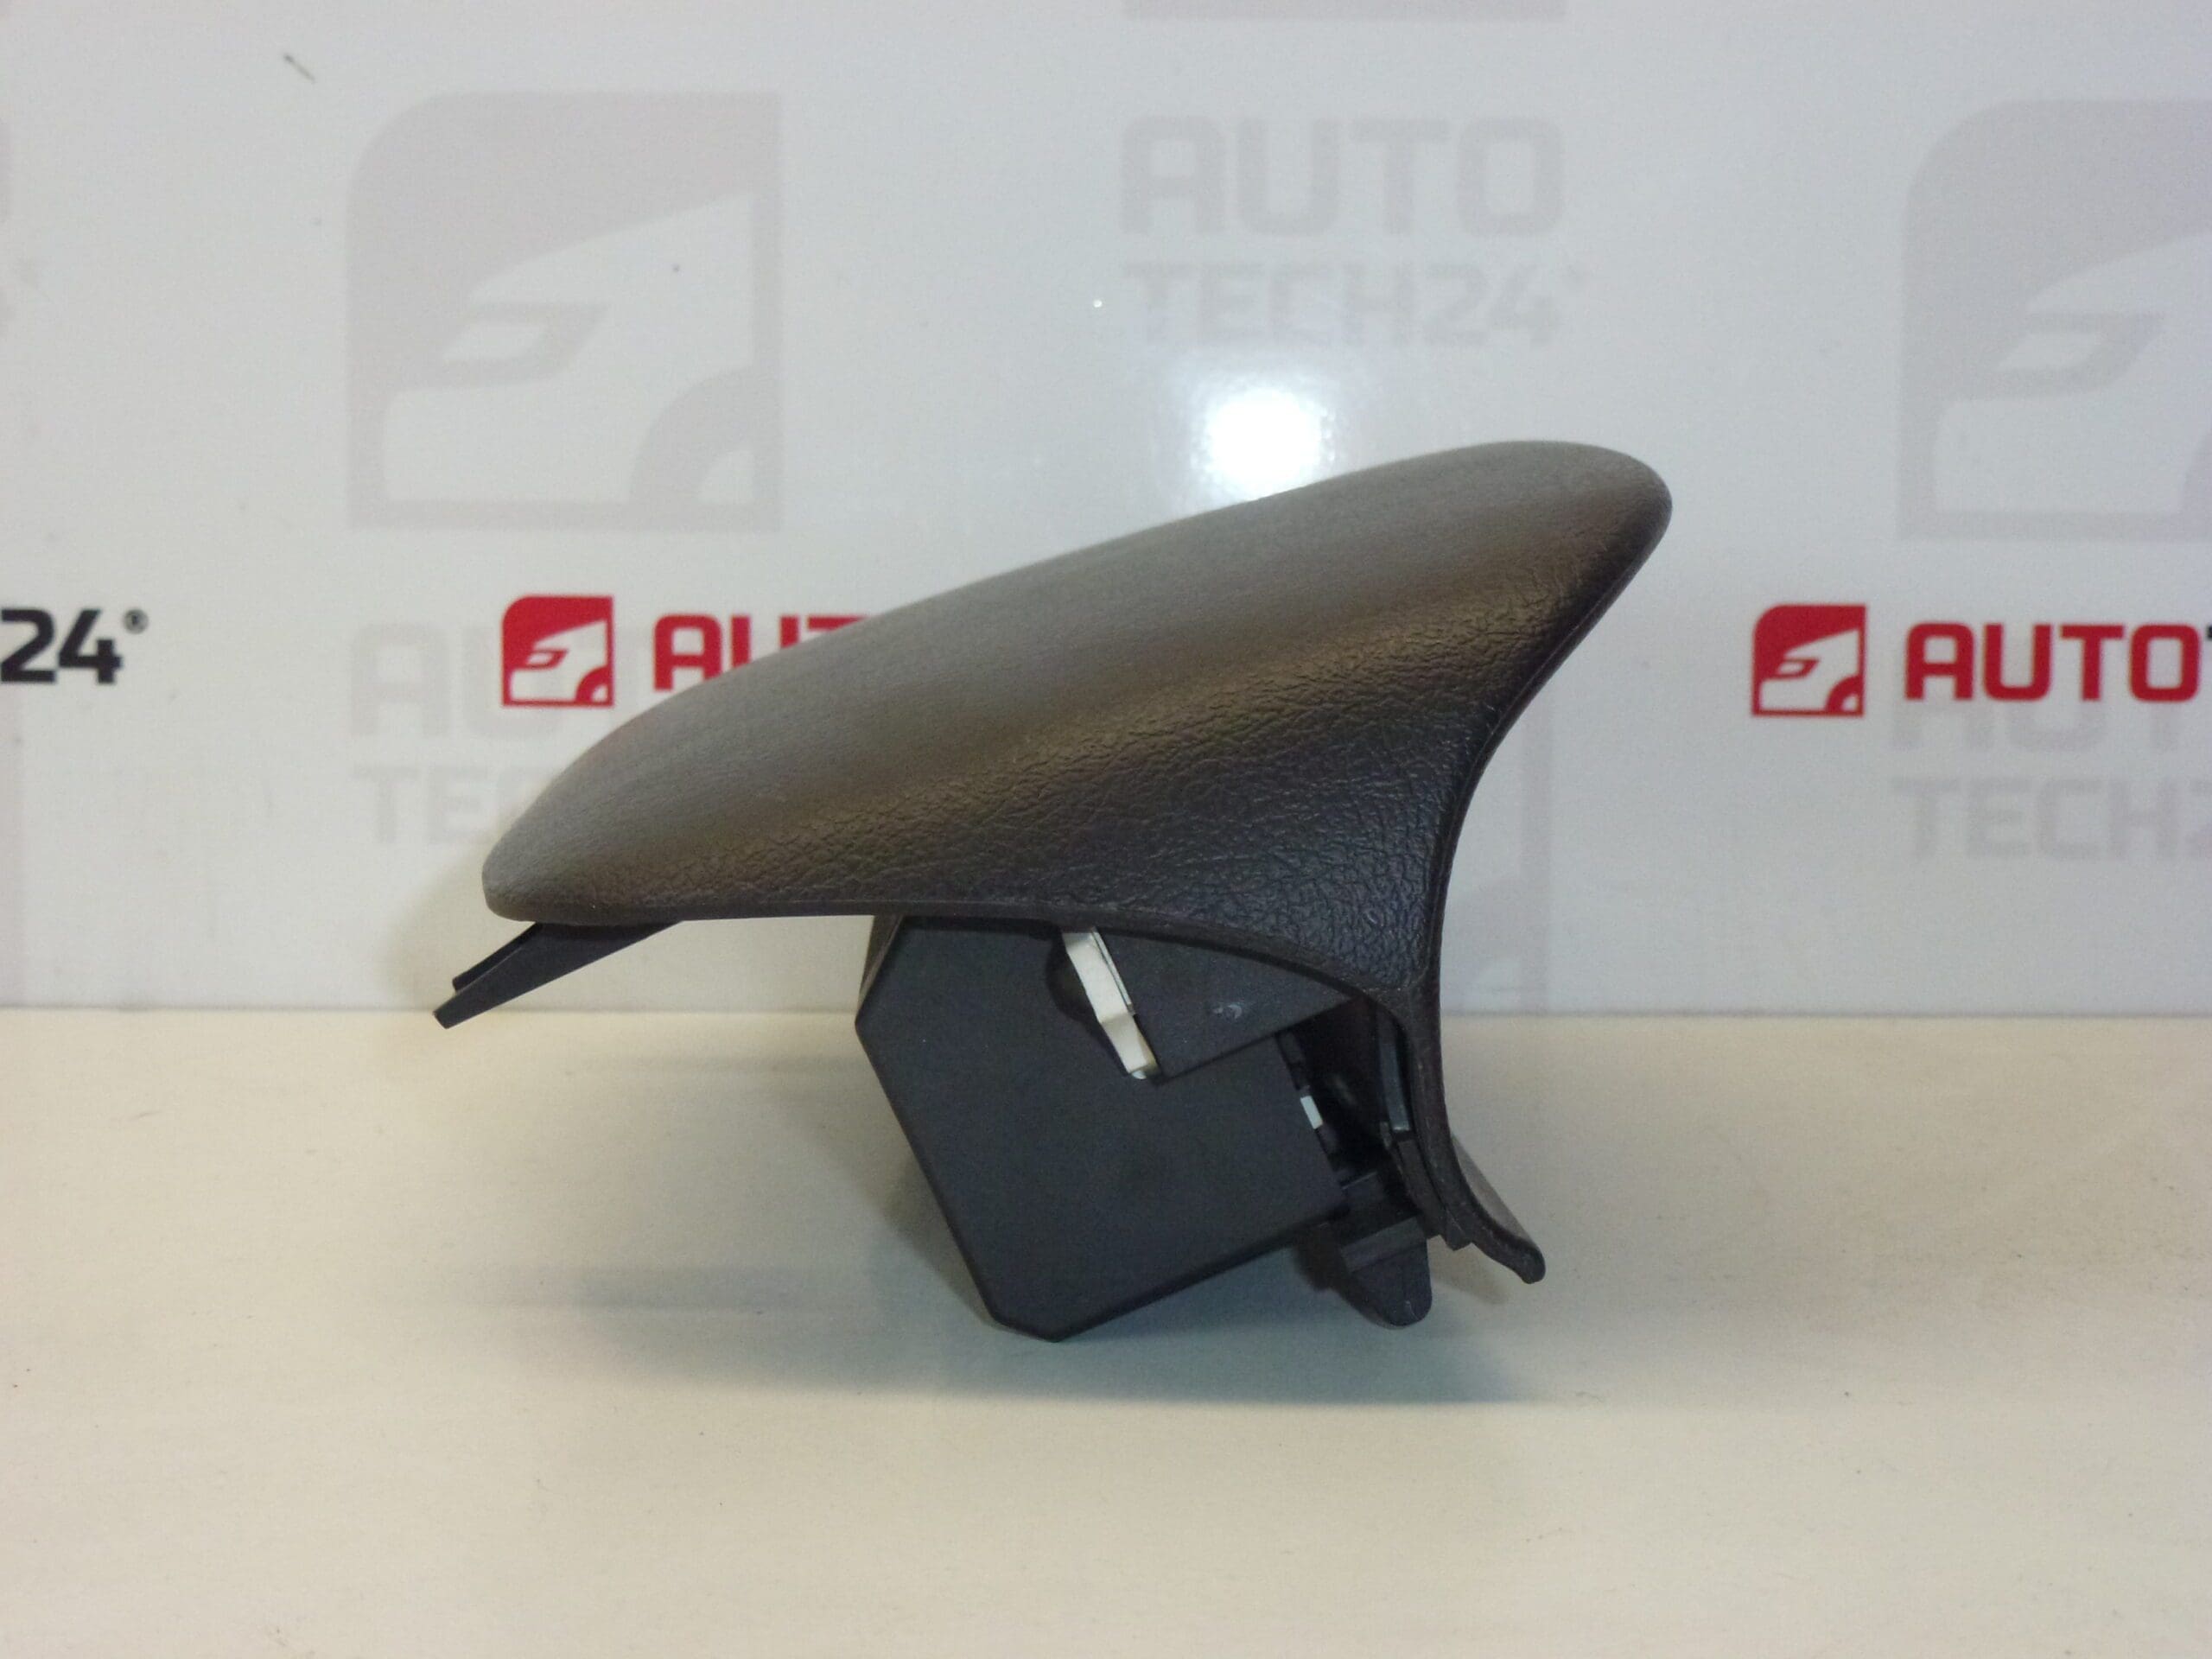
Description
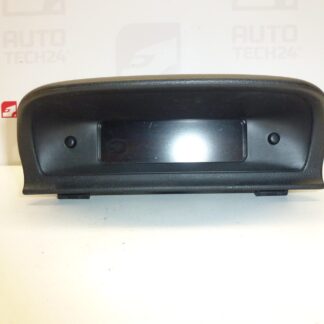
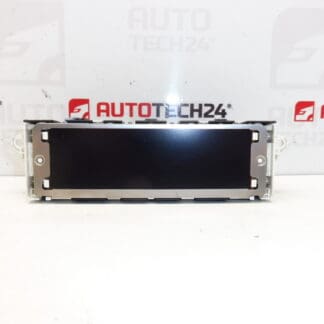
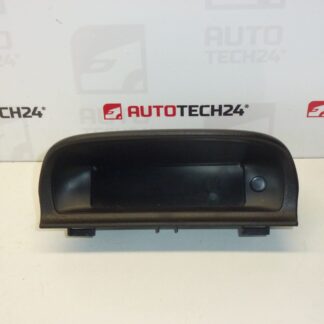
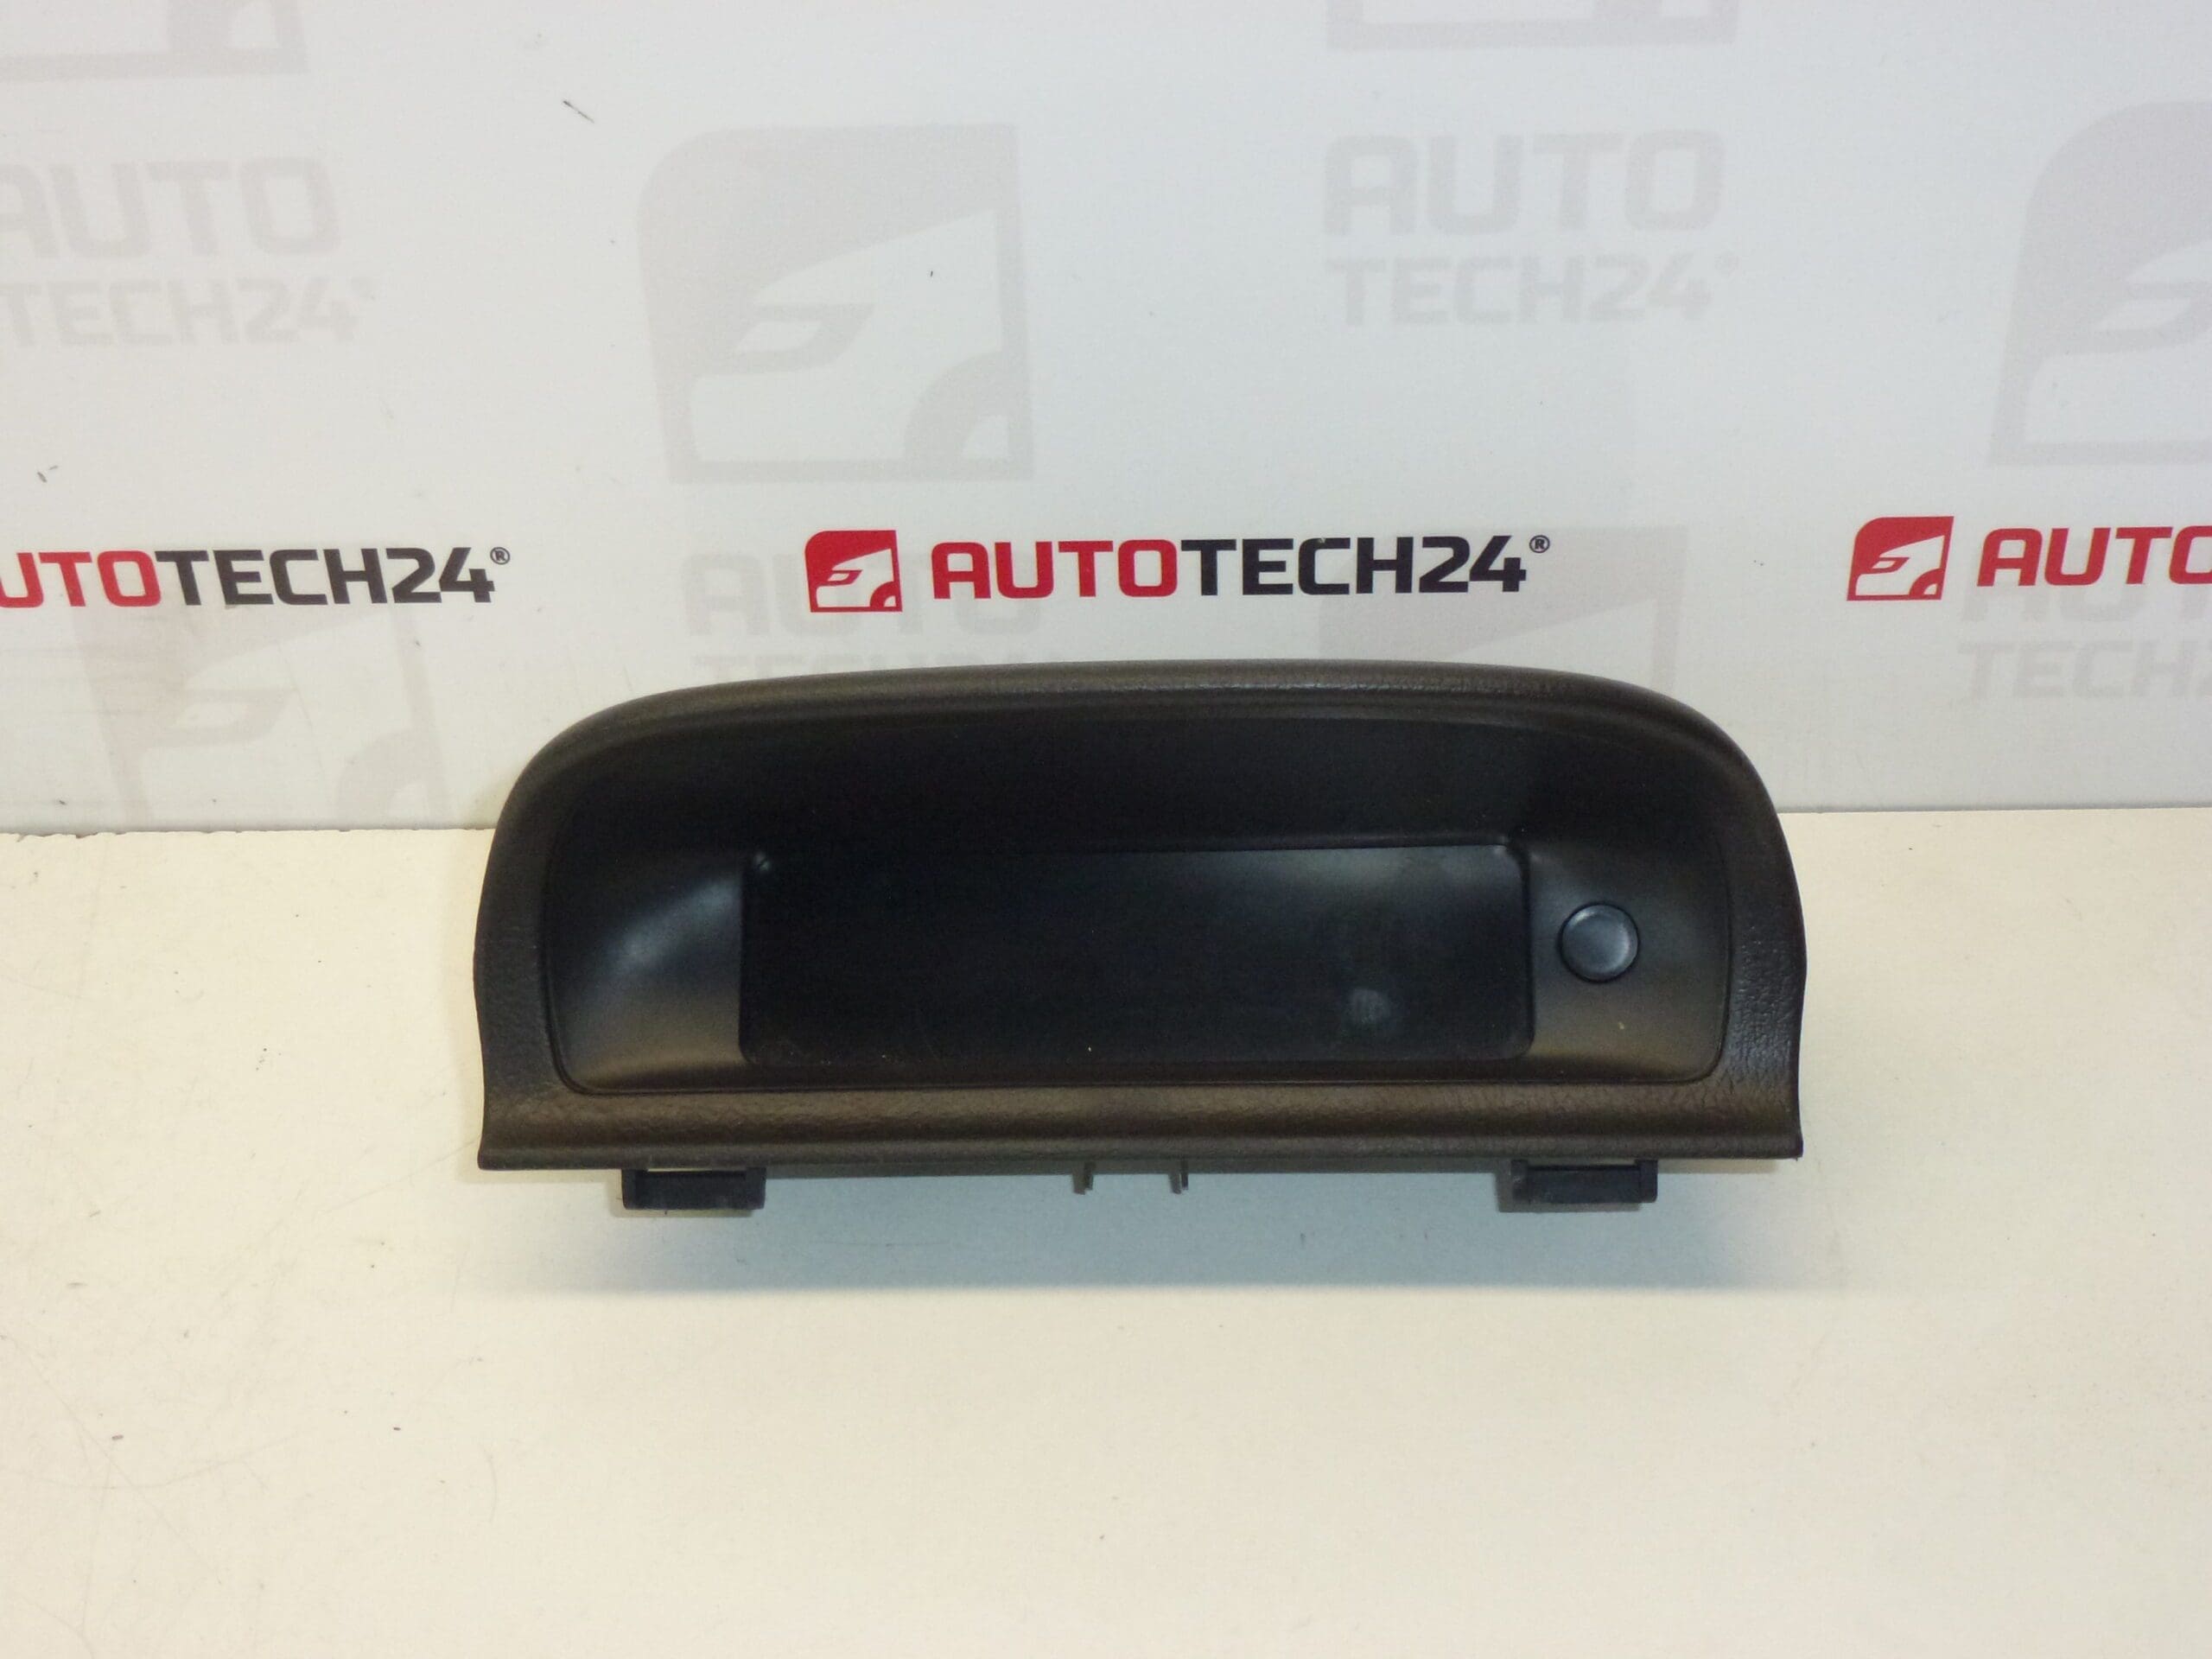
Display for radio and onboard computer for Peugeot 307 vehicles from 2005. Some functions may need to be activated with diagnostic equipment.
This replacement display unit is designed for the Peugeot 307 (second generation) and restores clear readout of radio information, onboard computer data and menu prompts. Ideal for mechanics and experienced DIY enthusiasts who search parts by product number — the module is commonly referenced under OEM codes and platform identifiers. The unit supports standard radio and trip computer functions; some advanced features may require activation via diagnostic tool after installation.
Features
- Clear segment/LCD display for radio and onboard computer readouts
- OEM-compatible housing and connector layout for direct fit into Peugeot 307 dashboards
- Compatible with standard PSA radio/navigation protocols used on 307 II models
- Often referenced and searched by OEM product numbers for quick identification
Technical Information
- Manufacturer: Stellantis (Citroën/Peugeot)
- Model: Peugeot 307 II (from 2005)
- Product Codes: 9664222280, 9658083380, 9822637880
- Other Numbers: 6155CH, 6155CJ, 6155CC, 6155CE
How To Replace
General replacement steps for experienced technicians or competent DIYers:
- Disconnect the vehicle battery before starting work to avoid short circuits and protect electronic modules.
- Carefully remove dashboard trim panels around the radio and instrument area using appropriate trim tools to avoid damage to clips and surfaces.
- Unscrew the radio unit or display carrier screws and slide the unit out to access the display connector.
- Unplug the display connector(s) and remove the old display. Inspect connectors for corrosion or bent pins.
- Fit the replacement display, reconnect the connector(s) and test basic functionality before reassembling trim.
- Reassemble panels, reconnect the battery and verify complete operation; note that some functions may require diagnostic activation.
Installation Recommendations
- Always disconnect the battery prior to removal/installation to prevent damage to the display or vehicle electronics.
- Work in a clean, static-free environment and avoid touching display contacts directly.
- Check connector pins and harness condition; clean or repair any corroded contacts before fitting the new unit.
- If functions do not appear after fitment, use PSA diagnostic equipment to activate features as required.
Why These Units Fail
Common causes of failure include long-term exposure to heat and thermal cycling, degraded backlight elements, failing internal capacitors, connector corrosion or damage from moisture ingress, and electrical surges. Wear typically appears after many years of use; mechanical stress from repeated removal or impact to the dash area can also cause display or connector faults.
Notes
- This part is frequently searched by the listed OEM numbers — verify the part number against the vehicle documentation or original unit label to ensure match.
- Some functions of the display or onboard computer may require activation using a diagnostic tool after installation.