Description
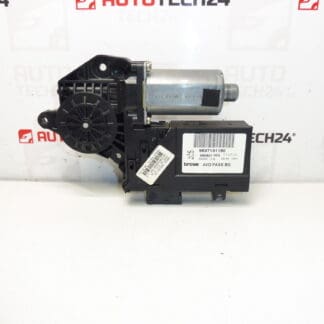
Left front window winder motor for PEUGEOT 307 CC up to 2004
With the function of a folding mirror for the car, window control via a handle
Fully functional, tested
Driver’s side
Part description
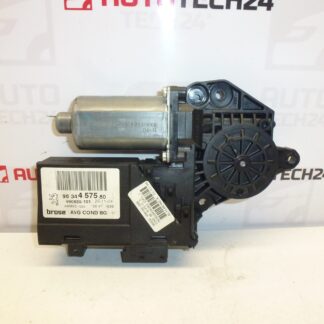
This left front window motor is designed for Peugeot 307 CC (up to 2004) and is suitable as a replacement if the original mechanism on the driver’s side fails. This is a used part from the Stellantis range (Citroën/Peugeot) with verified functionality – tested.
According to the documents, the part is designed with a folding mirror function and with window control via a handle. When replacing, the key is to stick to matching product numbers and designs so that the engine works properly with the car’s equipment.
Technical information
- Manufacturer: Stellantis (Citroën/Peugeot)
- Model: Peugeot 307 CC (up to 2004)
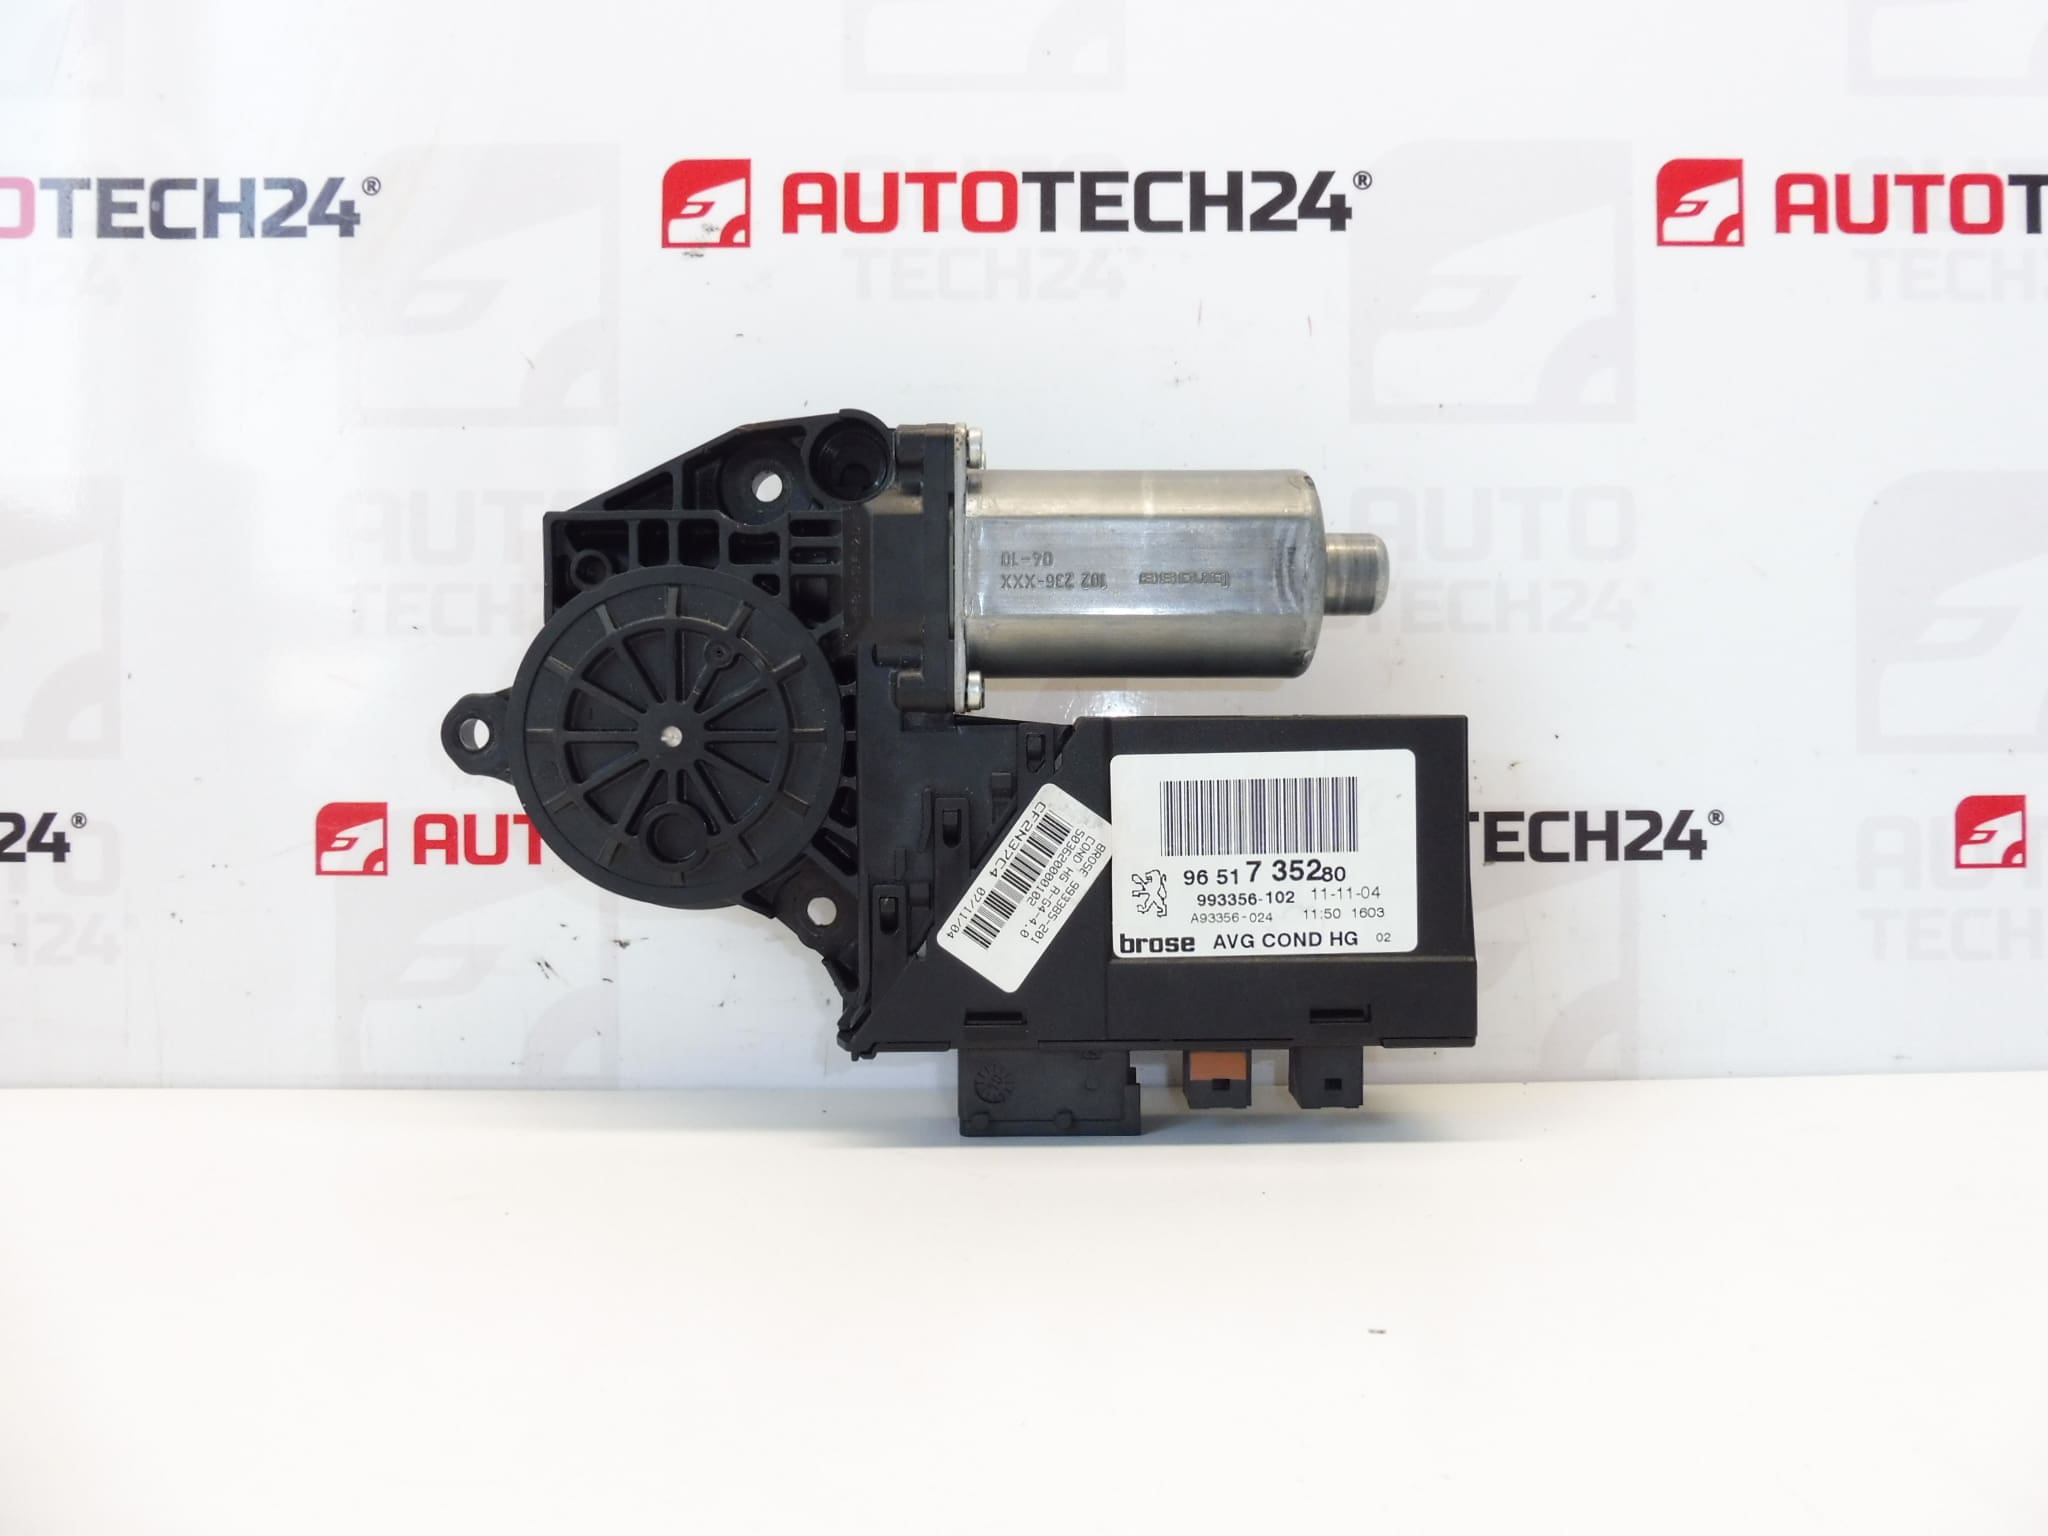
- Other numbers: 9221P8, NFP
Product codes
- Product codes: 9651735280
Installation recommendations
Generally/typically for a window winder motor the exact procedure may vary depending on the specific door design and equipment (eg integration with winder mechanics, controls and wiring). Below is a safe practical procedure used in practice when replacing this type of part.
1) Before assembly
- Compare the old and the new part: same numbers 9651735280 / 9221P8, same design (according to the documents of the folding mirror function, window control via the handle), same connectors and mounting.
- Check the condition of the connector and wiring in the door (oxidation, pulled pins, insulation damage).
- Check the mechanical part of the puller (cables/drives) – stuttering often overloads the motor.
2) Necessary tools and materials
- Basic set of screwdrivers and bits (according to the screws used in the door)
- Plastic crowbar for upholstery
- Gloves, contact cleaner (as needed)
- Contraction tapes / insulating tape for safe routing of cabling (as needed)
3) Step-by-step assembly procedure
- Turn off the ignition and disconnect the battery to be safe (recommended practice for door wiring).
- Remove the door trim/upholstery and carefully disconnect the controls’ electrical connectors.
- Remove the protective film/cover (if present) so that it seals properly again.
- Secure the glass against falling (typically with tape or a suitable support) so that it does not slide down when the mechanism is disengaged.
- Disconnect the window download engine connector.
- Unfasten the motor and, if necessary, parts of the puller mechanism according to the design (note the position and routing of the cabling).
- Remove the original motor and compare the mounting and fitment with the replacement piece again.
- Mount the 9651735280 motor back in place and fix it to the original points.
- Connect the electrical connector and check that it clicks and there is no play.
- Perform the first functional test (briefly, with the glass secured): the up/down movement must be smooth and without unusual noises.
- Put back the protective foil/cover and make sure it is tight so that water does not get into the door for the wiring.
- Refit the door panel/trim and all removed elements.
-
4) Post-assembly checks and test drive/function verification
- Repeatedly verify the operation of the window in its entire range (no stuttering, no skipping).
- Check that the wiring is not rubbing or pinched under the upholstery.
- If the car has the relevant equipment according to the documents, check the function of the related elements (e.g. folding mirror).
5) The most common assembly mistakes + how to avoid them
- Design interchange (other connectors/features): always check part numbers and design match before assembly.
- Unsecured glass: the glass can fall and be damaged – always secure it before disconnecting the mechanism.
- Ignoring stiffened puller mechanics: if the drives/cables rub, the motor is overloaded and may go away again.
- Carbon and commutator wear in the electric motor due to age and frequent use.
- Increased resistance of the puller mechanics (stuttering of drives, damaged cables), which overloads the motor.
- Moisture in the door and subsequent oxidation of the connectors or internal parts of the engine.
- Damage to the wiring in the door bushing (broken wires, breaks) leading to irregular operation and overloading.
- Mechanical damage during unprofessional disassembly/assembly (torn attachment, damaged connector).