
Description
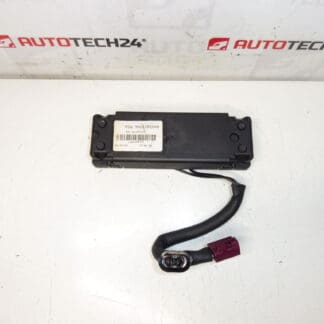
Impedance adapter for PEUGEOT 407 cars
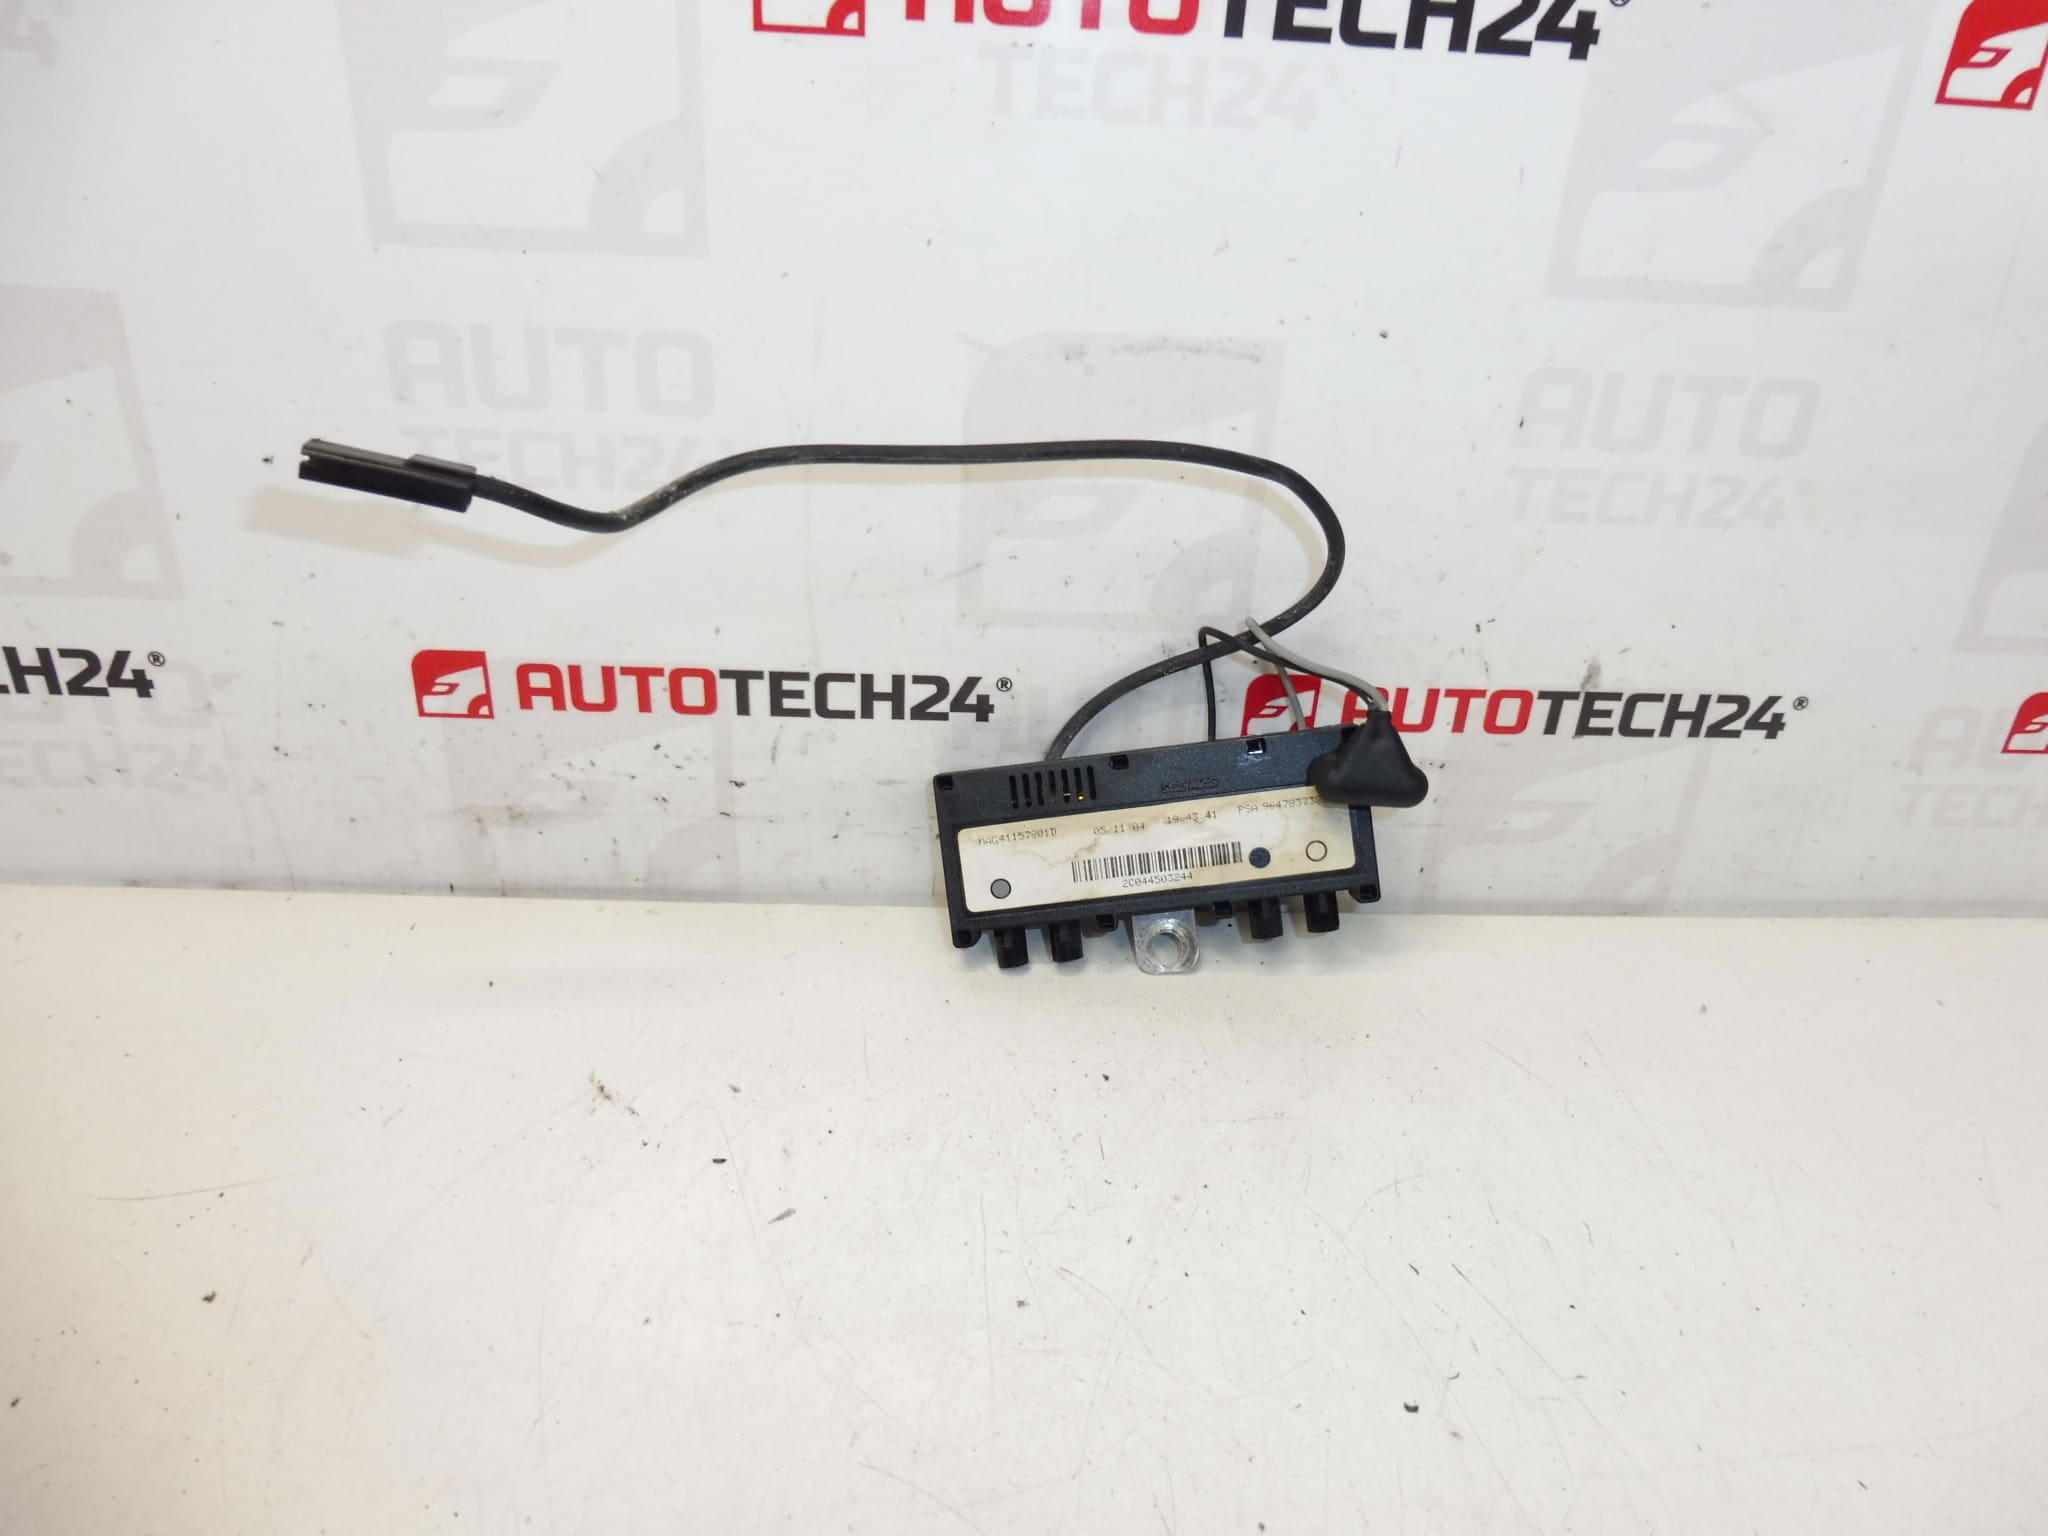
Part description
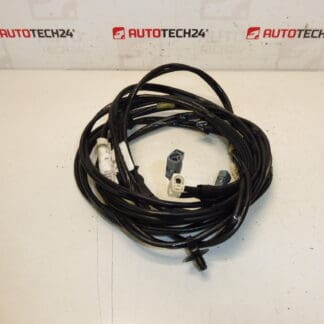
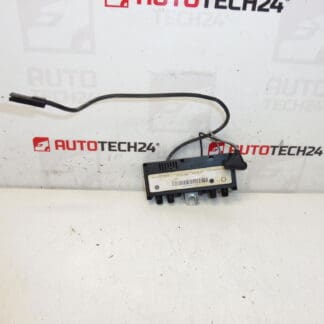
This impedance adapter is a used original part designed for Peugeot 407 cars. It is an electrical component from the category of car radios and accessories, which is mainly searched for by a specific part number. It is especially important for mechanics and home repairers to compare the markings on the original part and on the offered piece.
The part is suitable as a replacement in the event of a failure of the original adapter, damage to the connector part or when solving the malfunction of the related audio or electrical equipment. For used PSA auto parts, correct matching of product codes is essential for a smooth exchange.
Technical information
- Manufacturer: Stellantis Citroën Peugeot
- Model: Peugeot 407
- Other numbers: 9647837380, 6561EG, NFP
Product codes
- Product codes: 9647837380, 6561EG
- Model names: Peugeot 407
Installation recommendations
Generally/typically, the exact method of replacement for electronic components and accessories of the car radio depends on the specific design of the car and the fitted equipment. Therefore, it is always necessary to compare the original part with the old one and adapt the procedure to the specific installation.
1) Before assembly
- Check that the designation 9647837380 and 6561EG match the removed part.
- Compare the connectors, the shape of the body of the part, the attachment and the length of any cabling.
- Inspect the part for cracks, deformation, signs of overheating, oxidation of contacts or damaged locking latches.
- Disconnect the battery before starting work, especially if you are interfering with the vehicle’s electrical installation.
2) Necessary tools and materials
- basic set of hand tools
- plastic pry bar for panel removal
- electrical contact cleaner
- clean cloth
- torch or work light
- protective gloves
3) Step-by-step assembly procedure
- Switch off the ignition and secure the vehicle against unwanted movement.
- Disconnect the battery and wait a reasonable time before touching the wiring.
- Access the space where the original adapter is located, or dismantle the covers or the connected part of the paneling.
- Carefully disconnect the electrical connectors from the old part without pulling hard on the wires.
- Unfasten the original adapter and remove it from the vehicle.
- Compare the old and new part by number, connectors, shape and fit.
- If necessary, gently clean the connectors and contact surfaces with a suitable preparation for electrical installation.
- Place the replacement impedance adapter in place of the original piece.
- Connect the connectors so that they are properly secured and there is no tension in the wiring.
- Check that cables are not pinched, kinked or routed over sharp edges.
- Reinstall all removed covers and trim.
- Connect the battery and perform a basic function check of the associated electrical equipment.
-
4) Post-assembly checks and test drive/function verification
- Verify that the part is firmly seated and the connectors hold properly.
- Check the function of the system with which the adapter is connected, especially the stability of the connection and error-free response after power-on.
- Listen for dropouts, interference, or intermittent functionality.
- After a short ride, recheck that nothing has come loose and the wiring remains in a secure position.
5) The most common assembly mistakes + how to avoid them
- Part replacement by appearance instead of number – always compare product codes and connector designs.
- Connector damage during disassembly – release the connectors carefully via the latches, never pull on the cables.
- Assembly without checking the condition of the contacts – oxidation or dirt can cause non-functionality even with the correct part.
- Pinched or strained wiring – always check the wiring and area around the mount after installation.
- Interference with the electrical installation with the battery connected – it is safer to disconnect the battery before working on the electrical part.
Reasons why the part is damaged
- age and normal wear and tear of electrical components
- oxidation of contacts and moisture in connectors
- mechanical damage during careless disassembly or assembly
- loose or poorly secured connectors
- vibration and long-term cabling stress
- damage caused by unprofessional intervention in the vehicle’s audio or electrical installation