Description
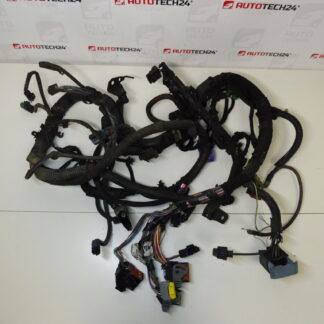
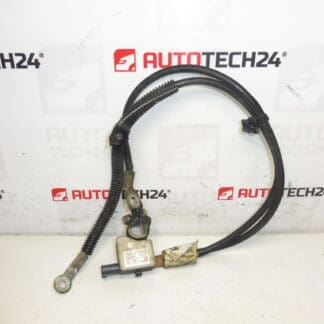
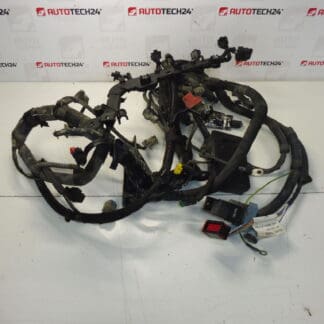
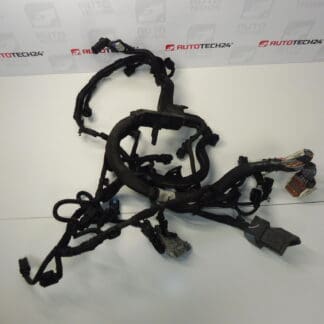
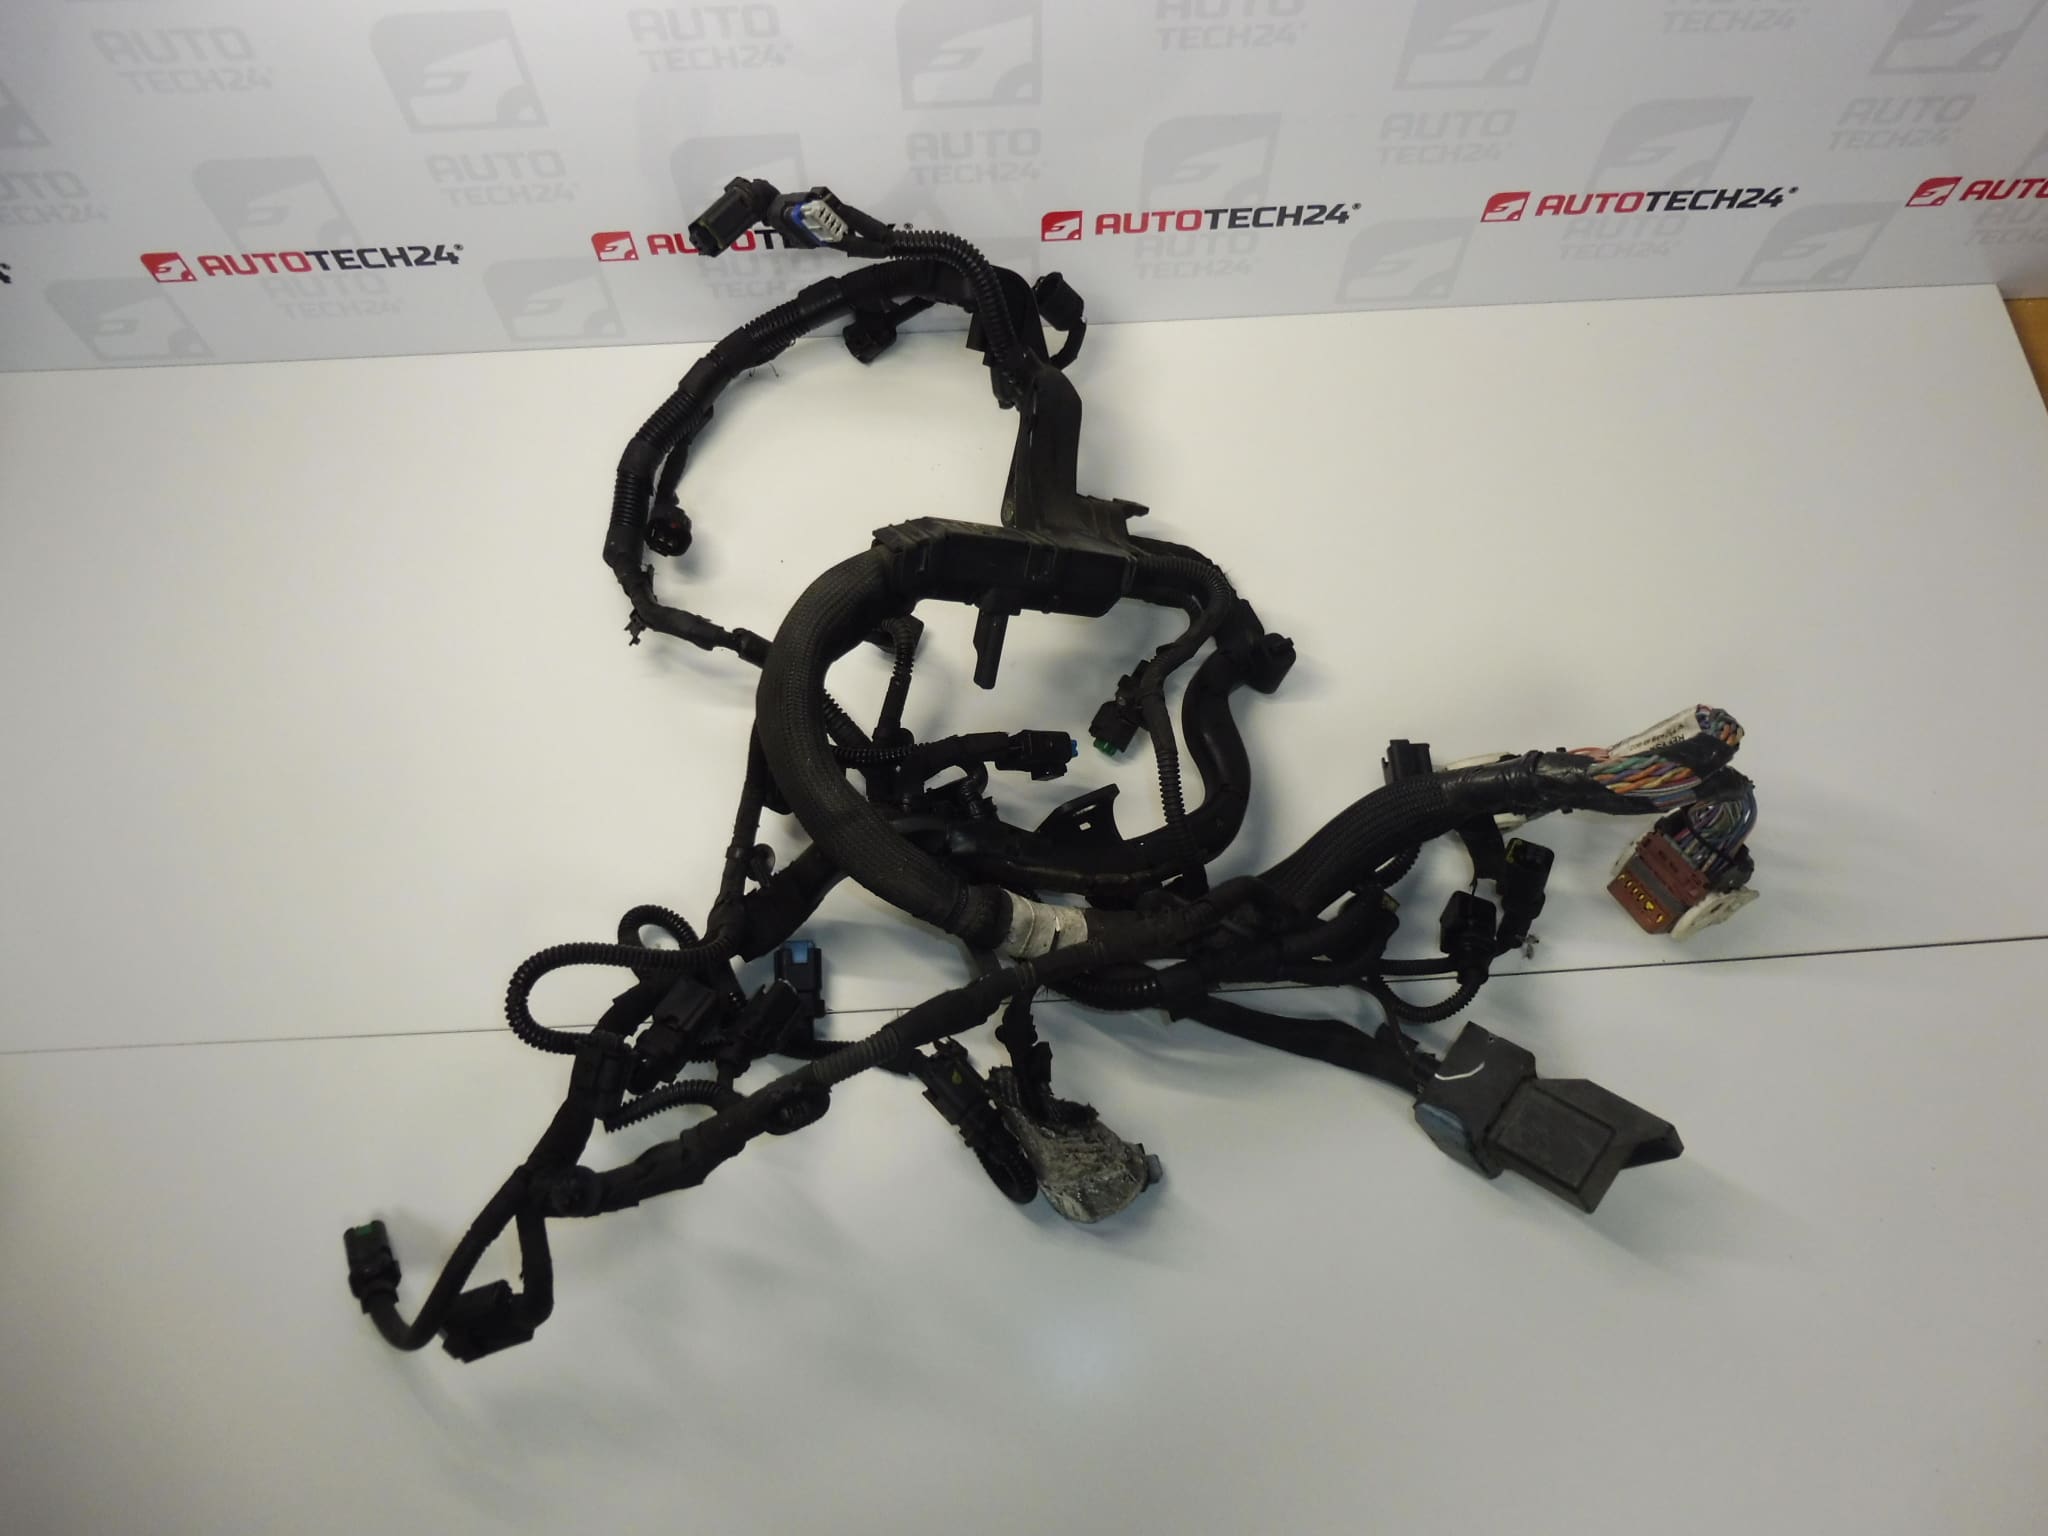
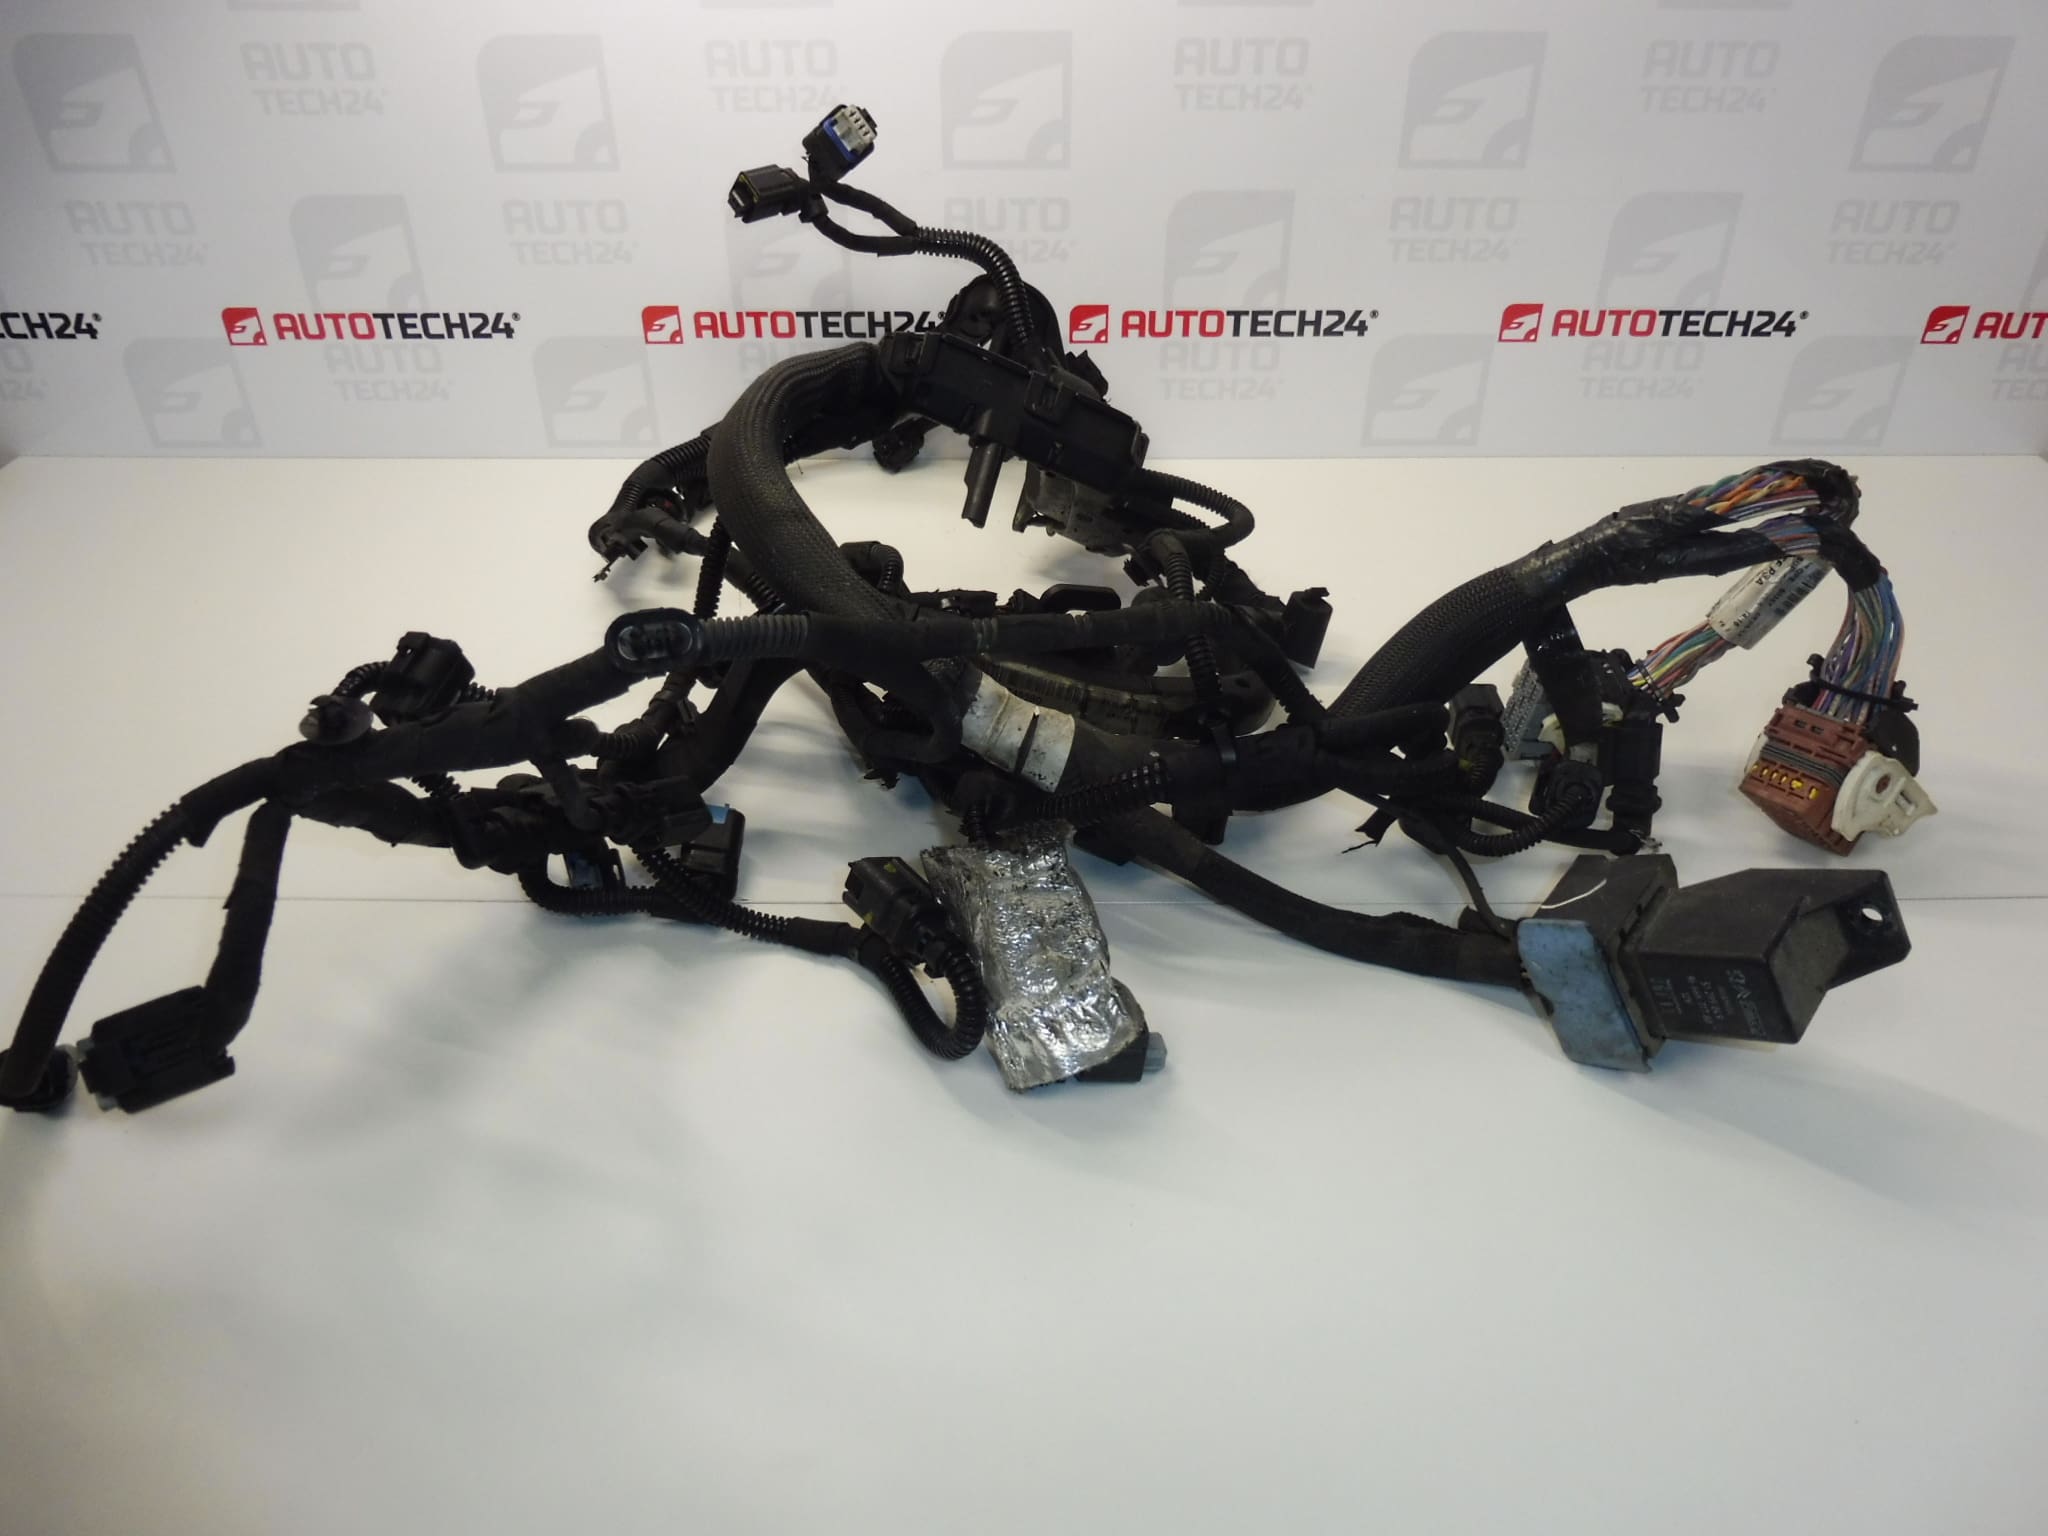
Complete engine harness for CITROEN PEUGEOT 1.6 eHDI EURO 5 cars
Part description
The used engine wiring harness for Citroën and Peugeot 1.6 eHDI EURO 5 is used for the electrical connection of engine installation components and the transmission of power and control signals. It is a suitable choice when repairing damaged cabling, when local repairs of wires or connectors alone may not represent a reliable solution.
When choosing, focus primarily on the markings 9673749980, 9678305680 and 6585J5 and on the conformity of the design with the original bundle. Citroën Berlingo B9, Citroen C4 II, Peugeot 308 and Peugeot Partner Tepee models are listed in the documents. However, the model name alone is not enough to determine suitability for all its variants; the distribution of branches, connectors and the specific design of the electrical installation are also important.
Technical information
- Manufacturer: not specified; the documents indicate the name Stellantis CITROEN PEUGEOT.
- Model: Citroën Berlingo B9 | Citroen C4 II | Peugeot 308 | Peugeot Partner Tepee
- Part Type: Complete Engine Wiring Harness
- Motorization according to documents: 1.6 eHDI
- Emission standard according to documents: EURO 5
- Condition: used part
- Other numbers: not specified
Product codes
Product codes: 9673749980, 9678305680, 6585J5
These markings serve to locate the part. Before replacing, compare the number of the original volume and its physical design; assess the match or possible replacement of a different number according to the catalog and service documentation.
Installation recommendations
In general, the following procedure applies to this type of part. The exact access to the harness, the extent of disassembly of the surrounding components and the procedure for disconnecting the electrical system depend on the specific model and make of the car. Follow the manufacturer’s service documentation.
1) Before assembly
- First find out the cause of the original fault. If the wiring has been damaged by overheating, shorting, or leaking operating fluid, correct the cause before installing the replacement harness.
- Compare the designation, number and shape of the connectors, their keying, branch lengths, attachment points and protective sleeves with the old piece.
- Inspect used harness: insulation, contacts, connector latches and visible connections. Pay attention to signs of penetration, corrosion, overheating and unprofessional interventions.
- Do not connect a bundle with unresolved insulation or contact damage to power.
2) Necessary tools and materials
You will usually use basic hand tools, tools for gently loosening clips and connectors, marking labels, a flashlight and a multimeter. Diagnostics supporting the given car may be suitable for subsequent verification. Choose any cleaning and fixing agents according to the service instructions and the used cabling material.
3) Step-by-step assembly procedure
- Secure the vehicle against movement, turn off the ignition and let the engine cool down.
- Follow the prescribed procedure for putting the electronics to sleep and safely disconnecting the battery according to the manufacturer.
- Document the original wiring harness with photos and label the individual connections to avoid confusion.
- According to the service procedure, release access to the wiring. Dismantle surrounding components only to the extent necessary.
- Unlock the connectors gradually and disconnect them by their bodies, not by pulling on the wires. Do not use violence.
- Release the clamps and any other harness connections. Remove the original wiring without stressing the surrounding lines.
- Place the two bundles side by side and again compare the branches, connectors and mounts. If there are differences, stop the assembly and check the execution according to the documentation.
- Lead the replacement bundle along the original route. Maintain protection against sharp edges, hot surfaces and moving parts; the wires must not be stretched or pinched.
- Connect the corresponding connectors and check that they are fully secured. Restore all relevant mounts and connections as per the documentation.
- Return the disassembled parts, perform a final visual inspection and connect the battery according to the prescribed procedure. Then verify the functionality of the wiring.
-
4) Post-assembly checks and function verification
Check that there is no loose connector and that the wiring is not rubbing or straining. After turning on the ignition, watch the warning lights and any messages. If there are no visible defects, check the starting and running of the engine, or carry out a diagnostic check. Do a short test drive only after a successful on-site inspection; then re-examine the binding of the bundle.
5) The most common assembly mistakes and how to avoid them
- Swapping connectors: use photos and labels, never force connectors.
- Damage to latches and contacts: first loosen the fuses and handle only the body of the connector.
- Incorrect bundle guidance: observe the original route, attachment and the necessary freedom of the branches.
- Connecting the power supply before finishing work: connect the battery only after checking all connections.
- Aging and brittle insulation due to repeated temperature changes.
- Corrosion of wires due to loose fitting or incorrect cabling.
- Moisture and corrosion of contacts in violation of the protection of connectors.
- Effect of escaping operating fluids on insulation and connector connections.
- Overheating of connections due to poor contact or electrical fault.
- Mechanical damage during repairs, unprofessional interventions or damage by rodents.
Reasons why the part is damaged
Engine wiring harnesses are generally exposed to heat, vibration and dirt. Common causes of damage include: