Description
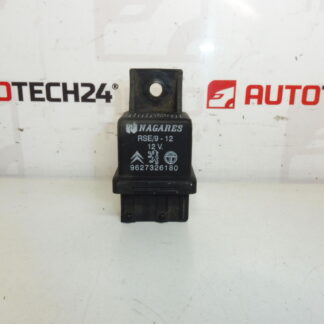
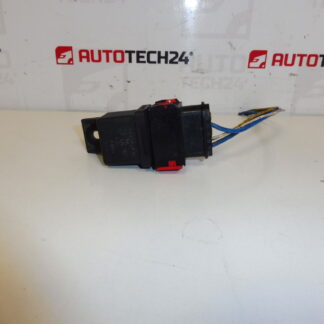
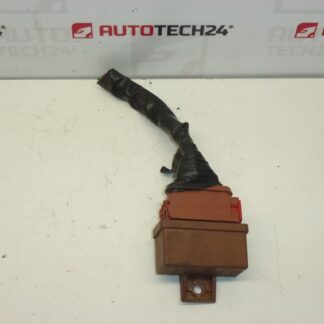
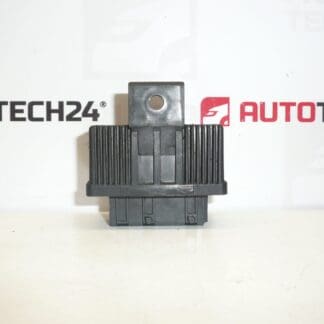
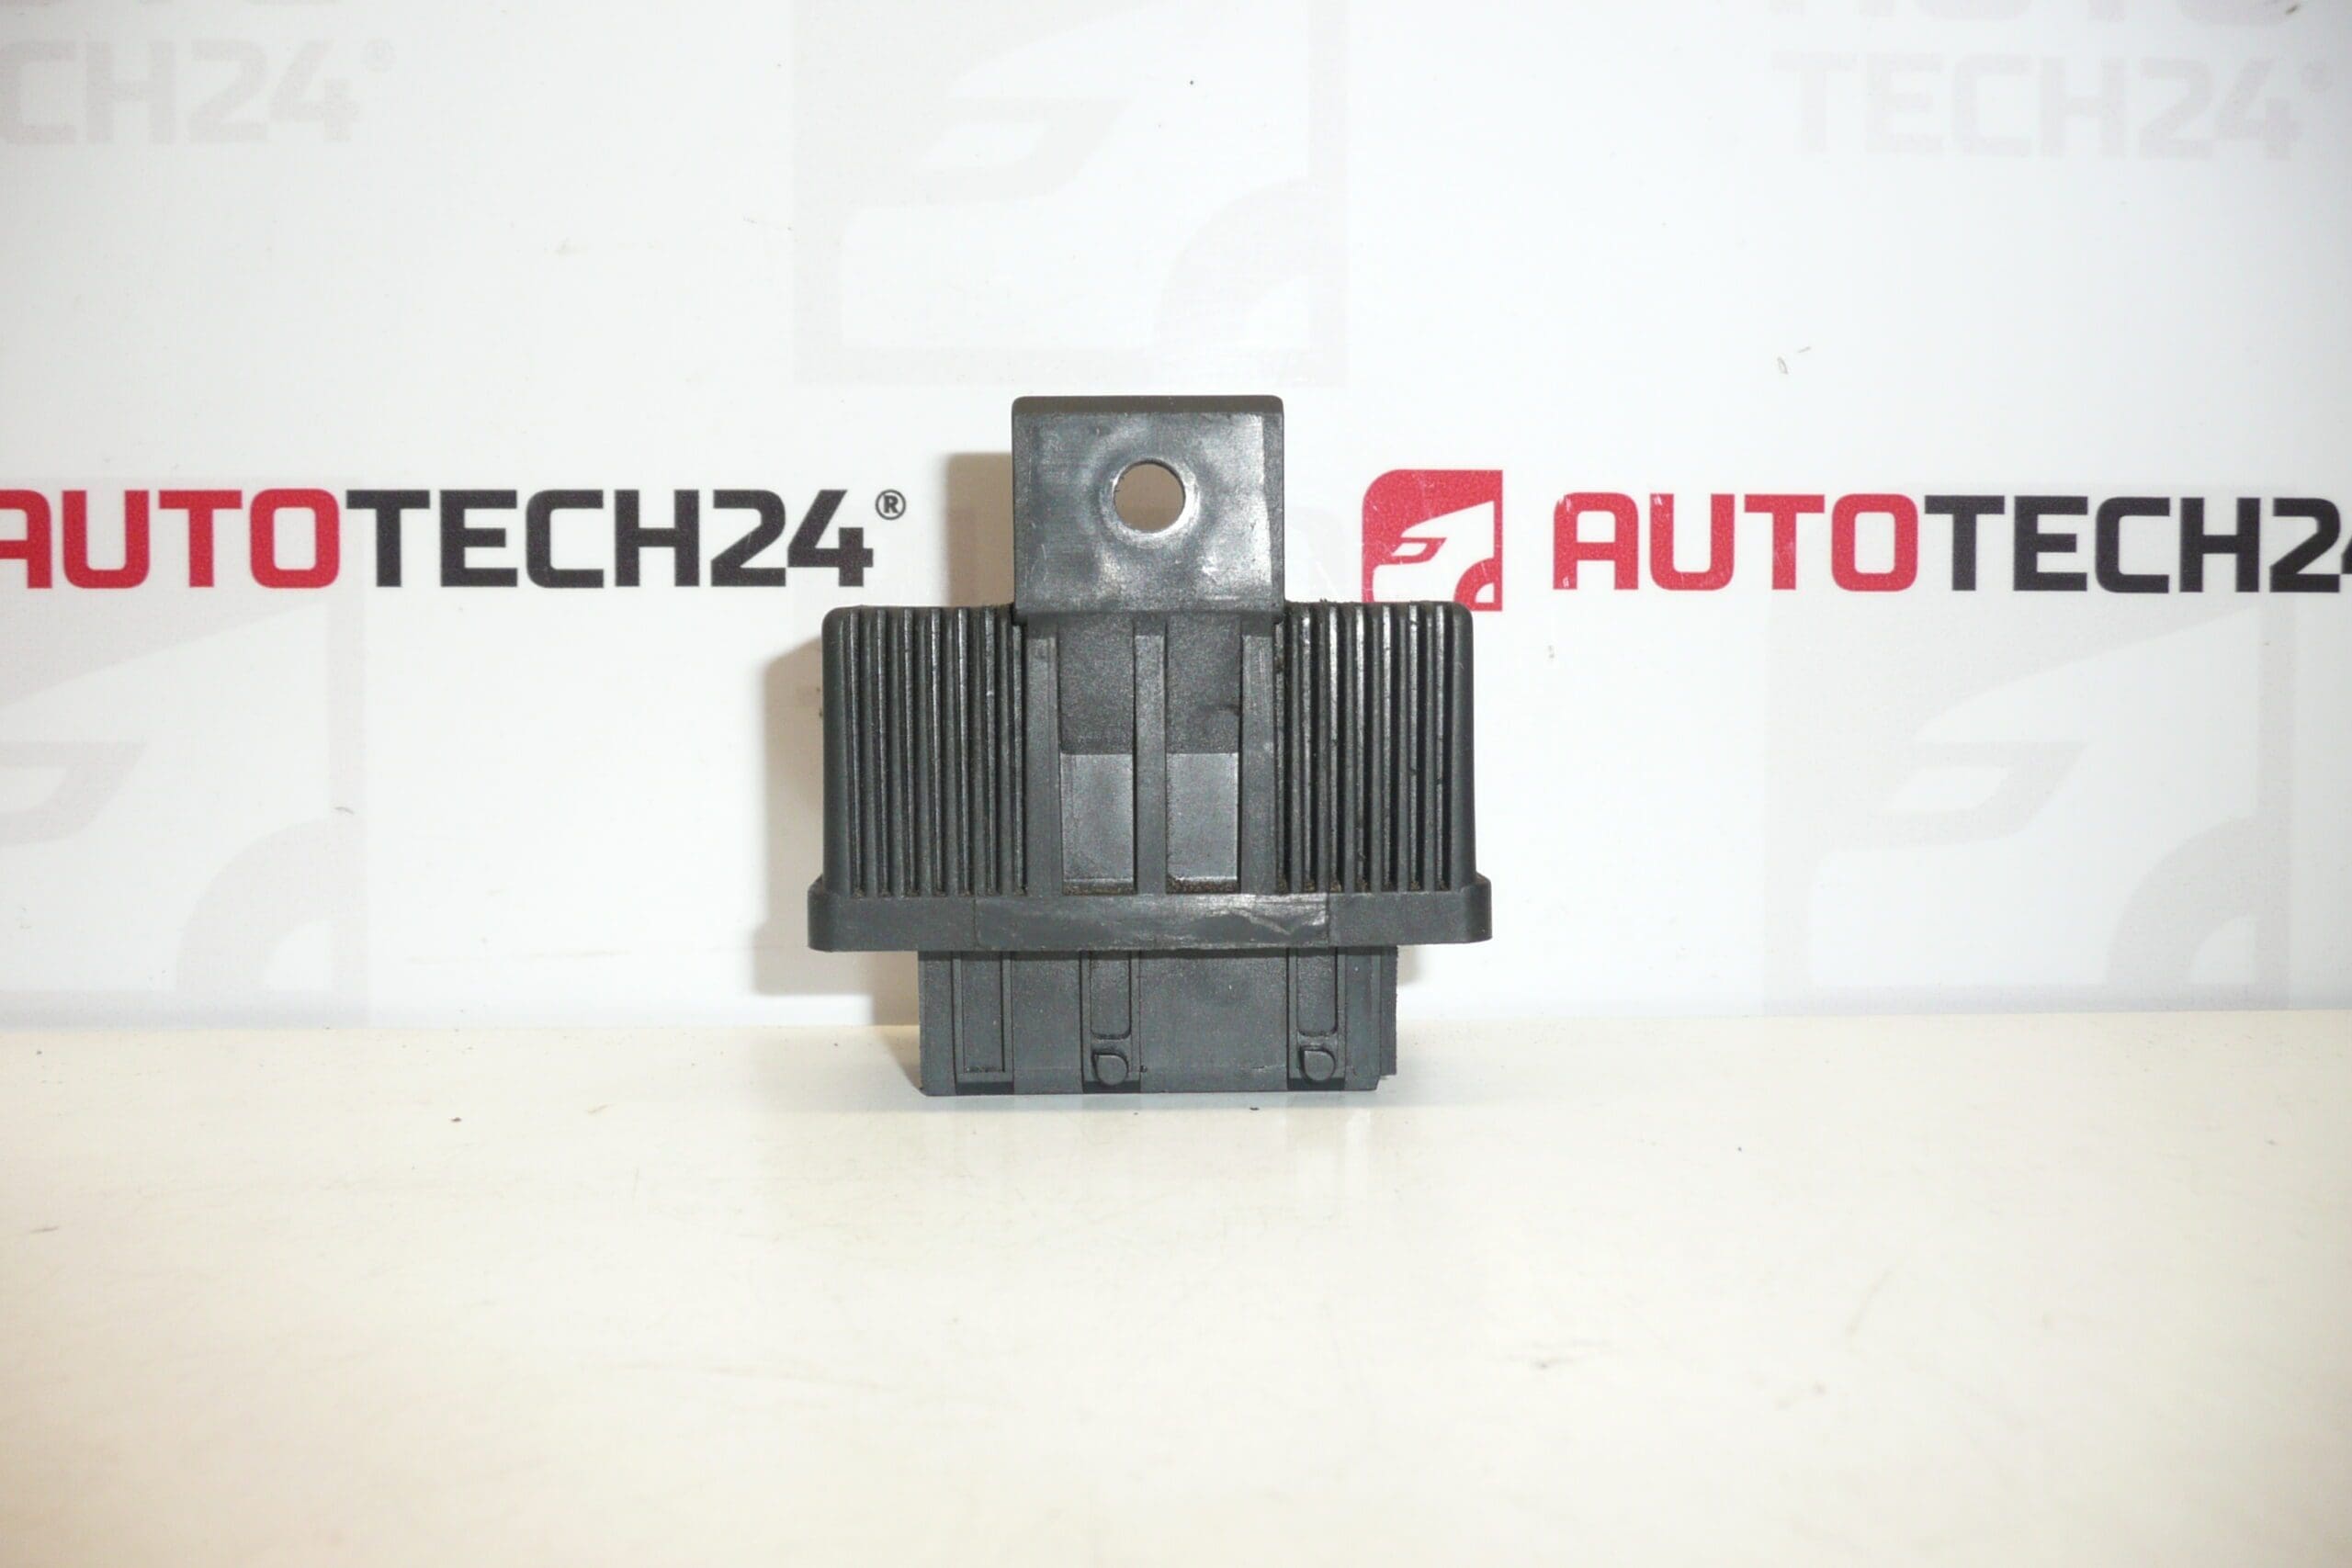
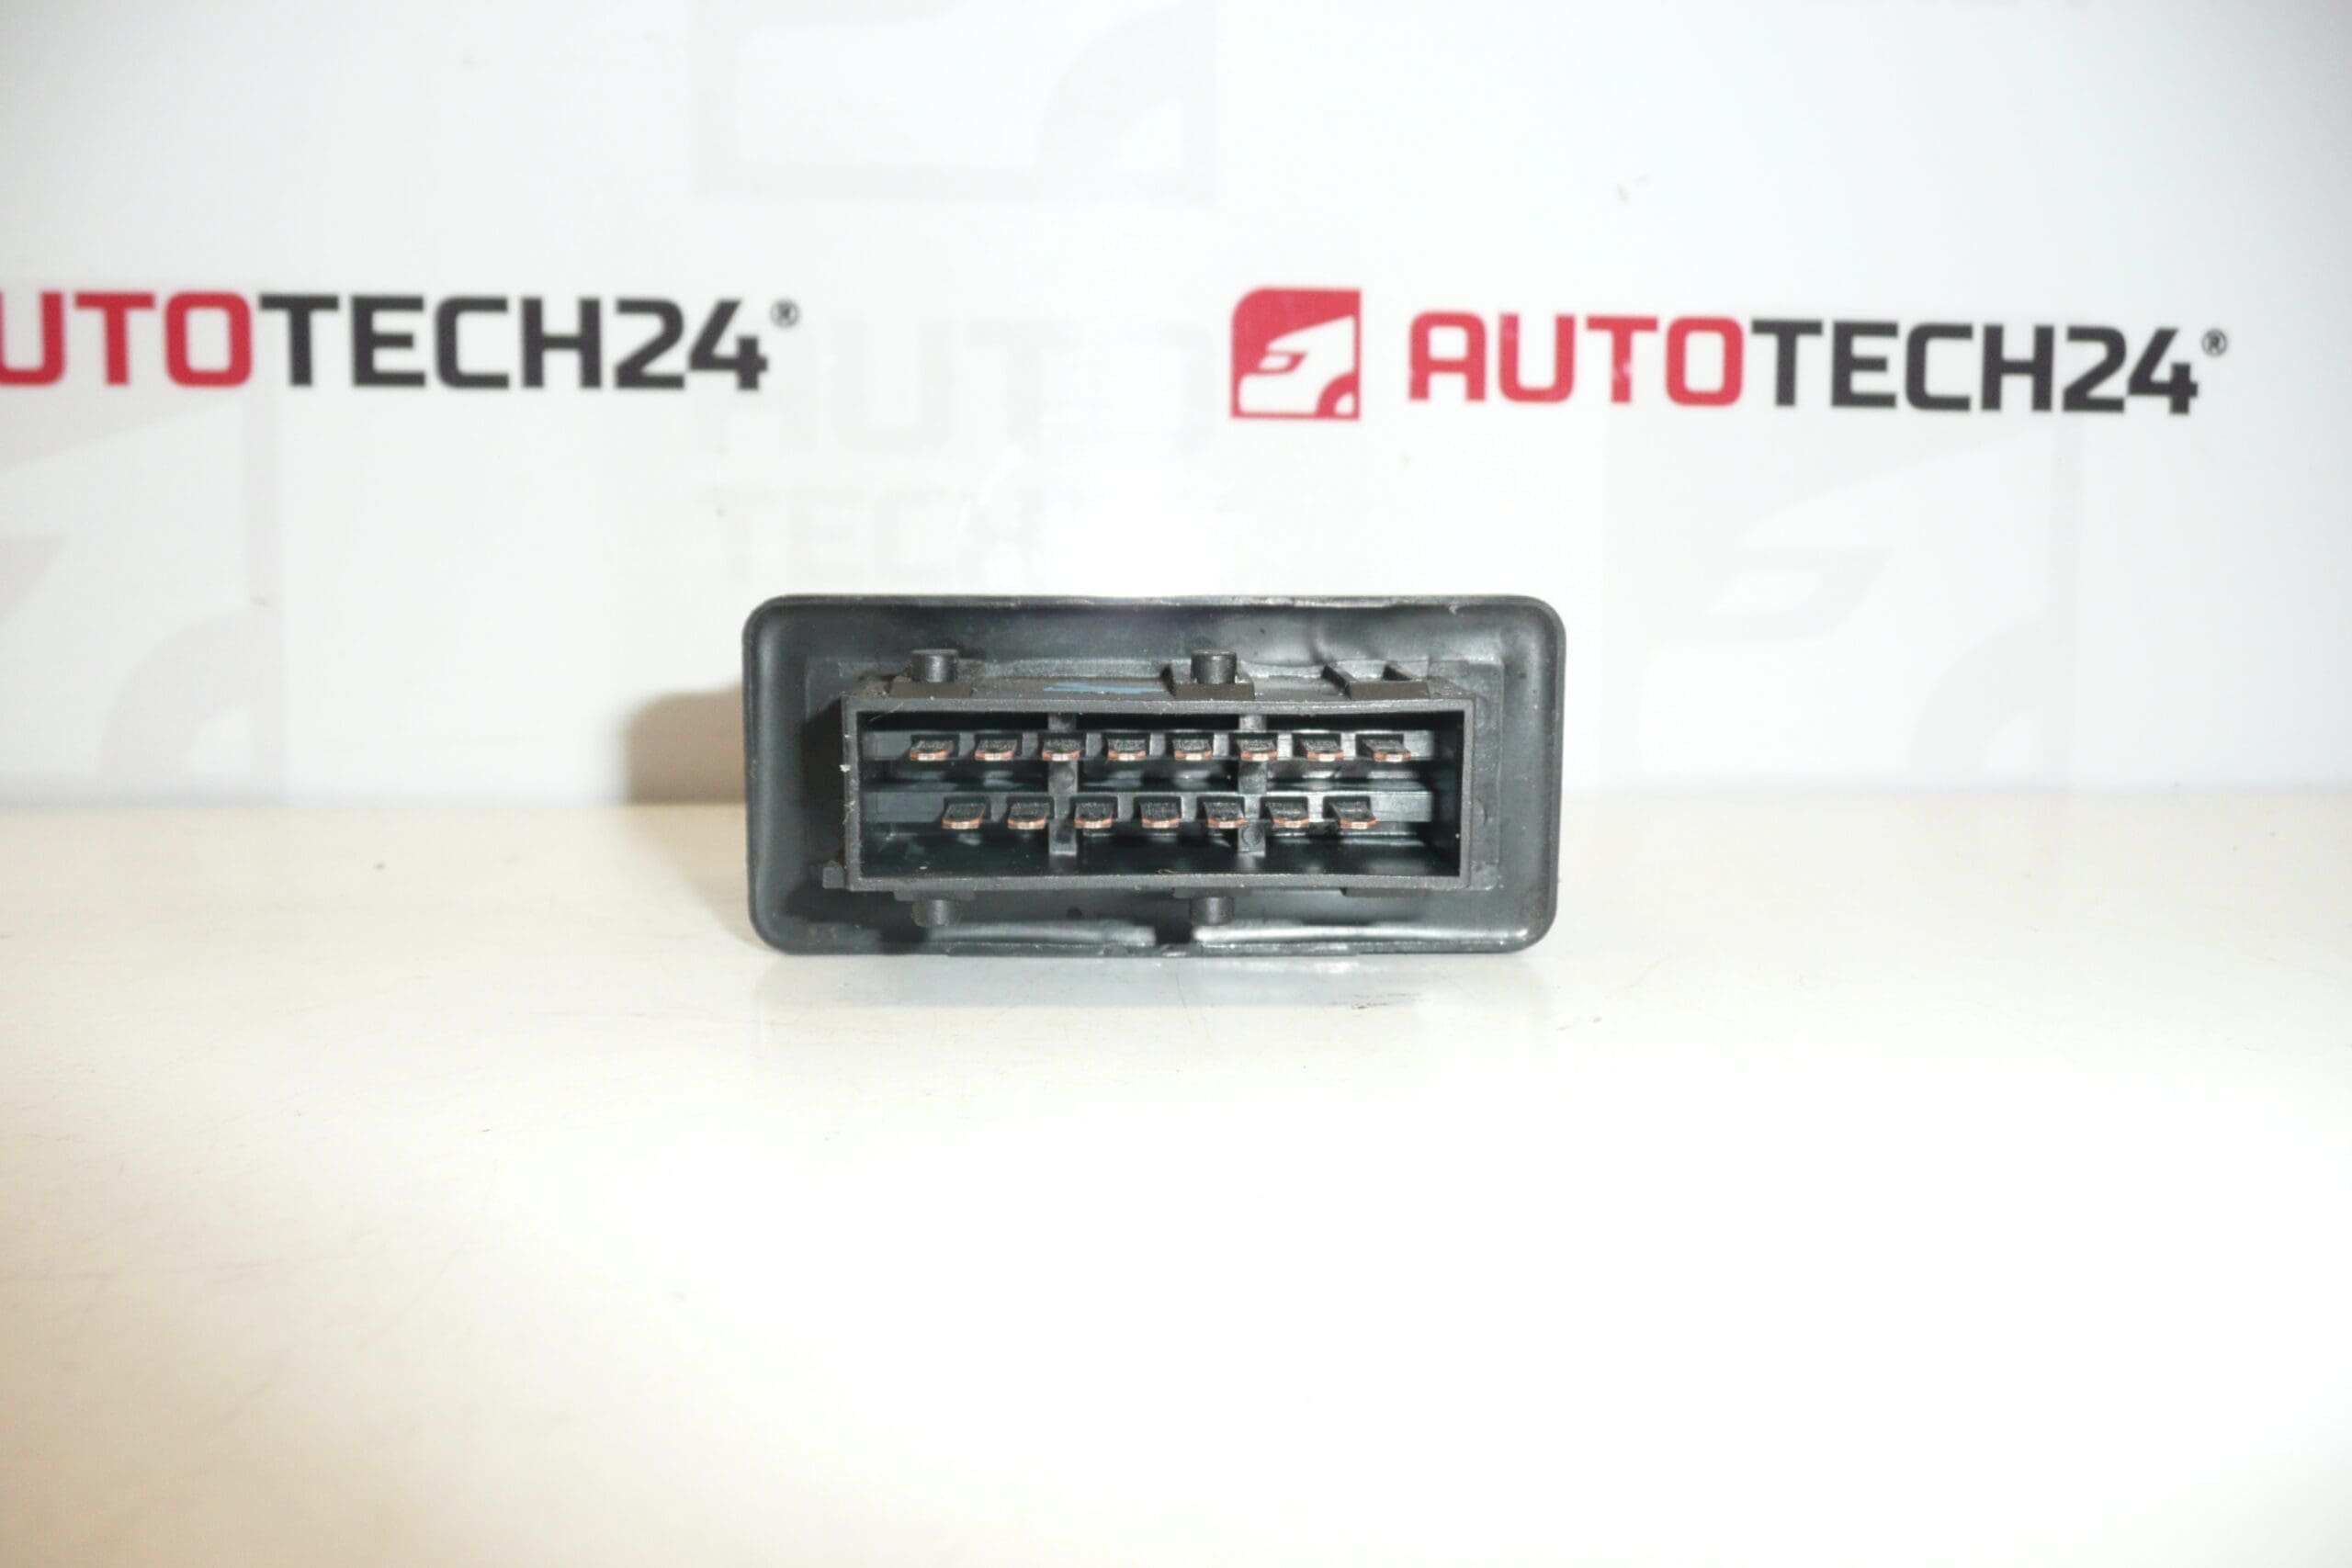
Fuel relay OMRON 240107 for CITROEN PEUGEOT cars
Used part with functionality guarantee
Part description
This OMRON 240107 fuel relay is a used original electrical part intended for Citroën and Peugeot cars. It is a part that is often searched for by the manufacturing designation, so the numbers 240107, 19203N and 454935 are important.
The fuel relay is one of the important elements of the vehicle’s electrical system, and its correct function has a fundamental effect on the operation of the fuel system. This part can be a good choice for mechanics and home repairers who are looking for a functional replacement part at a reasonable price.
- original used OMRON part
- for Citroën and Peugeot cars
- often searched by exact part code
- suitable when replacing a non-functioning or worn fuel relay
Technical information
- Manufacturer: OMRON
- Model: Citroën C2, Citroën C3, Citroën C3 Pluriel, Citroën C4, Peugeot 207, Peugeot 307
- Other numbers: 19203N, 454935
Product codes
Product codes: 240107, 19203N, 454935
- Citroën C2
- Citroën C3
- Citroën C3 Pluriel
- Citroën C4
- Peugeot 207
- Peugeot 307
Installation recommendations
In general, it is necessary to proceed carefully when replacing the fuel relay, because it is an electrical component related to the power supply of the fuel system. The exact procedure may vary depending on the specific model and make of the car.
1) Before assembly
- Compare the new and original part according to the designation 240107, possibly also according to the other numbers 19203N and 454935.
- Check the condition of the contacts, the plastic body of the relay and any signs of overheating, oxidation or mechanical damage.
- Verify that the connector and seating match the original piece.
- Disconnect the vehicle battery before working.
2) Necessary tools and materials
- common hand tools
- screwdriver or plastic pry bar depending on type of access
- cleaning agent for electrical contacts
- protective gloves
- flashlight for better access and inspection
3) Step-by-step assembly procedure
- Secure the vehicle against movement and turn off the ignition.
- Disconnect the battery to avoid a short circuit or damage to the electrical system.
- Find the original fuel relay by location in a specific car.
- Carefully remove the cover or access the mounting location if it is covered.
- Check around the relay and connectors for dirt, corrosion or heat damage.
- Remove the old relay by pulling carefully without force to avoid damaging the contacts or socket.
- Compare the old and new part by shape, pins and markings.
- If necessary, gently clean the contact surfaces with a suitable agent for electrical contacts.
- Insert the relay into the socket straight and firmly, without warping or excessive pressure.
- Reattach all covers and check for correct seating of the part.
- Connect the battery.
- Turn on the ignition and verify the basic functionality of the electrical system and fuel system.
-
4) Post-assembly checks and test drive/function verification
- Check that the relay is properly seated and there is no play anywhere in the connector or socket.
- Verify that there are no malfunctions after the ignition is switched on and the vehicle is in operation.
- After starting, observe whether the engine is running stably and without irregularities related to the supply of the fuel system.
- After a short test drive, visually check the mounting location again.
5) The most common assembly mistakes + how to avoid them
- Part exchange based on inaccurate marking – always compare all numbers on the original and new relay.
- Mounting in a dirty or damaged socket – check and, if necessary, clean the contacts before fitting.
- Forcible insertion of the relay – the relay must fit naturally and straight.
- Work under voltage – always disconnect the battery before disassembly and assembly.
- normal wear of internal relay contacts during long-term operation
- thermal stress and overheating in the electrical circuit
- oxidation or contamination of contacts
- voltage fluctuations in the on-board network
- moisture or corrosion at the installation site
- connector damage or loose contact connection