Description
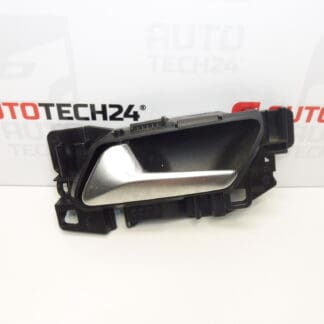
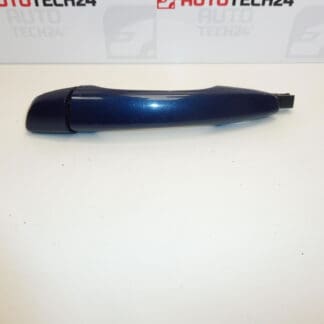
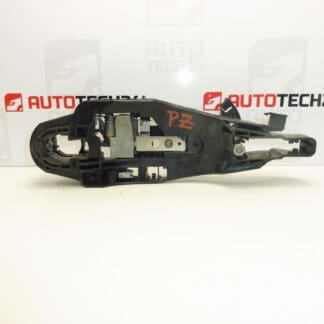
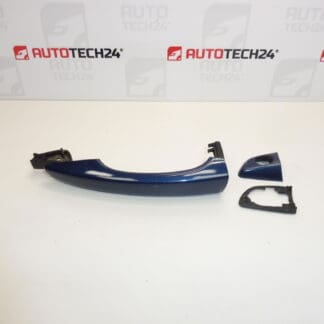
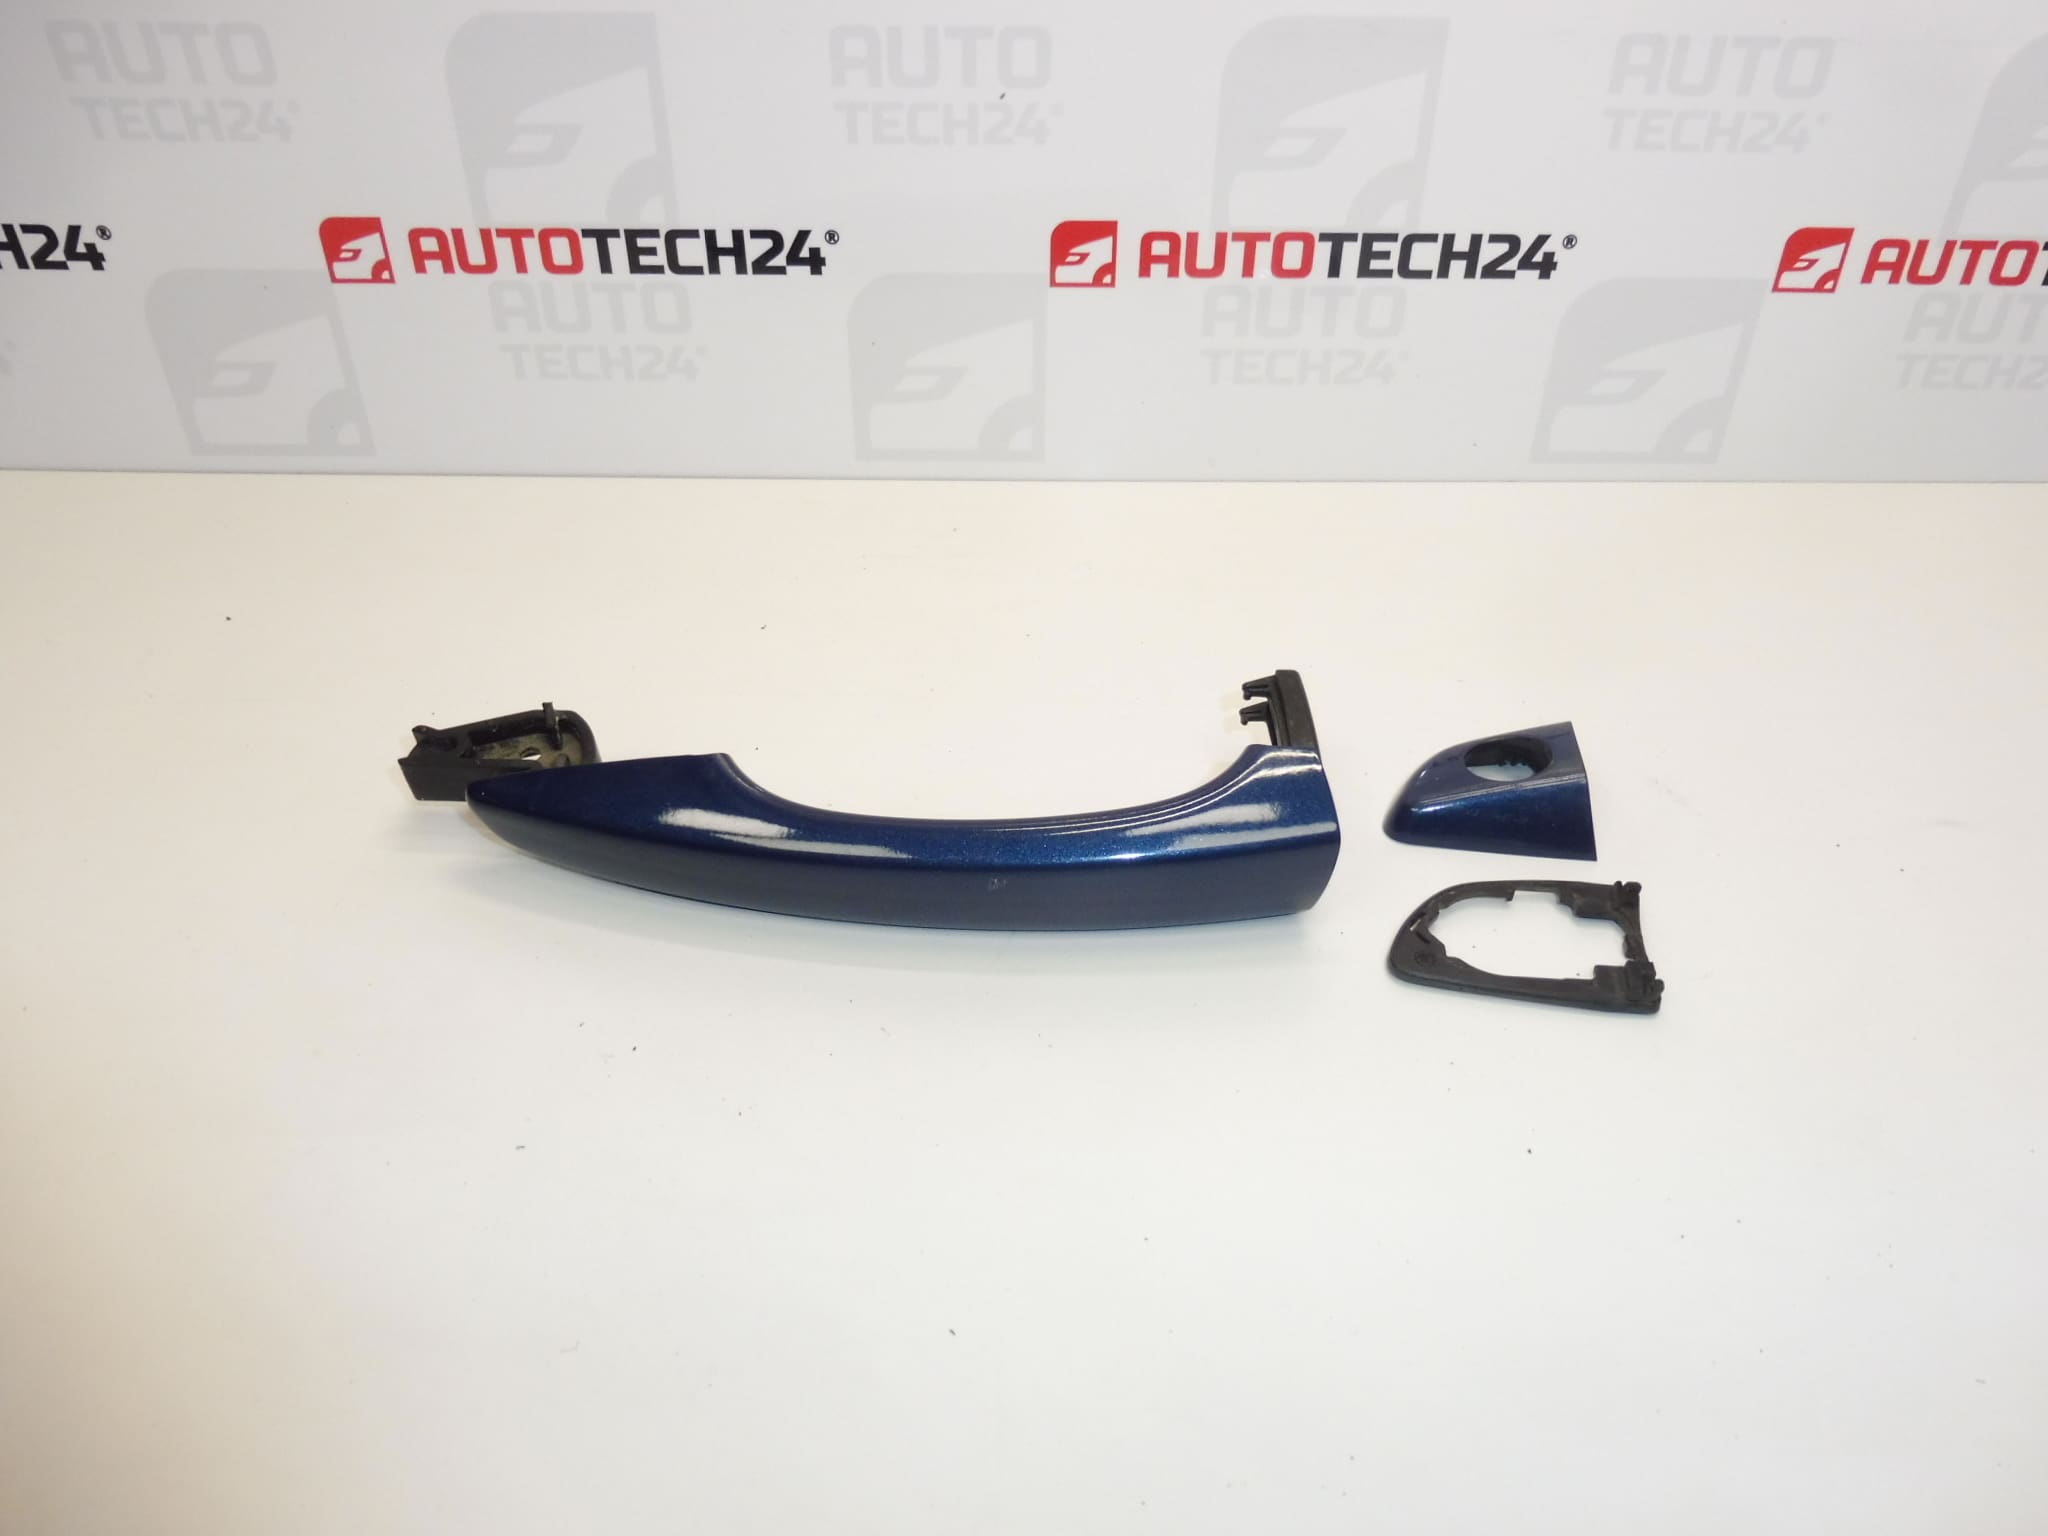
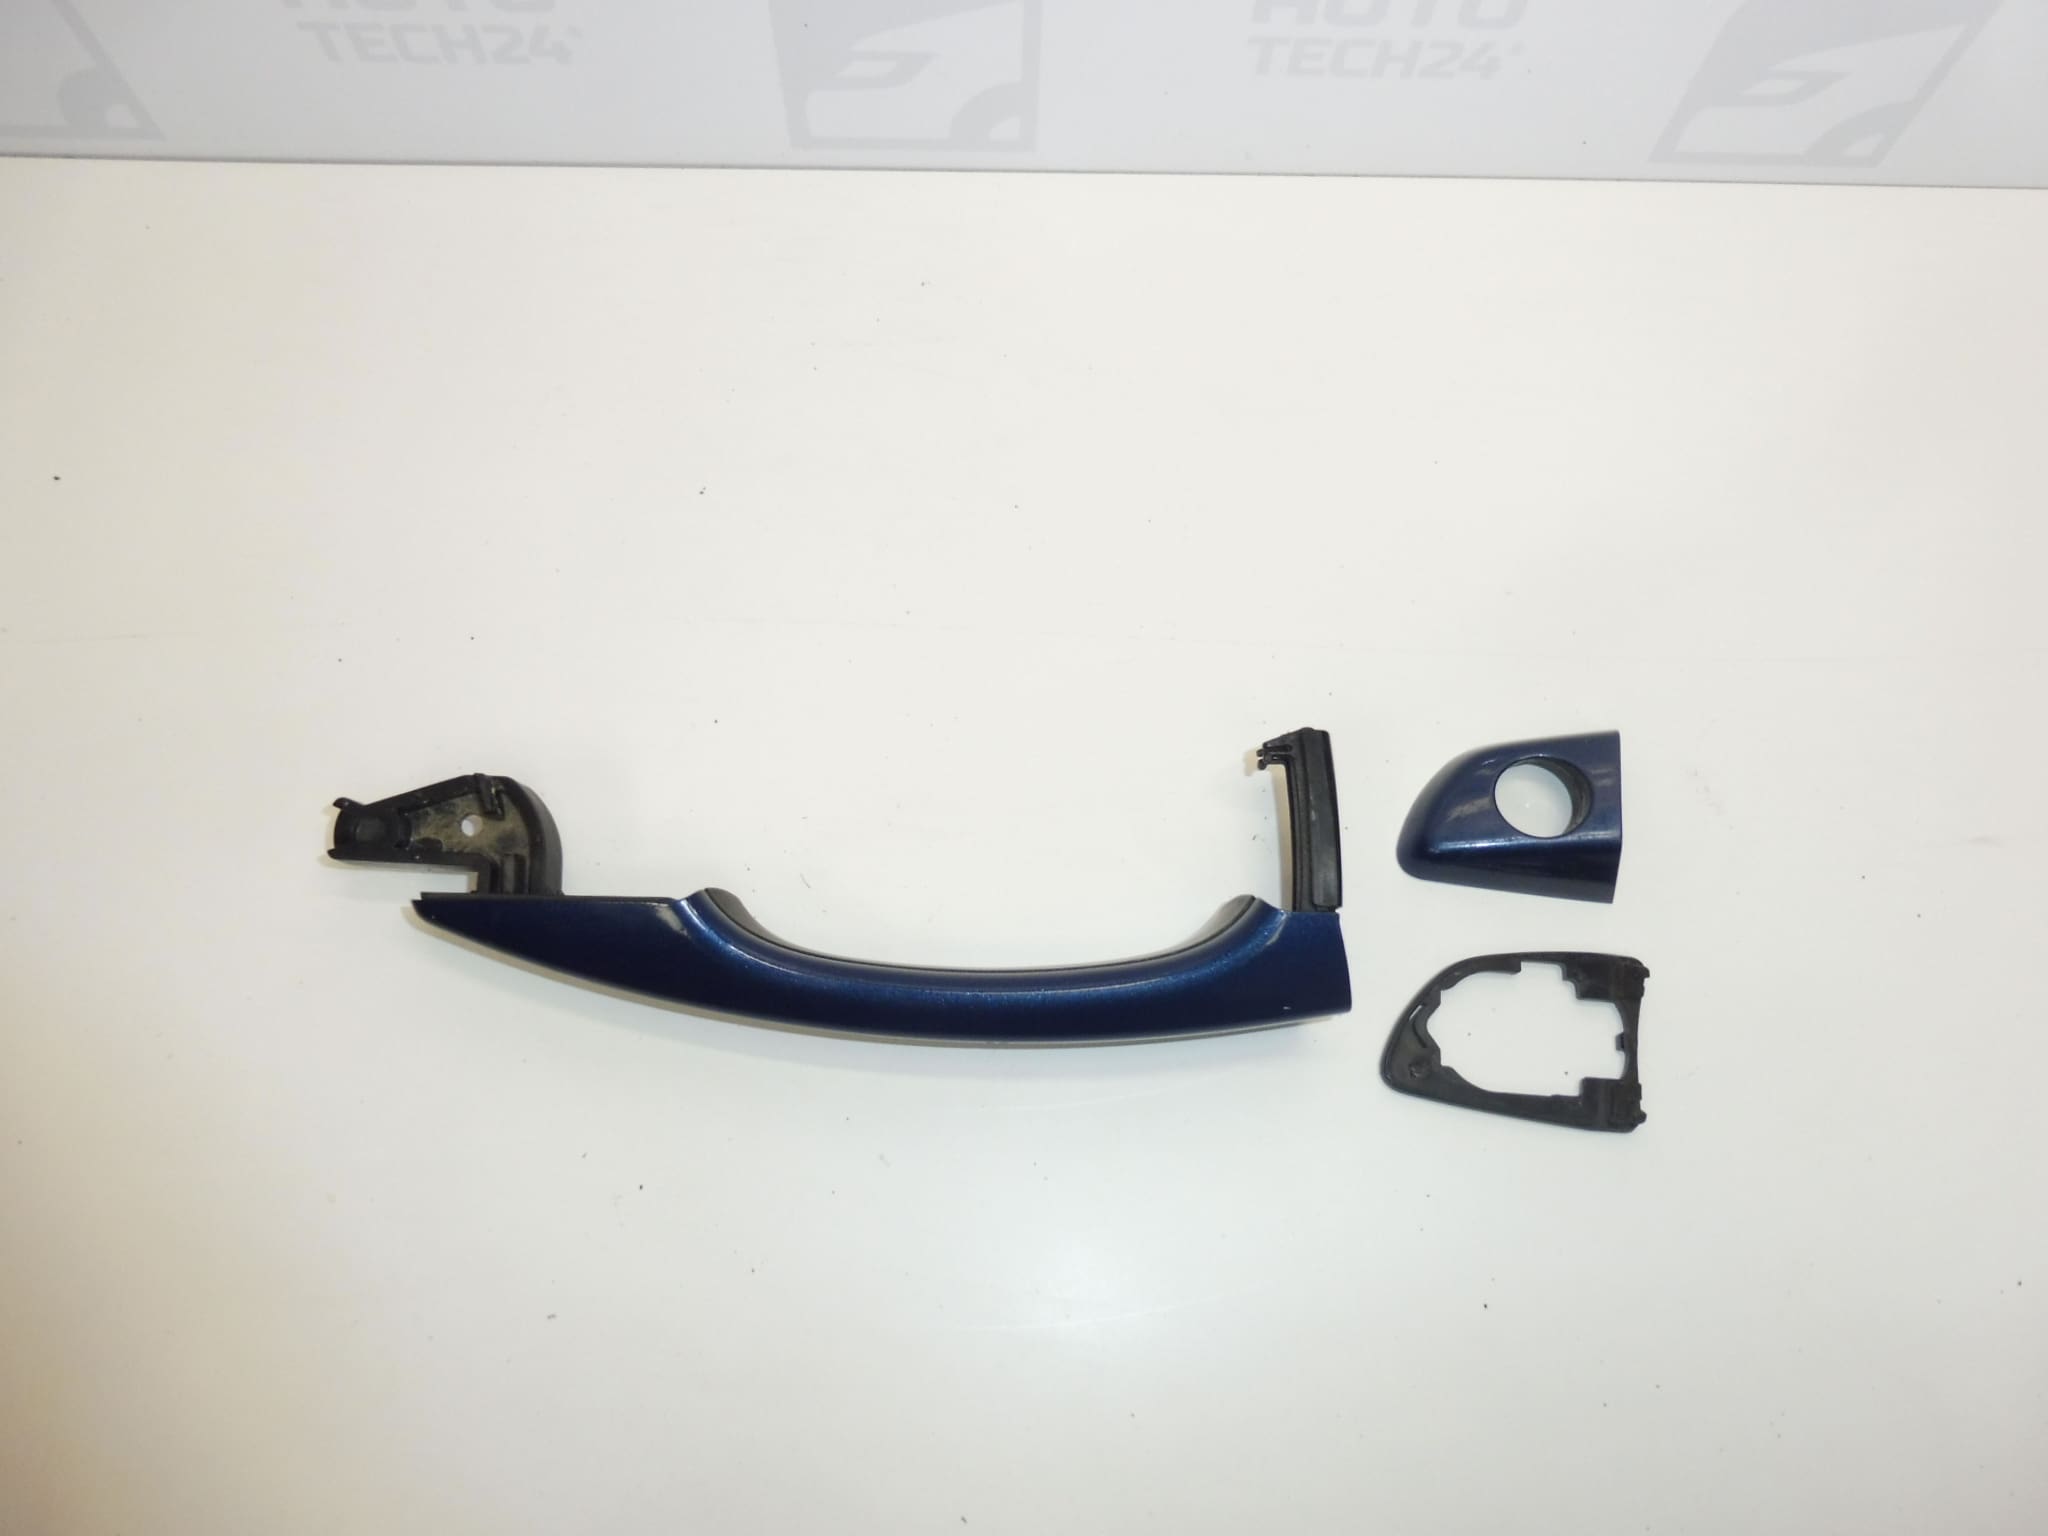
Left front driver’s door handle for Stellantis group vehicles CITROEN PEUGEOT OPEL FIAT TOYOTA
Color EJG – NUIT BLUE PAINT
Part Description
Used left front driver’s door handle with product number 980297811T is a suitable replacement if the original handle or its mounting is damaged. To identify the correct version, it is especially important to check the part number, shape, and method of connection to the door mechanism.
The painted finish EJG – Nuit blue allows you to maintain a color match with a vehicle with the same paint code. However, the shade and appearance of the surface of a used body part may vary due to age and sun exposure. Before installation, also compare its actual appearance with the surrounding paintwork.
Technical Information
- Manufacturer: not specified; identified as Stellantis CITROEN PEUGEOT in the source materials.
- Model: Citroën Berlingo K9, FIAT DOBLO III, OPEL COMBO E K9, PEUGEOT PARTNER III, PEUGEOT RIFTER, Toyota ProAce City.
- Part type: door handle.
- Location: left front driver’s door.
- Color: EJG – NUIT BLUE PAINT.
- Condition: used part.
- Other numbers: not specified.
The models are taken from the labels provided. Specific model years, trim levels, or any electrical functions of the handle are not specified; therefore, check compatibility based on the markings and design of the original part.
Product Codes
- Product codes: 980297811T.
- Color code: EJG.
Installation Recommendations
The following applies generally to this type of part: the method of releasing the handle, access to its fasteners, and its connection to the lock vary depending on the specific model and door configuration. The procedure below is general; follow the vehicle’s service documentation for the exact removal and installation procedure.
1) Before installation
- Compare part number 980297811T, the door side, handle shape, mounting points, and connection to the operating mechanism with the old part.
- Check the used part for cracks, damaged mounts, deformation, and excessive play. Moving parts must operate freely without sticking.
- Compare the EJG color and the condition of the painted surface. Also inspect the contact surfaces and any seals.
- If the original handle has an electrical connection or additional controls, check that the replacement has the same configuration. These features are not specified in the information provided for the part on offer.
- Check the condition of the lock and associated mechanism: replacing the handle alone may not resolve a fault caused by these parts sticking.
2) Tools and materials required
- Standard hand tools suitable for the fasteners used.
- Plastic tools for carefully releasing covers and any trim.
- Paint-safe protective tape, a soft cloth, and a gentle cleaning product.
- A work light and a container for screws and small parts.
3) Step-by-step installation procedure
- Secure the vehicle against movement, switch off the ignition, and open the door. Make sure you can still access the vehicle even if the handle does not work.
- If the work involves an electrical connection, disconnect the power supply according to the vehicle manufacturer’s instructions.
- Protect the paint around the handle from scratches and prepare a place to safely set aside the removed parts.
- Following the service procedure, gain access to the handle fasteners. Remove covers or trim only to the extent required for the specific configuration.
- Before disconnecting anything, record the position of the fasteners and the routing of any rod, cable, or wiring, for example by taking a photo.
- Release the retaining and fastening elements as specified. Do not loosen them blindly, and prevent them from falling into the door cavity.
- Carefully disconnect the operating mechanism and any connector. Do not pull on the wires or force the plastic clips loose.
- Remove the original handle without levering against the paintwork. Clean the contact surfaces and inspect the surrounding mounting points, seals, and mechanism.
- Compare the two parts side by side. Transfer any components only if required by the design and service procedure, and only if the components are undamaged.
- Fit the replacement handle, connect the operating mechanism and any wiring. Check that nothing is pinched, twisted, or under constant tension.
- Secure the fasteners according to the manufacturer’s instructions. Check that the handle sits correctly and returns freely; do not compensate for incorrect positioning by tightening it more.
- Before closing the door for the first time, check the operation of the handle and lock according to the service procedure. Once the check is successful, refit the covers and any trim, and restore the power supply as specified, if applicable.
4) Post-installation checks and function verification
- The handle must move smoothly, return to its initial position, and have no unusual play.
- Close the door carefully at first and check opening from both outside and inside several times. Keep an alternative way to access the vehicle during the test.
- Test locking and unlocking, as well as any electrical functions if the vehicle is equipped with them.
- Check that the handle, covers, and seals are properly seated. A test drive is generally not necessary just to check the handle; however, before driving, the door must stay securely closed and unlock properly.
5) Common installation mistakes and how to avoid them
- Choosing based only on color or model: also compare the product number, mounting points, and controls.
- Forcibly removing the handle: first determine how it is secured, otherwise the mounting points may break or the paint may be damaged.
- Incorrectly connecting the cable or rod: retain the original routing and check that the connections are fully secured.
- Over-tightening the fasteners: follow the service procedure to avoid deformation or restricted handle movement.
- Closing the door without checking first: check the mechanism with the door open first to prevent the door from becoming locked shut.
Reasons for Part Damage
For door handles in general, common causes of damage include mechanical stress and poor operation of the associated mechanism. This is not a description of defects found on this specific part.
- Repeated forceful pulling: especially when the lock is sticking, this can damage the handle or its mounting.
- Frozen door: forcing it open increases the load on the handle and its mounting points.
- Impact or catching on an obstacle: may cause cracking, deformation, or paint damage.
- Aging of the material and finish: sunlight, moisture, and temperature changes gradually affect the durability of components.
- Dirt and a stiff mechanism: increase the force needed to open the door and accelerate wear.
- Improper removal or installation: prying, incorrectly seated connections, and over-tightening can damage an otherwise functional part.