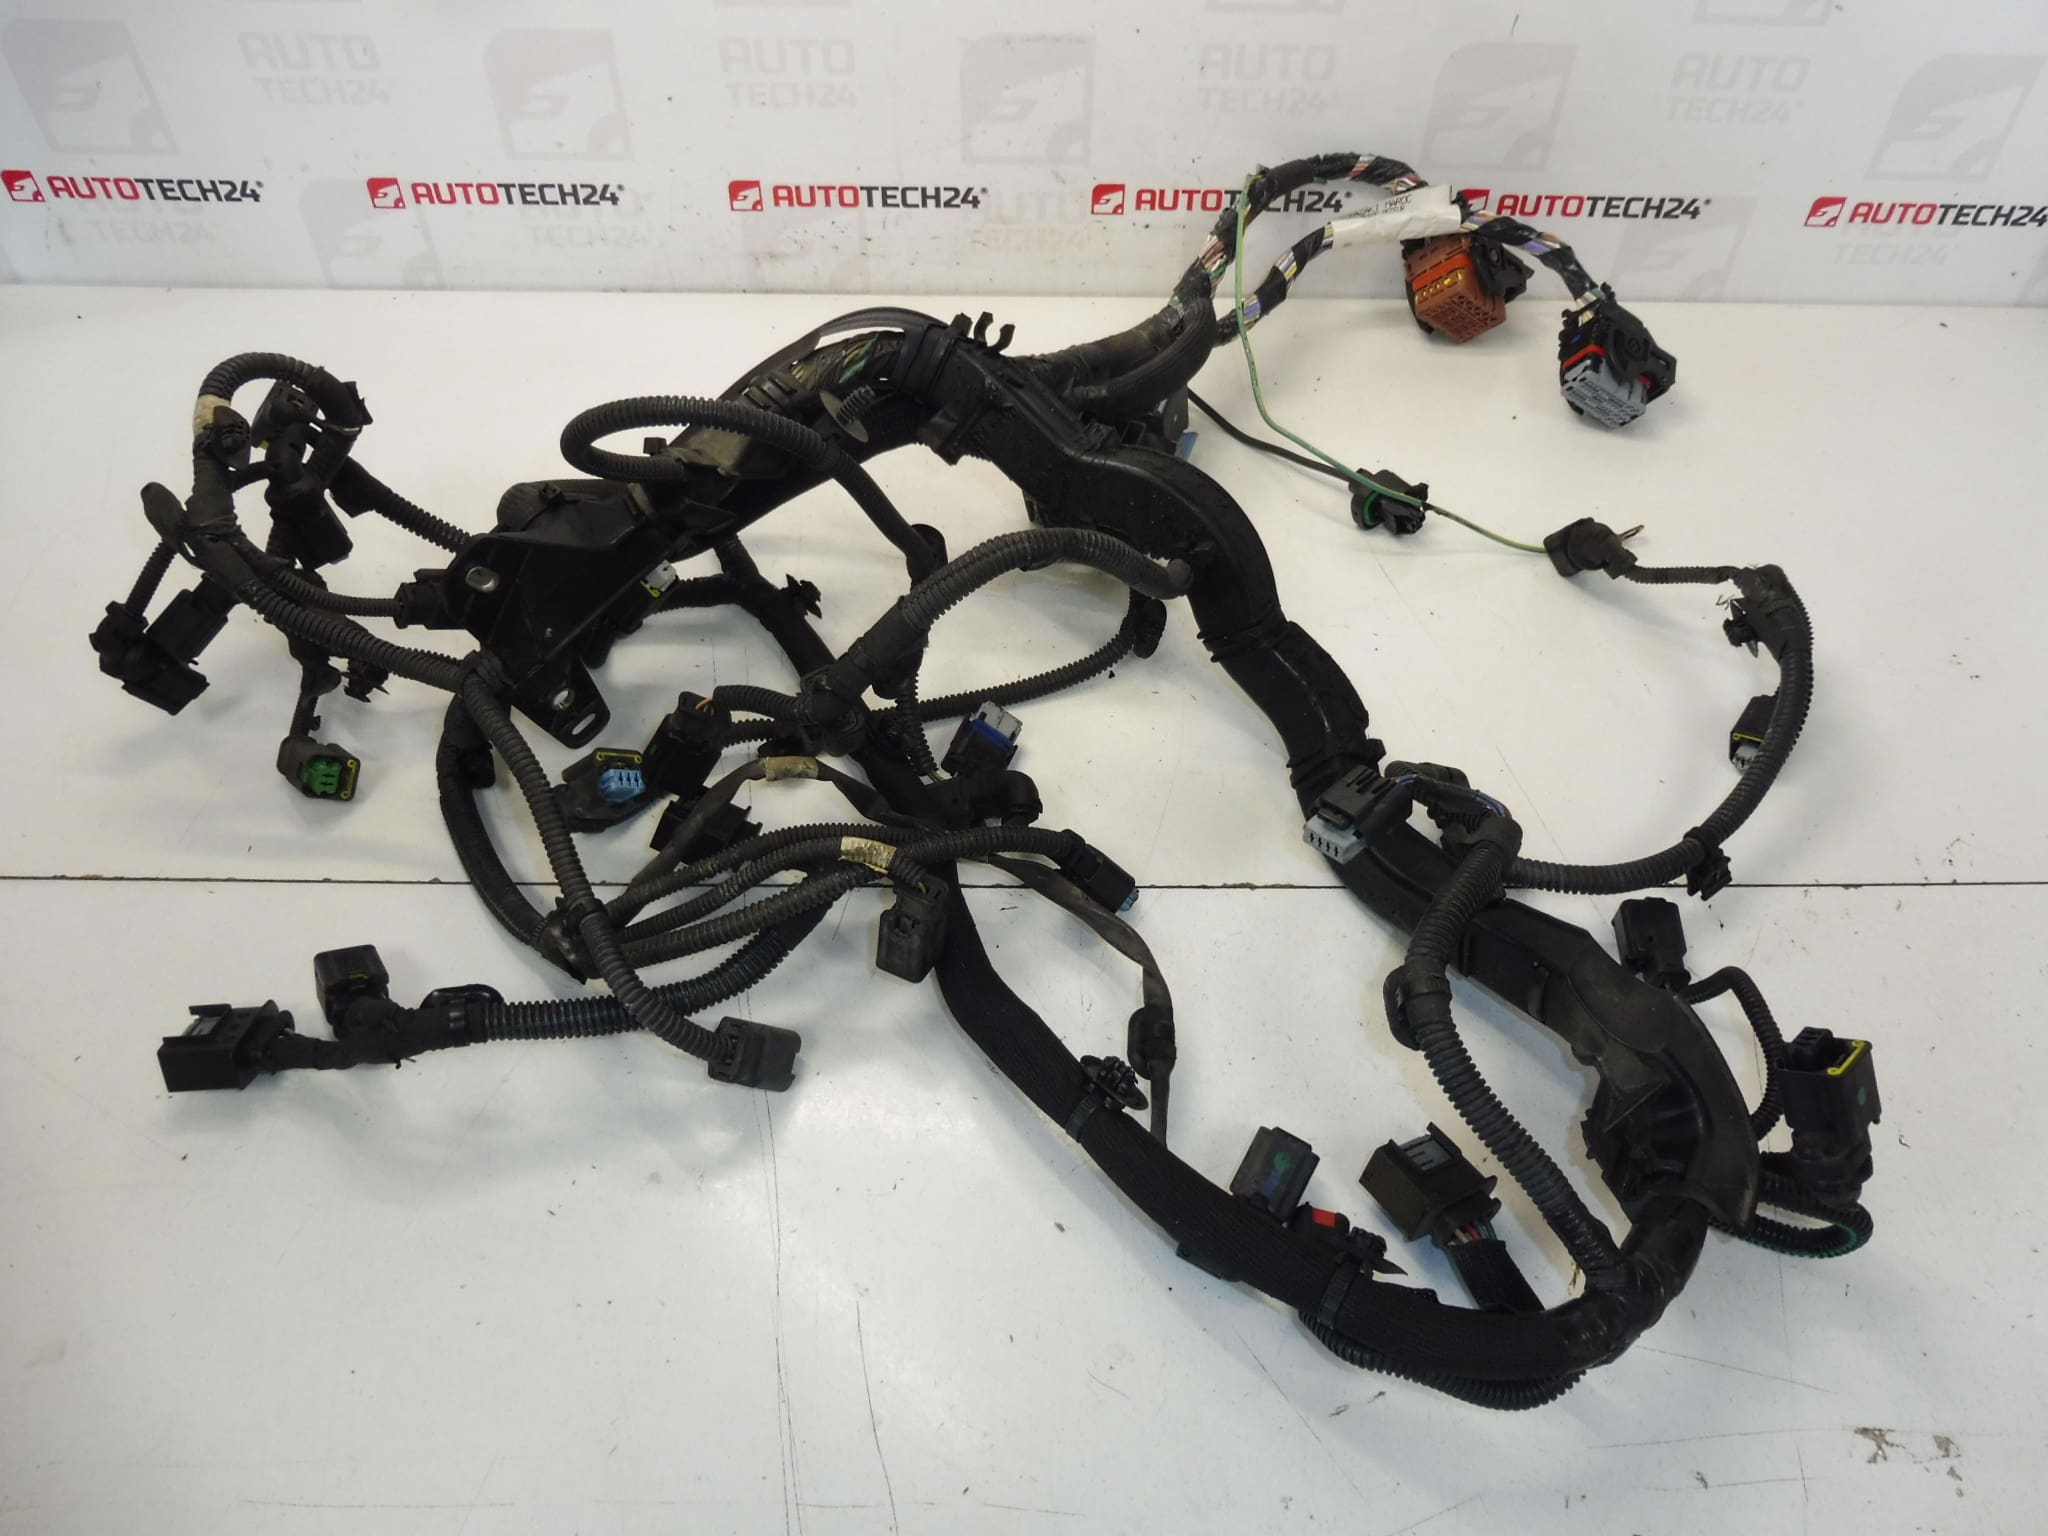
Description
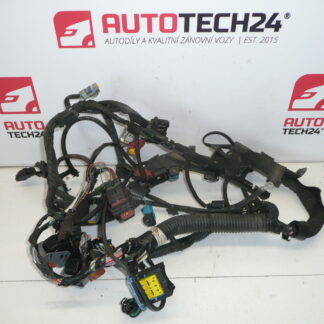
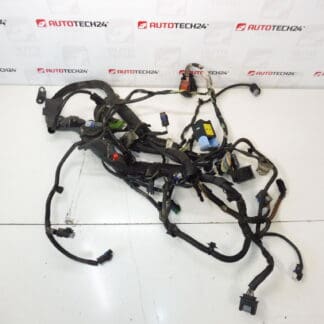
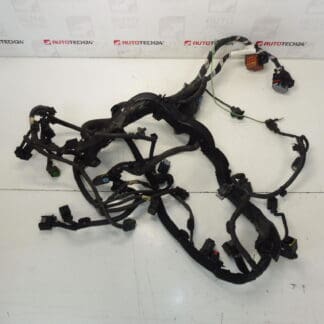
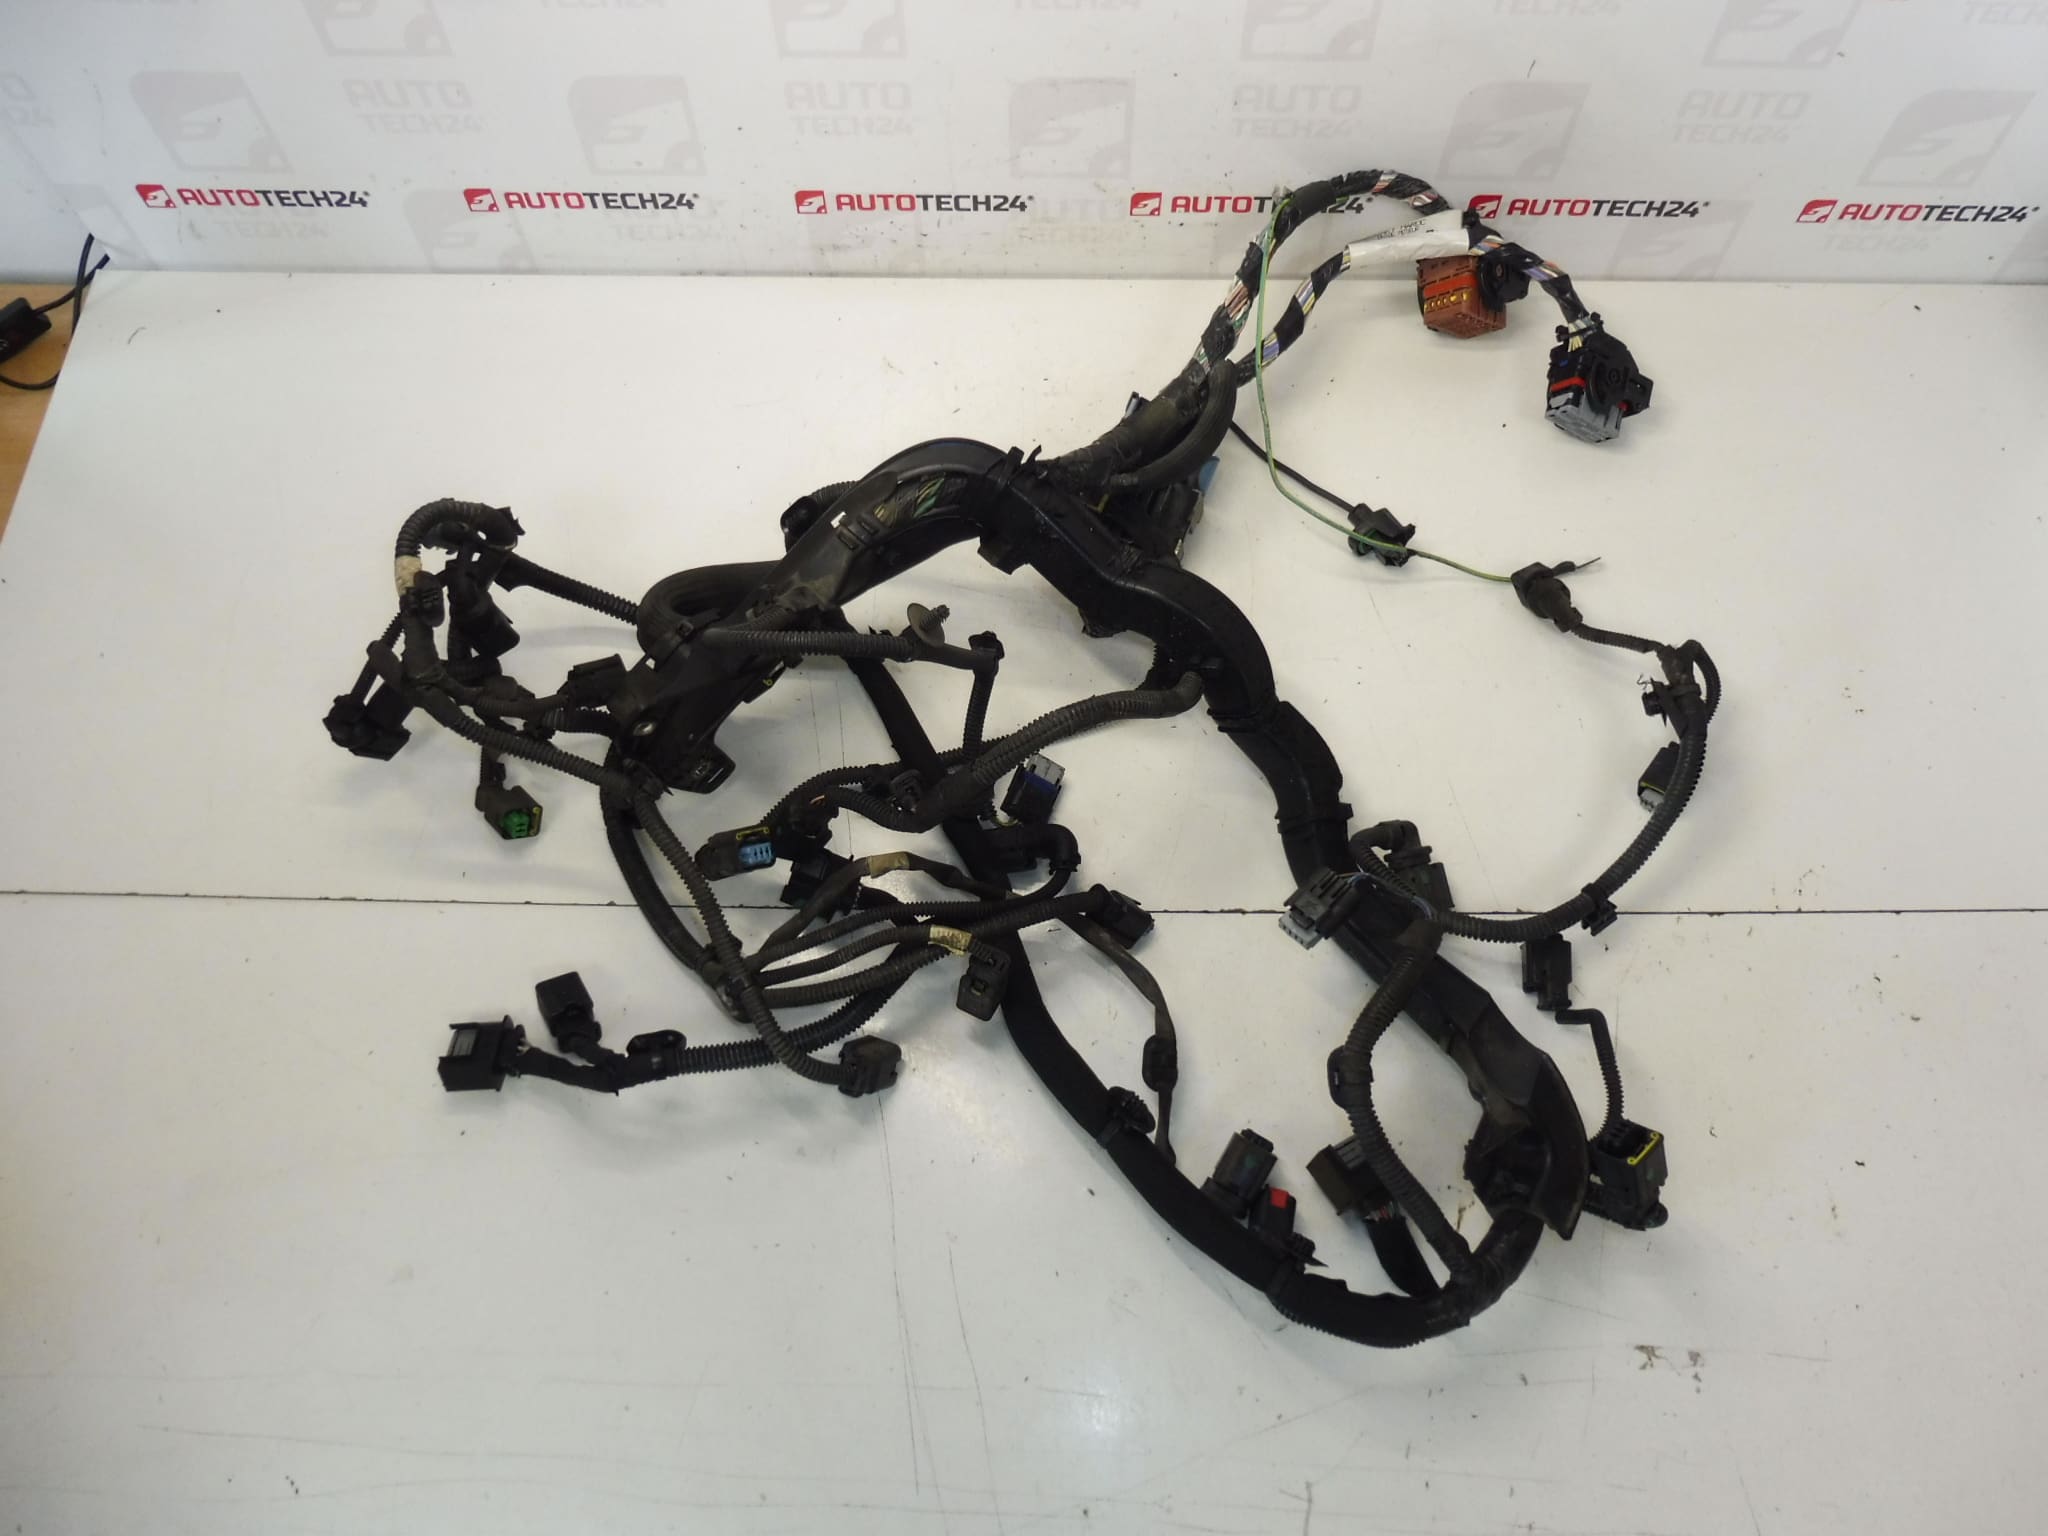
Complete engine harness for CITROEN PEUGEOT cars with 2.0 HDI 120 KW RHE engine
Engine electrical harness
Part description
This engine harness is intended for Citroën and Peugeot cars and is a key part of the engine wiring. It serves to connect individual electrical elements in the engine compartment and ensures the correct transmission of signals and power between important components.
The used original part is a suitable choice for the repair of damaged or non-functional cabling, when it is necessary to maintain the appropriate design of the connectors and the wiring of the bundle. Parts of this type are often also searched for by production numbers, so it is important to check in particular whether the markings 9670135380 and 658556 match.
A motor wiring harness can help solve various electrical problems, such as communication failures of some elements, intermittent power or damaged wire insulation. For auto mechanics and home repairmen, it is a practical solution for repairing the original electrical installation without the need for complex replacement of individual cables.
Technical information
- Manufacturer: Stellantis Citroën Peugeot
- Model: Citroën C4 PICASSO, Citroen C5 X7, Peugeot 3008 I, Peugeot 5008 I
- Other numbers: 9670135380, 658556, NFP
Product codes
- Product codes: 9670135380, 658556
- Models from labels/backgrounds: Citroën C4 PICASSO, Citroen C5 X7, PEUGEOT 3008 I, PEUGEOT 5008 I
Installation recommendations
This part is an electric motor harness. The exact replacement steps may vary depending on the specific car model and engine bay design, so below is a general and typical procedure for this type of part.
1) Before assembly
- Check the overall condition of the bundle used, especially the insulation of the wires, connectors, latches, bushings and any places of abrasion.
- Compare the new and original part by harness shape, branch length, connector type and product numbers.
- Check the bundle for signs of burn-through, improper repairs, or fluid leaks.
- Before starting work, disconnect the battery and secure the vehicle against unwanted movement.
2) Necessary tools and materials
- A common set of hand tools
- Screwdrivers and a plastic pry bar for removing covers and handles
- Pliers for clips and clips
- Cleaning agent for electrical connectors
- Work lighting
- Protective gloves
3) Step-by-step assembly procedure
- Disconnect the battery and wait until the electrical system is safely de-energized.
- Access the engine compartment and remove any covers or parts that prevent access to the harness.
- Carefully document the routing of the original bundle, ideally with photos prior to disassembly.
- Disconnect all connectors of the old bundle gradually, always without violence and with a check of arrests.
- Release clips, holders and harness guides from individual attachment points.
- Remove the original harness and compare it to the replacement piece to see if the layout and connectors match.
- Clean the contact surfaces and check the mating parts of the connectors for dirt or mechanical damage.
- Set the used bundle in the original route so that it is not stretched, twisted or pinched anywhere.
- Sequentially plug all the connectors into the corresponding places and verify that the latches click properly.
- Fix the bundle in all brackets and clamps so that it cannot touch moving or heat-stressed parts.
- Reassemble the dismantled covers and other parts required for normal operation.
- Connect the battery and perform a basic check of electrical functions related to engine operation.
-
4) Post-assembly checks and test drive/function verification
- Check that all connectors are firmly in place and that there are no loose cables left anywhere.
- After connecting the power, verify that there are no outages or irregular behavior of electrical circuits.
- After starting, observe that the motor operates normally and that there are no signs of intermittent contact.
- After a short test drive, visually check again that the harness remains properly seated and does not rub anywhere.
5) The most common assembly mistakes + how to avoid them
- Swapping connectors – mark or photograph everything before disconnecting.
- Insufficient fastening of the bundle – always return all clips and brackets to their original places.
- Damage of connector latches – do not disconnect connectors by force, but by properly releasing the latch.
- Inappropriate routing of wiring – make sure the bundle is not near sharp edges, vibrations or sources of high heat.
- Assembly without checking the condition of the counterparts – always check the cleanliness and mechanical condition of the connectors before connecting.
Reasons why the part is damaged
- Long-term thermal stress in the engine compartment
- Abrasion of wiring against holders, covers or other parts of the vehicle
- Moisture, oil and dirt that degrade insulation and connectors
- Motor vibration causing wire fatigue or loose connections
- Unprofessional intervention in electrical installation, additional repairs and non-original cable connections
- Mechanical damage during disassembly or prior service