Description
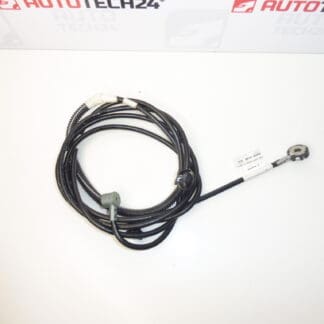
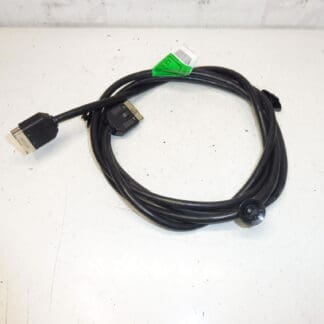
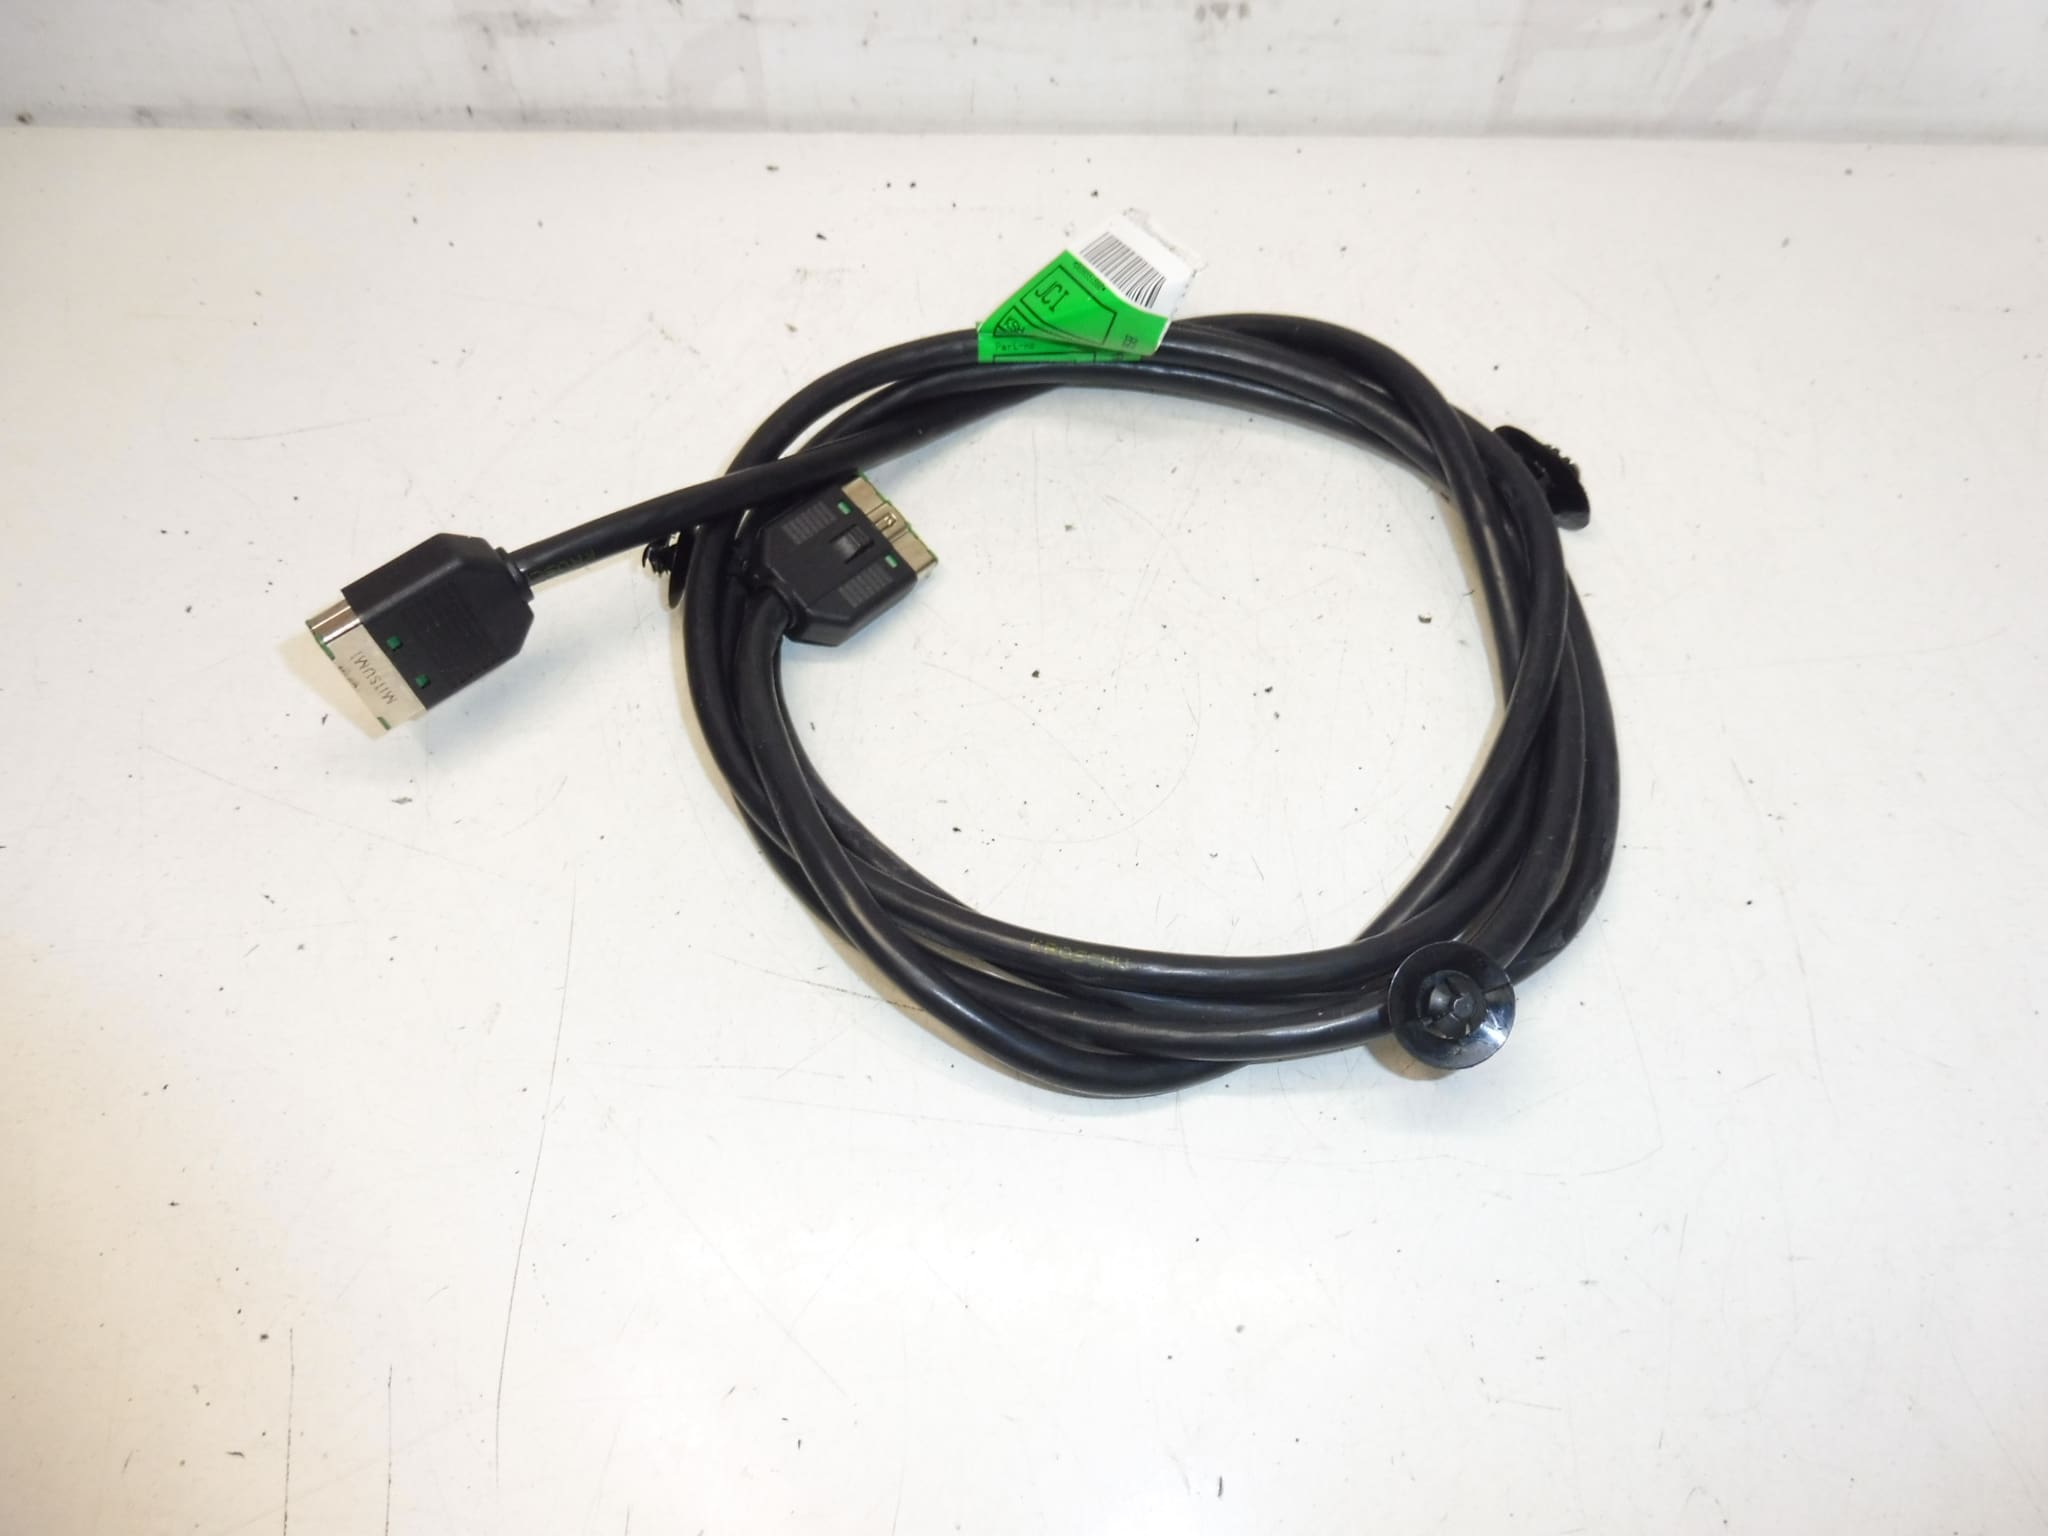
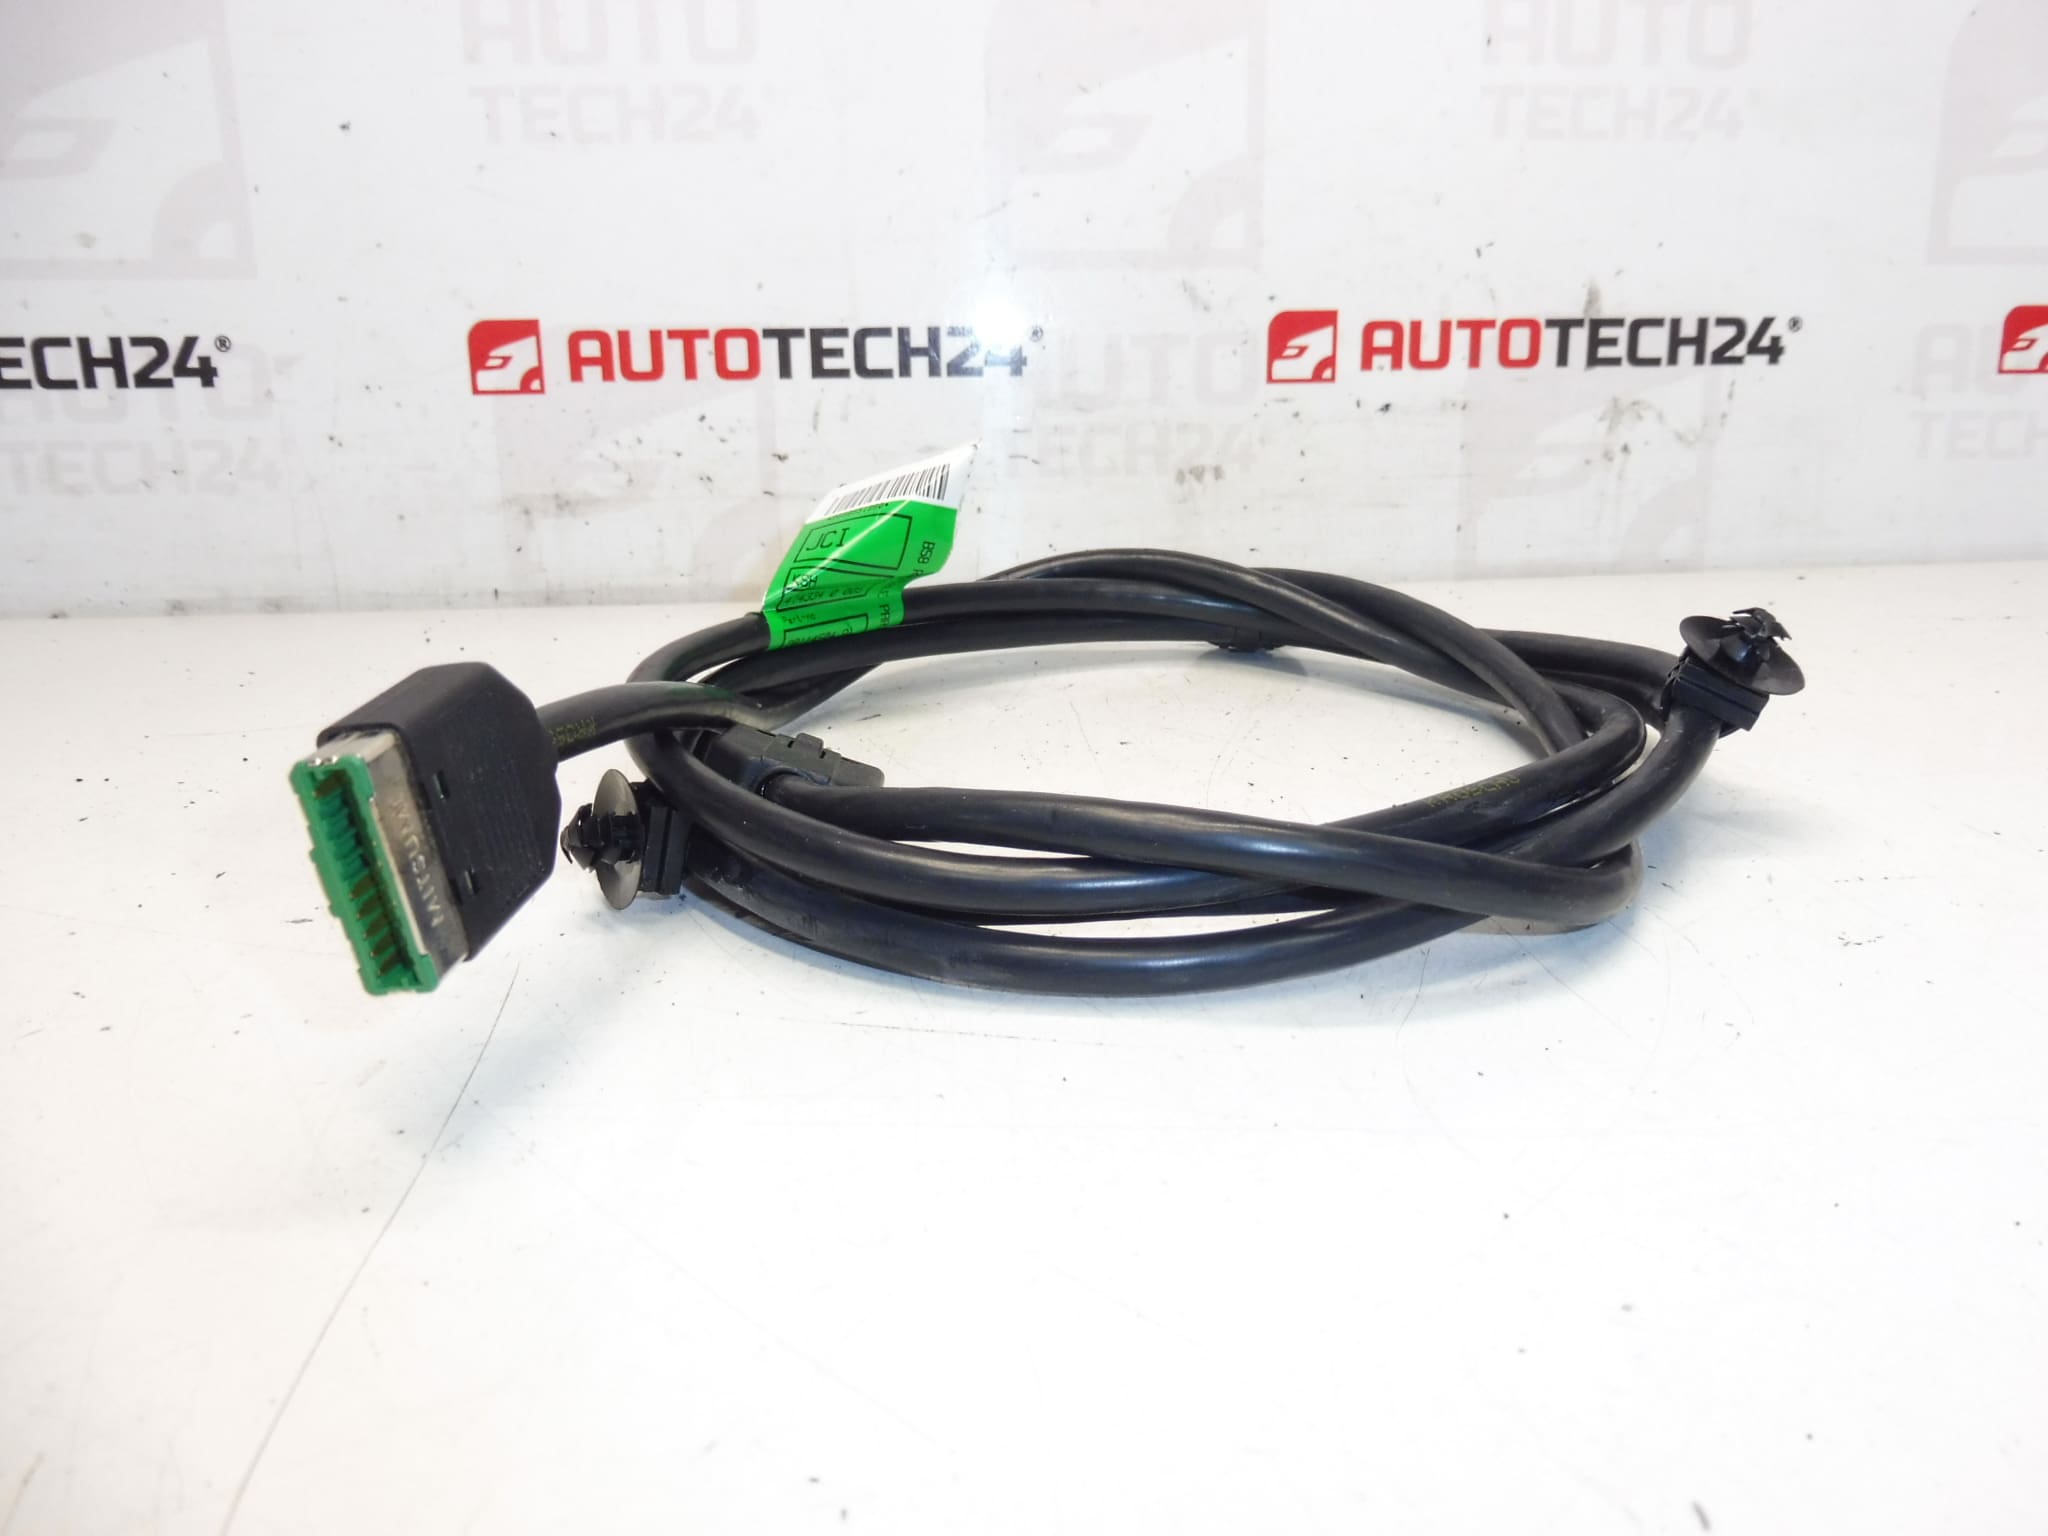
Right-Hand DVD and Multimedia Player Harness for Citroën C4 Picasso First Generation
This OEM-style right-hand wiring harness is designed for the DVD and multimedia player installation on the first-generation Citroën C4 Picasso. Built to carry power, ground, audio, video and control signals between the vehicle harness and the multimedia unit, it ensures reliable connectivity for the right-side player and associated components. Ideal for professional workshops and experienced DIY technicians performing repairs or replacements on in-dash entertainment systems.
Technical Information
- Manufacturer: Stellantis (Citroën/Peugeot)
- Model: Citroën C4 Picasso (First Generation)
- Product Codes: 9658551980, 6574C5, NFP
- Other Numbers: Not Provided
Function
The harness transmits power and signal paths for the DVD/multimedia player: main power feed, ground, speaker outputs, video/data lines and control connections (including steering wheel or dash controls where applicable). Proper connector mating ensures audio/video quality and correct operation of the multimedia functions.
Compatibility And Fitment
Specifically intended for Citroën C4 Picasso first-generation vehicles (Mk1). Fitment is most commonly required on right-side multimedia installations; check physical connector shapes and pin counts during replacement to confirm exact match with the vehicle harness and head unit.
Replacement Procedure (Overview)
- Disconnect the negative battery terminal before starting work.
- Remove interior trim panels and the glovebox/center console covers to access the right-side multimedia unit and wiring route.
- Unplug the multimedia unit connectors and any intermediate junctions or grounding points.
- Note or photograph connector orientations and clips, then remove the old harness from its retainers.
- Install the new harness, secure with original clips, reconnect all plugs and grounds, and reassemble trim.
- Reconnect the battery and verify full operation of audio, video and control functions before completing reassembly.
Installation Recommendations
- Always Disconnect The Battery Before Working On Vehicle Wiring.
- Inspect Connectors For Corrosion, Bent Pins Or Damaged Insulation; Repair Or Replace As Needed.
- Use Dielectric Grease On Multi-Pin Connectors To Reduce Corrosion Ingress In Humid Environments.
- Secure The Harness To Factory Clips And Avoid Sharp Edges Or Hot Surfaces To Prevent Chafing.
- Test All Functions With The Vehicle Powered Before Final Trim Refit.
Common Failure Reasons
Wiring harness problems on multimedia systems most often result from connector corrosion, water ingress, mechanical wear or chafing, previous poor repairs, and rodent damage. Repeated disconnection/reconnection or improper routing can bend pins or break wires at stress points. Faulty grounds and intermittent connections are frequent causes of audio/video dropouts or total unit failure.
Notes For Professionals
When replacing the harness, verify pinout and connector type against the head unit and vehicle loom. Use the vehicle service manual for panel removal sequences and connector locations to avoid damage to trim clips and airbags. For complex integration with CAN or amplified audio systems, ensure correct routing and grounding to prevent noise or communication errors.