Description
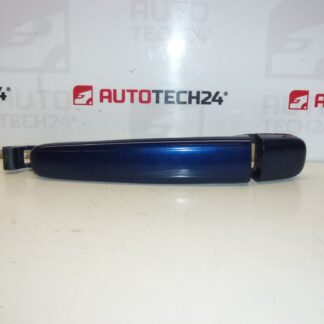
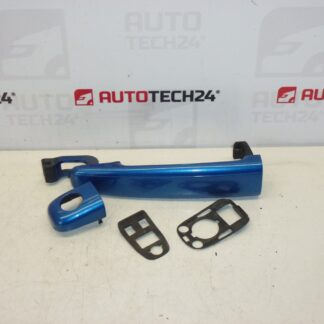
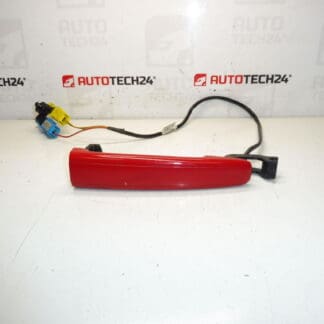
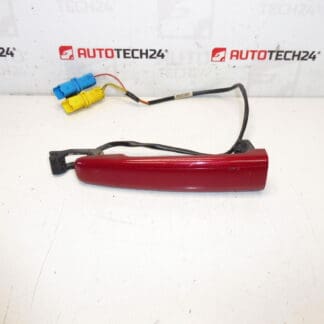
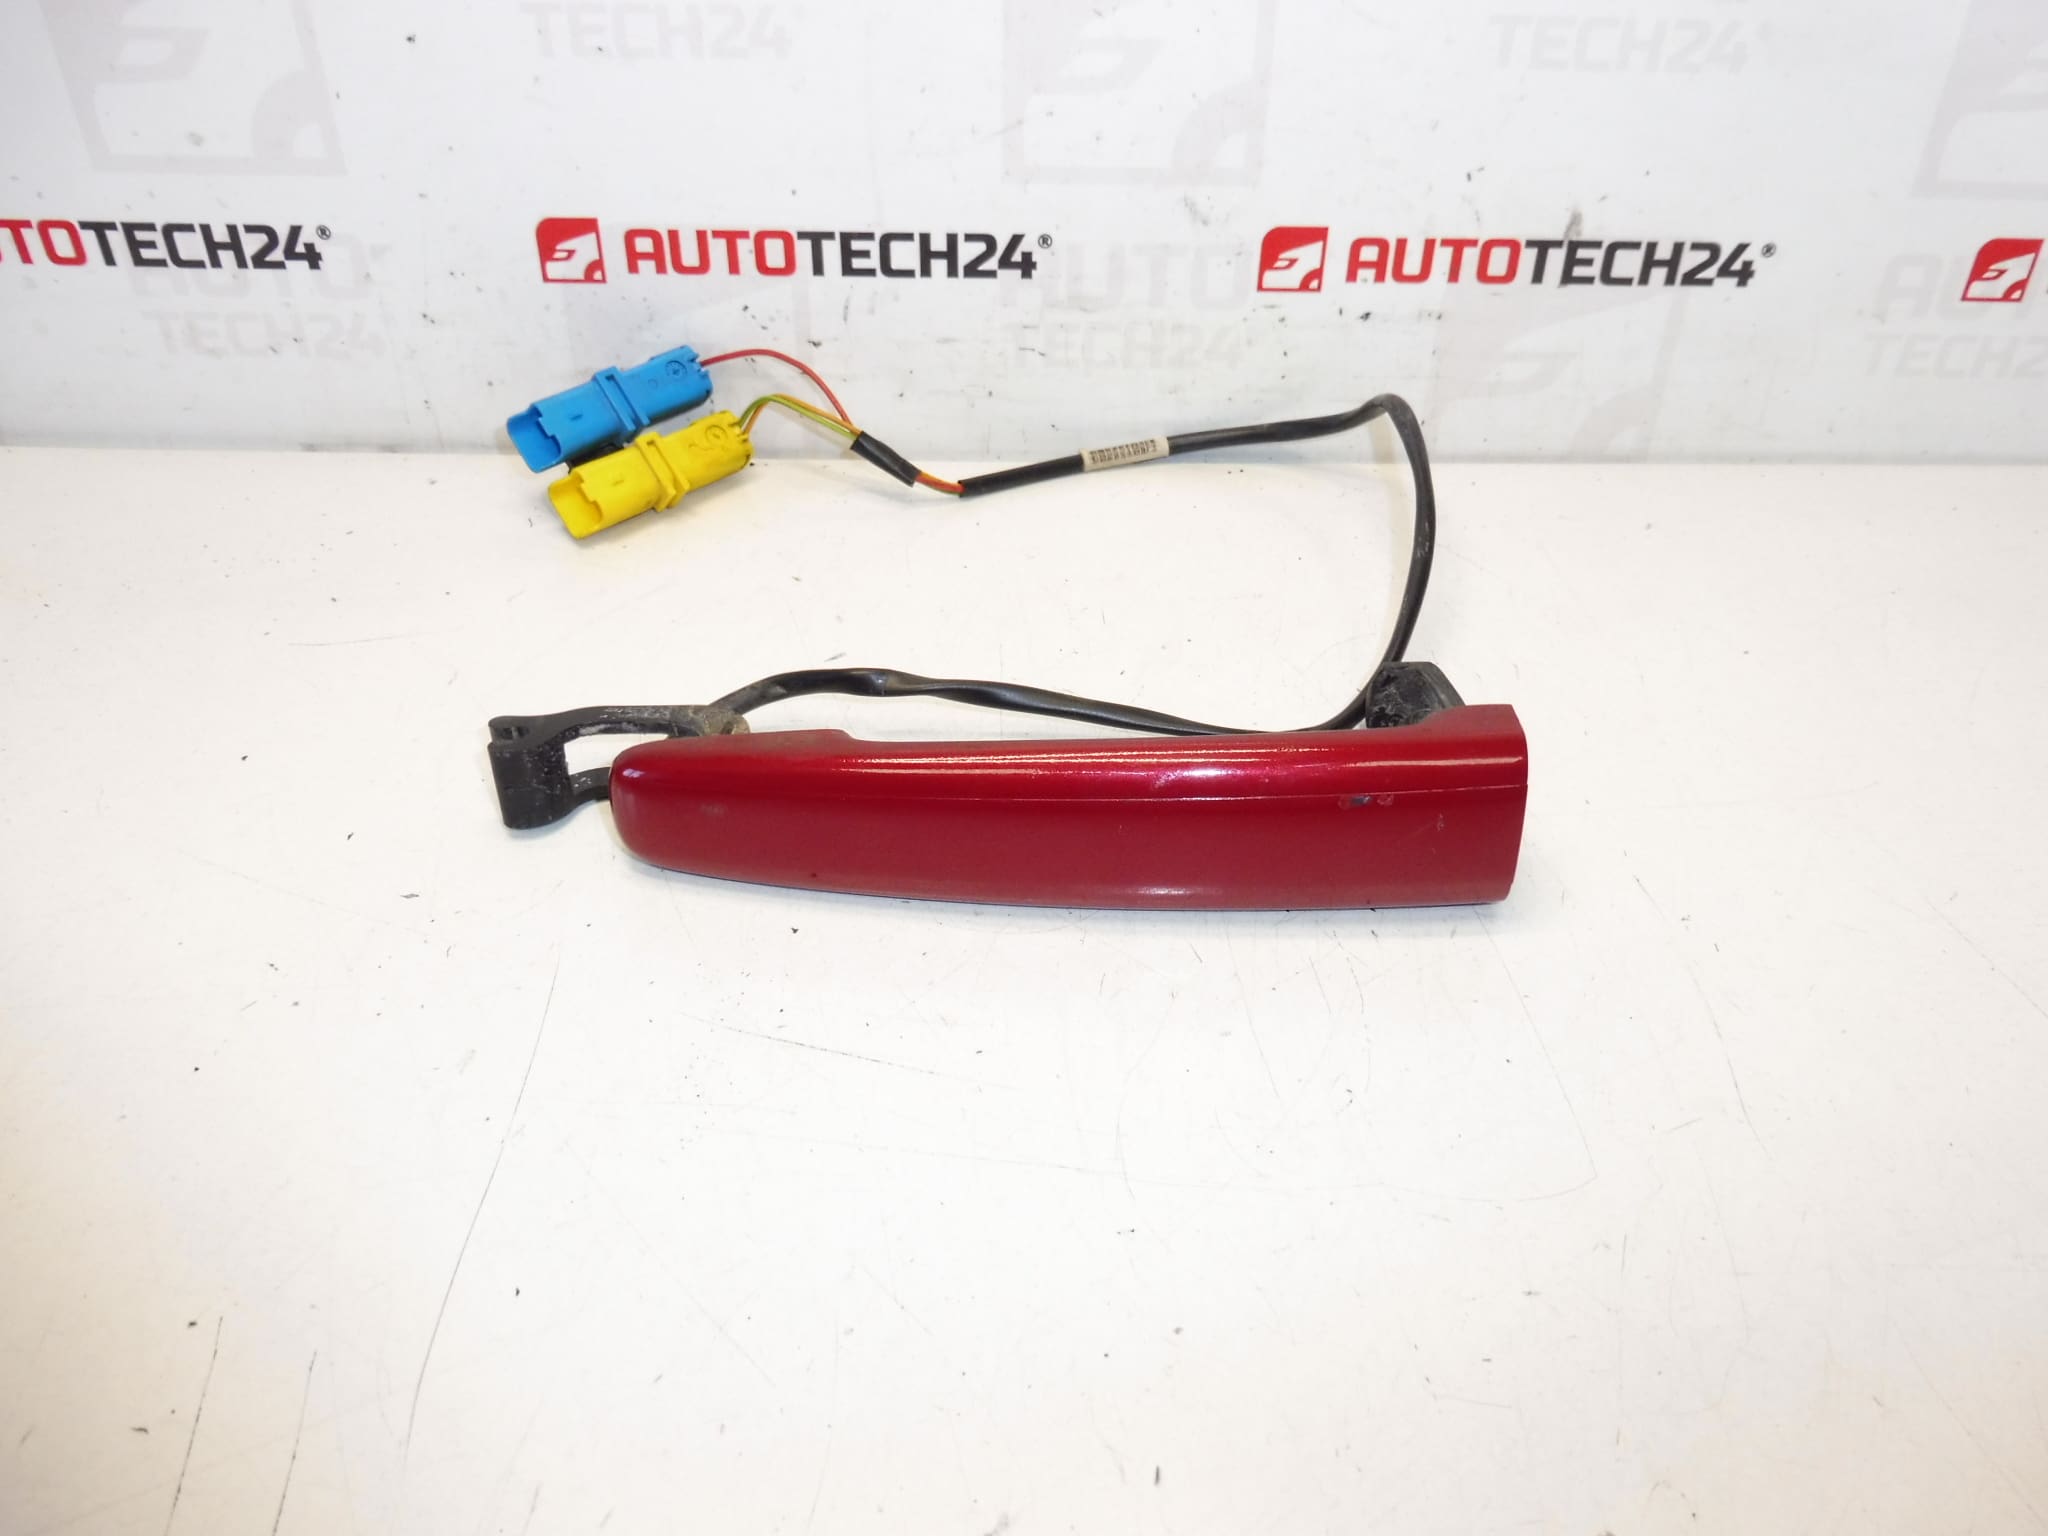
Door handle for PEUGEOT 307 CC, left and right. Color LKR – Babylon Red Paint. Functional, tested. Various colors available in stock under code 9101X2.
Product Description
High-quality replacement exterior door handle designed for Peugeot 307 CC (convertible). Suitable for both left and right doors, this painted handle (LKR finish) matches the original Babylon Red color and is ideal for mechanics and DIY enthusiasts who look up parts by OE numbers such as 9651421577 or 9651421477. The robust construction ensures reliable operation of the door latch and lock mechanism while preserving vehicle appearance. Multiple color variants are available under stock code 9101X2 to match other factory paints.
Technical Information
- Manufacturer: Peugeot (Stellantis)
- Model: Peugeot 307 CC (convertible) — left and right doors
- Product Codes: 9651421577, 9651421477, 9101X2
- Additional Numbers: 9647831280, LKRD
Installation Recommendations
Recommended for experienced mechanics or competent DIYers. Typical replacement steps:
- Remove the interior door trim panel to access the handle mounting area (retain fasteners and clips).
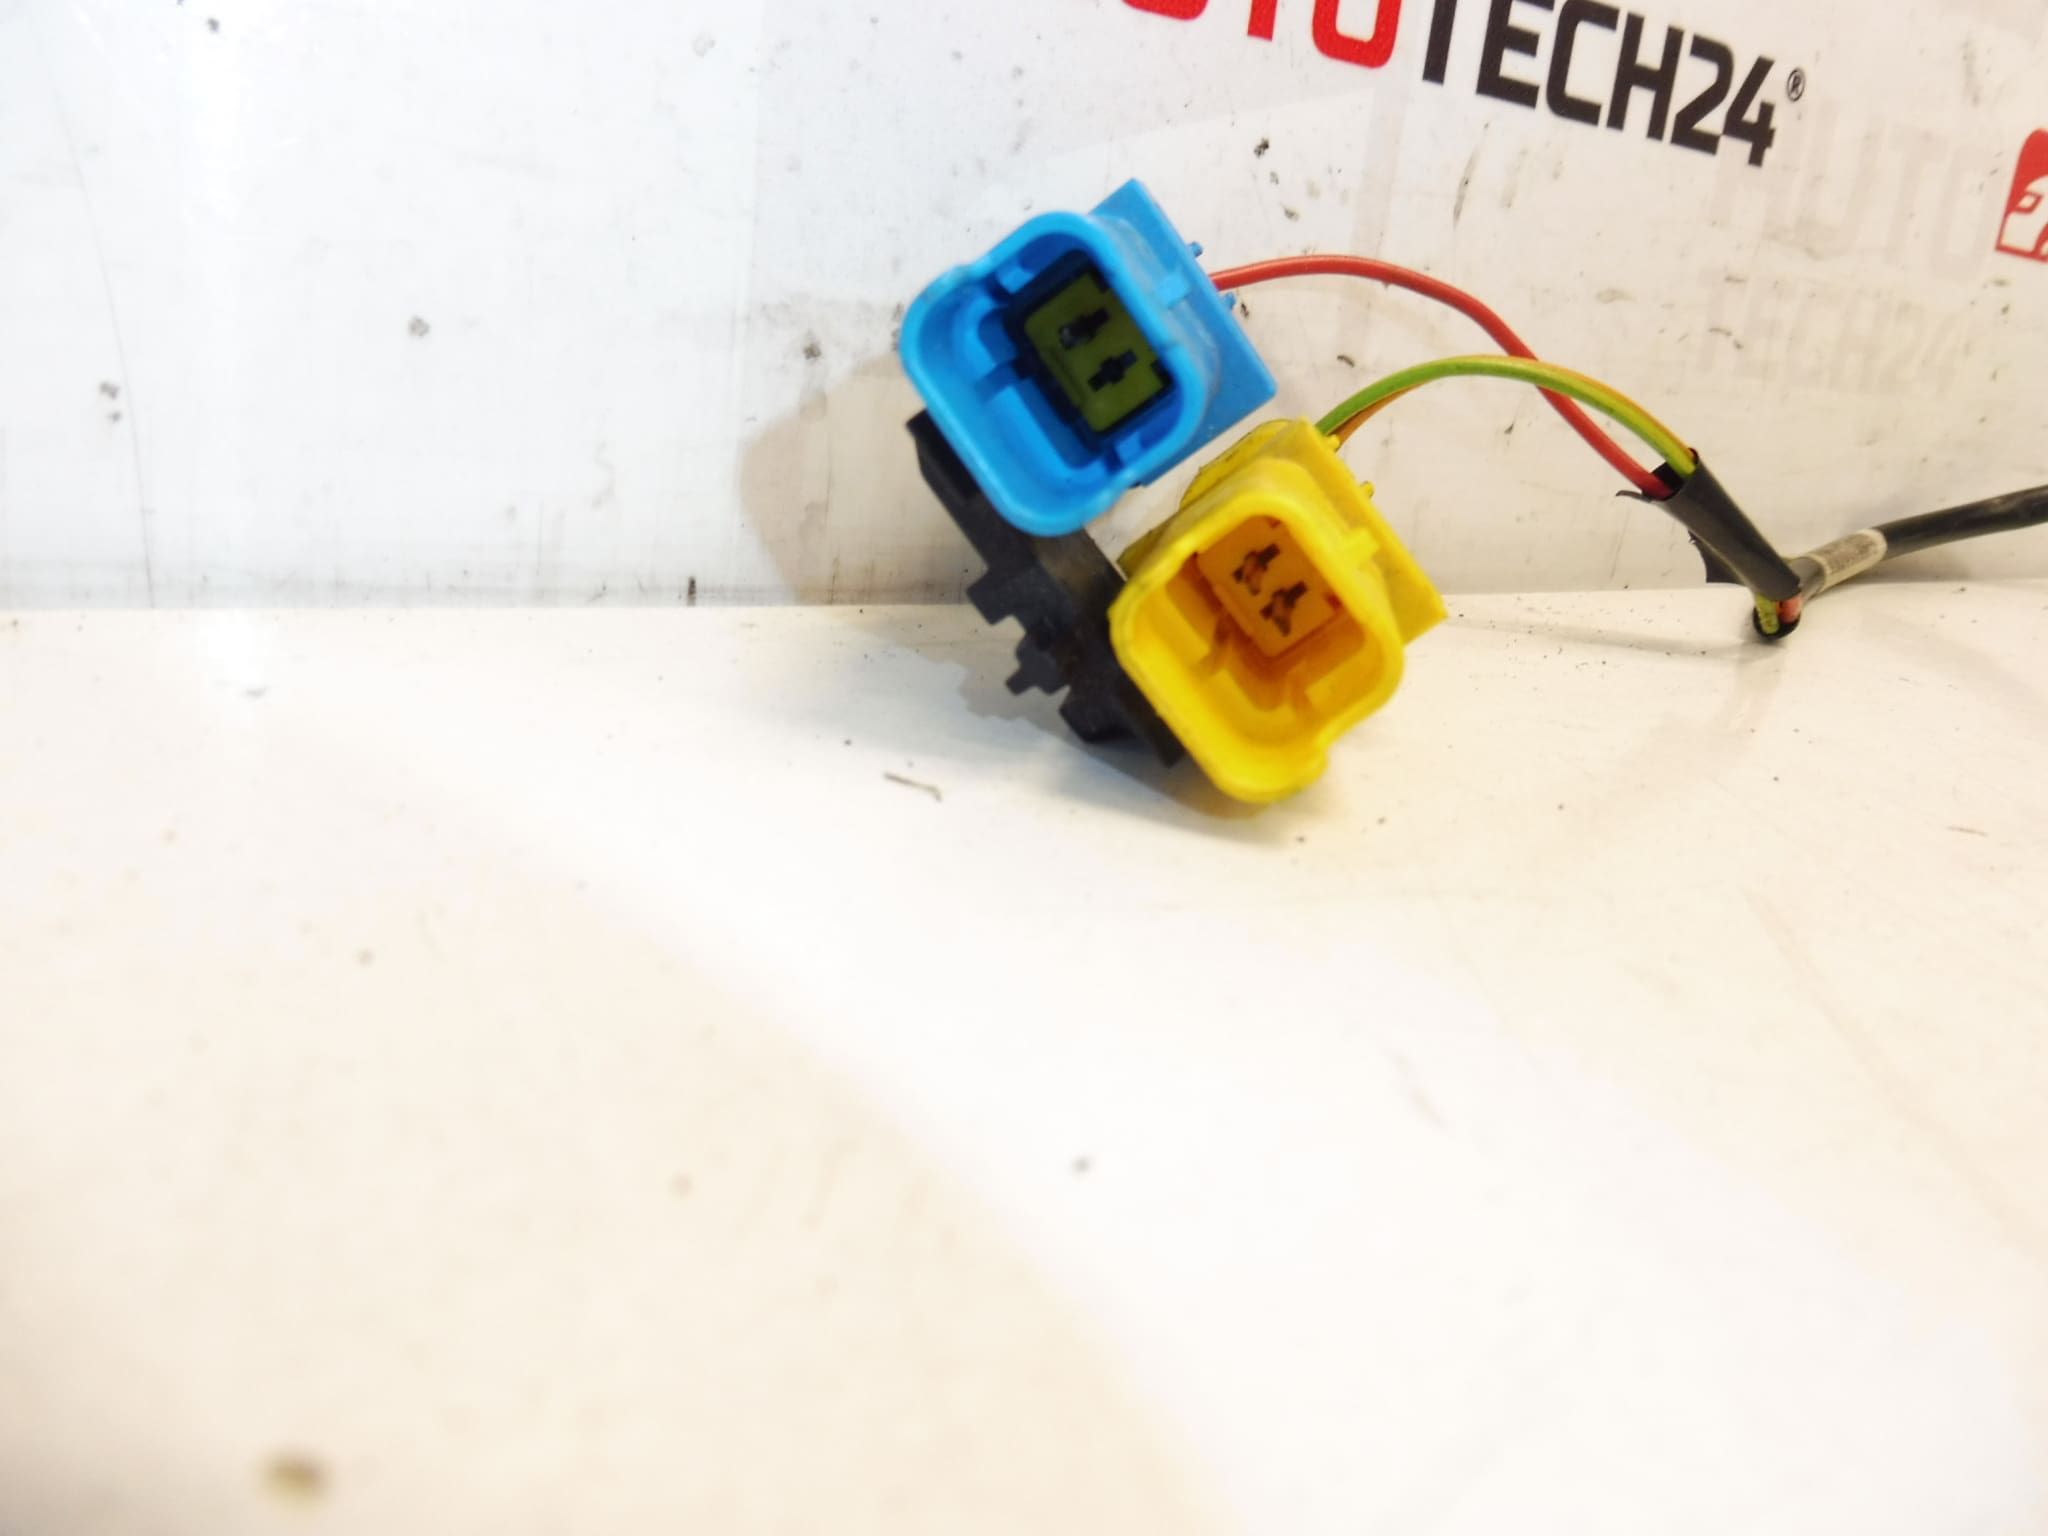
- Disconnect the door lock rod/linkage and any electrical connectors for central locking or keyhole illumination if fitted.
- Unbolt the exterior handle mounting screws/bolts and carefully withdraw the old handle from the door aperture.
- Transfer any required spacers, clips, or trim pieces to the new handle and fit it into the aperture, then tighten fasteners securely.
- Reconnect linkages and test mechanical operation and central locking function before refitting the door panel.
Suggested tools: trim remover, Torx/Phillips/socket set, needle-nose pliers, lubricant (for linkage). Typical workshop time: approximately 30–60 minutes per door depending on experience and door trim complexity. Always handle painted surfaces with care to avoid scratches.
Why This Part Commonly Fails
Exterior door handles on the Peugeot 307 CC can fail due to mechanical wear of plastic internal components, broken mounting tabs from repeated stress or impacts (e.g., slamming the door), corrosion of metal linkages, and damage from vandalism or accidental knocks. Paint chips and surface abrasion are common on painted handles, which is why matching color and proper removal/installation technique matter. Moisture ingress can also lead to stiff operation or frozen linkages in colder climates.
Notes
This part is frequently searched by OE numbers (9651421577, 9651421477, 9647831280) and color code references (LKR / LKRD). Ensure correct color match by comparing the paint code and visual sample before installation.