Description
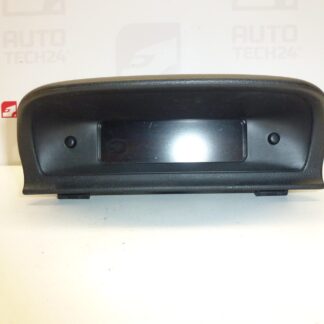
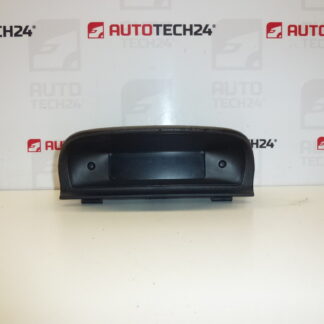
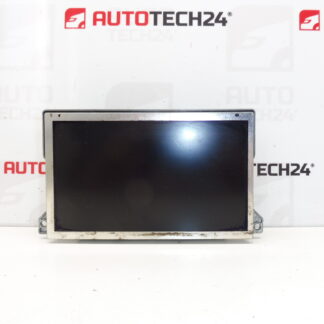
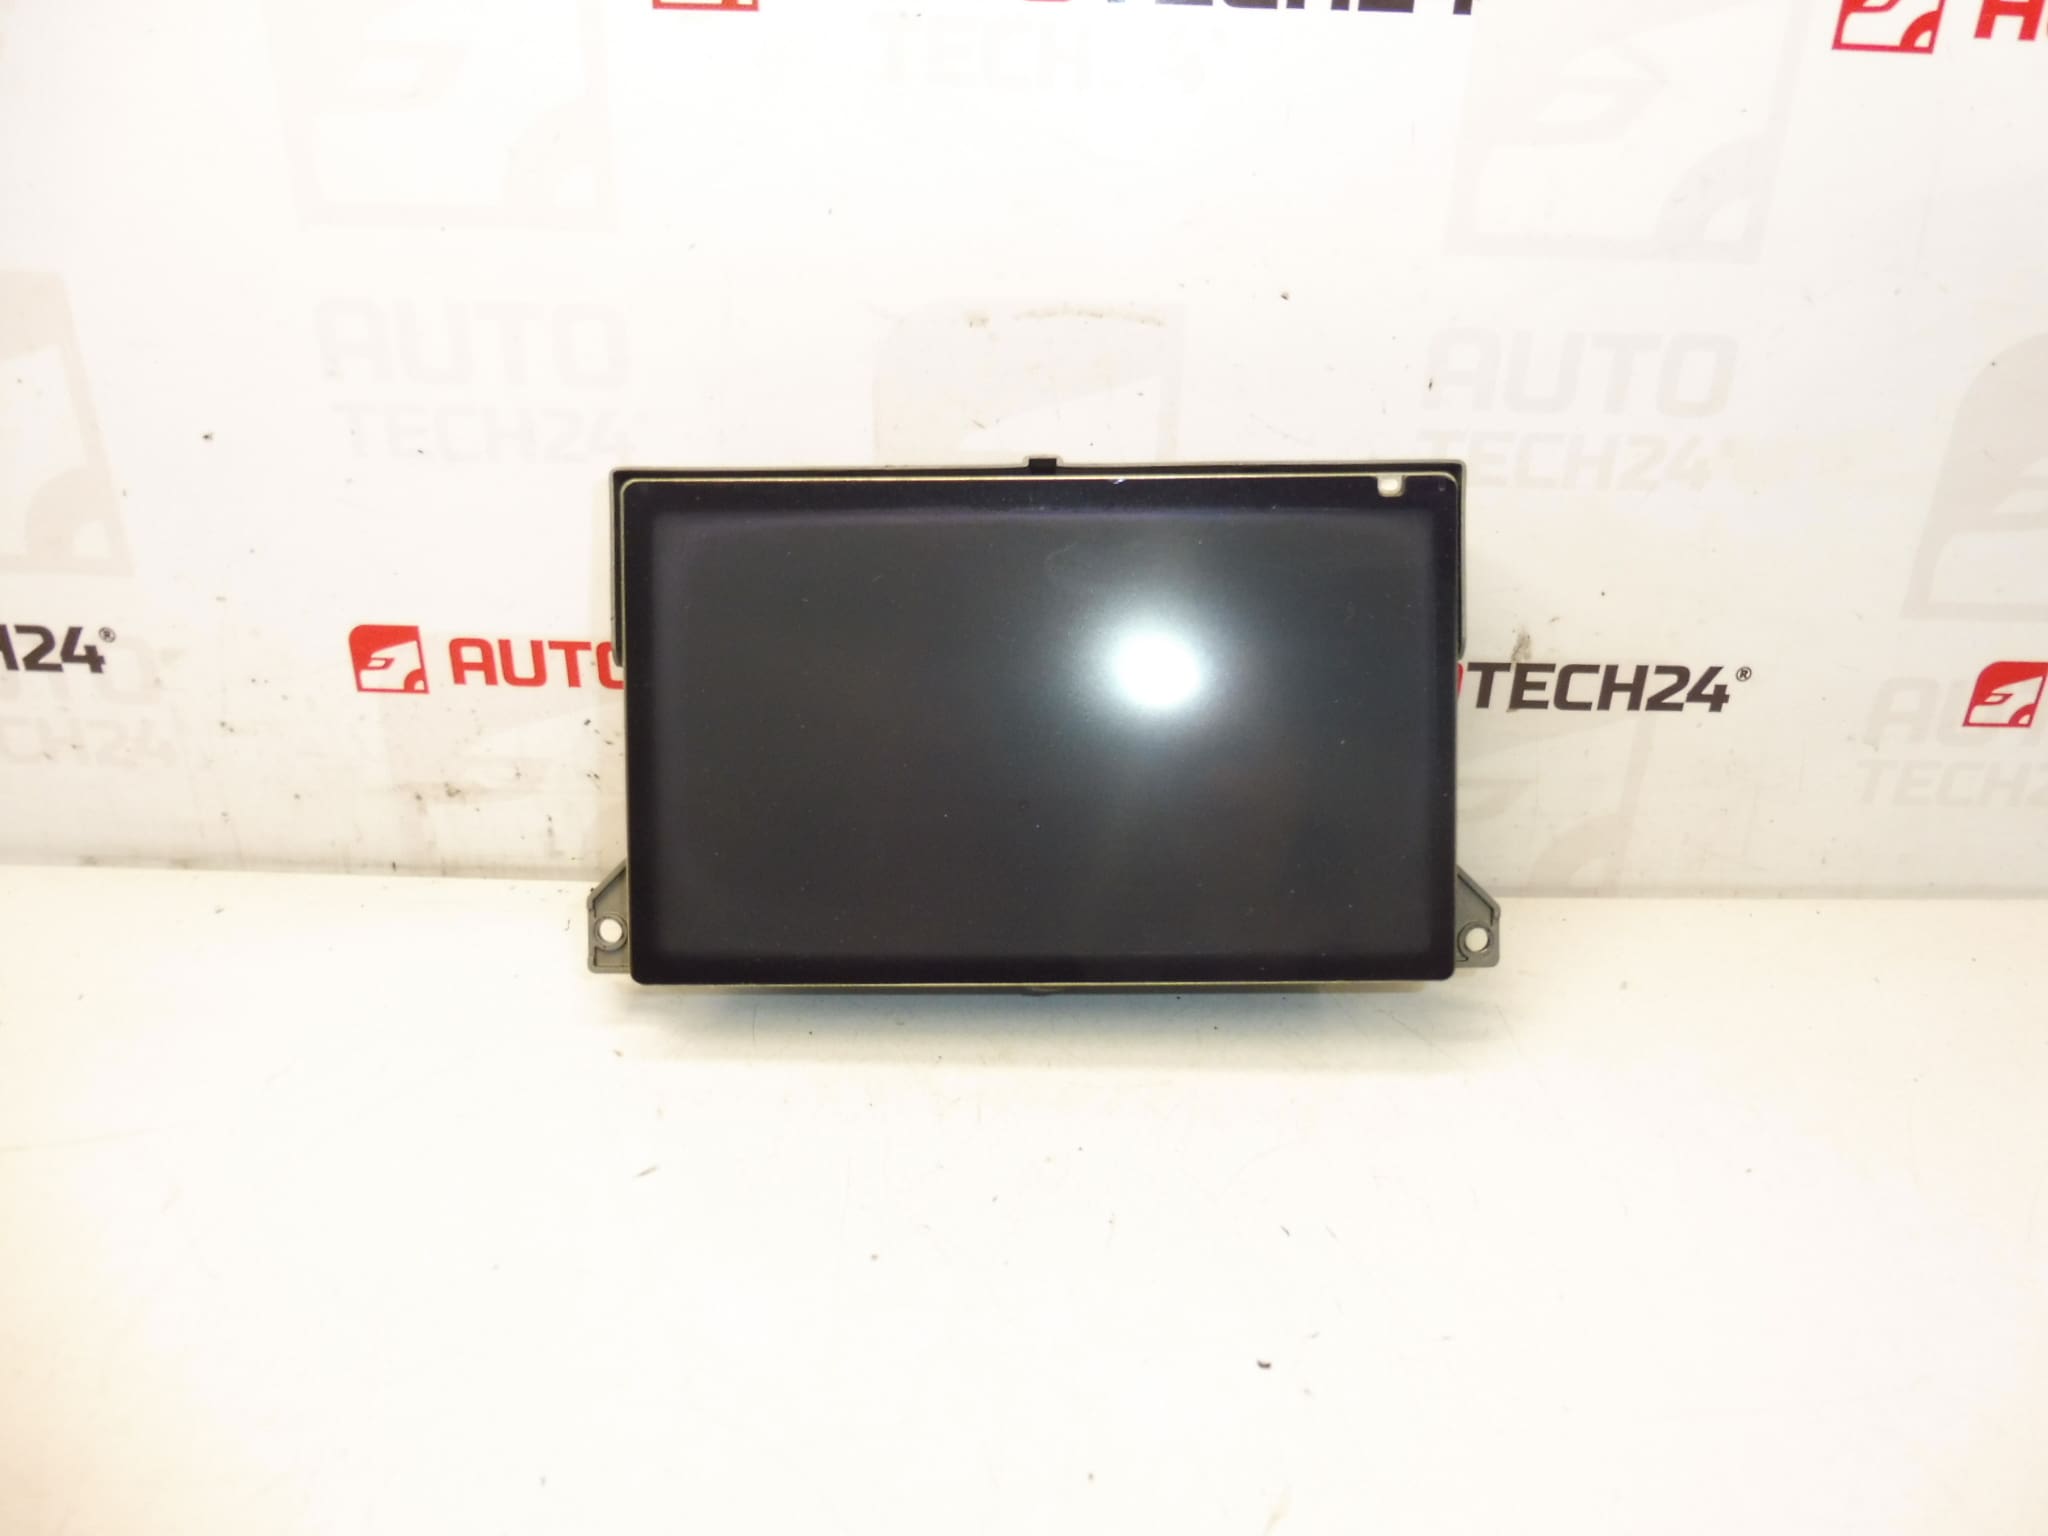
Multifunction display for Peugeot 307. Shows radio, navigation, trip computer and other vehicle functions. Fully functional, tested.
Overview
This multifunction display is a direct-fit instrument for the Peugeot 307 series and integrates radio, navigation and onboard computer information into a single panel. It is a popular replacement part for workshops and DIY mechanics looking to restore full functionality of the factory infotainment cluster. The unit is often searched by product codes (see Technical Information below), so listing those references helps customers find the exact match.
Key Benefits
- Restores factory navigation and radio display functions.
- Compatible With Original Wiring And Connectors, Minimizing Installation Time.
- Improves Visibility Of Trip Computer, Warnings And Media Information.
- Ideal For Professional Garages And Experienced DIY Enthusiasts.
Compatibility And Models
Primarily Intended For Peugeot 307 models equipped with the factory navigation/display unit. Common fitment includes both Phase 1 and Phase 2 Peugeot 307 (model years typically spanning the early 2000s). Before ordering, check the product codes printed on your original display to confirm match.
How The Unit Is Replaced
Replacement Is Straightforward For A Trained Technician Or An Experienced DIY Mechanic. Typical Steps:
- Disconnect The Battery To Prevent Short Circuits And Avoid Damage To Electronics.
- Remove Surrounding Trim Panels Carefully Using Plastic Pry Tools To Avoid Scratches.
- Unscrew The Fastening Screws Securing The Display Module.
- Release And Unplug The Electrical Connectors—Note Their Position For Reinstallation.
- Swap The Display Unit, Reconnect Connectors And Refit Screws And Trim.
- Reconnect The Battery And Verify All Functions: Radio, Navigation, Trip Computer And Display Illumination.
Typical Lifespan And Failure Modes
Display Units Can Last Many Years, But Lifespan Depends On Environmental Conditions And Usage. Common Causes Of Failure Include:
- Backlight Failure Or Dimming Due To Aging LEDs Or Power Supply Components.
- Internal Connector Or Ribbon Cable Damage Causing Intermittent Or No Display.
- Electronic Component Degradation, Such As Capacitor Failure On The Power Board.
- Water Ingress Or Condensation Leading To Corrosion Or Short Circuits.
- Physical Damage From Impact Or Improper Removal/Installation.
Recommendations For Installation
- Always Disconnect The Battery Before Starting Work To Protect Sensitive Electronics.
- Use Proper Trim Removal Tools To Avoid Damaging Interior Panels.
- Inspect Wiring Harnesses And Connectors For Corrosion Or Bent Pins; Clean Contacts If Necessary.
- When Reinstalling, Ensure Connectors Are Fully Seated And Any Retaining Clips Are Engaged.
- After Installation, Test All Display Functions Thoroughly—Radio, Navigation Routing, And Trip Computer Readouts.
- If You Encounter Software Or Communication Issues, Verify Fuses And Bus Connections (CAN/MOST Where Applicable).
Reason Why The Part Most Often Fails
The Most Frequent Cause Of Display Failure Is Aging Electrical Components And Thermal Stress That Affect The Display Backlight Or Power Supply. Poor Electrical Connections And Moisture Penetration Are Also Common Culprits, Especially In Vehicles Exposed To Humid Conditions or Previous Water Damage.
Technical Information
- Manufacturer: Stellantis / Peugeot
- Model: Peugeot 307 (Phase 1 and Phase 2; factory navigation/display units)
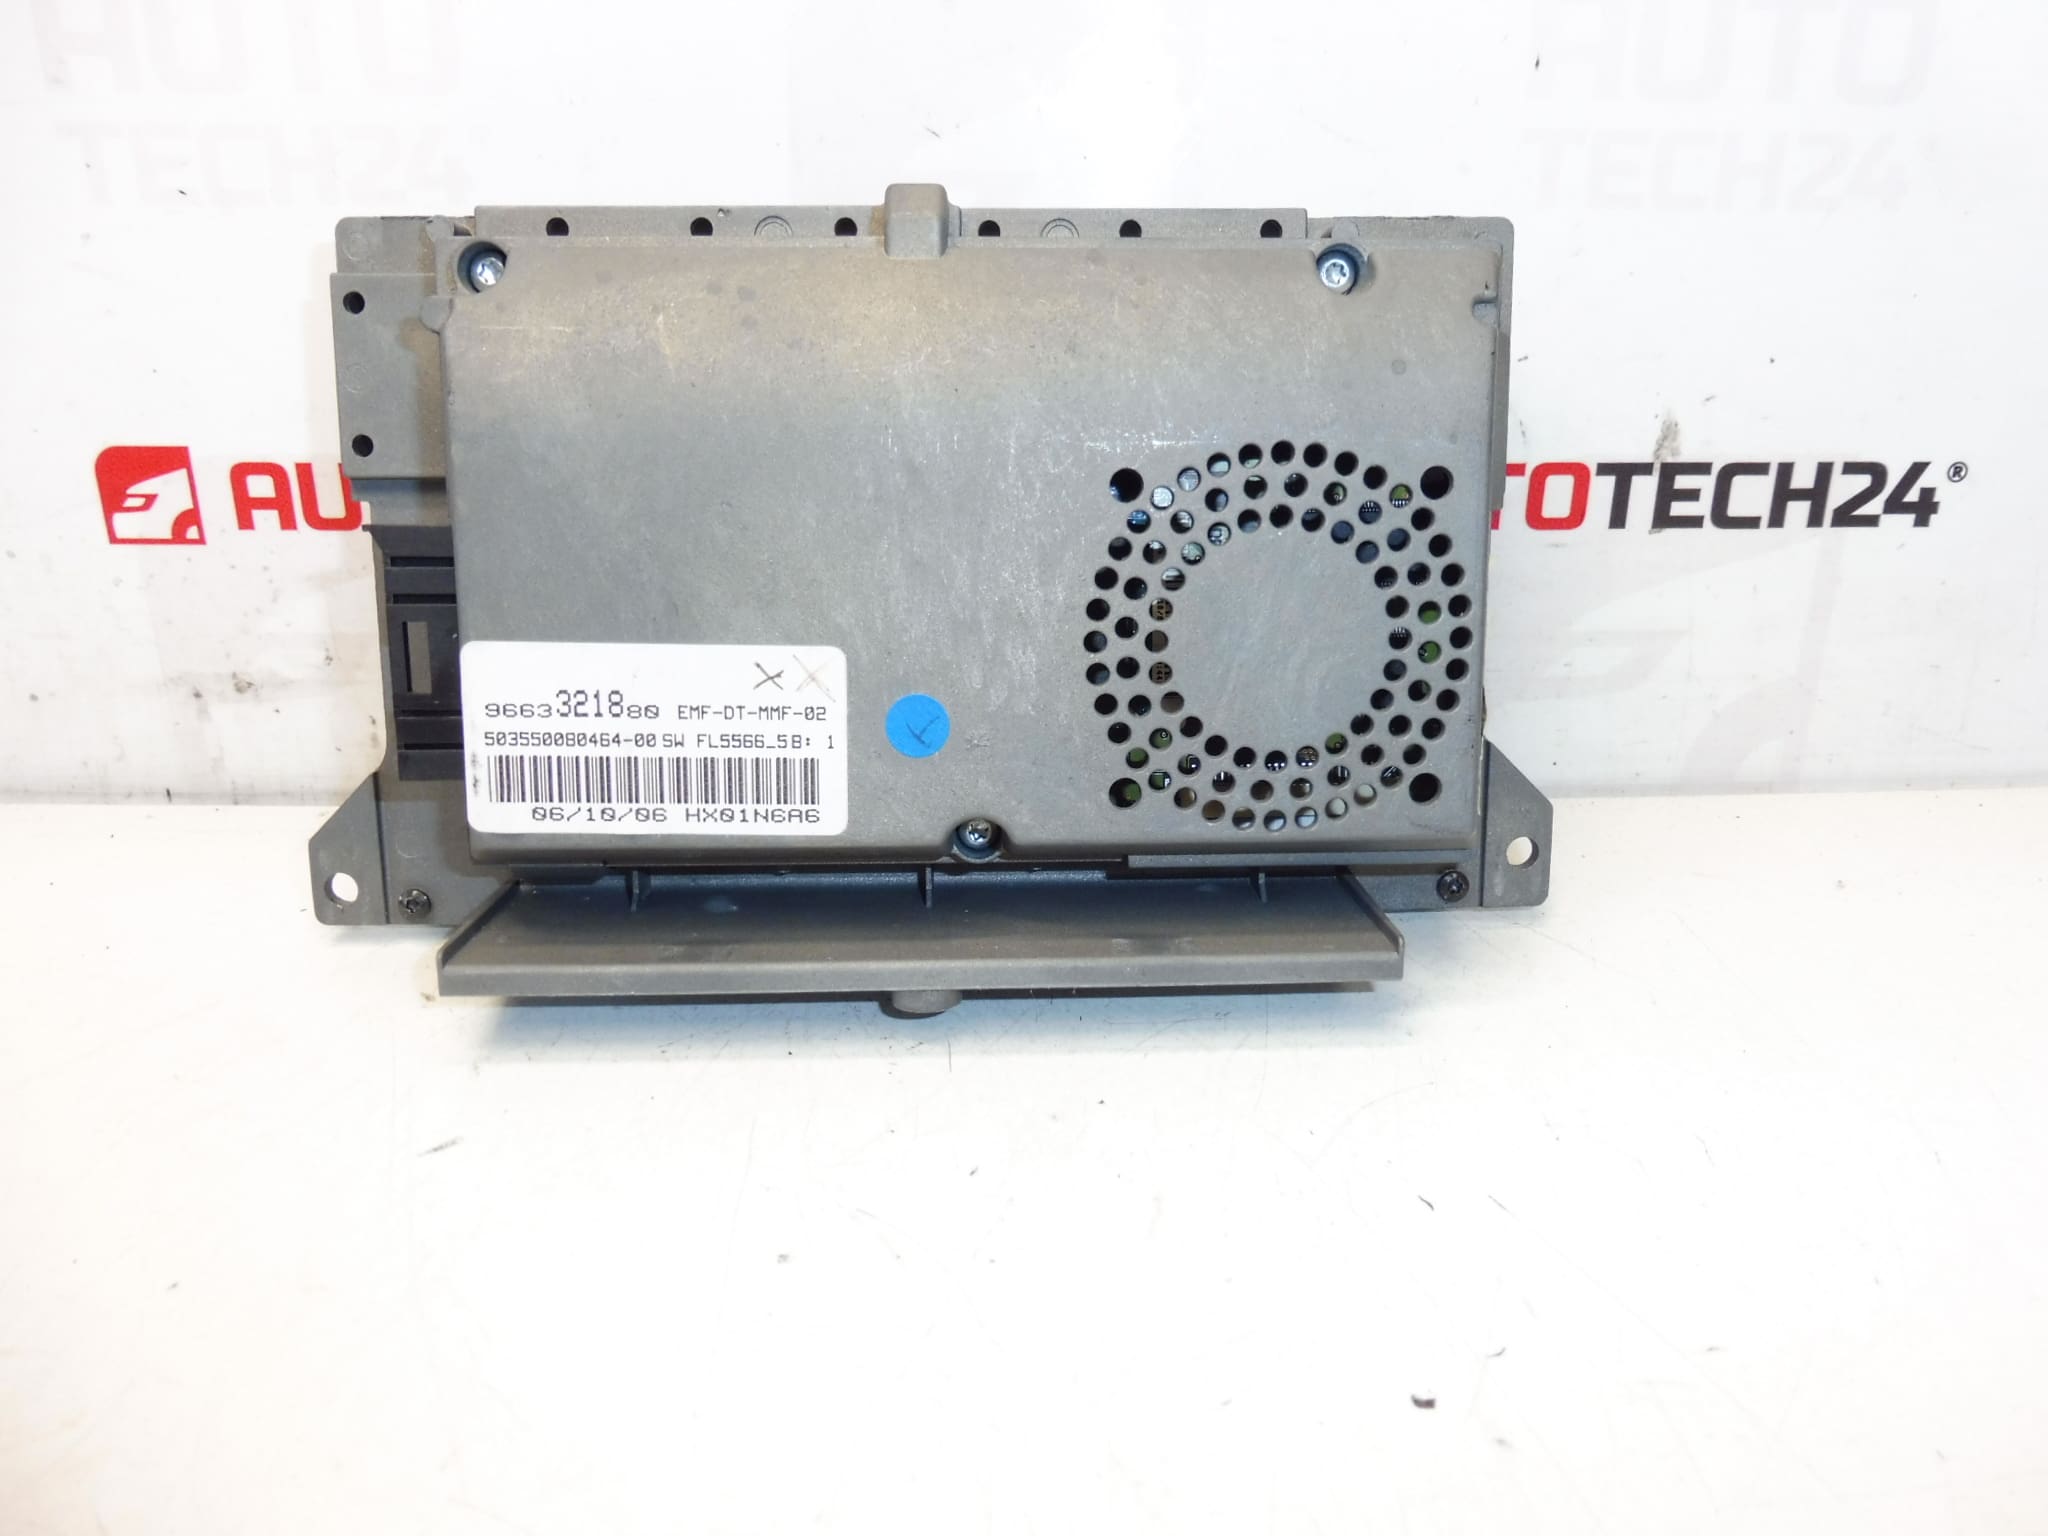
- Product Codes: 9663321880
- Additional Numbers: 6563YN, 6563YP, NFP
Notes For Buyers
This Display Is Suited For Mechanics And Skilled DIYers Familiar With Dashboard Electronics. The Unit Is Often Located By Its Product Codes, So Check The Numbers On Your Existing Part For A Correct Match. As With Any Electronic Dashboard Component, Follow Proper Handling Procedures—avoid Static Discharge And Mechanical Shock During Installation.