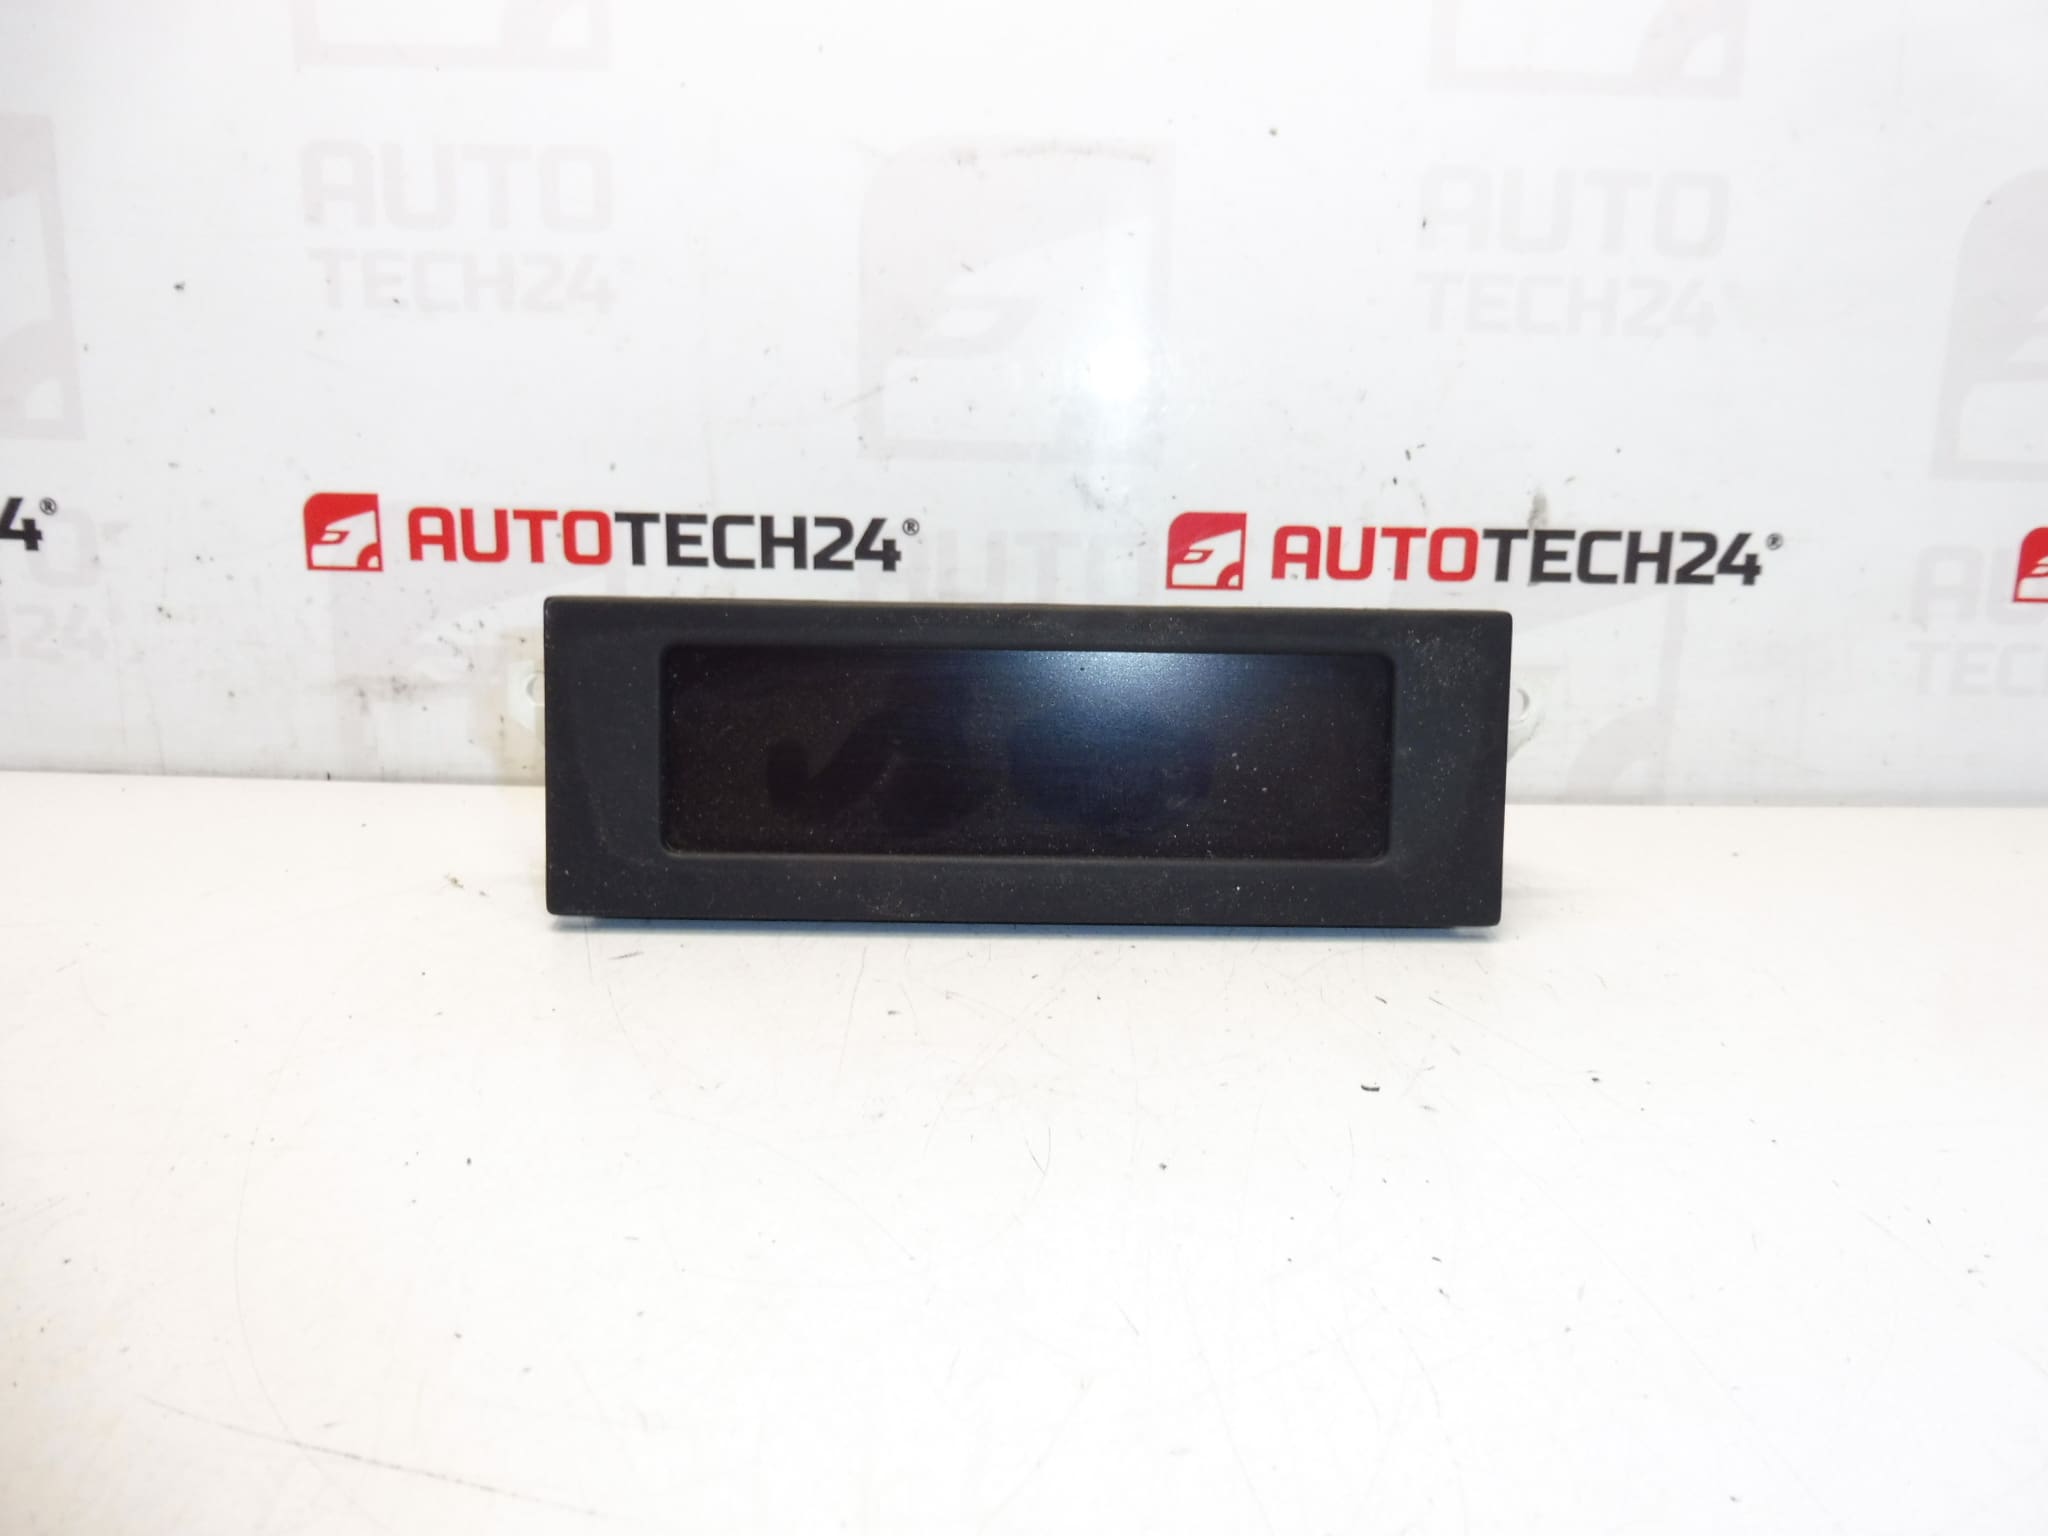
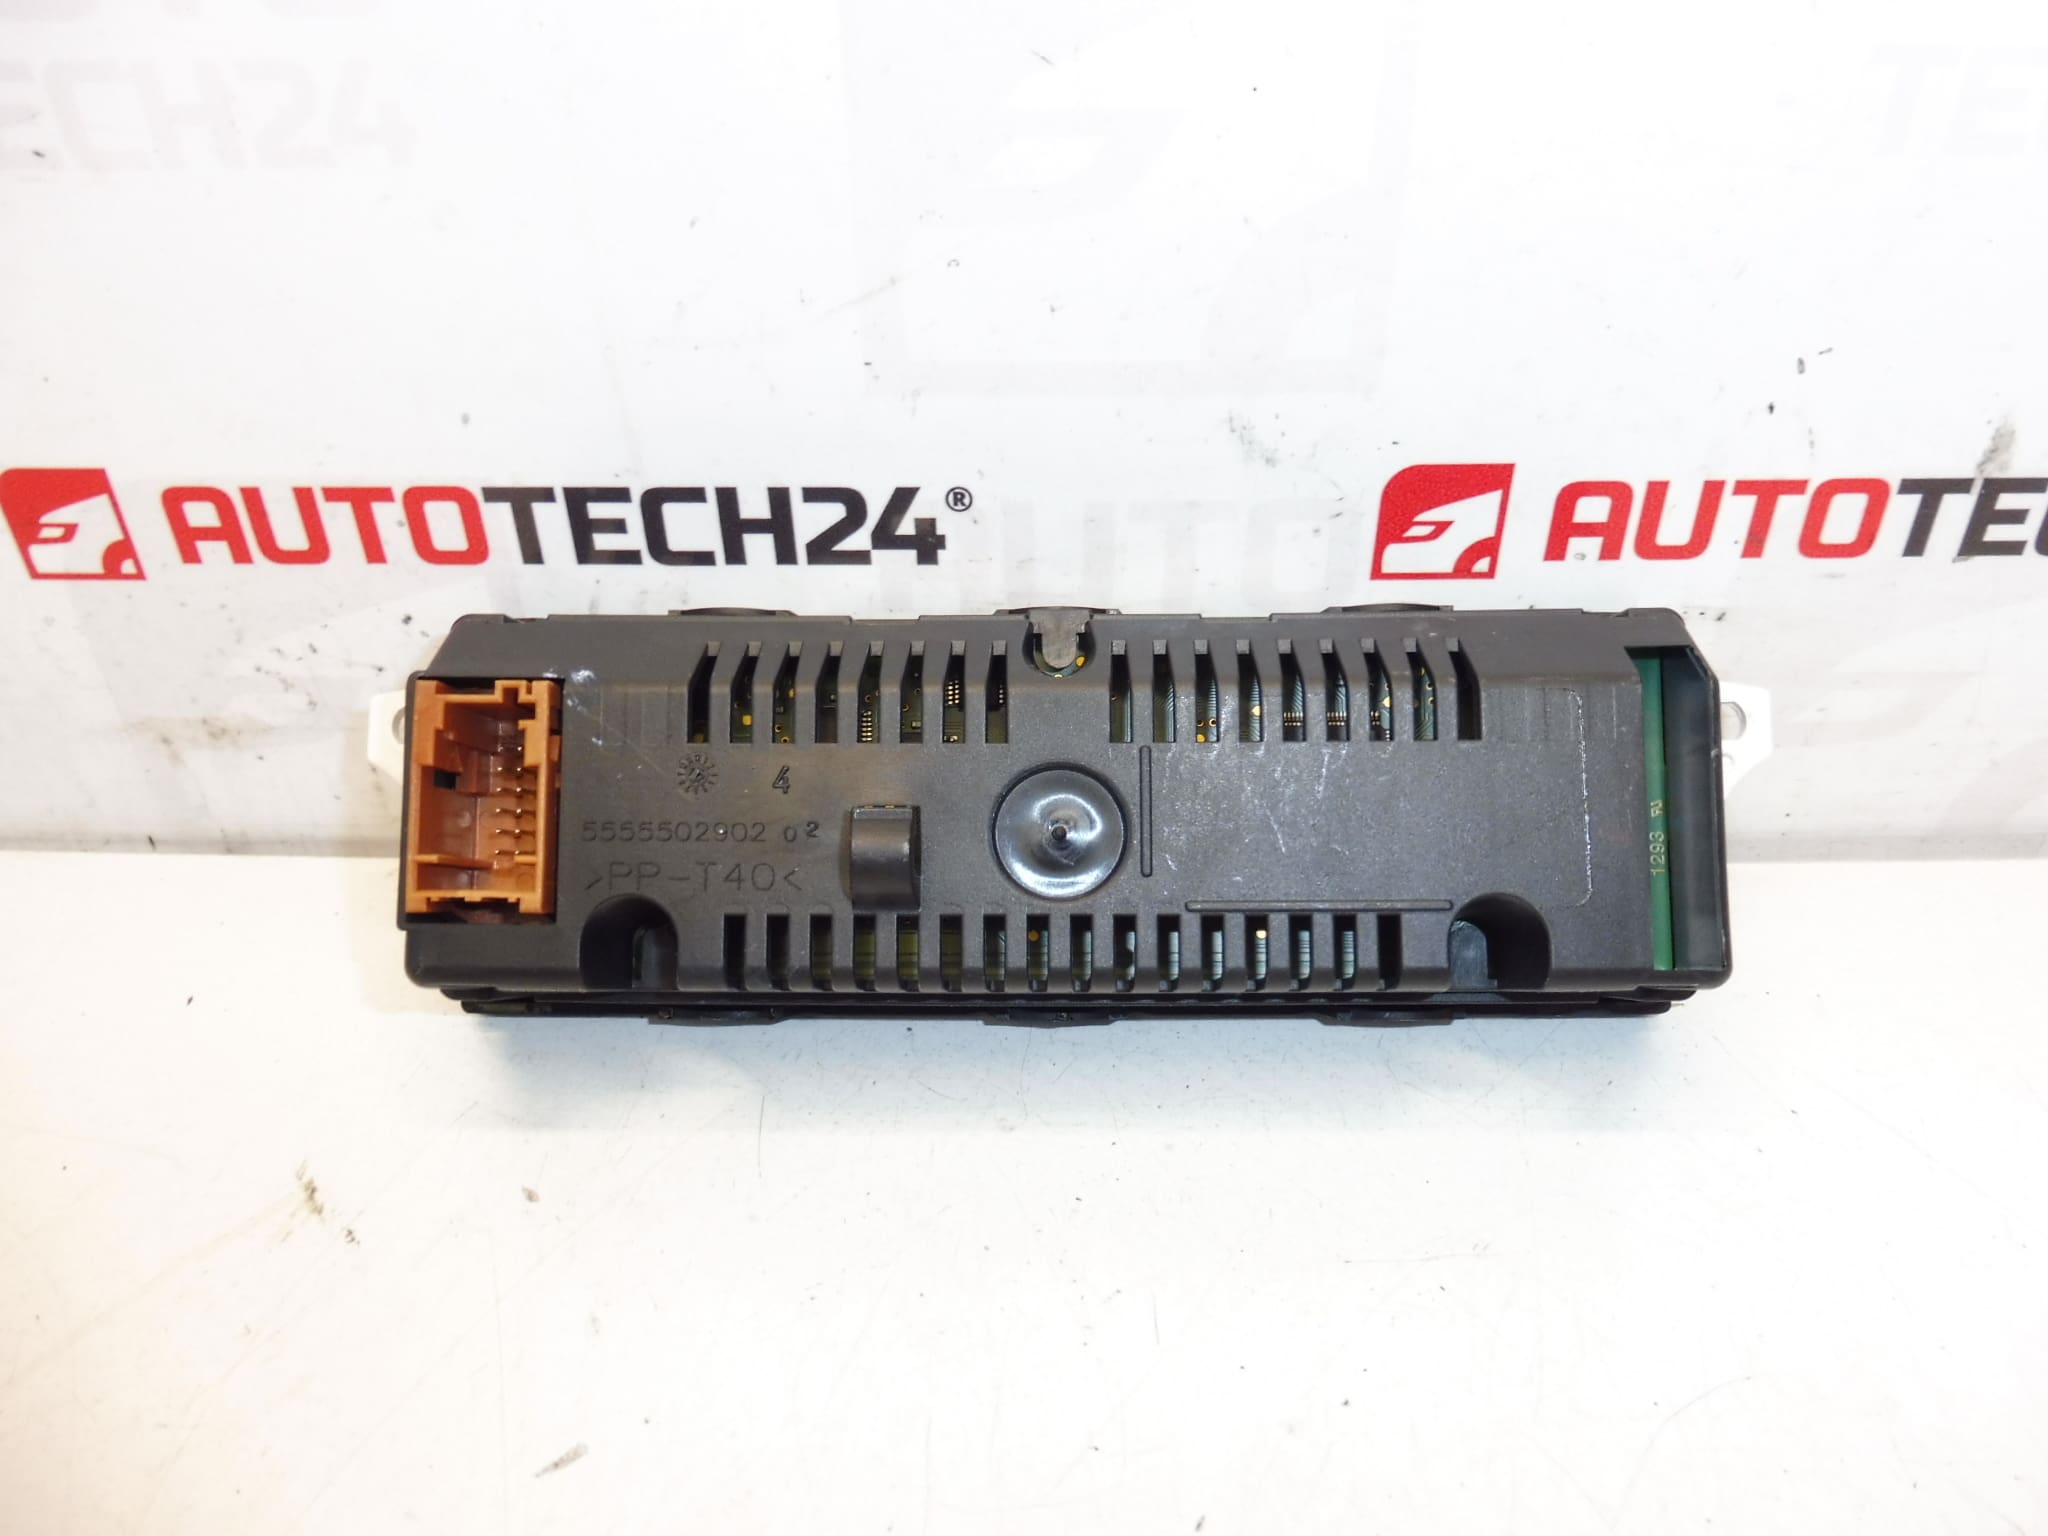
Description
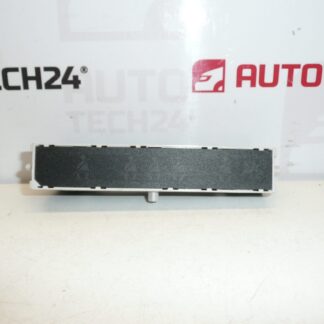
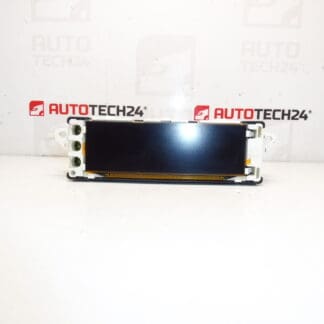
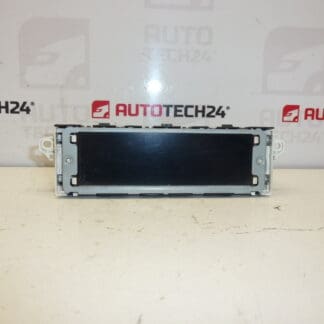
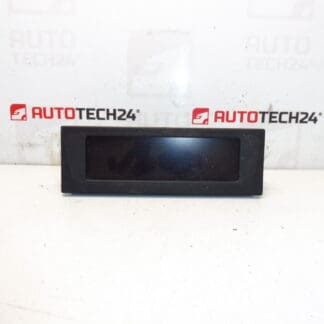
Radio And On-Board Computer Display For CITROËN And PEUGEOT Vehicles
Product Description
This replacement radio and on-board computer display is designed for a range of Citroën and Peugeot models. Ideal for professional workshops and experienced DIYers, the unit restores clear instrument and infotainment readouts, improving driver information and radio usability. The description and product codes make it easy to find this part in searches and catalogs — use the OEM numbers for fastest matching.
Key Features
- Direct Fit For Original Dashboard Openings
- Compatible With Radio And Trip Computer Functions
- OEM Product Codes Included For Quick Identification
- Designed For Use In Citroën And Peugeot Models From The Same Platform
Compatible Models
- Citroën Berlingo B9
- Citroën C3 II
- Citroën C3 Picasso
- Peugeot 207
- Peugeot Partner Tepee
Technical Information
- Manufacturer: Stellantis / Citroën / Peugeot
- Model: Radio And On-Board Computer Display
- Product Codes: 9800132680, 9822637880
- Additional Numbers: Not Available
Function And Typical Failure Modes
The display Presents Radio Information, Clock, Trip Computer Data And Menu Information To The Driver. It Usually Interfaces With The Head Unit And The Vehicle Network To Show Station Names, Track Info, Time, Temperature And Warning Messages. Failures Commonly Affect The Backlight, LCD Segment Or Display Driver Electronics.
Why The Part Fails Most Often
- Backlight Or LED Wear Causing Dim Or Dark Display
- LCD Damage Or Dead Pixels From Age Or Mechanical Stress
- Moisture Ingress Or Condensation Leading To Corrosion On Connectors Or PCB
- Voltage Spikes Or Poor Ground Causing Electronic Component Failure
- Loose Or Corroded Connectors Producing Intermittent Operation
Replacement Procedure
Designed For Technicians And Skilled DIYers. Typical Replacement Steps:
- Disconnect The Negative Battery Terminal Before Beginning Work To Avoid Short Circuits.
- Remove Surrounding Trim Panels Carefully Using Trim Tools To Avoid Breaking Clips.
- Unscrew The Fasteners Holding The Radio/Display Module In Place.
- Carefully Pull The Unit Forward And Disconnect All Electrical Connectors And Antenna Cables.
- Swap The Old Display For The Replacement, Reconnect Connectors Firmly, And Refit Fasteners And Trim In Reverse Order.
- Reconnect Battery And Verify Full Functionality Of Radio, Display, And Any Linked Systems.
Installation Recommendations
- Always Work On A Cold, Stable Electrical System With The Battery Disconnected.
- Inspect Connectors For Corrosion Or Bent Pins And Clean Or Replace As Necessary.
- Secure Wiring Harnesses To Prevent Chafing Against Metal Edges.
- After Installation, Test All Display Functions And Radio Features Before Reassembling Final Trim.
Notes For Buyers
Use The Listed Product Codes When Searching Or Ordering To Ensure A Fast Match. This Unit Is Intended For Use By Professional Mechanics Or Experienced Enthusiasts Comfortable With Dashboard Disassembly And Electrical Connections.