Description
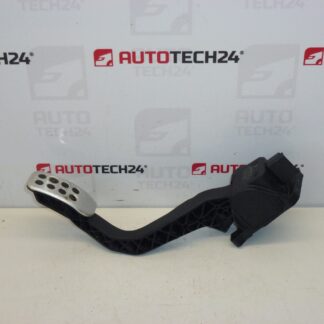
Throttle Pedal Potentiometer For Citroën C5 2002–2007 And Peugeot 407
With Cruise Control Switch – Kickdown
Tested – All Values OK
Description
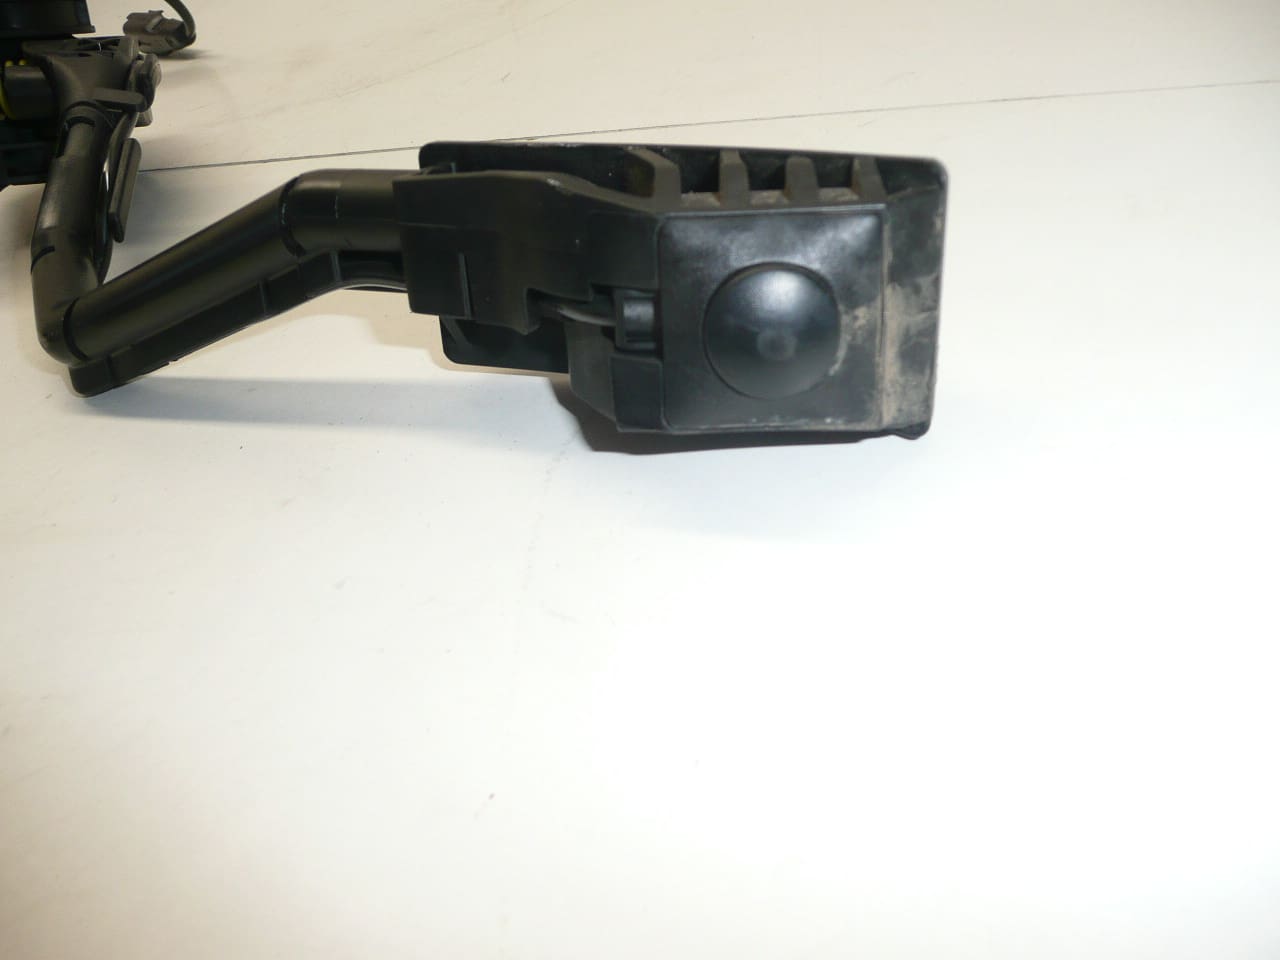
This Bosch throttle pedal potentiometer is a direct-fit replacement designed for Citroën C5 (2002–2007) and Peugeot 407 models. Featuring an integrated cruise control/kickdown switch, the unit converts pedal travel into an accurate electrical signal for the engine control unit (ECU). Frequently searched by part numbers (see Technical Information), this genuine Bosch-style sensor is aimed at professional technicians and competent DIY enthusiasts who demand reliable throttle response and stable cruise control operation.
Technical Information
- Manufacturer: Bosch
- Model: Citroën C5 (2002–2007), Peugeot 407
- Product Codes: 9650341780, 0280755012, F00C3E2429
- Other Numbers: 1601Q4, 1601Q0
Function And Symptoms
The pedal potentiometer measures the accelerator position and sends a proportional voltage signal to the ECU. The integrated cruise control/kickdown switch provides an additional input used by automatic transmission or cruise systems. Common symptoms of a failing unit include irregular throttle response, hesitation under acceleration, Cruise Control Fault, Check Engine Light (often P0120/P0121/P2138 type codes on similar systems), and in some cases the vehicle entering limp-home mode.
Installation Recommendations
Replacement Is Straightforward For Experienced Technicians. Typical Steps:
- Disconnect The Battery Before Starting Work.
- Remove Lower Trim Panels To Access The Pedal Assembly.
- Unplug The Electrical Connector And Unbolt The Pedal Assembly (Keep Fasteners For Refitting Or Replace As Required).
- Install New Pedal, Reconnect Connector And Refit Trim Panels.
- Perform A Functional Check: Turn Ignition On And Verify Pedal Signal At Idle And Under Light Throttle. Some Vehicles May Require Throttle Adaptation Or A Quick Electronic Relearn Using A Diagnostic Tool.
Use Correct Fastener Torque Values Specified By The Manufacturer Where Available. Inspect Wiring And Connector For Corrosion Or Damage Before Installation. Applying A Small Amount Of Dielectric Grease To The Connector Contacts Can Improve Long-Term Reliability.
Why This Part Fails
Wear And Contamination Are The Most Common Causes. The potentiometer is a mechanical/electrical component subject to wear of internal wipers and contact surfaces, ingress of dirt or moisture, and connector corrosion. Harsh pedal operation, water intrusion from floor mats or flood damage, and bent pedal linkages can also accelerate failure. Occasional software or ECU-related mismatches can cause erroneous readings, but physical degradation is the predominant issue.
Who Should Fit This Part
This Unit Is Suited For Professional Garages And Informed DIYers Comfortable With Electrical Connectors And Basic Diagnostic Checks. If Throttle Relearn Or Fault-Clearing Is Required, Use A Suitable Diagnostic Tool Compatible With Citroën/Peugeot Systems.
Additional Notes
Part Numbers Listed Above Are Common Search Terms And Help Customers Quickly Identify Compatibility. The Unit Includes The Kickdown Switch For Cruise Functionality. As Indicated In The Original Description, The Item Has Been Tested And All Measured Values Are Within Expected Ranges.