Description
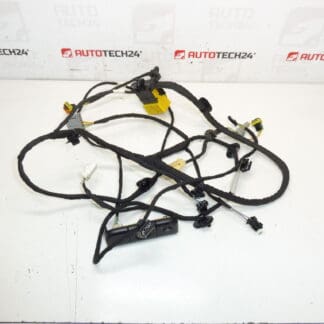
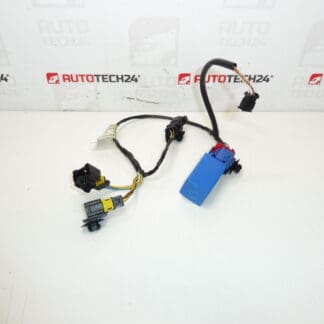
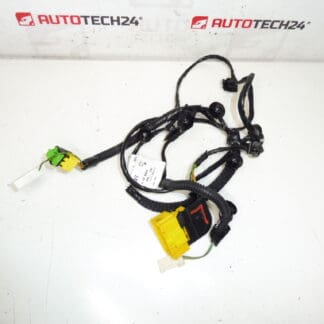
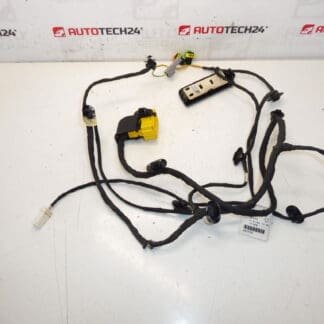
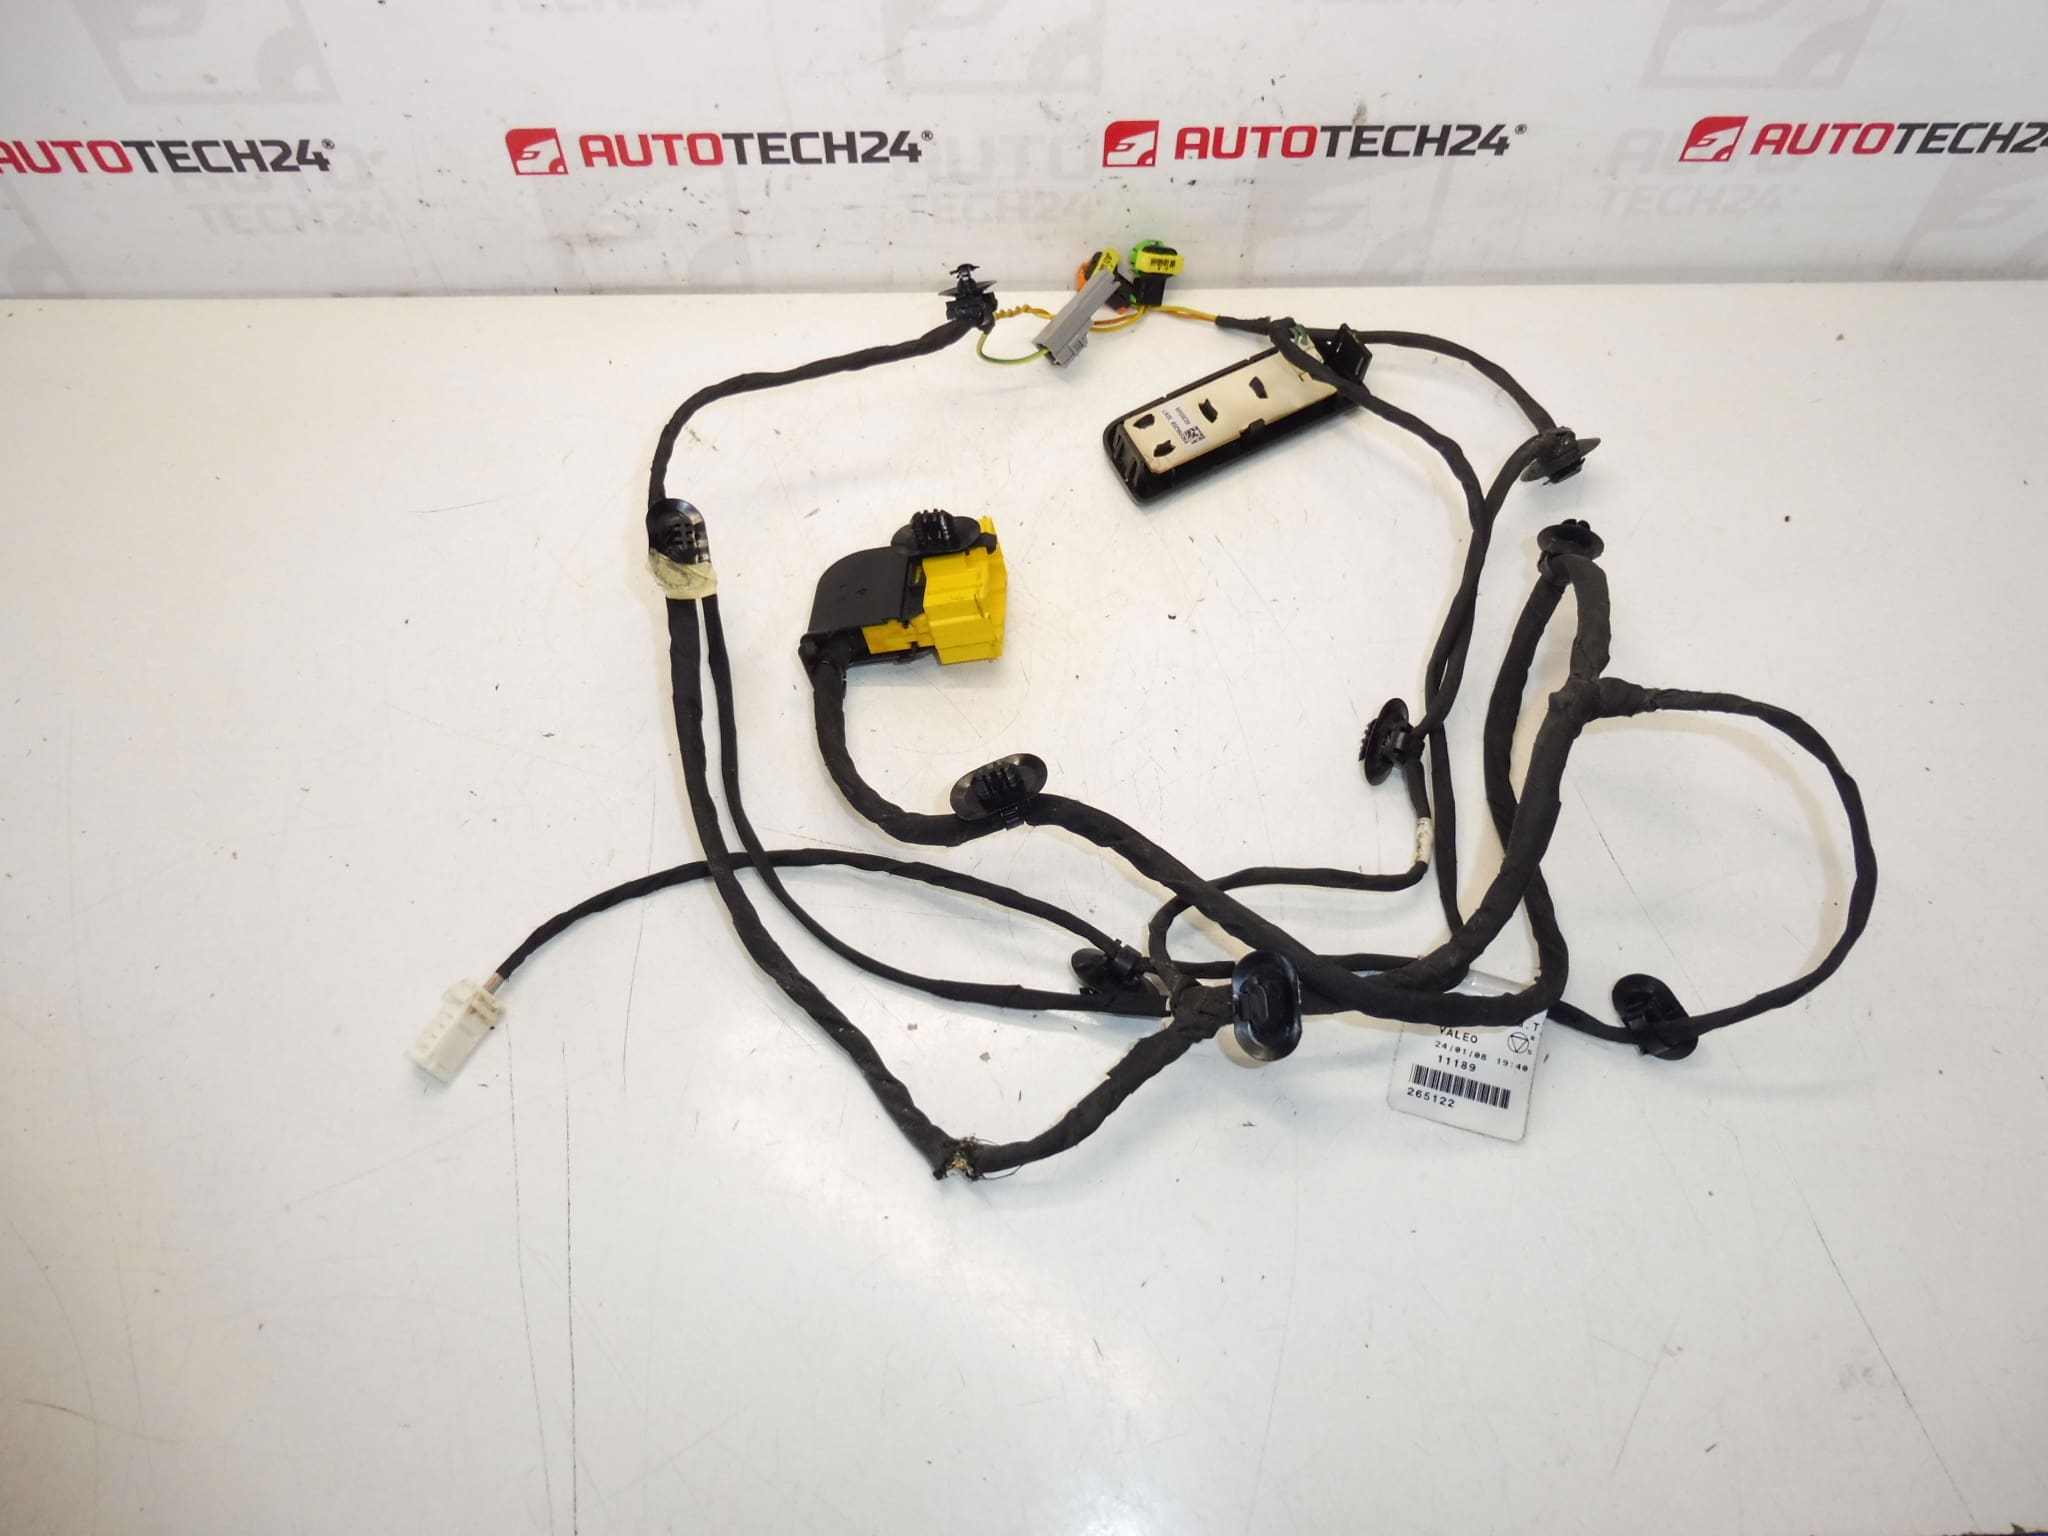
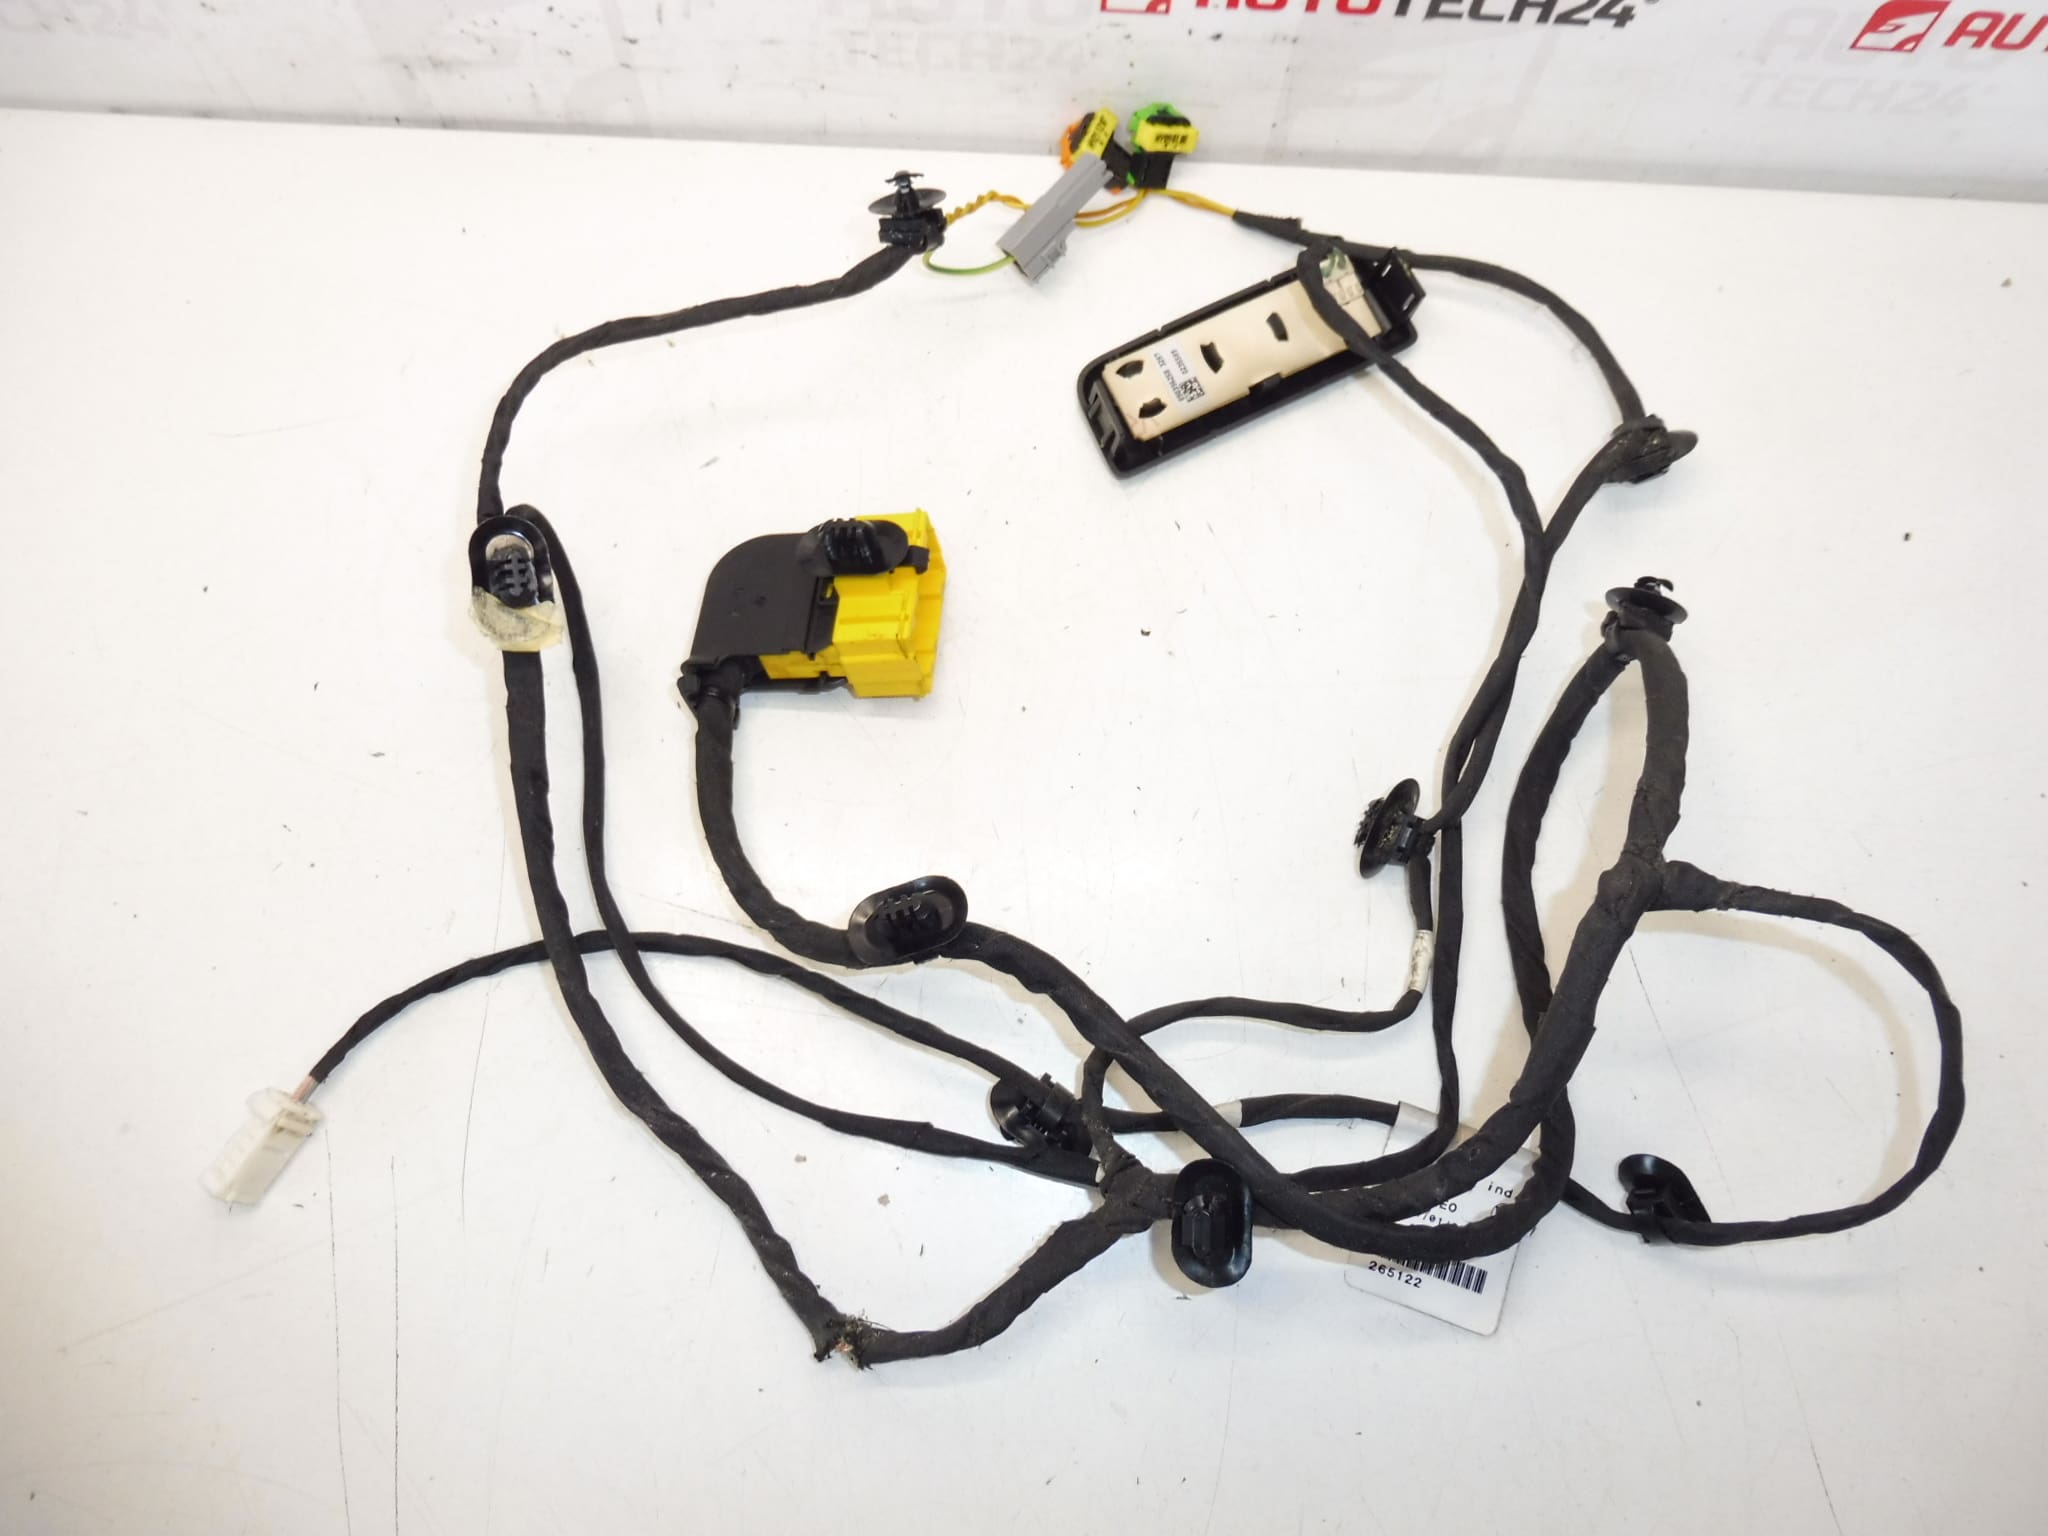
Complete front driver’s seat harness for first series CITROEN C4 Picasso and Grand Picasso cars
Part description
This used driver’s seat harness 6505V3 is for Citroën C4 Picasso and Grand Picasso first series cars. It is a cable harness that ensures the connection of the electrical functions of the seat and related elements in the given part of the interior. For mechanics and home repairers, it is particularly important to accurately compare the connectors, cable length and overall design with the existing part in the car.
The advantage of an original used part is the preservation of the original design for PSA cars. Parts are often searched for by the serial number, which is why the designation 6505V3 is essential when choosing.
Technical information
- Manufacturer: Stellantis Citroën Peugeot
- Model: Citroën C4 Picasso, Citroën C4 Grand Picasso first series
- Other numbers: NFP
Product codes
- Product codes: 6505V3
- Description from labels / documents: Citroën C4 PICASSO
Installation recommendations
Generally/typically for this type of part, the exact replacement procedure may vary depending on the specific car design and seat equipment. It is important to handle the seat harness carefully to avoid damaging the connectors, wire insulation or attachment points.
1) Before assembly
- Check the used harness for damaged insulation, broken wires, loose pins or cracked connectors.
- Compare the new and original part according to the shape of the connectors, the number of branches, the length of the wiring and the method of attachment.
- Before starting work, disconnect the battery and wait a reasonable time, especially when working in the area of the seat and associated electrical installations.
- Check the routing of the original harness so that the new piece follows the same path and is not stressed when the seat moves.
2) Necessary tools and materials
- Basic set of hand tools
- Tool for removing interior plastic covers
- Torch or work light
- Cleaner for electrical contacts, if needed
- Protective gloves
3) Step-by-step assembly procedure
- Safely disconnect the vehicle battery.
- Access the original volume by interior design and seat.
- Carefully remove covers or other parts that prevent access to the wiring.
- Document the original wiring of the bundle, ideally with a photo before disconnection.
- Disconnect all the connectors of the old harness gradually without force and without pulling on the wires.
- Release the original bundle from the holders, clamps and guides.
- Compare the dismantled part with the spare part, whether the design of the connectors and branching match.
- Place the new volume in the same route as the original part.
- Carefully connect the individual connectors so that they fit properly and are secured.
- Fix the harness in all brackets and clamps so that the wiring does not move freely.
- Check that cables are not pinched, twisted or routed over sharp edges.
- Reinstall the dismantled covers and access parts of the interior.
- Connect the battery and perform a basic function check.
-
4) Post-assembly checks and test drive/function verification
- Check that all connectors are firmly seated.
- Verify that there is no pull on the wiring harness when the seat moves.
- Check the functions that are routed through the harness according to the specific equipment of the car.
- After a short test drive, visually check again that the harness is in the correct position.
5) The most common assembly mistakes + how to avoid them
- Swapping connectors – always compare the shape and position of individual connectors before connecting.
- Pulling on the wires instead of the connector body – may damage the pins or break the cable.
- Insufficient fastening – a loosely placed bundle can wear out or pinch over time.
- Assembly without prior inspection of the condition of the part – always check the insulation, connectors and possible signs of wear before installation.
- Repeated movement of the seat and long-term mechanical stress on the cabling
- Pinching of the harness when handling the seat or during previous repair
- Insulation damage by construction edges or fasteners
- Moisture, dirt and oxidation in connectors
- Unsparing disassembly or pulling on wires instead of connectors
- Age of the material and fatigue of the conductors in the bending points