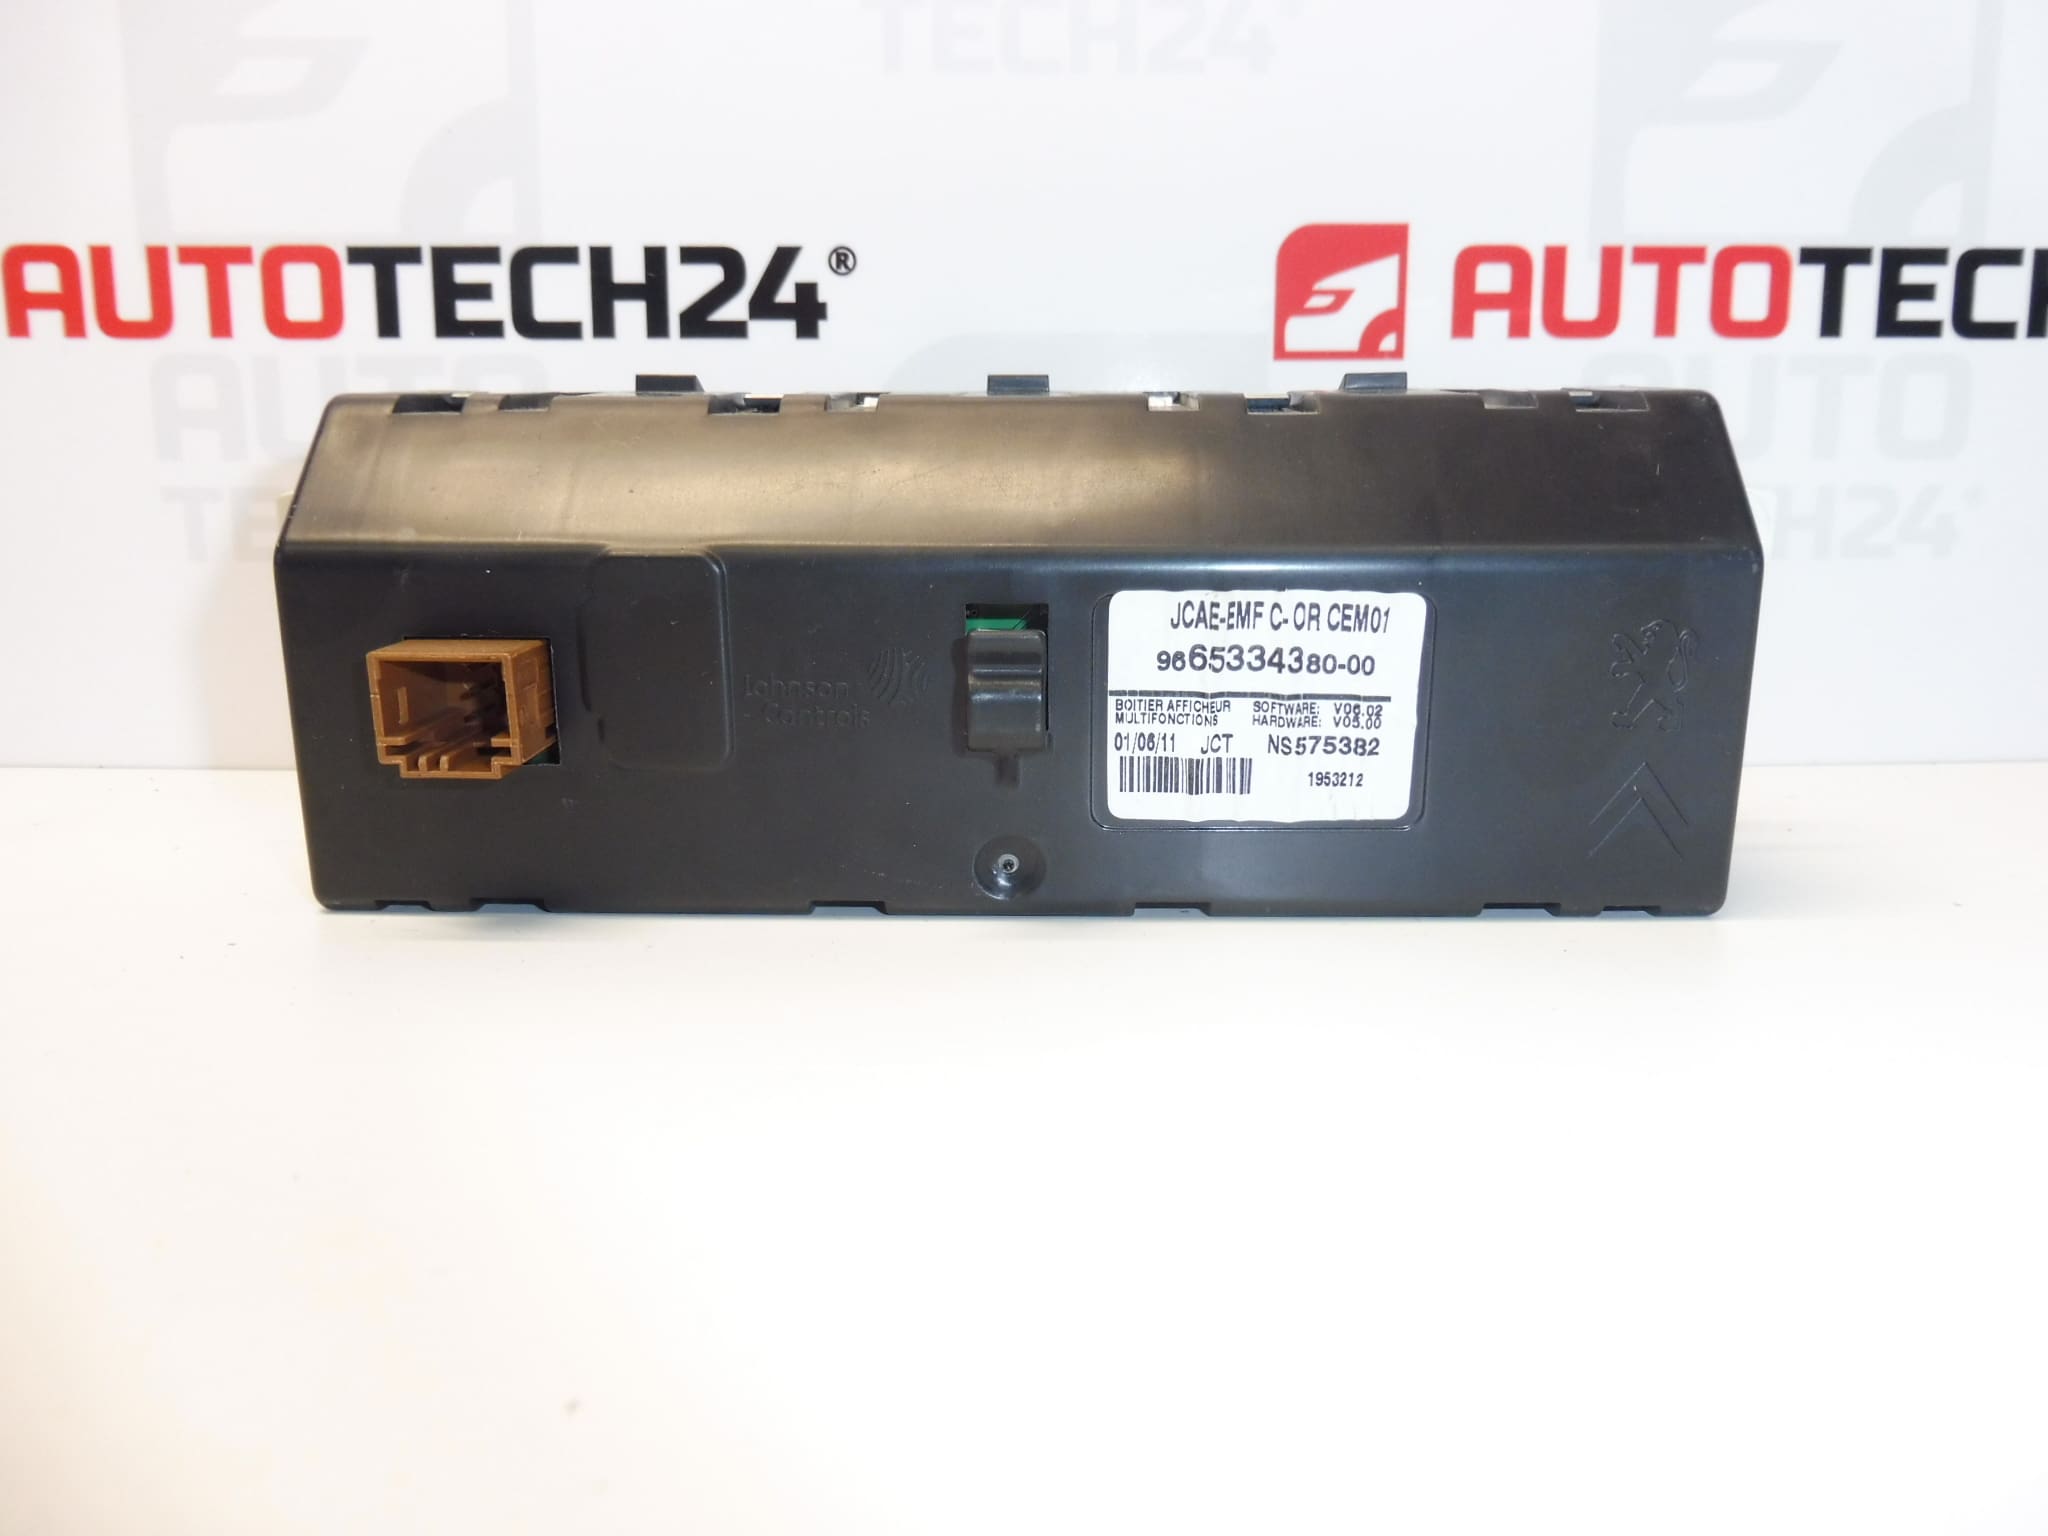
Description
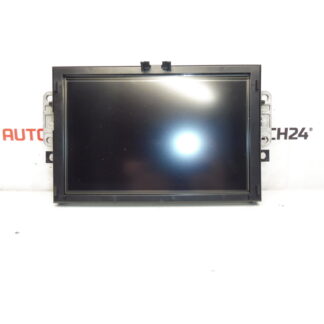
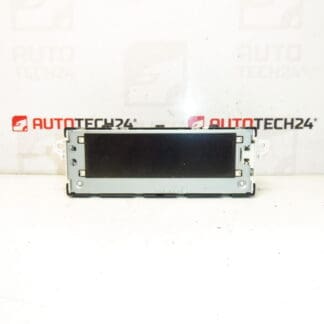
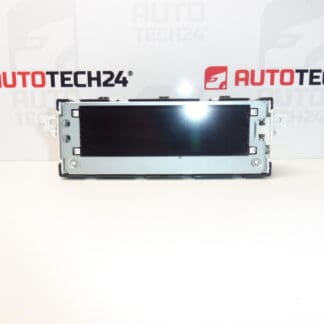
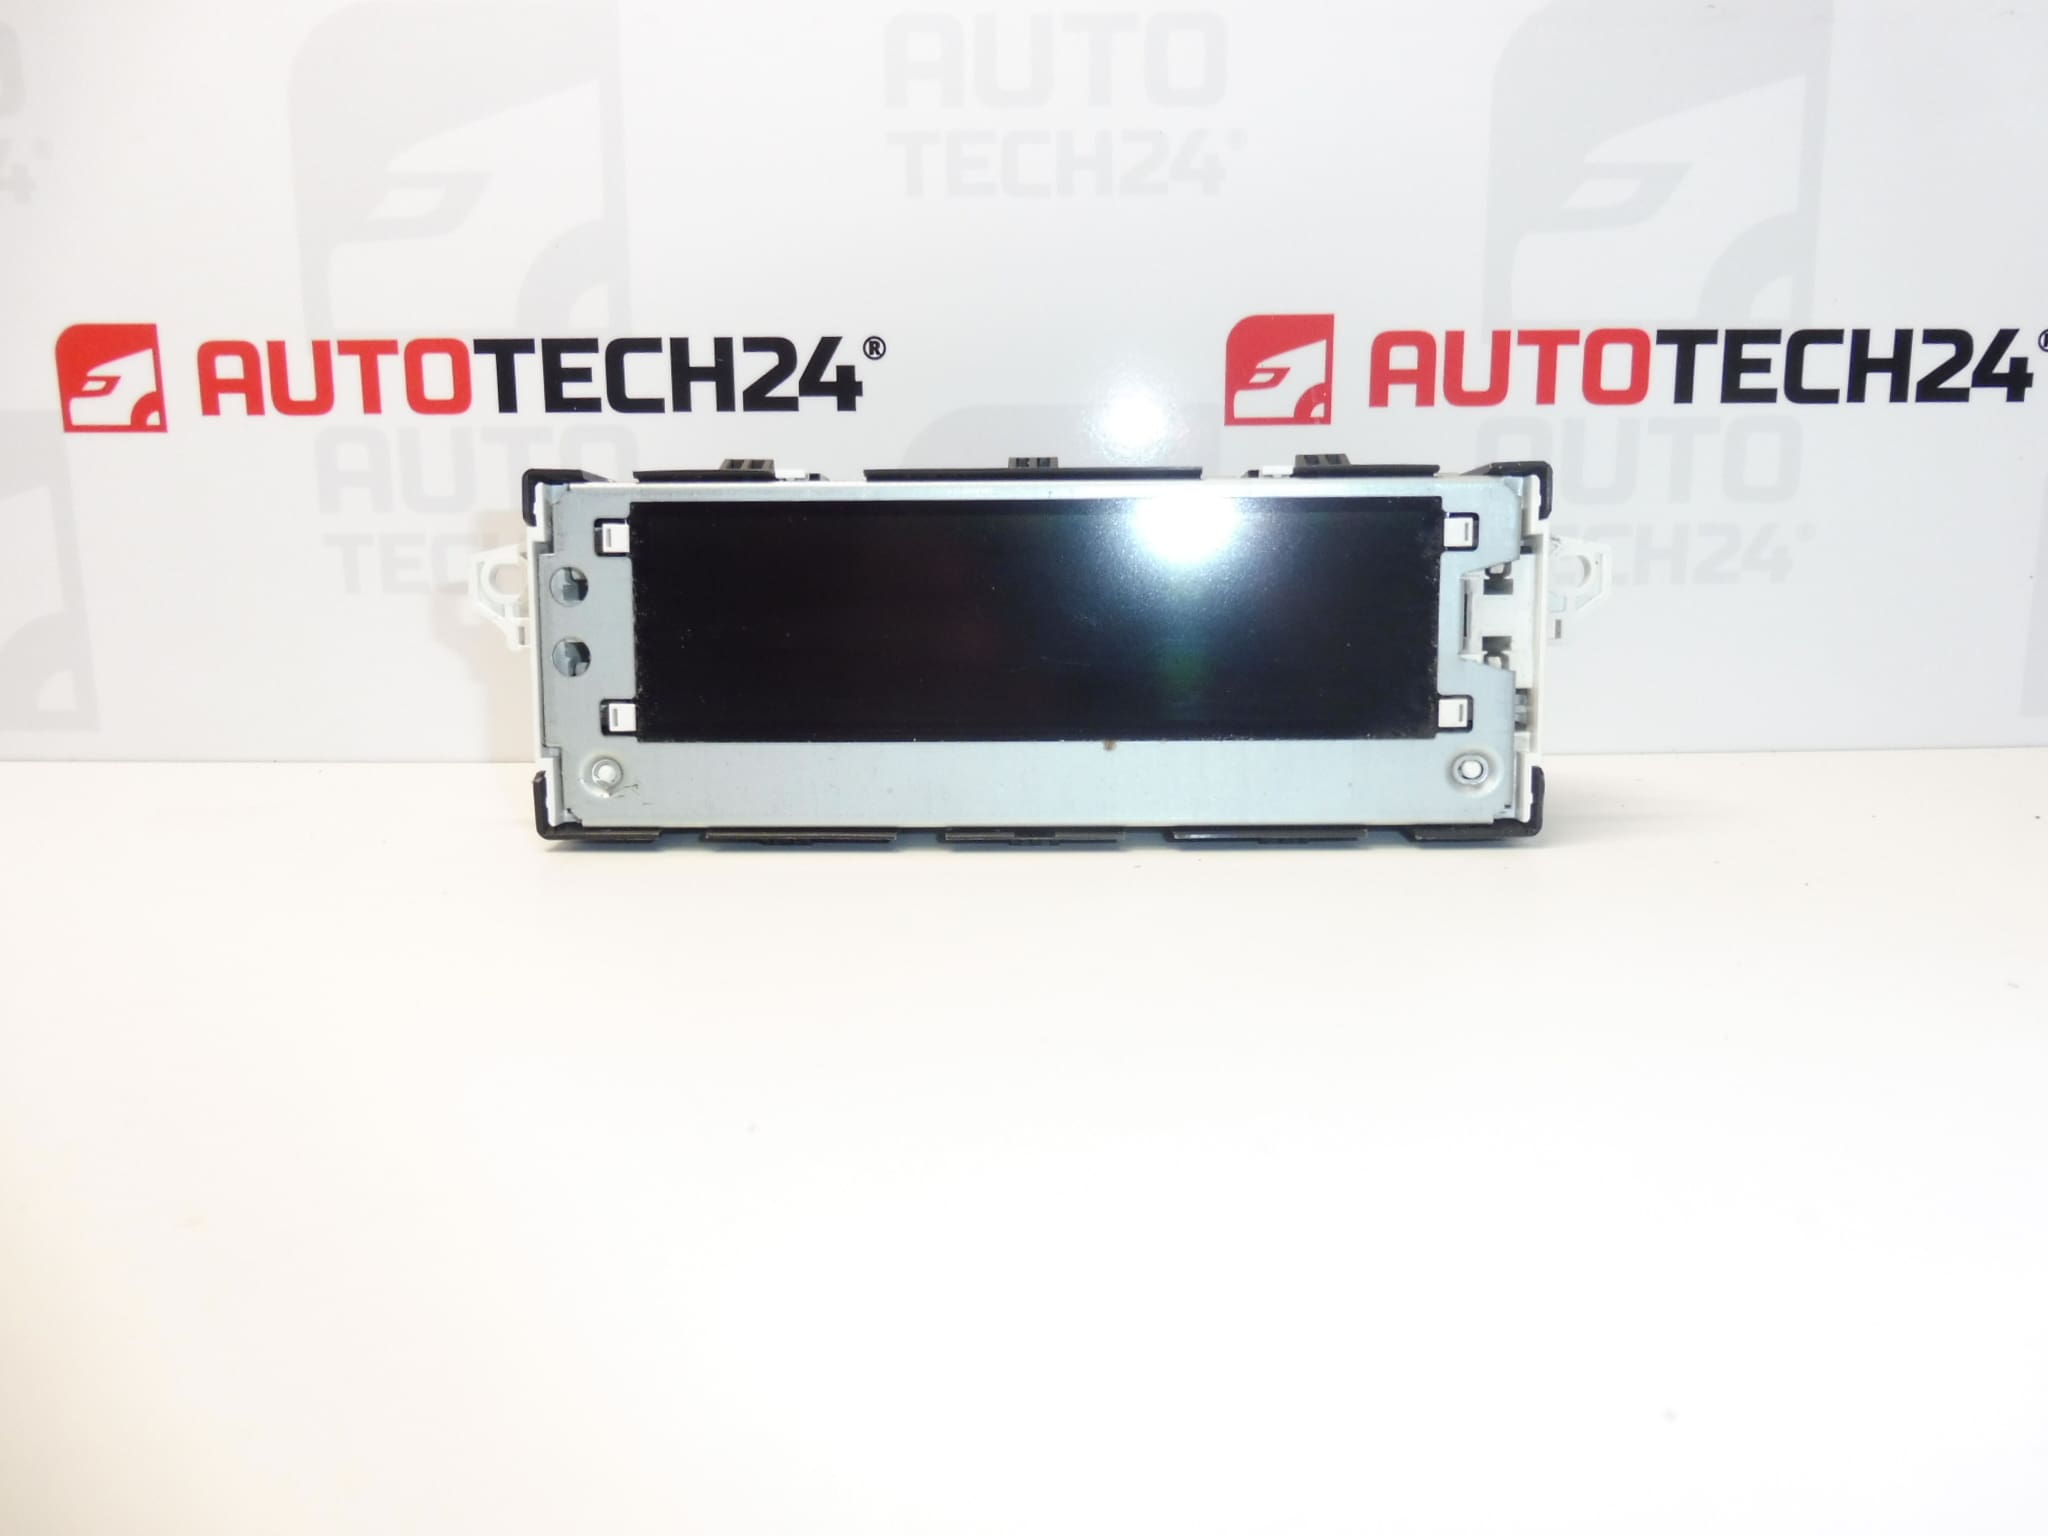
Multifunctional display for Citroen C4 B7 cars
Some functions may need to be set to the car by diagnostics
Tested, fully functional
Part description
Used radio and on-board computer display for Citroen C4 II, also marked as C4 B7 in the documents. Used to display radio and on-board computer information; available functions depend on vehicle equipment and settings. It is a suitable solution when replacing a non-functioning or damaged display of the corresponding design.
The part is tested and fully functional. When choosing, compare the product designation, connector and design with the existing piece. All supplied numbers are listed below for easy reference, including 9665334380 and 6155HW. After installation, some functions may need to be set by diagnostics.
Technical information
- Manufacturer: not specified; in the documents the label Stellantis CITROEN PEUGEOT.
- Model: Citroen C4 II; Citroën C4 B7 is mentioned in the long description.
- Type of part: multifunction radio and on-board computer display.
- Condition: used, tested, fully functional.
- Other numbers: 9836586580, 6155HX.
- Settings after installation: some functions may require settings for the car by diagnostics.
Product codes
- Product codes: 9665334380, 9836586580, 6155HW, 6155HX.
- Model: Citroen C4 II.
The given numbers are used to identify and locate the part. The list of numbers alone does not confirm the interchangeability of all designs; before replacing, compare the markings and design of the original display.
Installation recommendations
The following procedure is general for replacing an automotive multi-function display. The exact method of access, attachment and diagnostic settings depends on the specific model and make of the car. Follow the manufacturer’s service procedure.
1) Before assembly
- Compare the product numbers, body shape, attachment points and connector with the original display.
- Check the display surface, cover, handles and contacts of the used part. Look for cracks, bent contacts, corrosion and traces of moisture.
- Check the condition of the wiring and power supply in the car so that a connection fault is not mistaken for a display fault.
- If the original display still works, record its available settings for later comparison.
2) Necessary tools and materials
- Plastic tools for dismantling interior tiles.
- Screwdrivers or bits corresponding to the connections actually used.
- Soft pad, protective fabric and suitable lighting.
- A suitable meter to check the power supply if needed and experienced in its use.
- Diagnostic equipment suitable for the given car, if it is necessary to adjust the display functions.
3) Step-by-step assembly procedure
- Stop the vehicle safely, switch off the ignition and electrical appliances.
- Put the electronic systems into sleep mode and disconnect the battery according to the vehicle manufacturer’s procedure.
- Cover the surrounding viewing surfaces to avoid scratching the interior during work.
- According to the service procedure, carefully loosen the facings needed to access the display. Do not force parts.
- Unfasten the original display and hold it so that it is not hanging on the wiring.
- Unlock the connector and disconnect it by grasping the body, not pulling the wires.
- Compare both displays and check the vehicle connector, its fuse and the condition of the supply wires. Remove any defects before connecting.
- Connect the spare display. The connector must fit without force and its fuse must properly secure the connection.
- Store the cabling without pinching or excessive bending and secure the display according to the manufacturer’s instructions. Do not overload the plastic handles.
- Connect the battery and restart the vehicle according to the manufacturer’s instructions. Verify basic function before final covering if the design allows safely.
- If some functions are not available or do not match the car’s equipment, make the necessary settings with appropriate diagnostics. Then finish installing the tiles and verify the function again.
-
4) Post-assembly checks and function verification
- Check readability, image stability and possible dropouts or flickering.
- Try displaying radio and on-board computer information within the range of vehicle equipment.
- Verify control responses and correct settings of available functions.
- Check that the tiles and display are firmly seated. During a short test drive, watch for any rattles or outages; adjust only while standing.
5) The most common assembly mistakes and how to avoid them
- Choose only by appearance: also compare the markings, connector and fixing of the original part.
- Disconnecting with active electronics: follow the procedure for putting the systems to sleep and disconnecting the battery as prescribed by the manufacturer.
- Damage to the connector or handles: first release the fuses and disassemble the connections without violence.
- Pinched wiring: check the wiring before tightening the fasteners and putting on the tiles.
- Omission of settings by diagnostics: a missing function may not mean a malfunction of the display; some may require adaptation to the car.
Reasons why the part is damaged
For automotive displays, the following influences can generally contribute to damage or malfunctions. This is not a description of defects in the offered piece, which is tested and fully functional according to the documents.
- Long-term thermal stress and aging of electronics which can lead to display malfunctions.
- Moisture or liquid leakage, causing contact corrosion and circuit damage.
- Mechanical impact or pressure on the display surface which may crack the display or its cover.
- Reckless disassembly, leading to breaking off of handles or damage to the connector.
- Power and electrical wiring faults which can cause outages and in some cases damage electronics.