Description
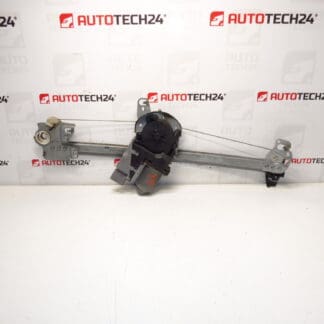
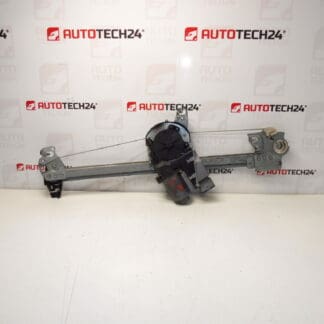
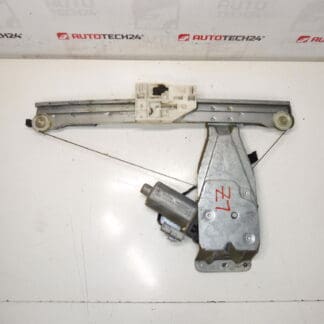
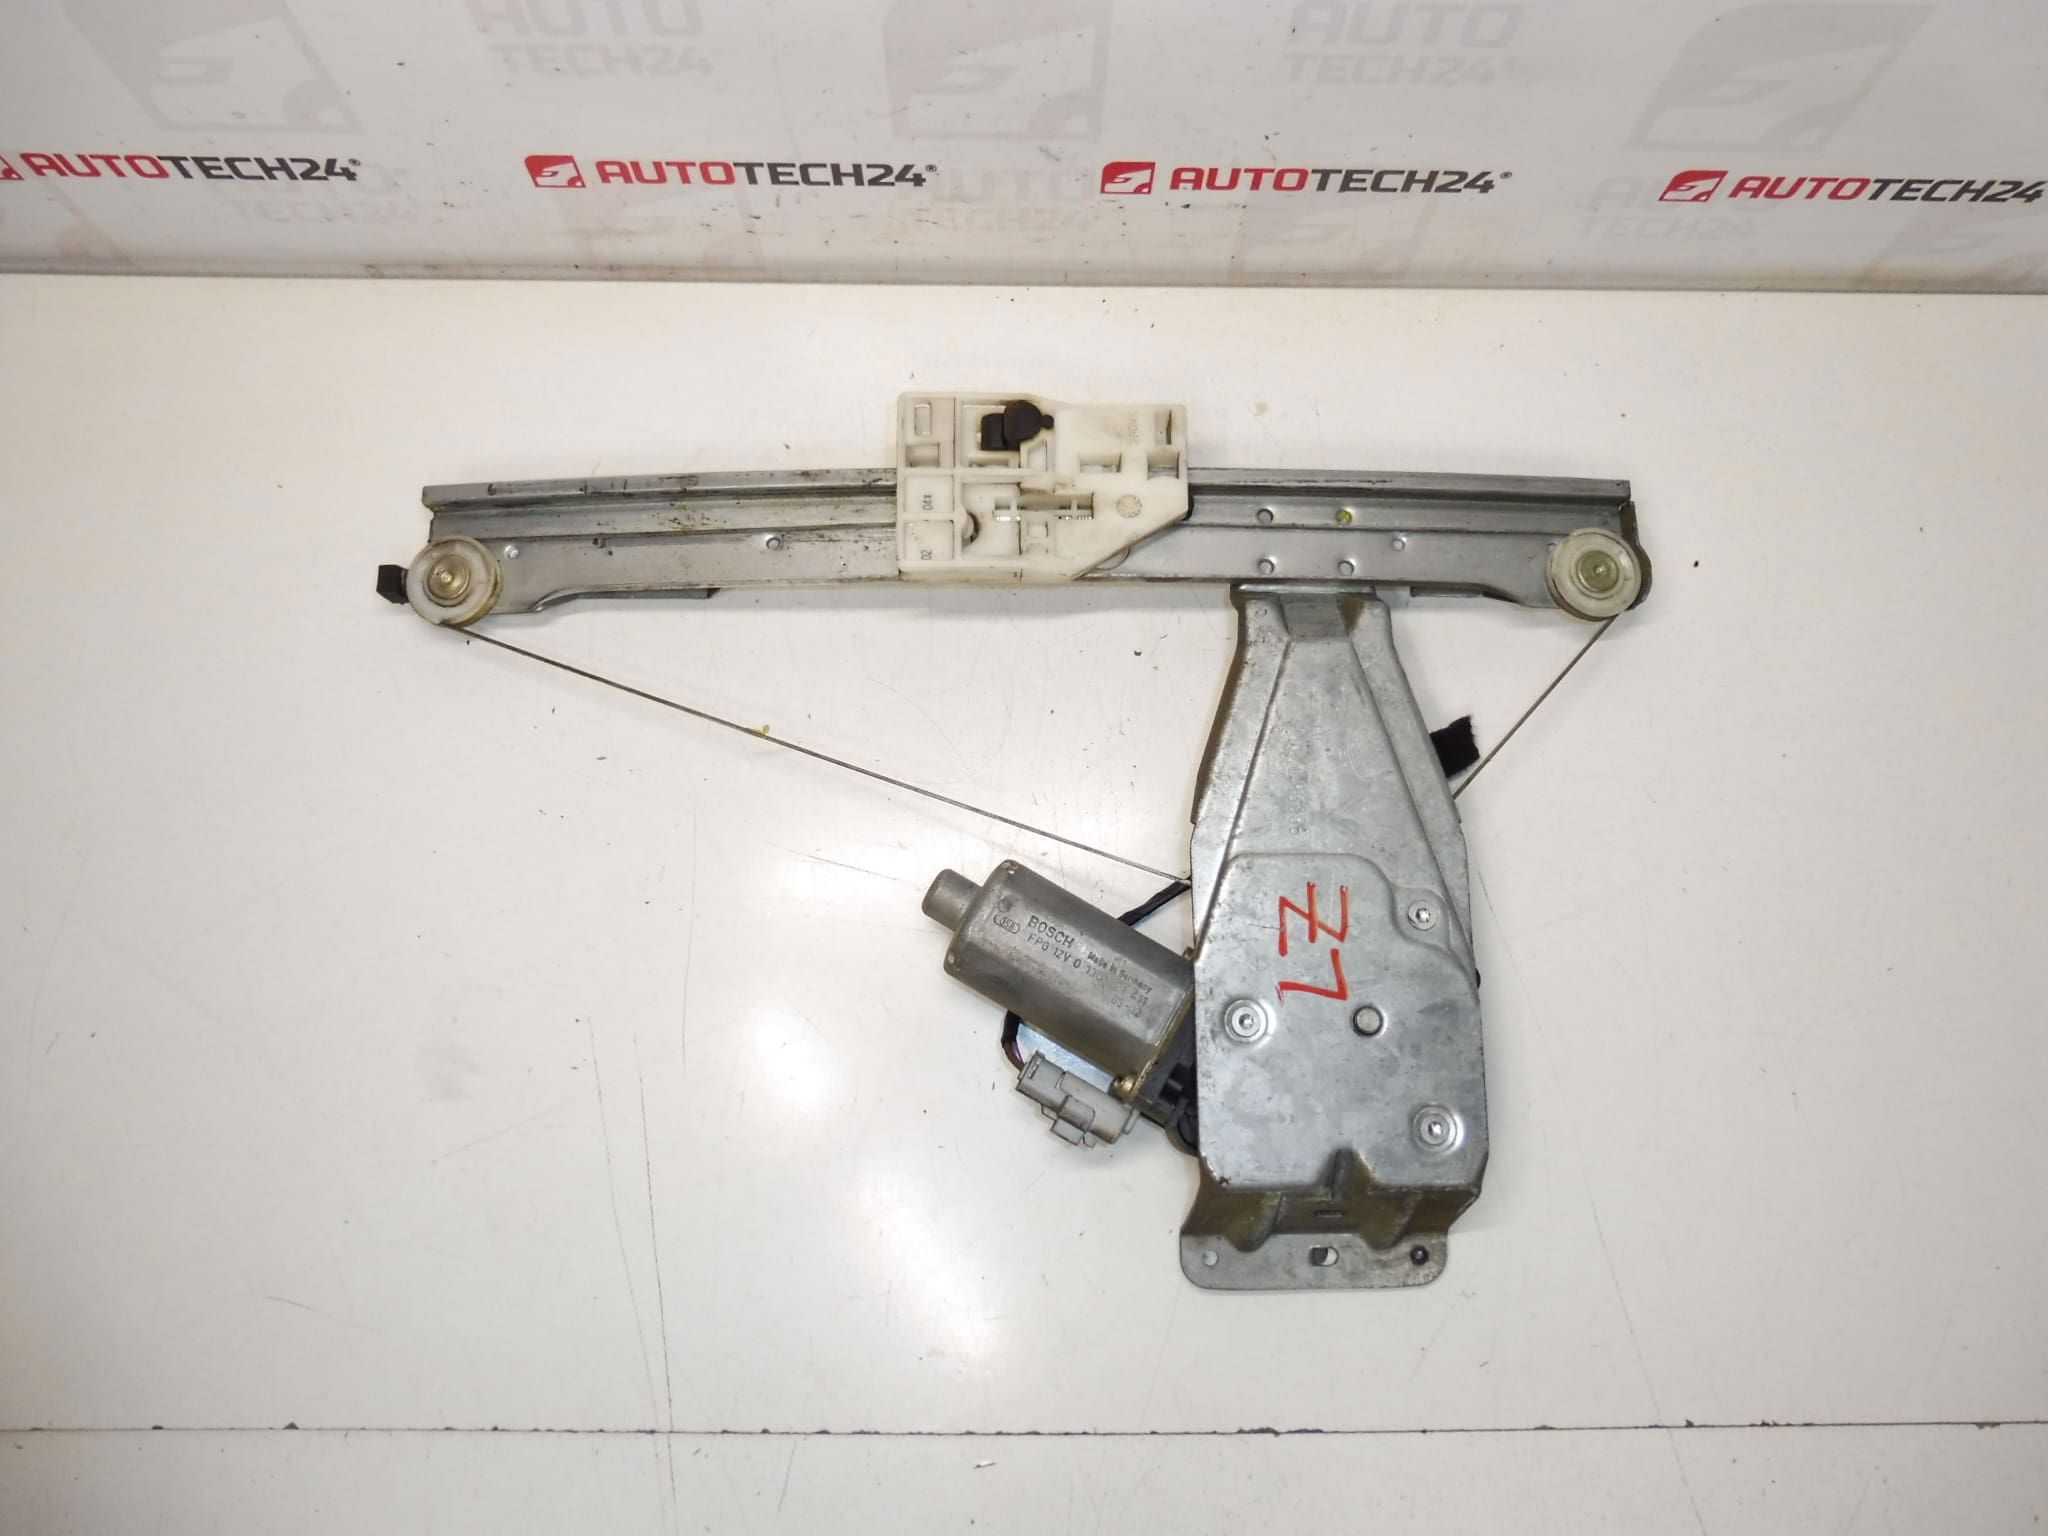
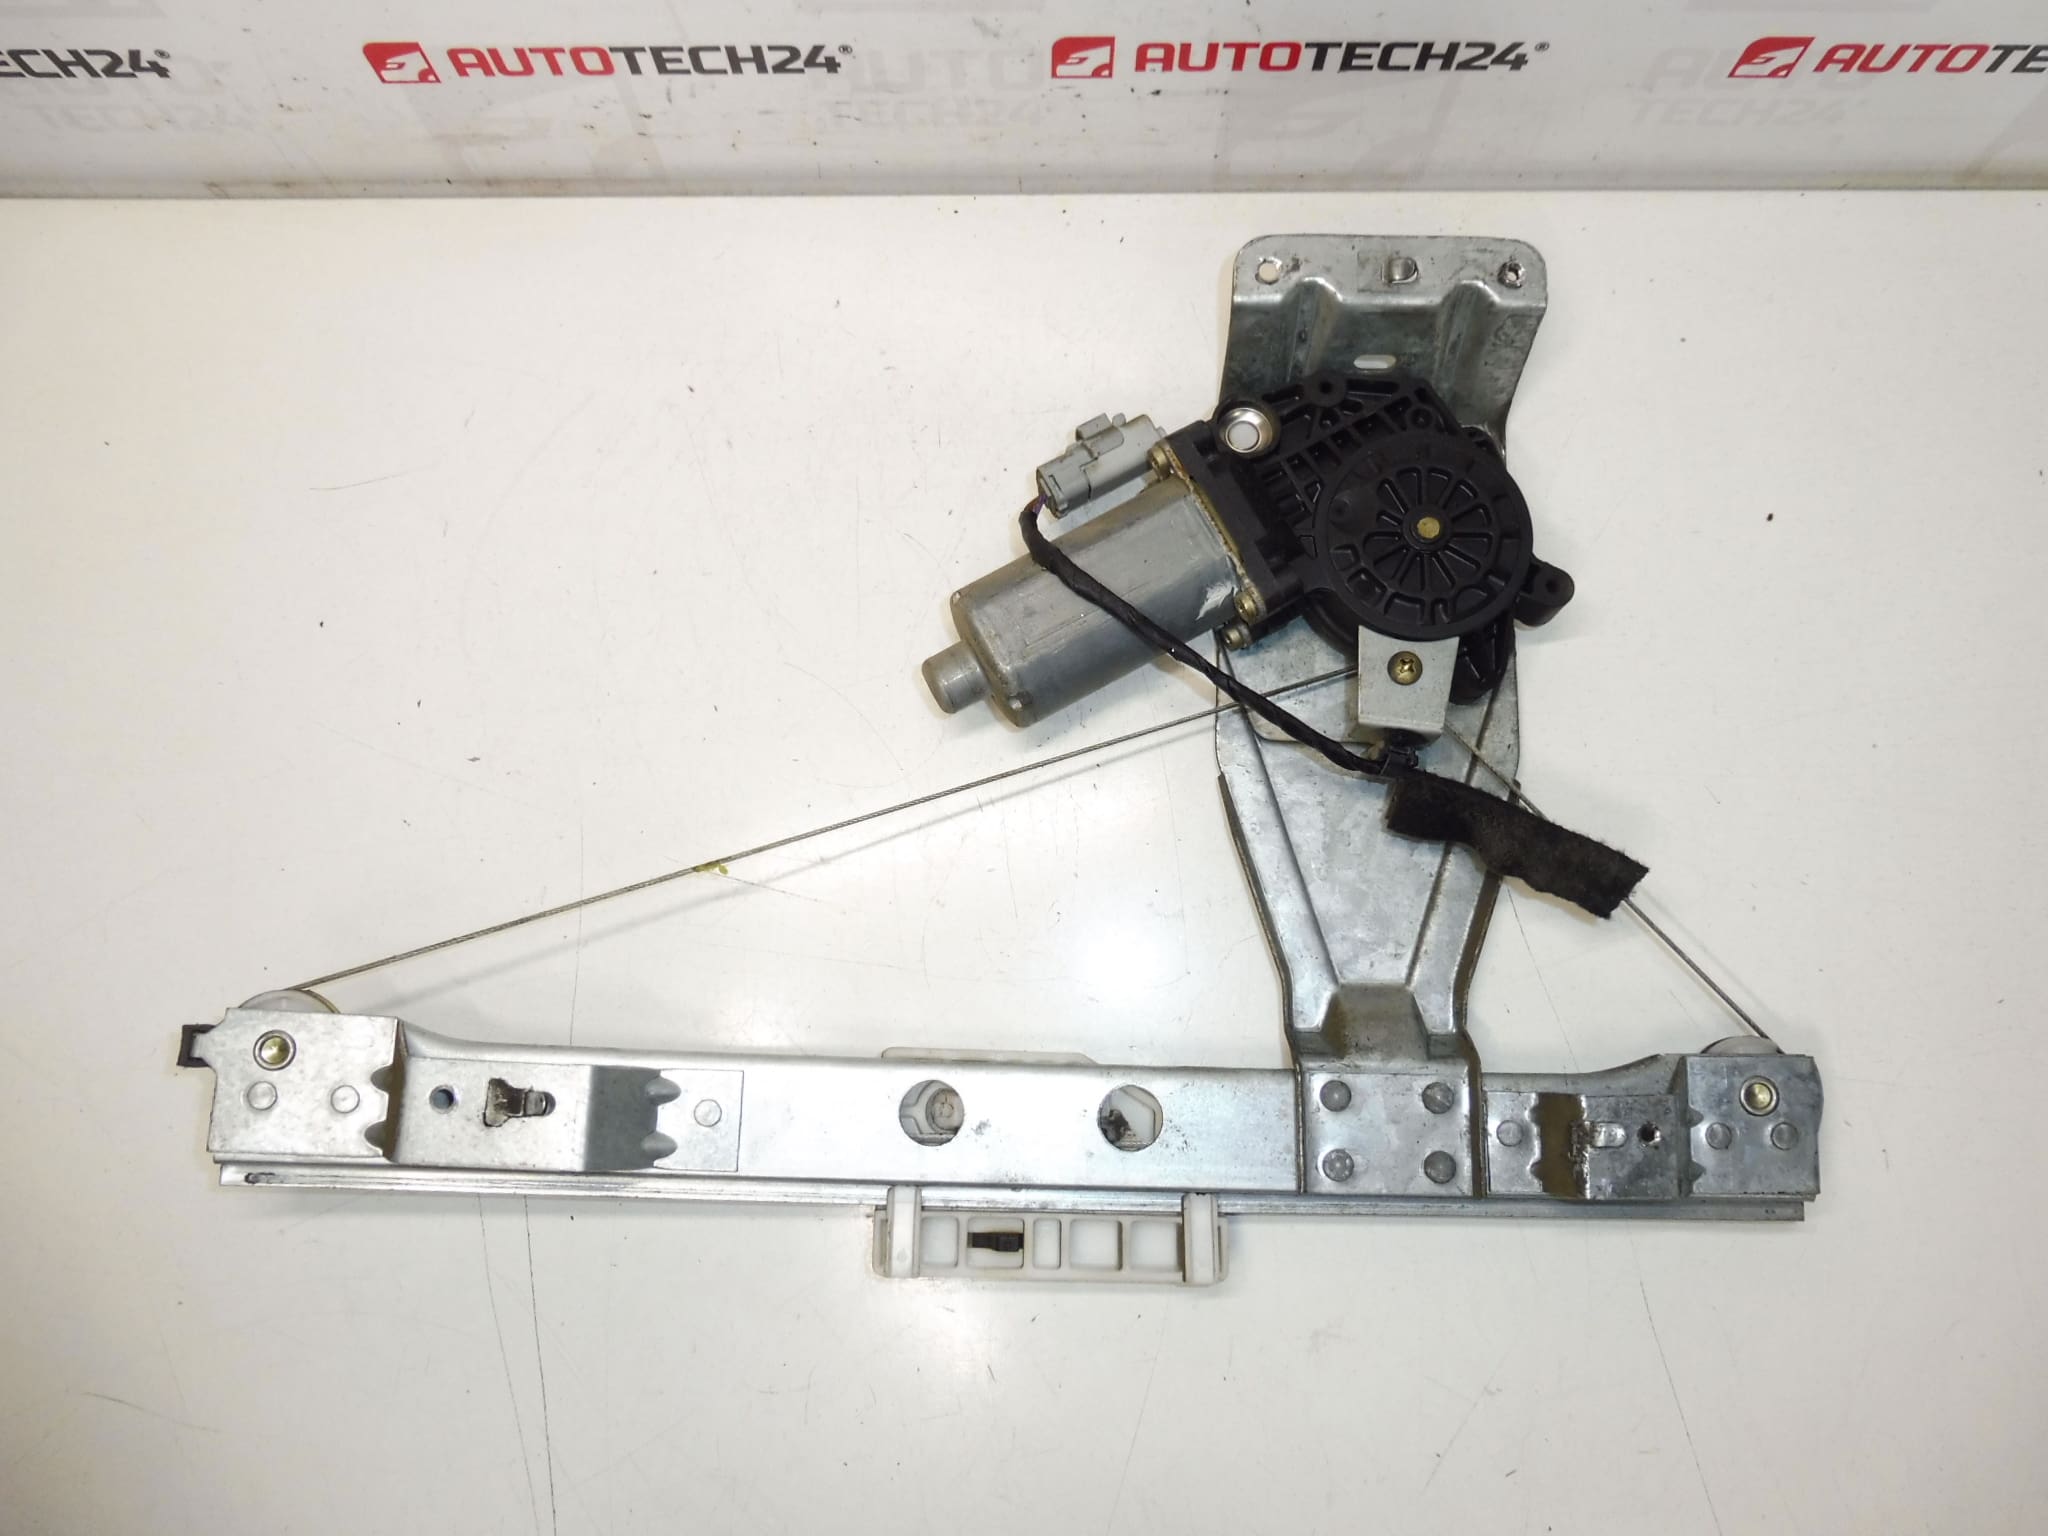
Left Rear Window Regulator Mechanism For Citroën C3 First Model – Rear Door (Driver’s Side)
Reliable electric window regulator mechanism for the left rear door of the first‑generation Citroën C3. Designed for professional workshops and DIY mechanics who regularly search by part number, this unit restores smooth window travel, reduces rattles and prevents the common symptoms of a failing regulator such as slow movement, intermittent operation or a dropped glass. Ideal replacement for worn or damaged original mechanisms, referenced frequently under part number 922388.
Technical Information
Manufacturer: Stellantis / Citroën
Model: Citroën C3 (First Generation)
Product Codes: 922388, NFP
Additional Numbers: Not Provided
Compatibility
Compatible With First‑Generation Citroën C3 models (typical production years 2002–2009). Specifically for the Left Rear Door (driver’s side rear window) application. Always check the part number 922388 when searching to increase the chance of correct fit.
Function And Benefits
The window regulator mechanism converts the electric motor’s rotation into linear motion to raise and lower the glass. A correctly functioning regulator ensures even, quiet travel of the window, secure alignment in the run channels and reliable sealing against wind and water. Replacing a faulty regulator returns proper operation, reduces stress on the window motor and prevents further damage to door trims and glass mounting points.
Installation Recommendations
– Disconnect The Battery Before Starting To Prevent Accidental Operation And Short Circuits.
– Remove The Interior Door Trim Carefully To Access The Regulator; Keep Fasteners Organized.
– Peel Back The Moisture Barrier Only As Much As Needed To Avoid Damage.
– Support The Glass Securely (Tape Or A Wedge) Before Unbolting The Regulator From The Window.
– Disconnect The Electric Connector And Remove Mounting Bolts; Install The New Mechanism In Reverse Order.
– Check Window Alignment And Smooth Operation Before Reassembling The Door Trim. Use A Light Grease On Moving Points If Specified By Workshop Practice.
Typical Lifespan And Failure Causes
Expected Service Life Varies By Use And Environment, Commonly 8–12 Years In Everyday Use. The Most Frequent Causes Of Failure Are Cable Fraying Or Snapping, Worn Or Broken Plastic Clips/Guides, Corrosion And Seizure Of Moving Parts, And Excessive Load From Misaligned Glass. Symptoms Include Slow Or Erratic Movement, Grinding Noises, The Window Dropping Or Sticking, And Intermittent Electrical Operation.
Why Professionals Choose This Part
Mechanics Choose A Direct Replacement Mechanism To Restore Factory‑Like Movement Quickly, Minimize Diagnostic Time And Avoid Replacing The Motor If It Is Still Functional. Searching By Part Number 922388 Improves Accuracy When Sourcing The Correct Left Rear Regulator For First‑Generation Citroën C3 Vehicles.