Description
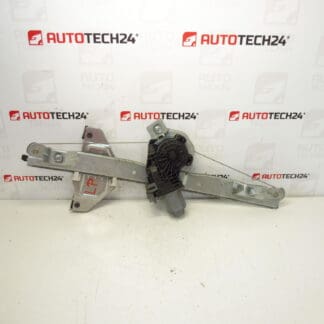
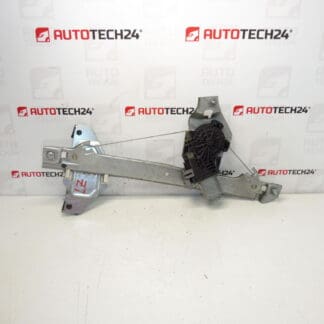
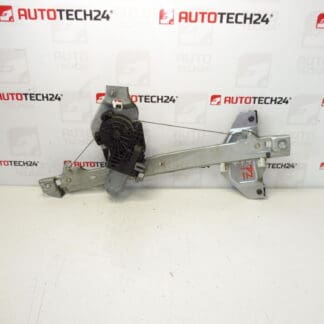
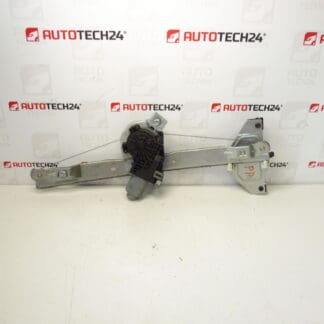
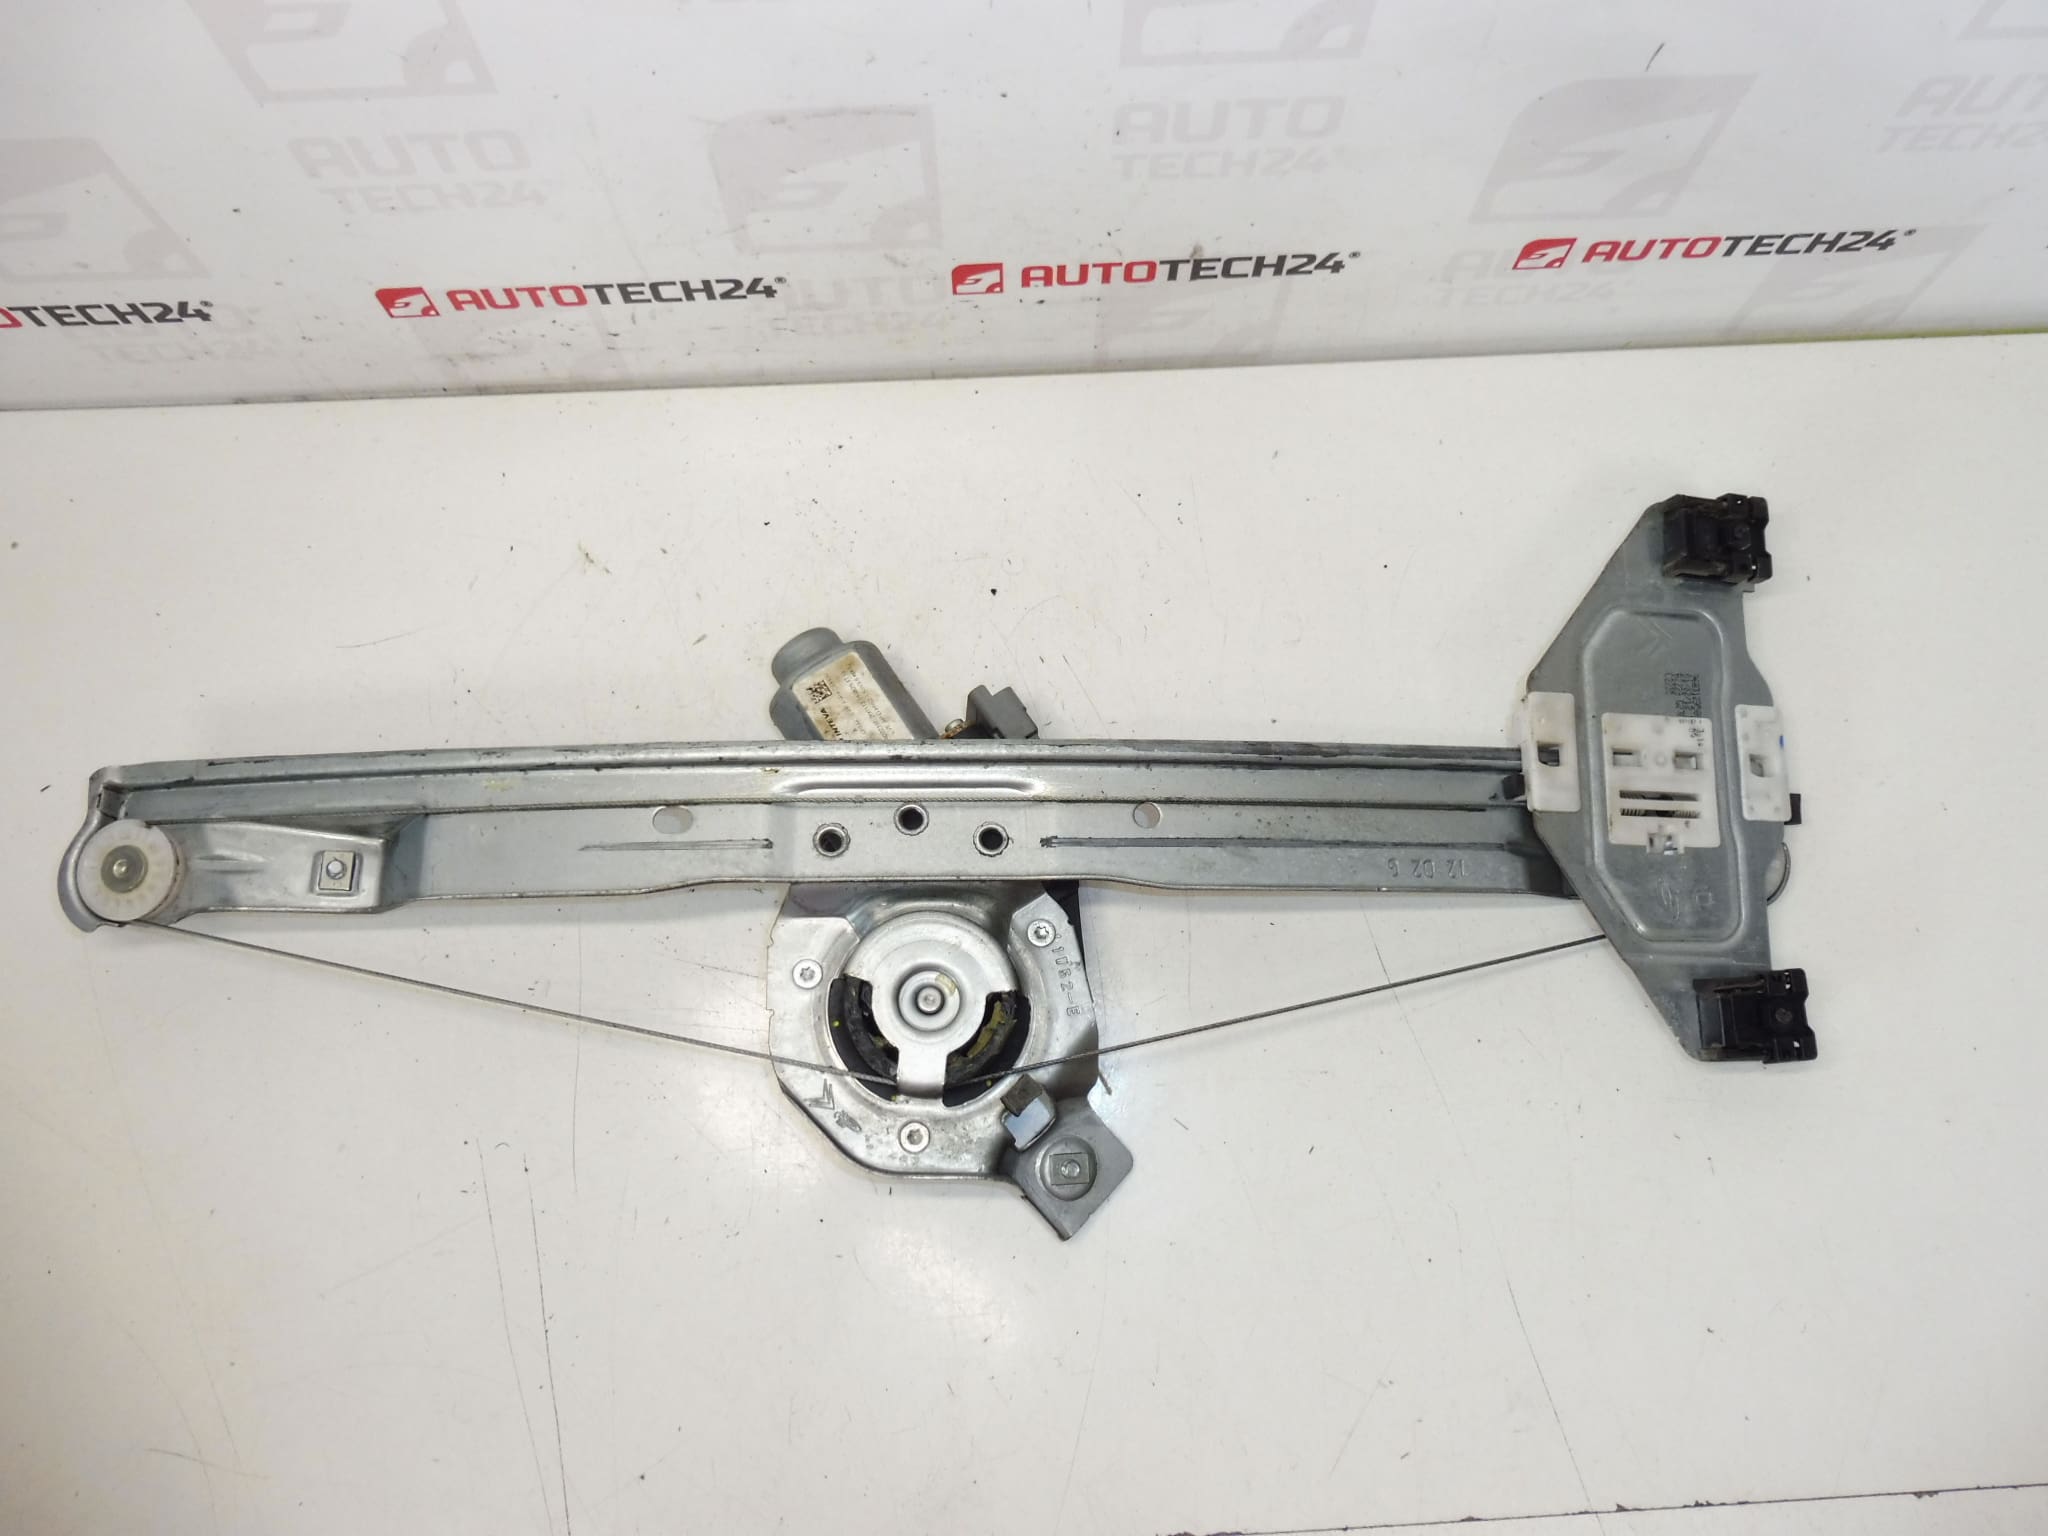
Mechanism for electric lowering of the right front window for Citroën C3 II A51 cars
Side – passenger door
Including electric motor
6PIN
Part description
This used window winder is for the right front window and comes with electric motor. It is a practical solution for repairing non-functioning or stuttering window control without having to find individual parts separately.
The part is especially suitable for mechanics and home repairers who are looking for an original PSA car part by number. Thanks to the 6PIN design, it is important to compare the connector, the overall design of the mechanism and the conformity of the product codes with the existing part in the car when replacing it.
- Part Type: window pull mechanism
- Location: right front door, passenger side
- Part of the package: electric motor
- Connector design: 6PIN
Technical information
- Manufacturer: Stellantis Citroën Peugeot
- Model: Citroën C3 II A51
- Other numbers: 9802617380
Product codes
- Product codes: 9222FQ, 9802617380
- Models from labels/backgrounds: Citroën C3 II, Citroën C3 II A51
Installation recommendations
Generally/typically for this type of part, the exact replacement procedure may vary depending on the specific door design and vehicle equipment. Below is a practical general procedure for replacing a power window mechanism with a motor.
1) Before assembly
- Check whether the new part corresponds to the original piece in design, shape, attachment and 6PIN connector.
- Compare the product codes and part orientation for the right front.
- Inspect the condition of the drives, cables, holders and connector, whether they are mechanically damaged.
- Verify that the electric motor is included if you are replacing a complete assembly.
2) Necessary tools and materials
- set of common hand tools
- screwdrivers and plastic levers for panel removal
- Ratchet with suitable attachments
- detergent for removing dirt
- work gloves and possibly protective tape to secure the glass
3) Step-by-step assembly procedure
- Disconnect vehicle power according to normal service practice for working on electrical parts.
- Dismantle the inner lining of the door so as not to damage the handles, covers and controls.
- Carefully access the interior of the door and check the wiring and position of the original mechanism.
- Secure the glass against spontaneous movement or falling to avoid damage during disassembly.
- Disconnect the electrical connector of the motor and release the fixing of the original mechanism.
- Remove the old window pull mechanism from the door, allowing for cable routing and room for handling.
- Compare the old and new part side by side, especially the attachment, mounting direction, connector and design of the brackets.
- Put the new mechanism in place and first seat it into the correct position without force.
- Step by step fix the mechanism and connect the electric motor via the corresponding connector.
- Connect the glass to the mechanism according to the design of the original solution and check for free movement without crossing or tension.
- Before fully assembling the door, check that the wiring does not rub anywhere, is not pinched and does not interfere with moving parts.
- After a basic check, refit the cover elements and door trim.
-
4) Post-assembly checks and test drive/function verification
- Verify the smooth movement of the window in its entire range without stuttering and unusual sounds.
- Check for proper motor response when controlling both retract and retract.
- Check that the window fits correctly and does not tilt when moving.
- After folding the door, retest the function to make sure that the trim or wiring is not restricting the operation of the mechanism.
5) The most common assembly mistakes + how to avoid them
- Swapping part side – always verify it is the right front design.
- Unmatched connector – check 6PIN match before assembly.
- Pinched wiring – route cables away from moving parts of the mechanism.
- Insufficient securing of the glass during work – fix the glass securely before dismantling.
- Force installation – if the part does not fit naturally, recheck the orientation and fit.
Reasons why the part is damaged
- normal wear and tear of the mechanism during long-term use
- damage or fatigue of cables and guide parts
- increased resistance when moving the window
- intrusion of moisture and dirt into the door area
- overloading of the engine when the mechanism stalls
- damage to the connector or wiring