Description
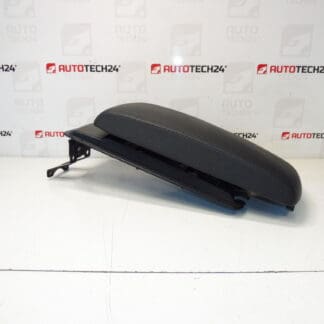
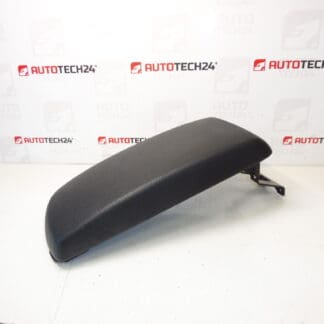
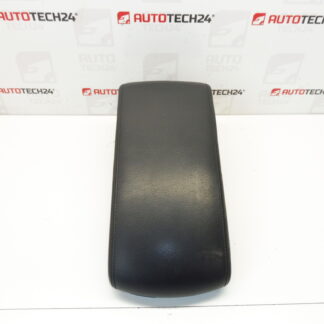
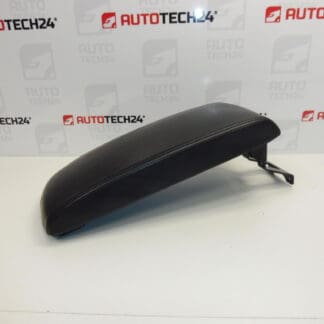
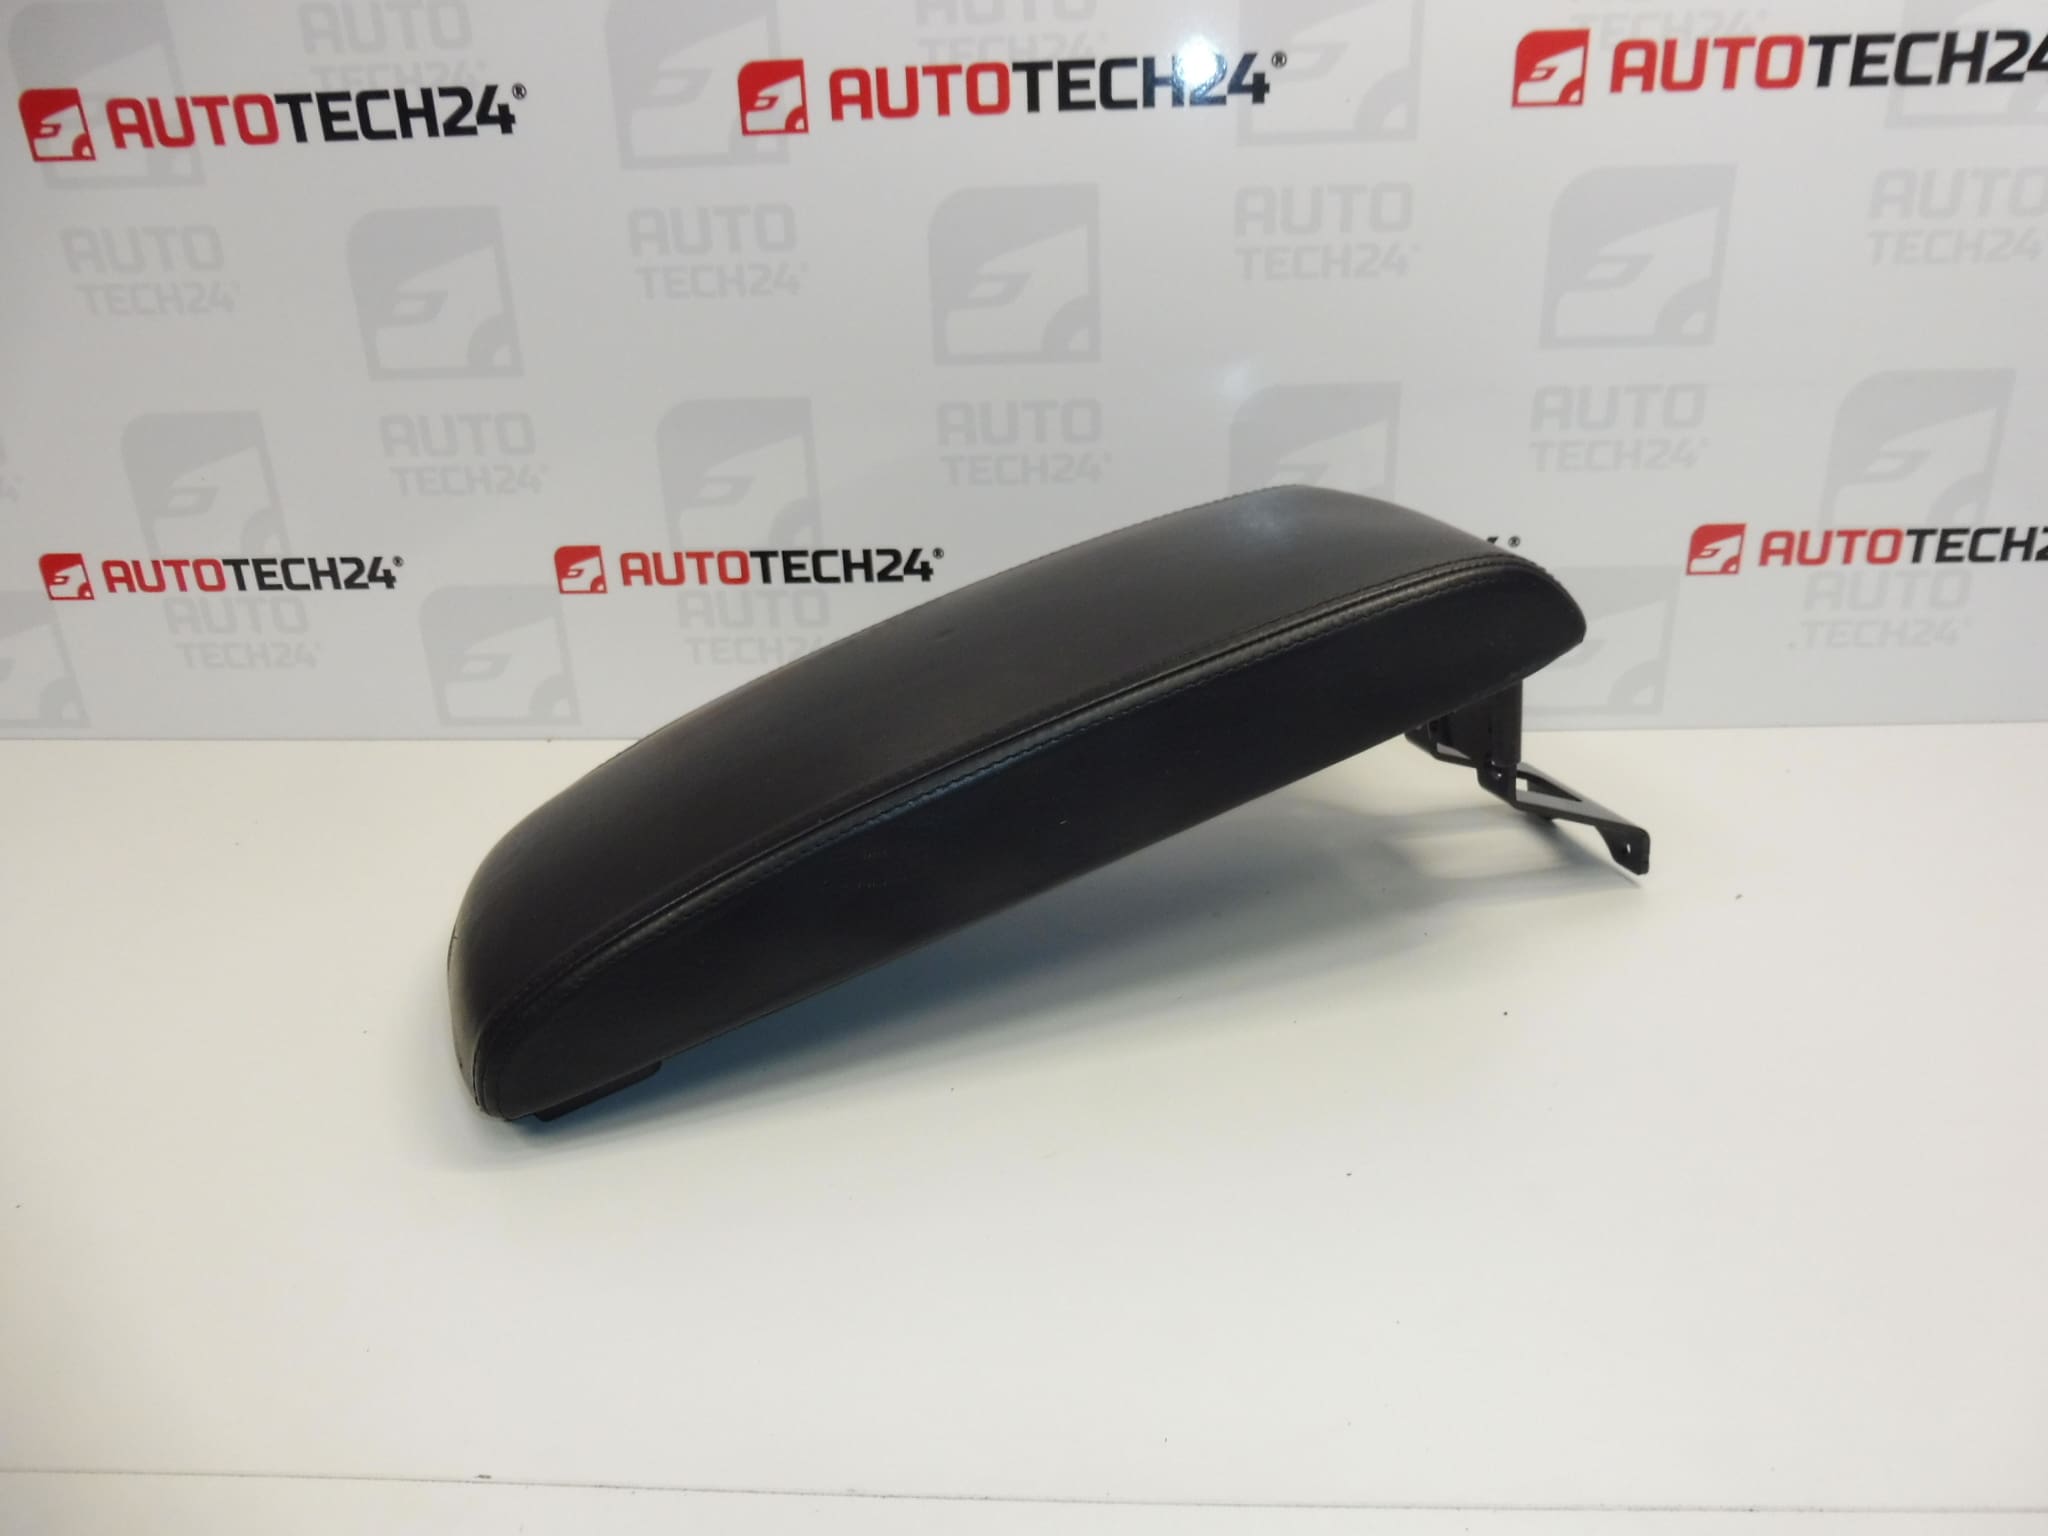
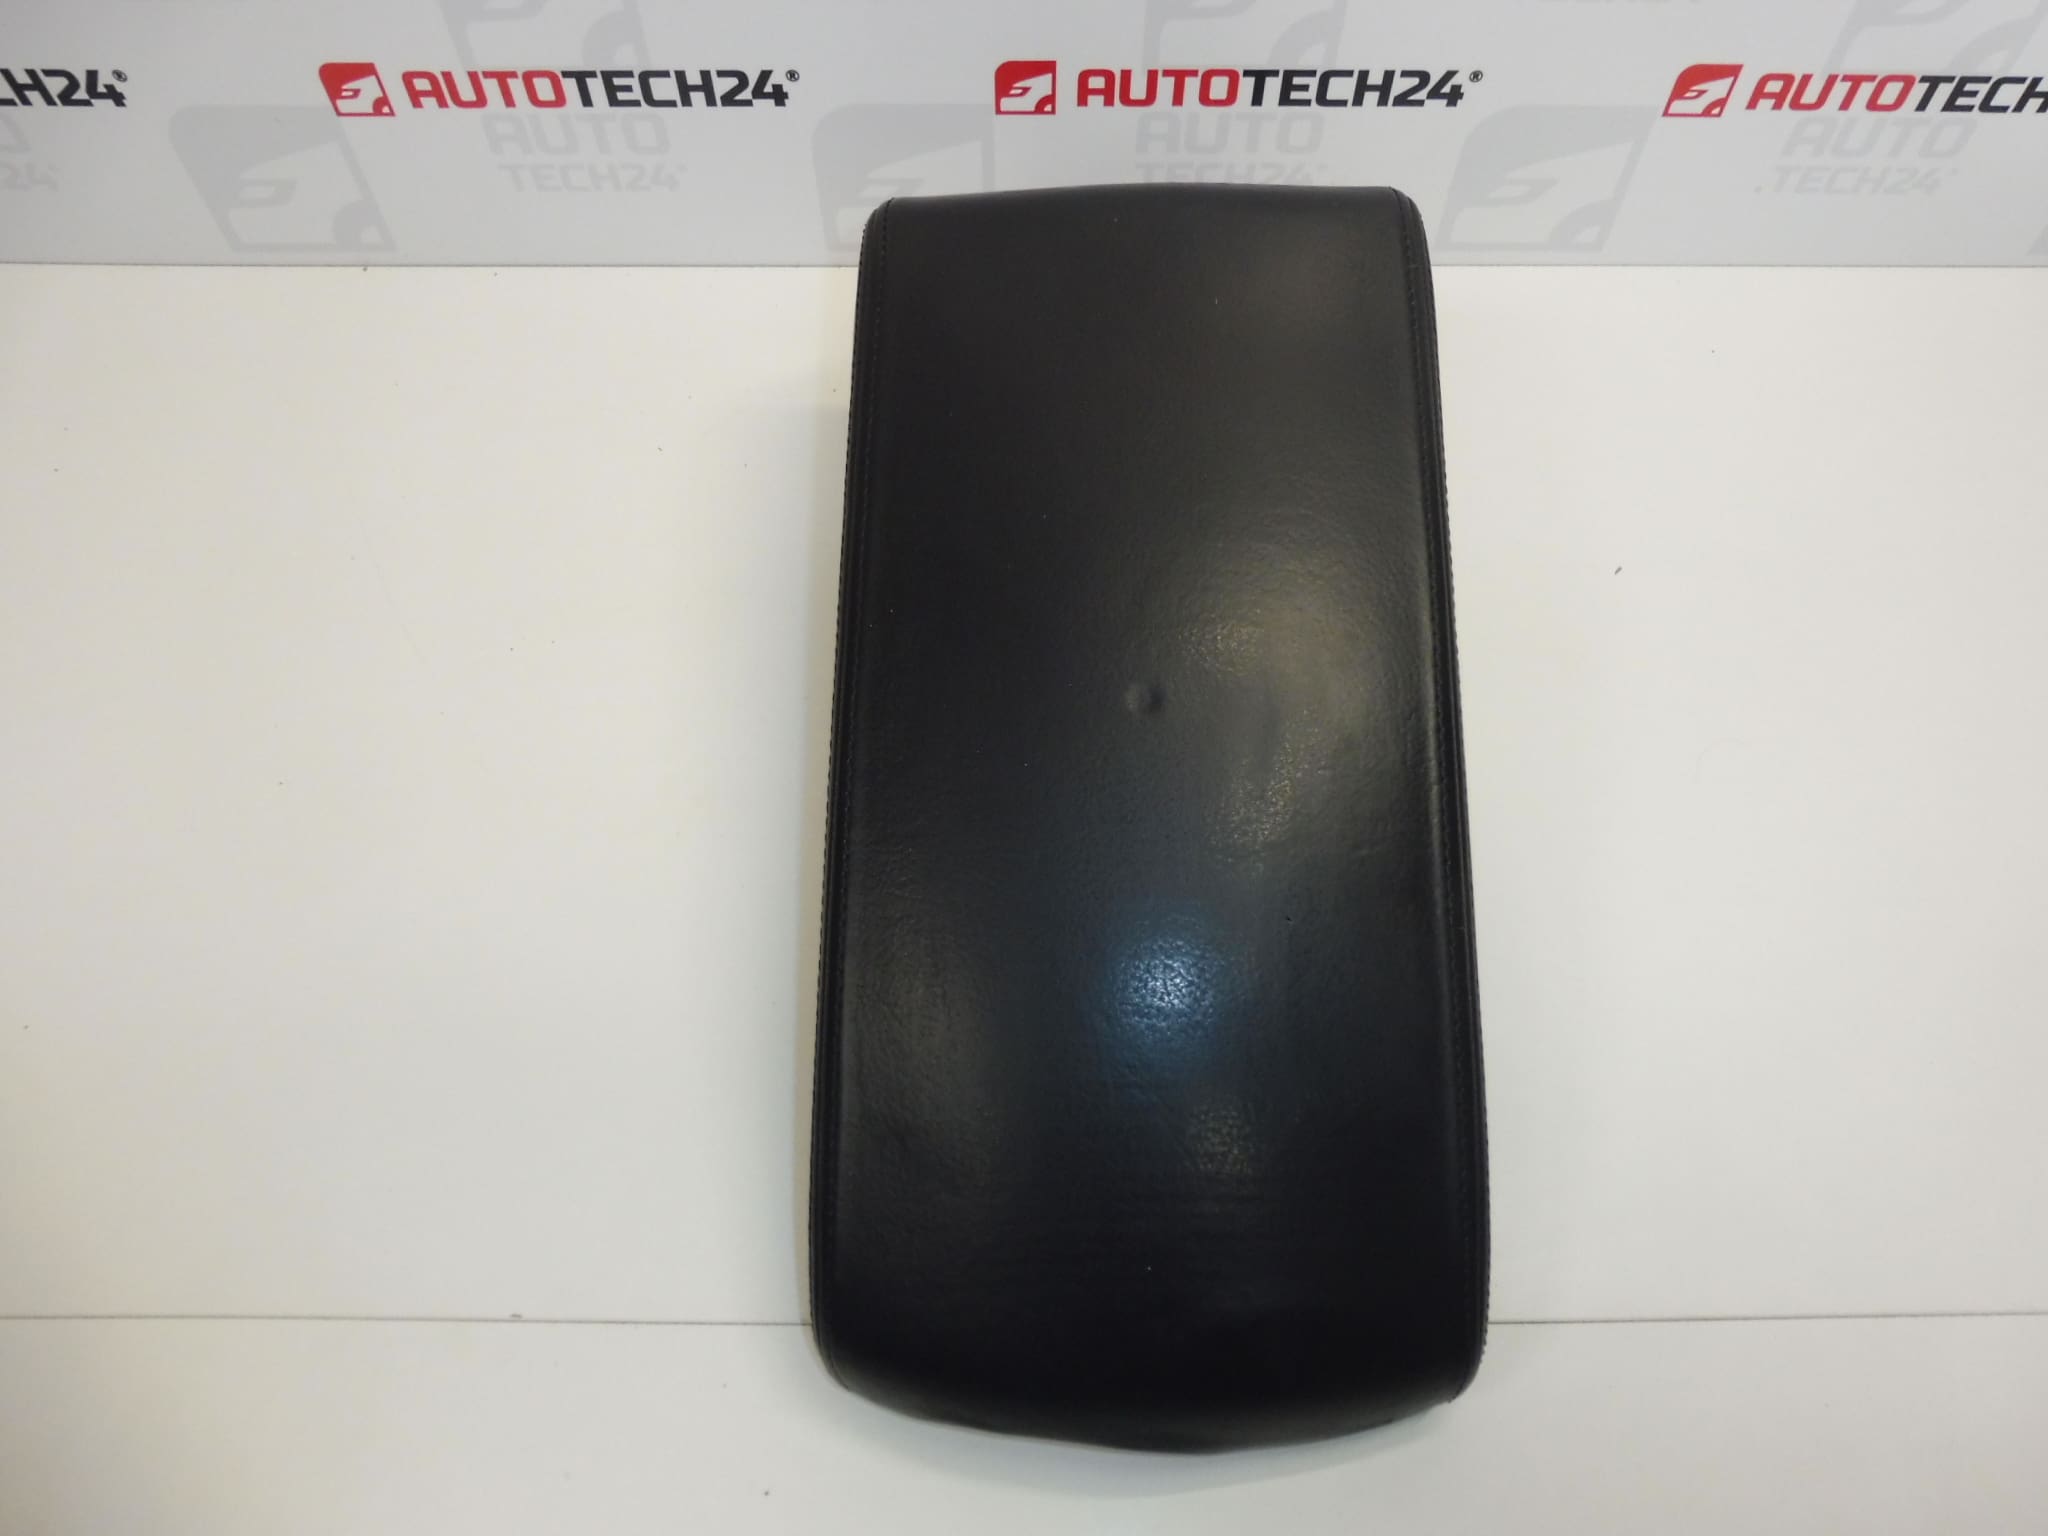
Center armrest for PEUGEOT 407 vehicles
Can be replaced with part 7589XH, 7589E9, or plastic part with code 7589E7
Black leather material, stitched
Both locks are undamaged
Part description
Used Peugeot 407 center armrest, code 7589F3, is a suitable solution when replacing a damaged or worn armrest. It supports the arm and helps make travelling more comfortable. The black stitched leather also preserves the neat appearance of the interior.
Both locks on this item are undamaged, which is important when replacing an armrest with a damaged closure. Before selecting, compare the product designation, mounting design, and closing mechanism with the original part. The listed replacement codes also include a plastic version, so pay attention to the material as well.
Technical information
- Manufacturer: not specified; the source materials list the designation Stellantis CITROEN PEUGEOT.
- Model: Peugeot 407.
- Part type: center armrest.
- Material and finish: black stitched leather.
- Condition: used part; both locks are undamaged.
- Other numbers: 7589XH, 7589E9, 7589E7 – listed in the source materials as replacement options; 7589E7 denotes a plastic part.
- Other designation: NFP.
Product codes
- Product codes: 7589F3.
- Codes for listed replacements: 7589XH, 7589E9, 7589E7.
- Model: Peugeot 407.
Installation recommendations
In general, the following applies to this type of part: the removal method and access to the fasteners depend on the specific vehicle configuration. The following procedure is a general guide to replacing an interior armrest, not an exact service manual for the Peugeot 407.
1) Before installation
- Compare the part designation, shape, dimensions, mounting points, and lock design with the original armrest.
- Check the leather surface, seams, underside, and any moving joints. Look for cracks and excessive play.
- Gently test both locks without using force. The information that they are undamaged does not replace checking that they seat correctly after installation.
- Also check the mating parts and mounting points in the vehicle. A damaged base can cause play even when the armrest is installed correctly.
2) Required tools and materials
- Hand tools suitable for the fasteners actually used.
- A plastic trim removal tool, if covers need to be released.
- A soft pad, protective cloth, and container for the removed fasteners.
- A soft cloth and a product suitable for the surface being cleaned; use a product intended for leather on the leather section.
3) Step-by-step installation procedure
- Park the vehicle safely, switch off the ignition, and clear the workspace around the armrest.
- Cover the surrounding surfaces with a soft cloth to prevent scratches during the work.
- Inspect how the original armrest is mounted. Before releasing it, note the position of the joints and any covers.
- If covers or trim conceal the fasteners, carefully release them with a suitable tool. If you encounter resistance, first locate any additional retaining points.
- Support the original armrest and gradually release its fasteners. Keep the fasteners organized by location.
- Remove the armrest without twisting it or prying against the leather section or locks.
- Clean the accessible contact surfaces and check the condition of the mountings and lock mating parts.
- Position the replacement armrest and check that it sits without tension. Do not force it into place by tightening it or modifying the holes if it does not align.
- Initially secure the fasteners loosely, check that the armrest is correctly positioned, then complete tightening according to the service procedure for the specific configuration. Do not overstress plastic parts.
- Test the movement and closure of the armrest, then refit any covers and trim. Check the operation of both locks again.
4) Post-installation checks and function verification
- Open and close the armrest several times. It should move smoothly, and the locks should hold without requiring firm pressure.
- Apply light pressure by hand to check that the mounting is secure. The armrest must not come loose or wobble excessively.
- Check that the armrest does not obstruct the use of nearby controls.
- During a subsequent short drive, listen for any knocking or squeaking. Carry out any adjustments only after stopping safely.
5) Common installation mistakes and how to avoid them
- Choosing by appearance alone: also compare the code, mounting, and lock design.
- Forcing the covers off: first determine how they are retained and use plastic tools.
- Overtightening the fasteners: this can damage plastic parts; follow the service procedure and do not use unnecessary force.
- Overlooking a damaged mating part: before installation, also check the components into which the locks engage.
- Forcing it closed when incorrectly seated: first adjust its position and eliminate the cause of the resistance.
Reasons why the part may be damaged
Armrests are generally damaged as a result of normal wear, overloading, and rough handling. The following causes do not describe defects in the item being offered:
- Repeated heavy loading when getting in or moving across the seat can damage the mounting and moving joints.
- Slamming shut and prying puts strain on the locks and their mating parts.
- Friction and contact with sharp objects can damage the leather surface or stitching.
- Sunlight, heat, and improper care contribute to leather drying out and cracking.
- Aggressive cleaning products can damage the leather finish and plastic parts.
- Loose mounting increases play and places excessive strain on surrounding components during further use.