Description
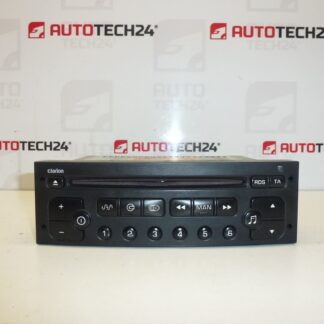
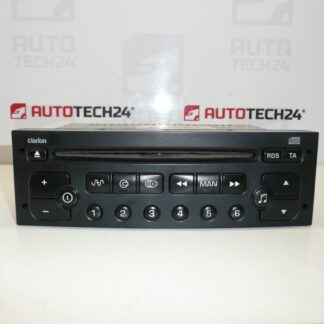
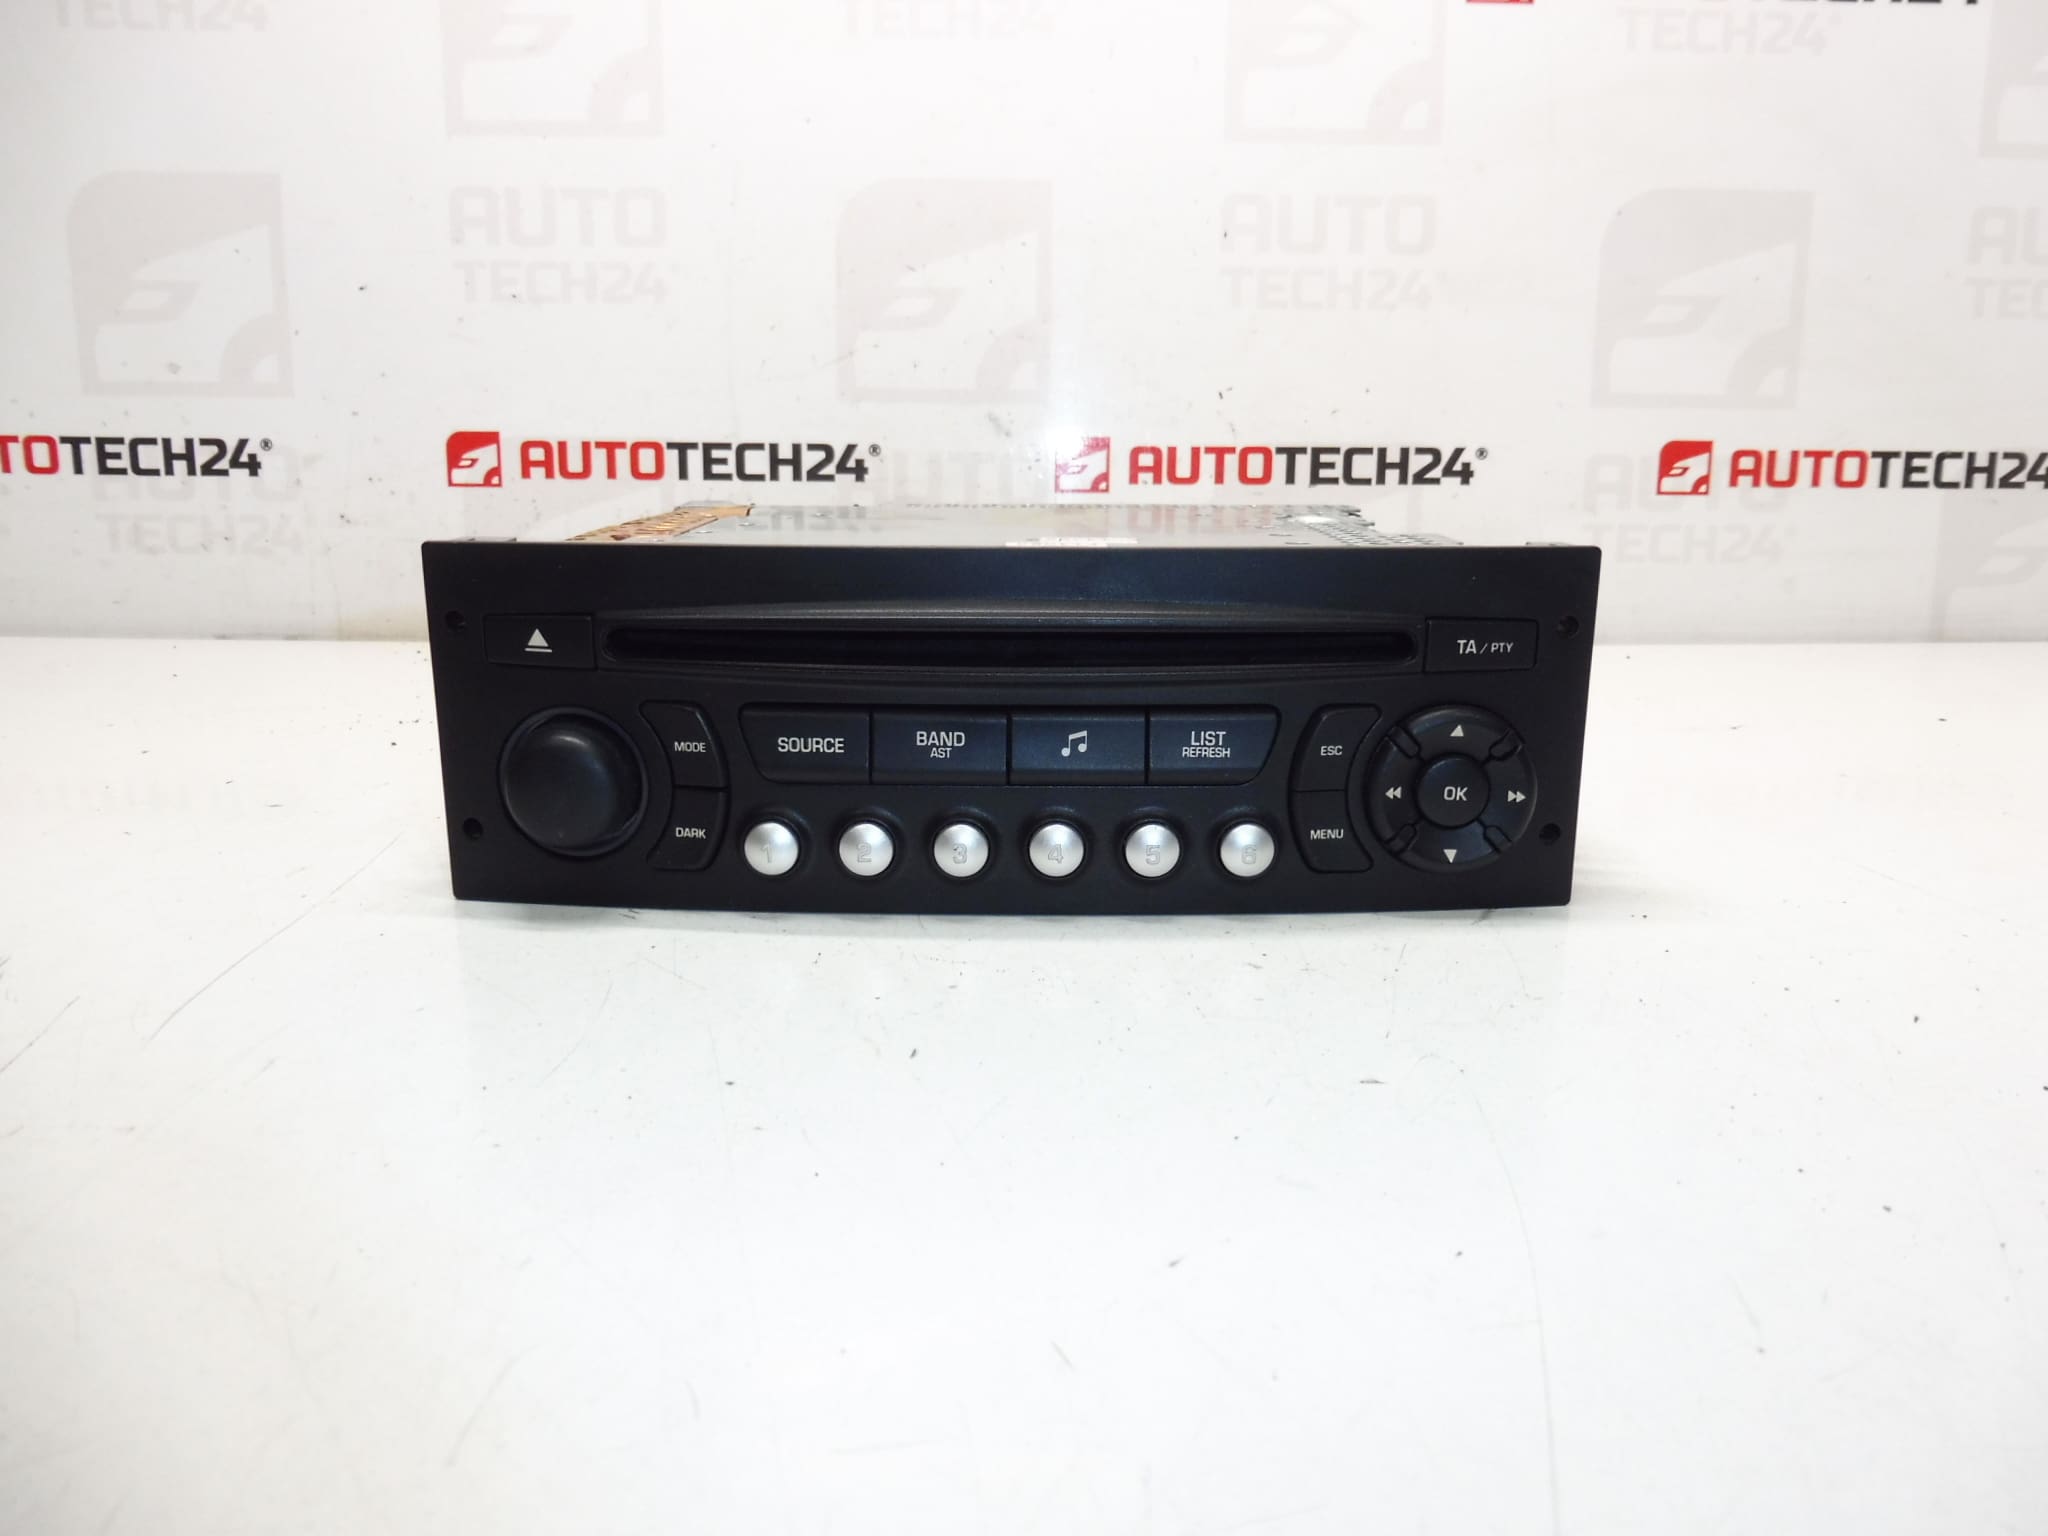
Siemens VDO RD4N1-02 CD car radio for Citroën Berlingo III, C2, C3, C4, C8 and Peugeot 207, 307, 407, 807, Partner III. The radio must be coded to the vehicle using diagnostic equipment.
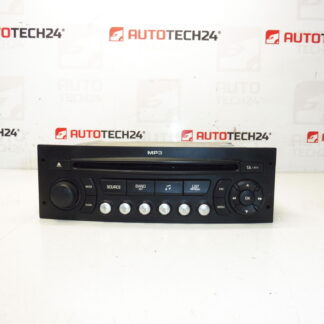
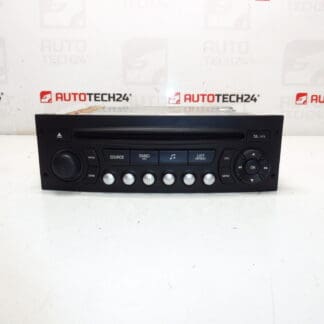
This Siemens VDO RD4 series CD radio is a direct-fit audio unit commonly found in a range of Citroën and Peugeot models. It supports CD playback and integrates with the vehicleʼs CAN bus, steering wheel controls and antenna feed. The unit is often searched for by its OEM and reference numbers, so listing common product codes helps technicians and DIYers find the correct replacement quickly. Ideal for workshops and experienced home mechanics who are comfortable with vehicle electrics and diagnostic coding.
Technical Information
- Manufacturer: Siemens VDO
- Model: RD4N1-02 CD (RD4 Series)
- Product Codes: 96647697XT, 16077504XT, 6564ZS, 6564ZT
- Other Numbers: Stellantis / PSA references related to the above codes
Compatible Models
Citroën: Berlingo III, C2, C3, C4, C8. Peugeot: 207, 307, 407, 807, Partner III. Always match the part codes printed on the original unit with the replacement to ensure fit and functionality.
Installation Recommendations
- Disconnect the battery before starting work and follow the vehicle manufacturerʼs removal procedure to avoid damage to the radio or vehicle electronics.
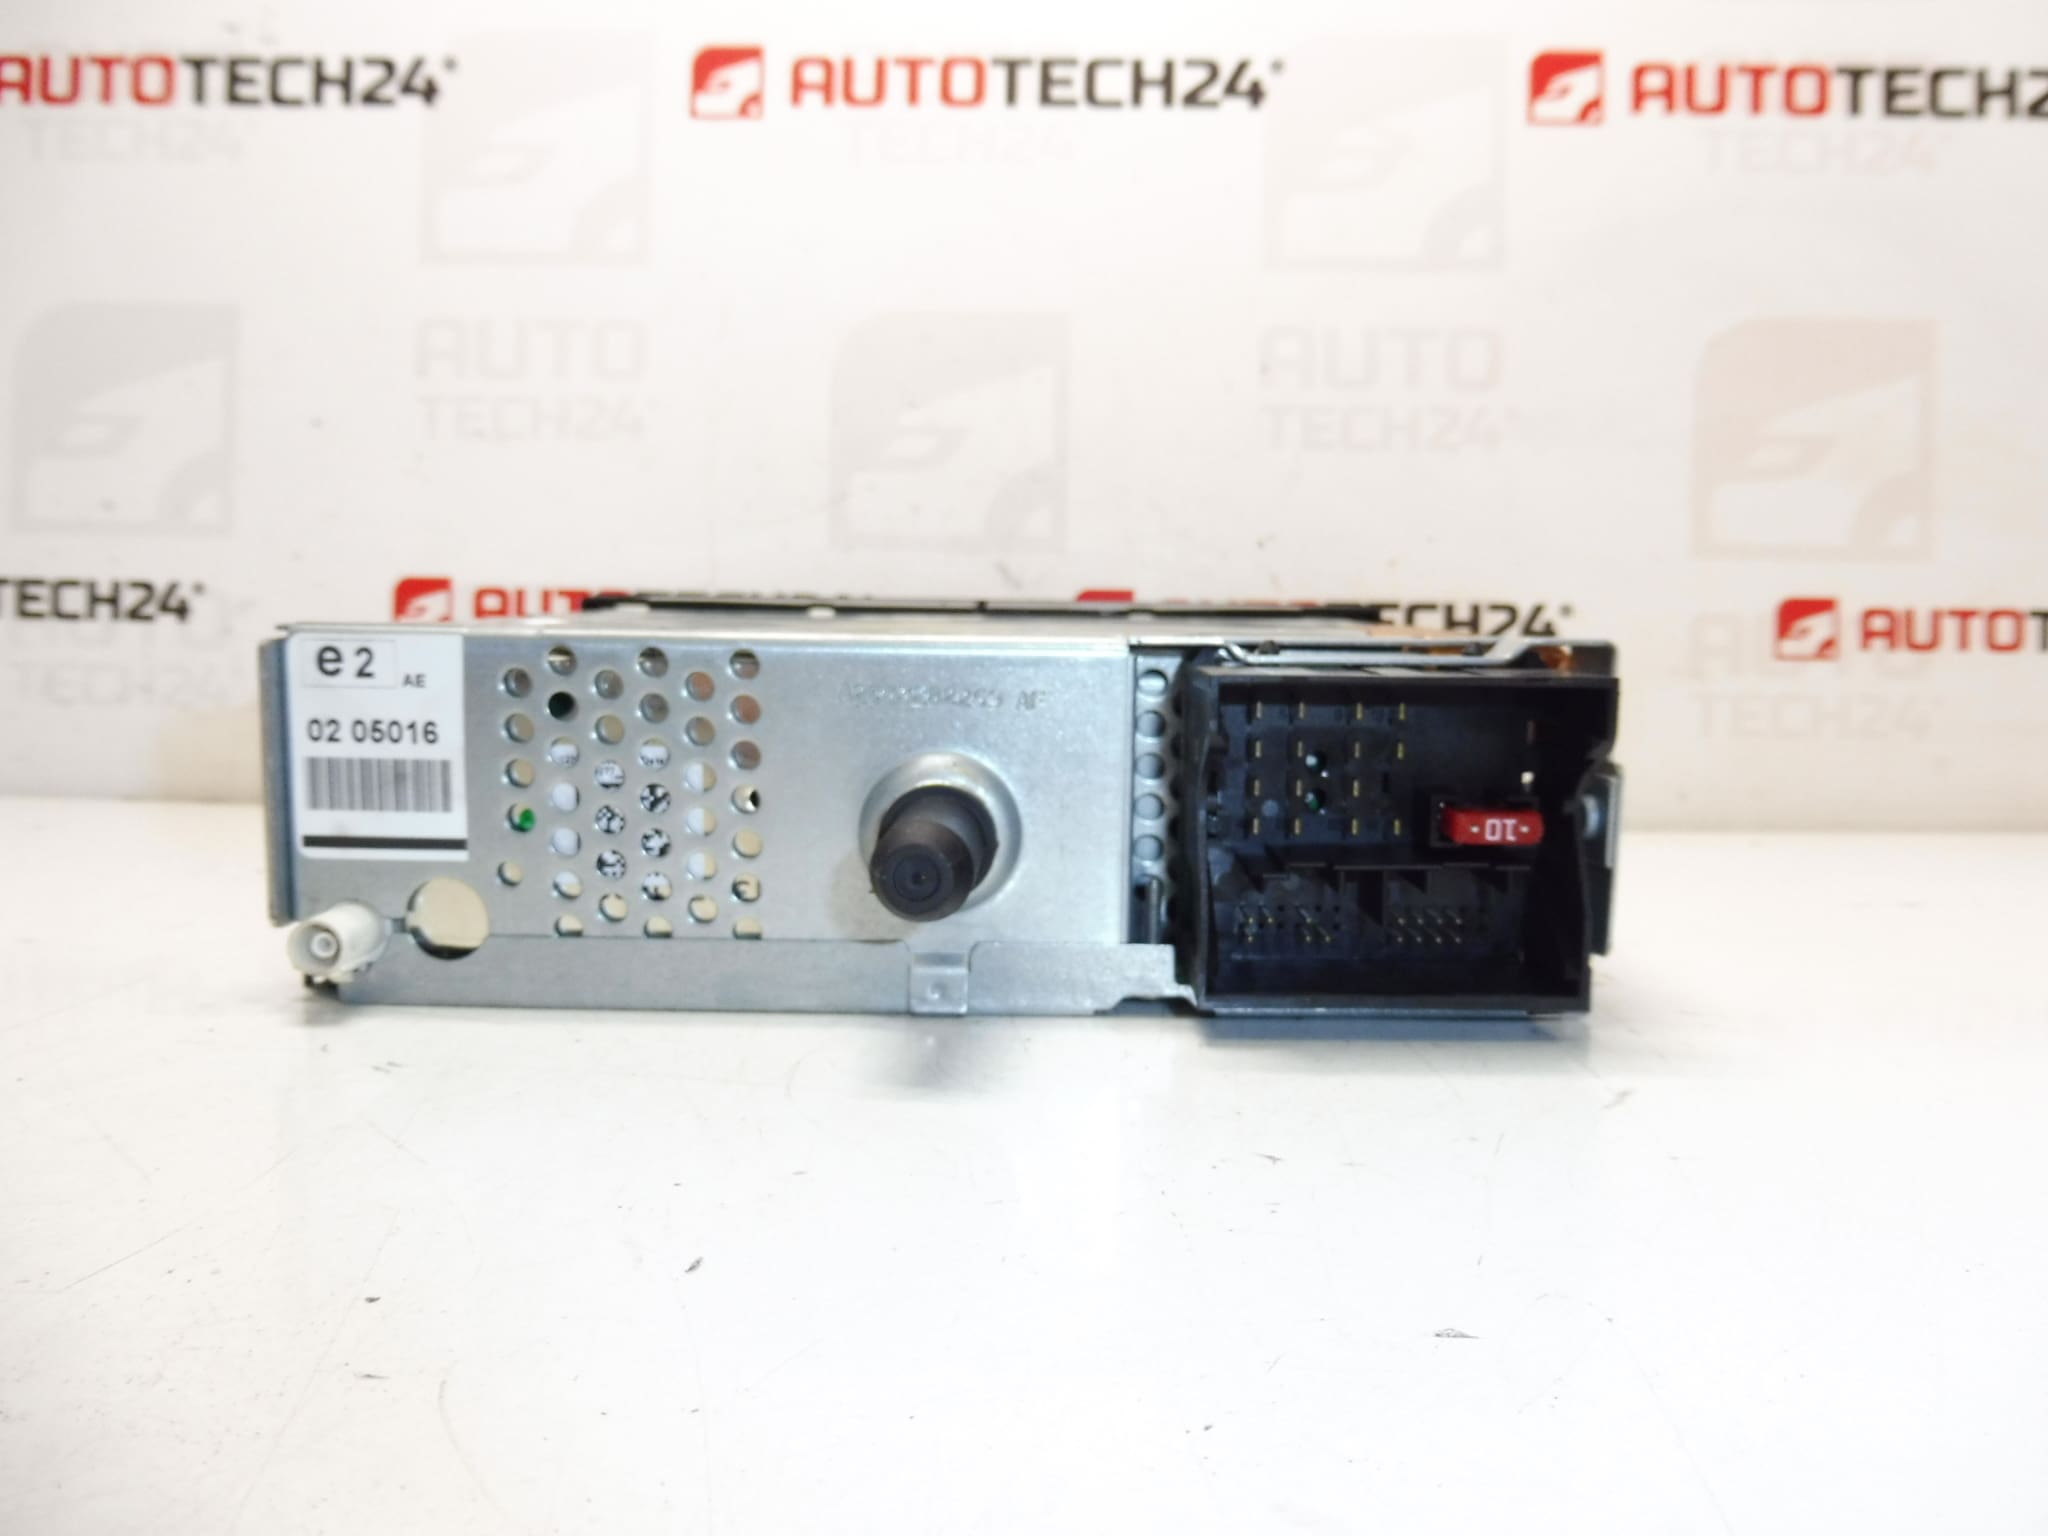
- Remove trim panels and retaining screws, slide the radio from the dash and carefully unplug connectors: main harness, ISO connectors, antenna cable and any auxiliary plugs for steering wheel controls or external displays.
- Inspect connectors and wiring for corrosion or bent pins; replace broken clips or seals to ensure a reliable connection.
- After mechanical installation, the unit needs to be coded to the vehicle with diagnostic equipment. Failure to code will usually result in limited or no functionality (radio mute, lost steering wheel control, security lockout).
- Use appropriate PSA diagnostic tools when possible for coding and adaptation (DiagBox/PP2000/Lexia or equivalent service tools preferred for full feature activation).
How It Is Replaced
Typical replacement steps for an experienced technician: remove fascia trim, unbolt the radio cage, slide out the unit, disconnect all plugs and the antenna, install the new unit, reconnect, secure and refit trim. Perform diagnostic coding and verify all functions (audio output, display, steering wheel controls, antenna and any external amplifiers).
Why This Part Most Often Fails
Common failure causes include mechanical wear of the CD mechanism and laser pickup, moisture ingress and corrosion on connectors, broken internal solder joints due to thermal cycling, and software or immobilizer-related lockouts after battery disconnection or replacement. Age-related wear on moving parts typically leads to failures after many years of use—CD players frequently show faults after 8–15 years depending on usage and environment.
For workshops and skilled DIYers, this radio is a practical replacement when the part codes match the vehicle. Proper handling during removal and correct diagnostic coding after installation are essential for restoring full functionality.