Description
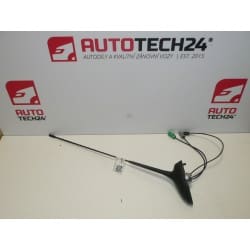
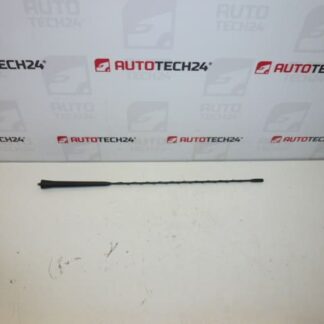
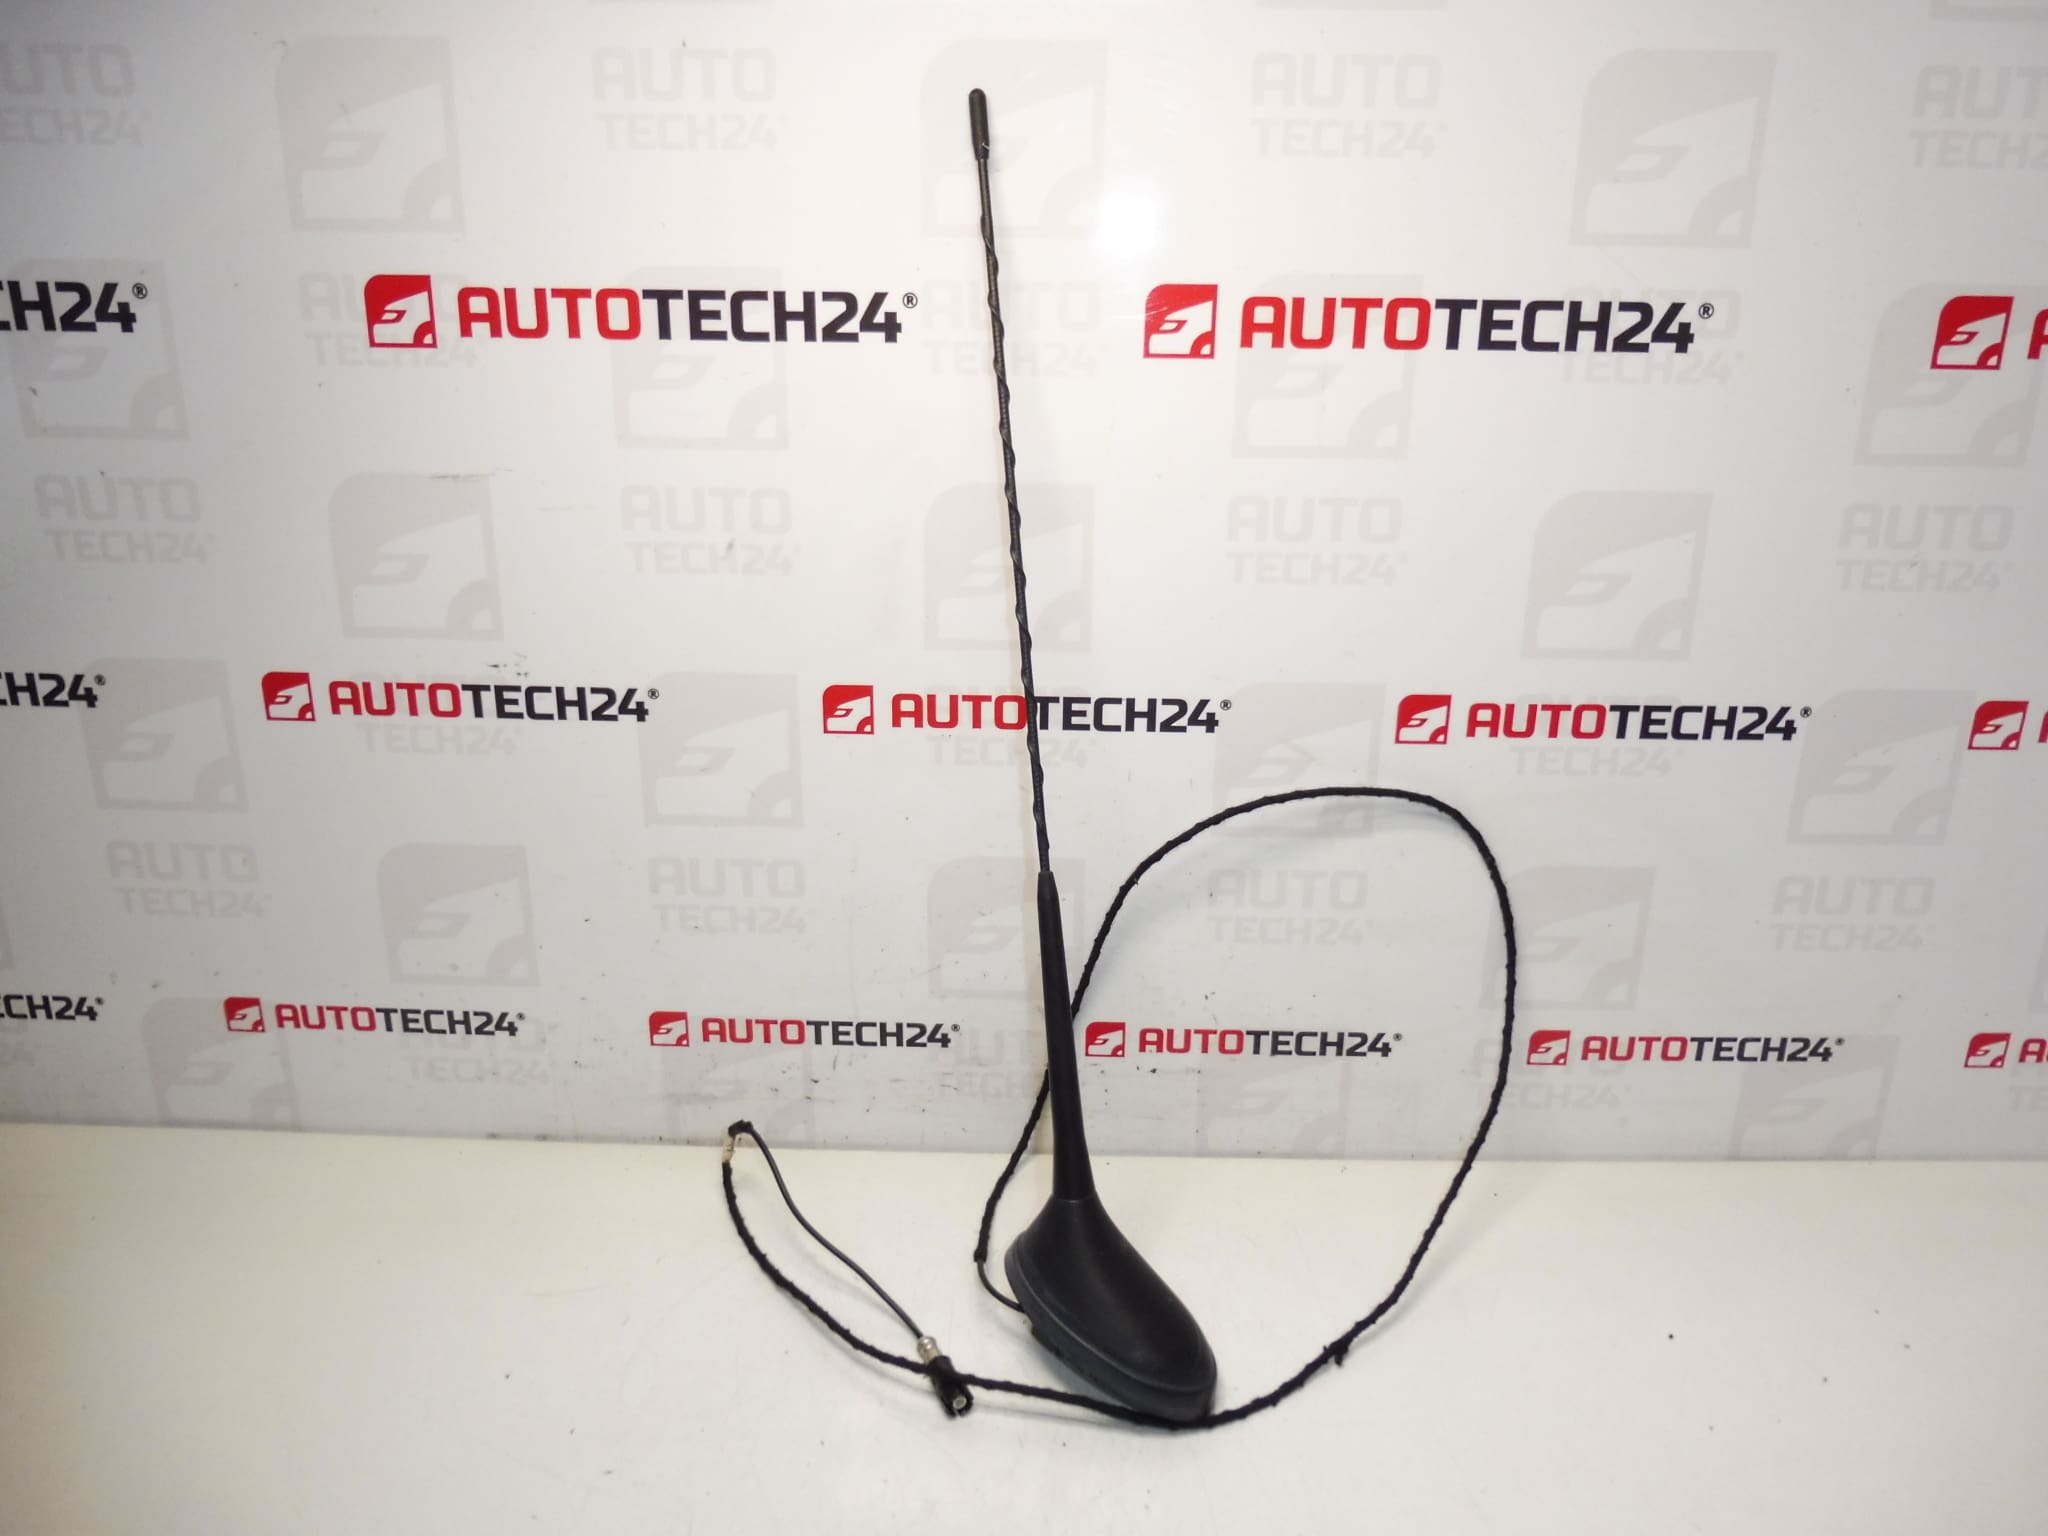
Antenna for PEUGEOT 207 cars
Part description
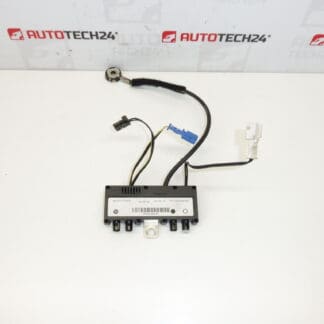
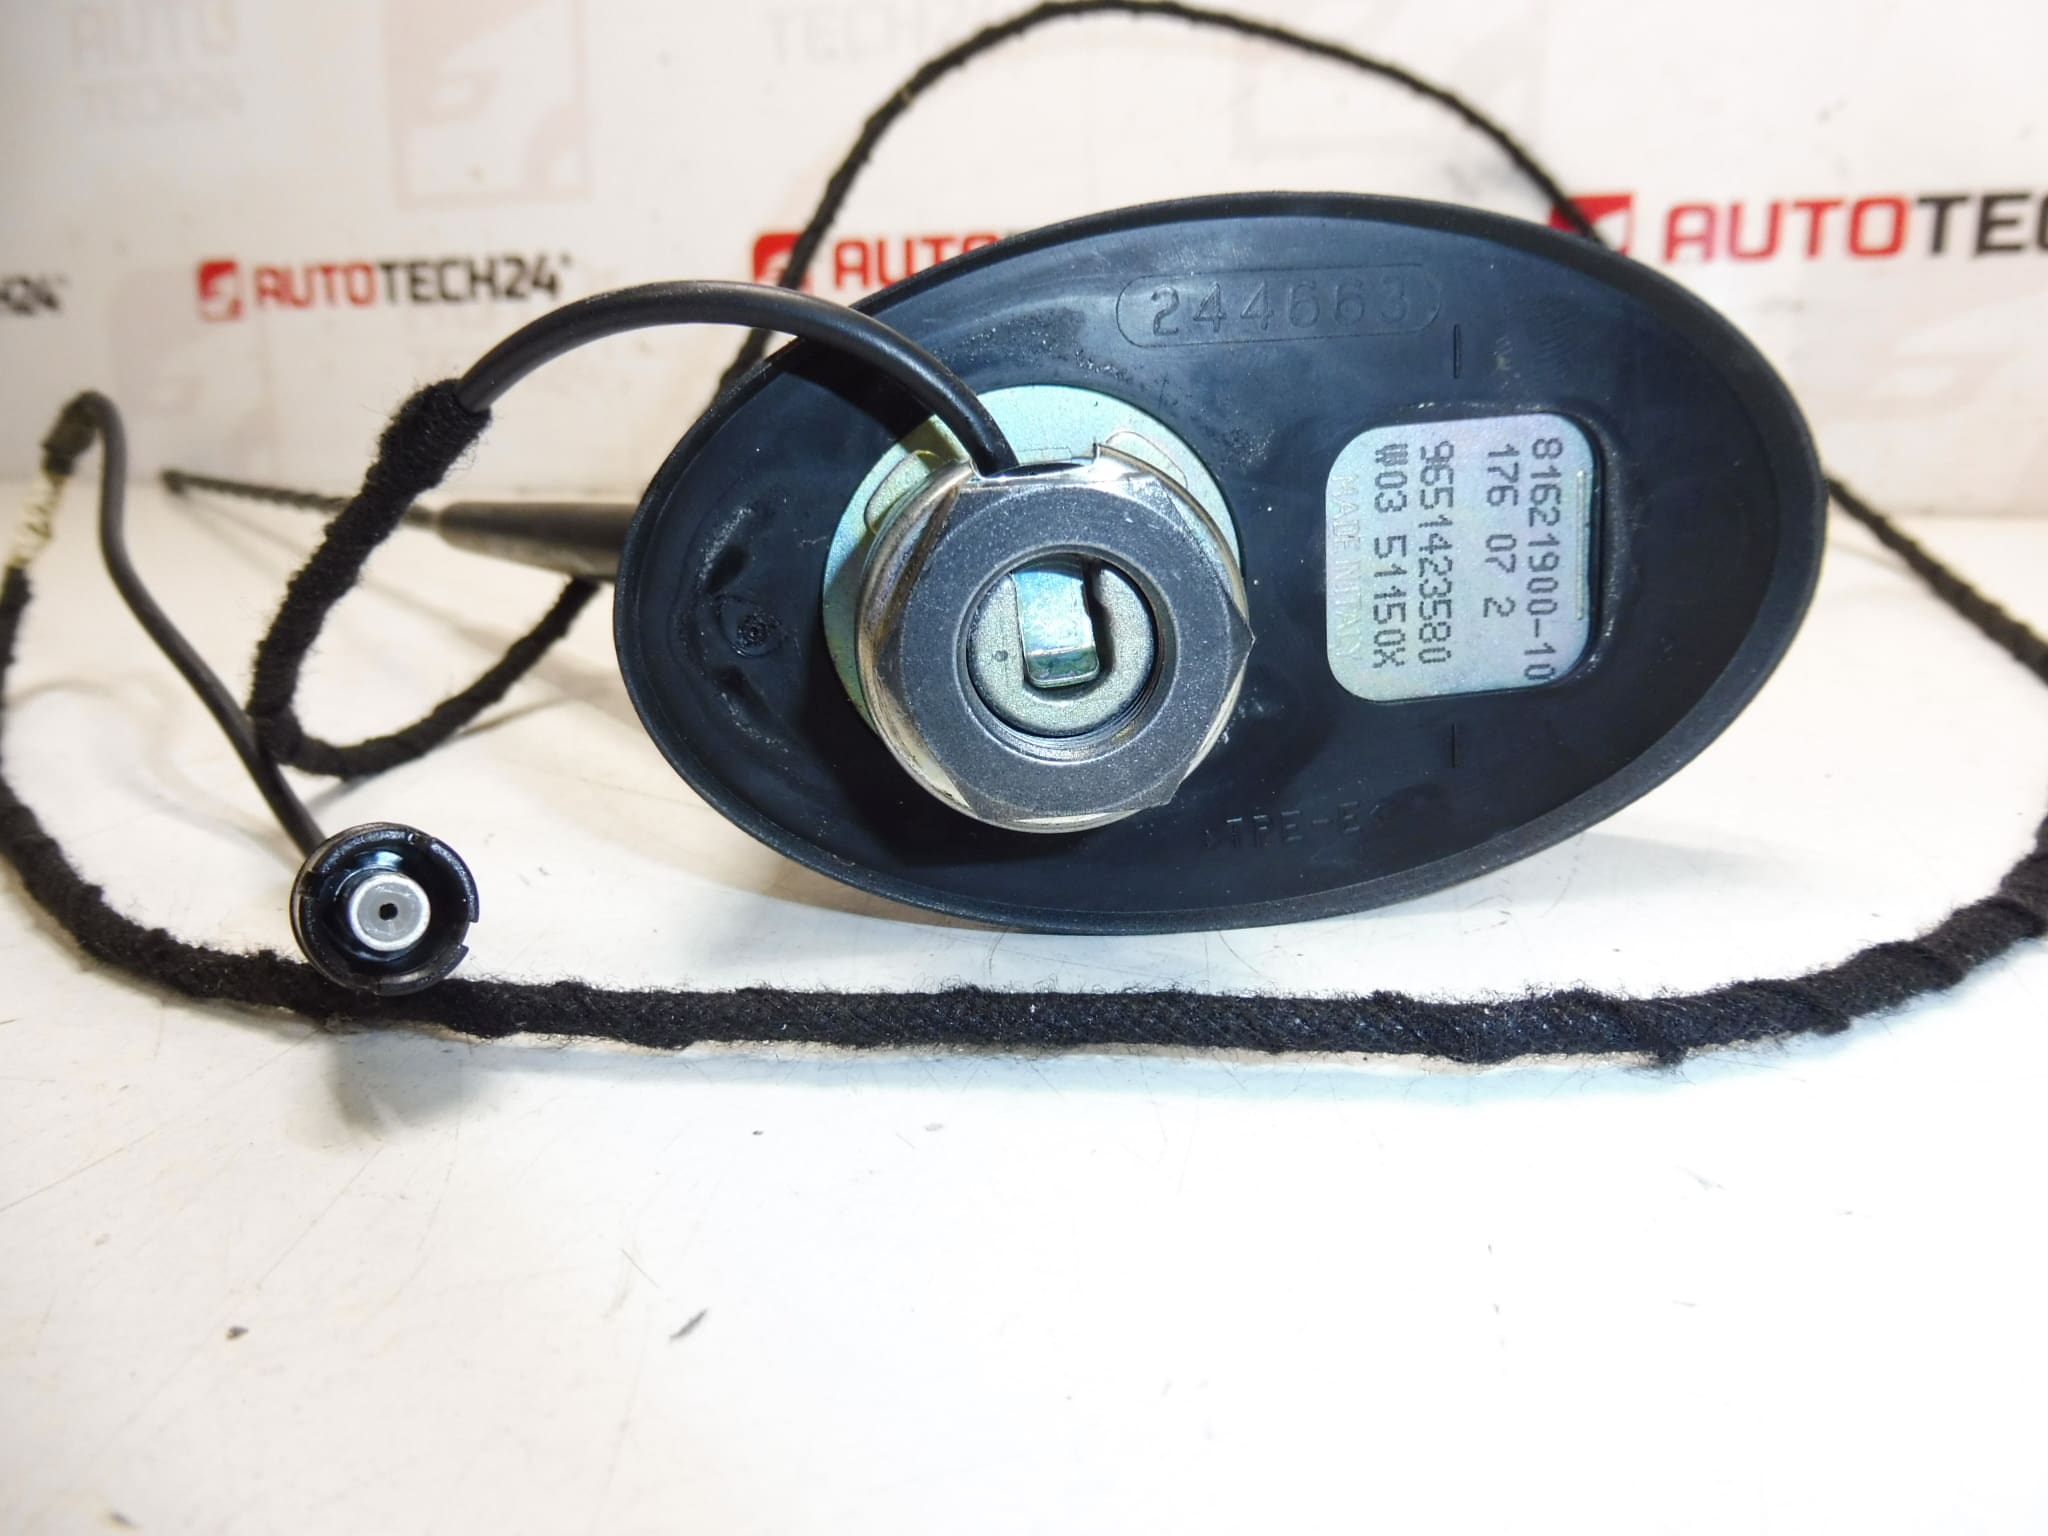
We offer a used car antenna intended for the Peugeot 207. It is a part from the category of electrical components (car radio accessories) that is used to receive a radio signal. If you’re dealing with poor reception, a cracked or loose design, or damaged antenna connectors or wiring, replacing it with the correct part according to the part number is usually the fastest way back to full functionality.
When choosing, we recommend following the product codes listed below in particular – for these parts, matching the number is the surest guide.
Technical information
- Manufacturer: Stellantis (Citroën / Peugeot)
- Model: Peugeot 207
- Other numbers: 6561TS, 6561W
Product codes
- Product codes: 9651423580, 6561GW, 6561W5
Installation recommendations
Generally/typically applies to car antenna replacement (exact steps may vary depending on specific car design and type of antenna system).
1) Before assembly
- Check that the part codes (9651423580, 6561GW, 6561W5) and possibly other markings (6561TS, 6561W) match.
- Compare the connectors and their mechanical design with the old part (shape, securing, cable length/type, attachment).
- Inspect the part for cracks, gasket/grommet damage (if included), contact oxidation and mechanical deformation.
2) Necessary tools and materials
- Basic set of hand tools (screwdrivers/bit attachment depending on design)
- Tool for removing interior plastics/upholstery (plastic crowbar)
- Electrical contact cleaner, clean cloth
- Insulating tape or shrink tubing (depending on the condition of the cabling)
3) Step-by-step assembly procedure
- Turn off the ignition and disconnect the battery to be safe (this is normally recommended for electrical parts).
- Ensure access to the antenna and its wiring – remove the necessary covers/panelling so as not to break anything.
- Disconnect the antenna connector(s) and any power supply (if included in the design).
- Unfasten the antenna according to the specific design (nuts/screws/mount).
- Remove the old part and check the condition of the mating surfaces, grommets and wiring.
- Clean the contacts and the area around the mounting point; solve possible oxidation with contact cleaner.
- Install the new antenna in its original position and seat it so that it fits properly and nothing is pinched.
- Tighten the fastening with feeling (without pulling – there is a risk of damage to the plastics or the thread).
- Reattach the connector(s) and check that the connector locks properly.
- Return the removed covers/trims and check that there are no dents or scratches.
- Connect the battery and turn on the ignition.
- Verify radio function and reception stability.
-
4) Post-assembly checks and test drive/function verification
- Test the reception on several stations (FM/AM depending on the equipment) and check that the reception does not change when handling the wiring.
- After a short ride, verify that there are no signal drops and that everything is mechanically sound.
5) The most common assembly mistakes + how to avoid them
- Part exchange (different design/connector): always compare codes and physical design before assembly.
- Unsnap connector: after connecting, gently pull on the connector to verify the lock.
- Pinched wiring when installing the trim: run the cables in the same route as originally and check the passages.
- Oxidation of contacts: clean the connectors and use contact cleaner if needed.
Reasons why the part is damaged
- Mechanical damage (impact, vandalism, caught during washing/parking).
- Influence of weather – aging of plastics and seals, penetration of moisture and subsequent corrosion of contacts.
- Loose mounting and vibrations that gradually damage the cable or connector.
- Unprofessional disassembly – torn cable, damaged connector locks or cracked covers.