Description
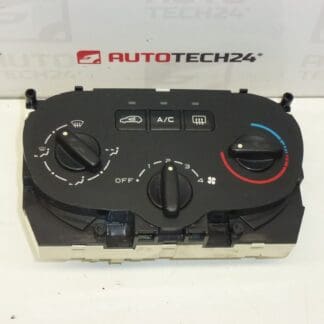
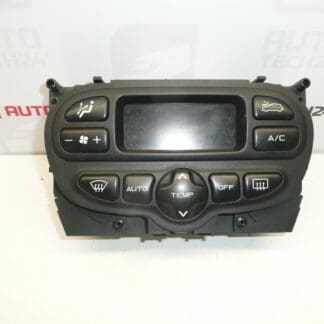
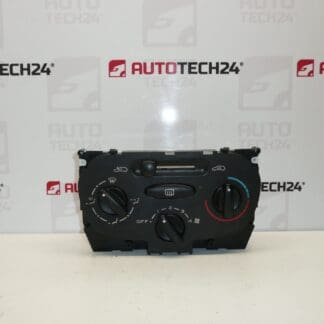
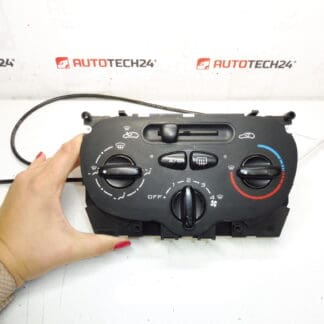
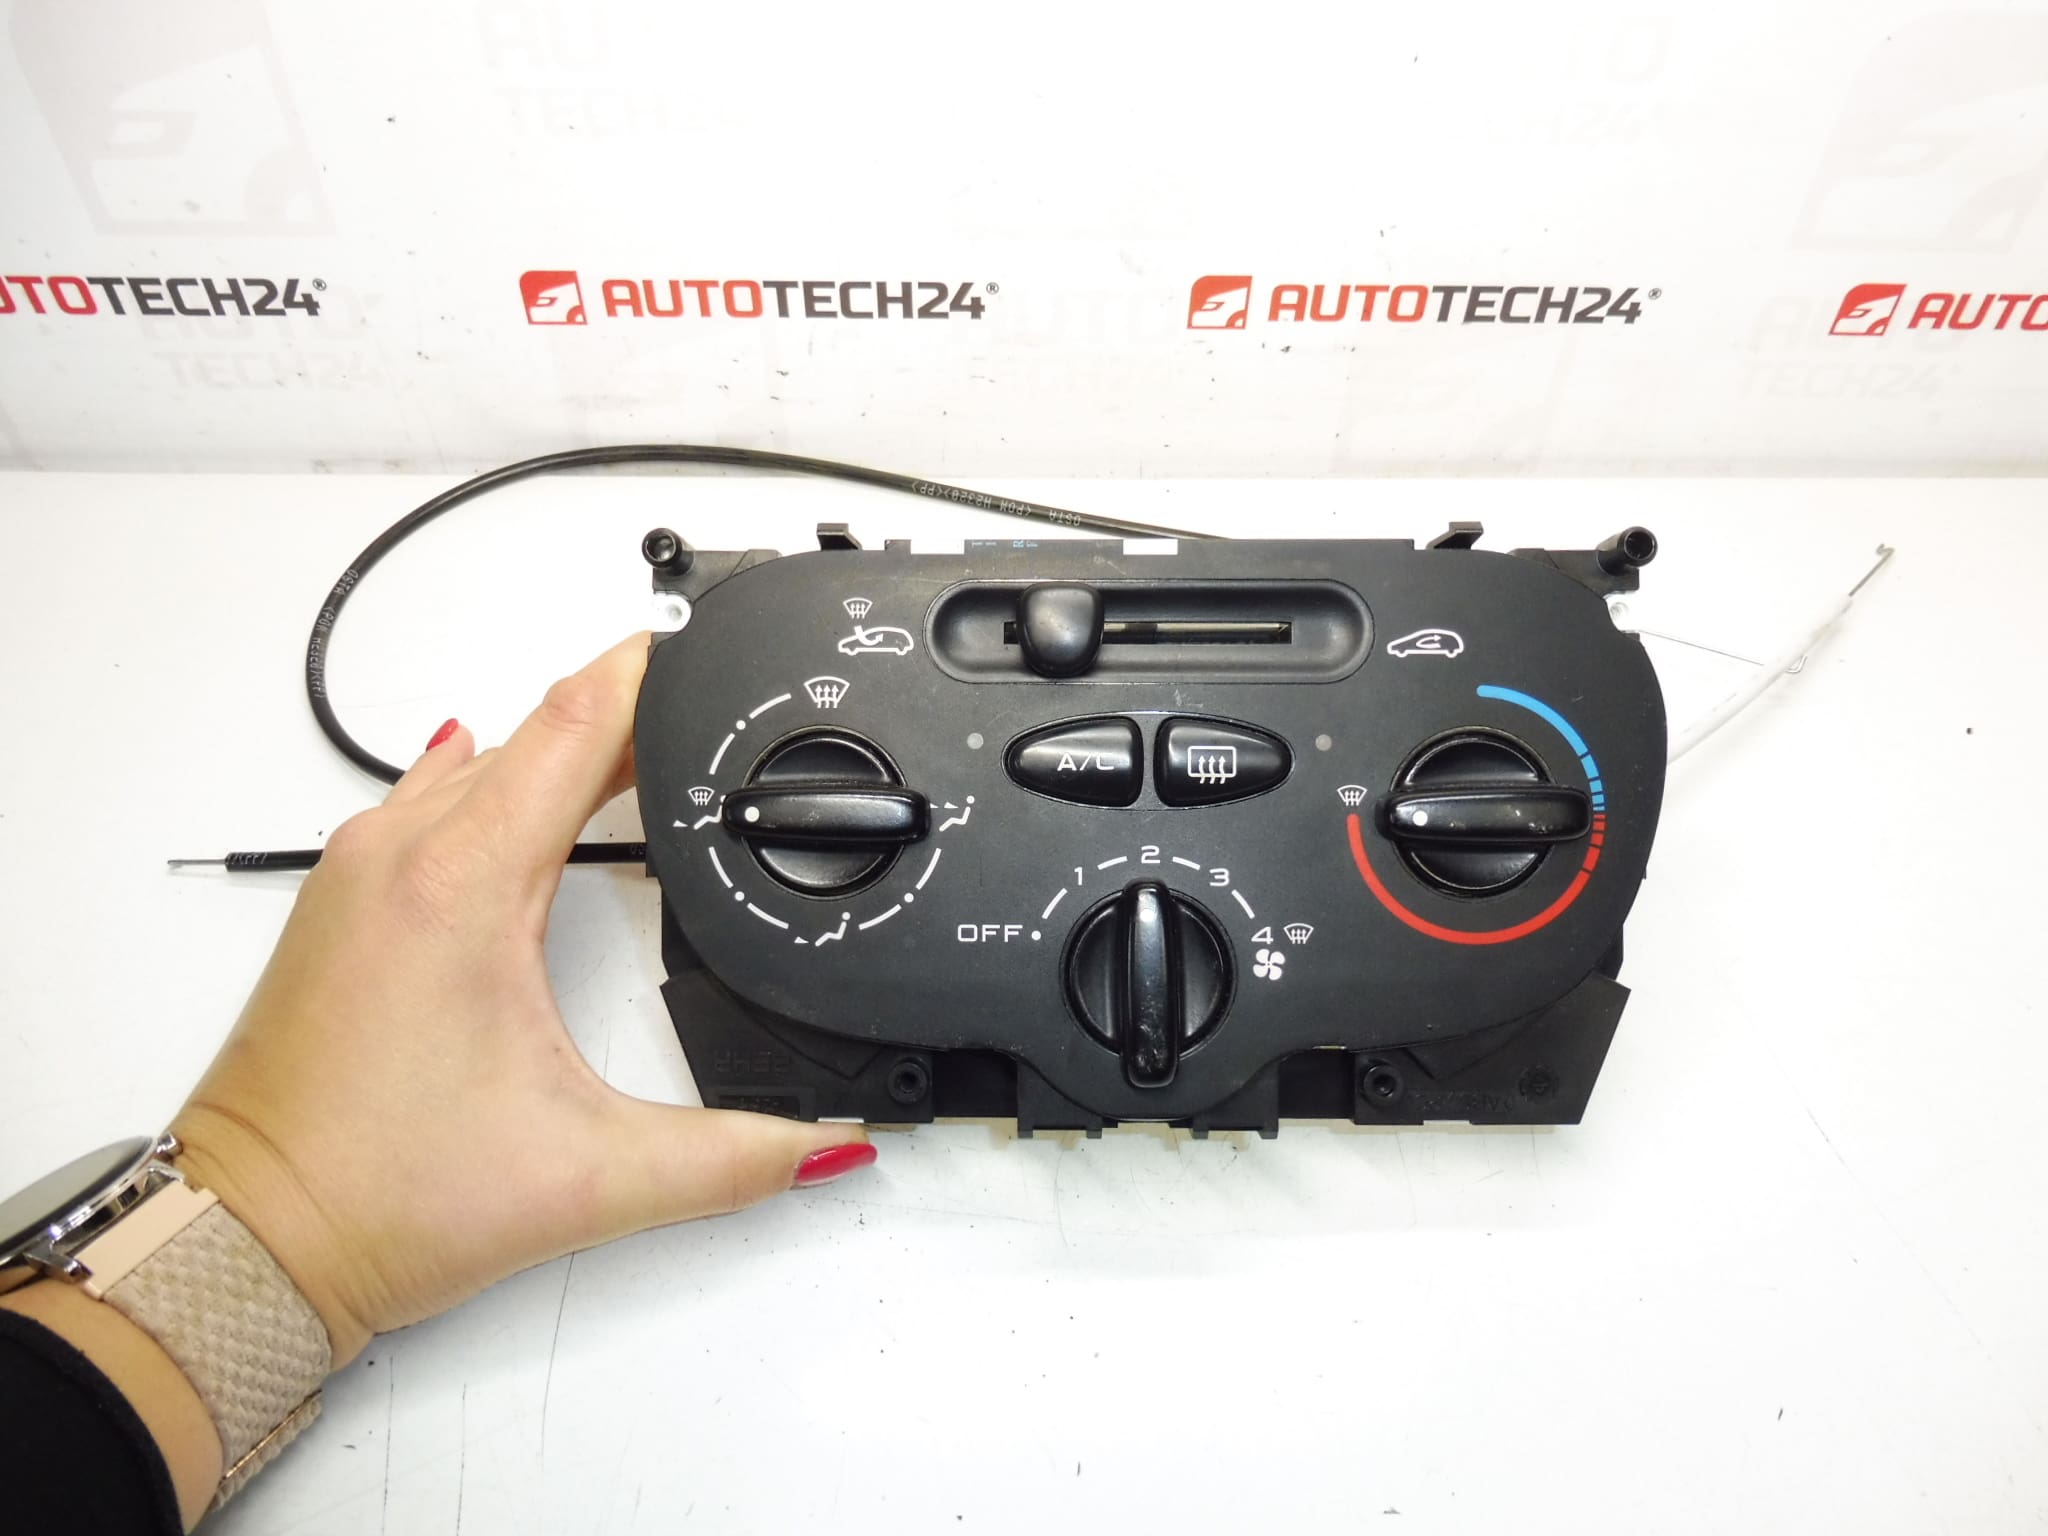
Heating And Air Conditioning Control For Peugeot 206 And 206+ With Cable Linkages 6451EL.
This heating and air conditioning control unit is designed for Peugeot 206 and 206+ models and is commonly referenced by part numbers 6451EL, 6451EJ and 6451VH. The module operates the temperature selector, airflow distribution and recirculation using cable linkages (Bowden cables) and integrated controls, giving reliable manual climate regulation for older Peugeot 206 variants. Ideal for professional workshops and experienced DIYers looking for a direct replacement part that restores precise control of cabin heating and ventilation.
Technical Information
- Manufacturer: Stellantis / Peugeot
- Model: Peugeot 206, Peugeot 206+
- Product Codes: 6451EJ, 6451VH, 6451EL
- Other Numbers: Cable Linkage Version / Manual Climate Control
Compatibility And Application
Fits Peugeot 206 and 206+ models equipped with manual heating and air-conditioning controls that use cable linkages. Frequently searched by the above product codes — include these part numbers in your lookup to increase the chance of quick identification. Suitable for restoring complete manual control of temperature, fan mode selection and recirculation functions.
How The Part Functions
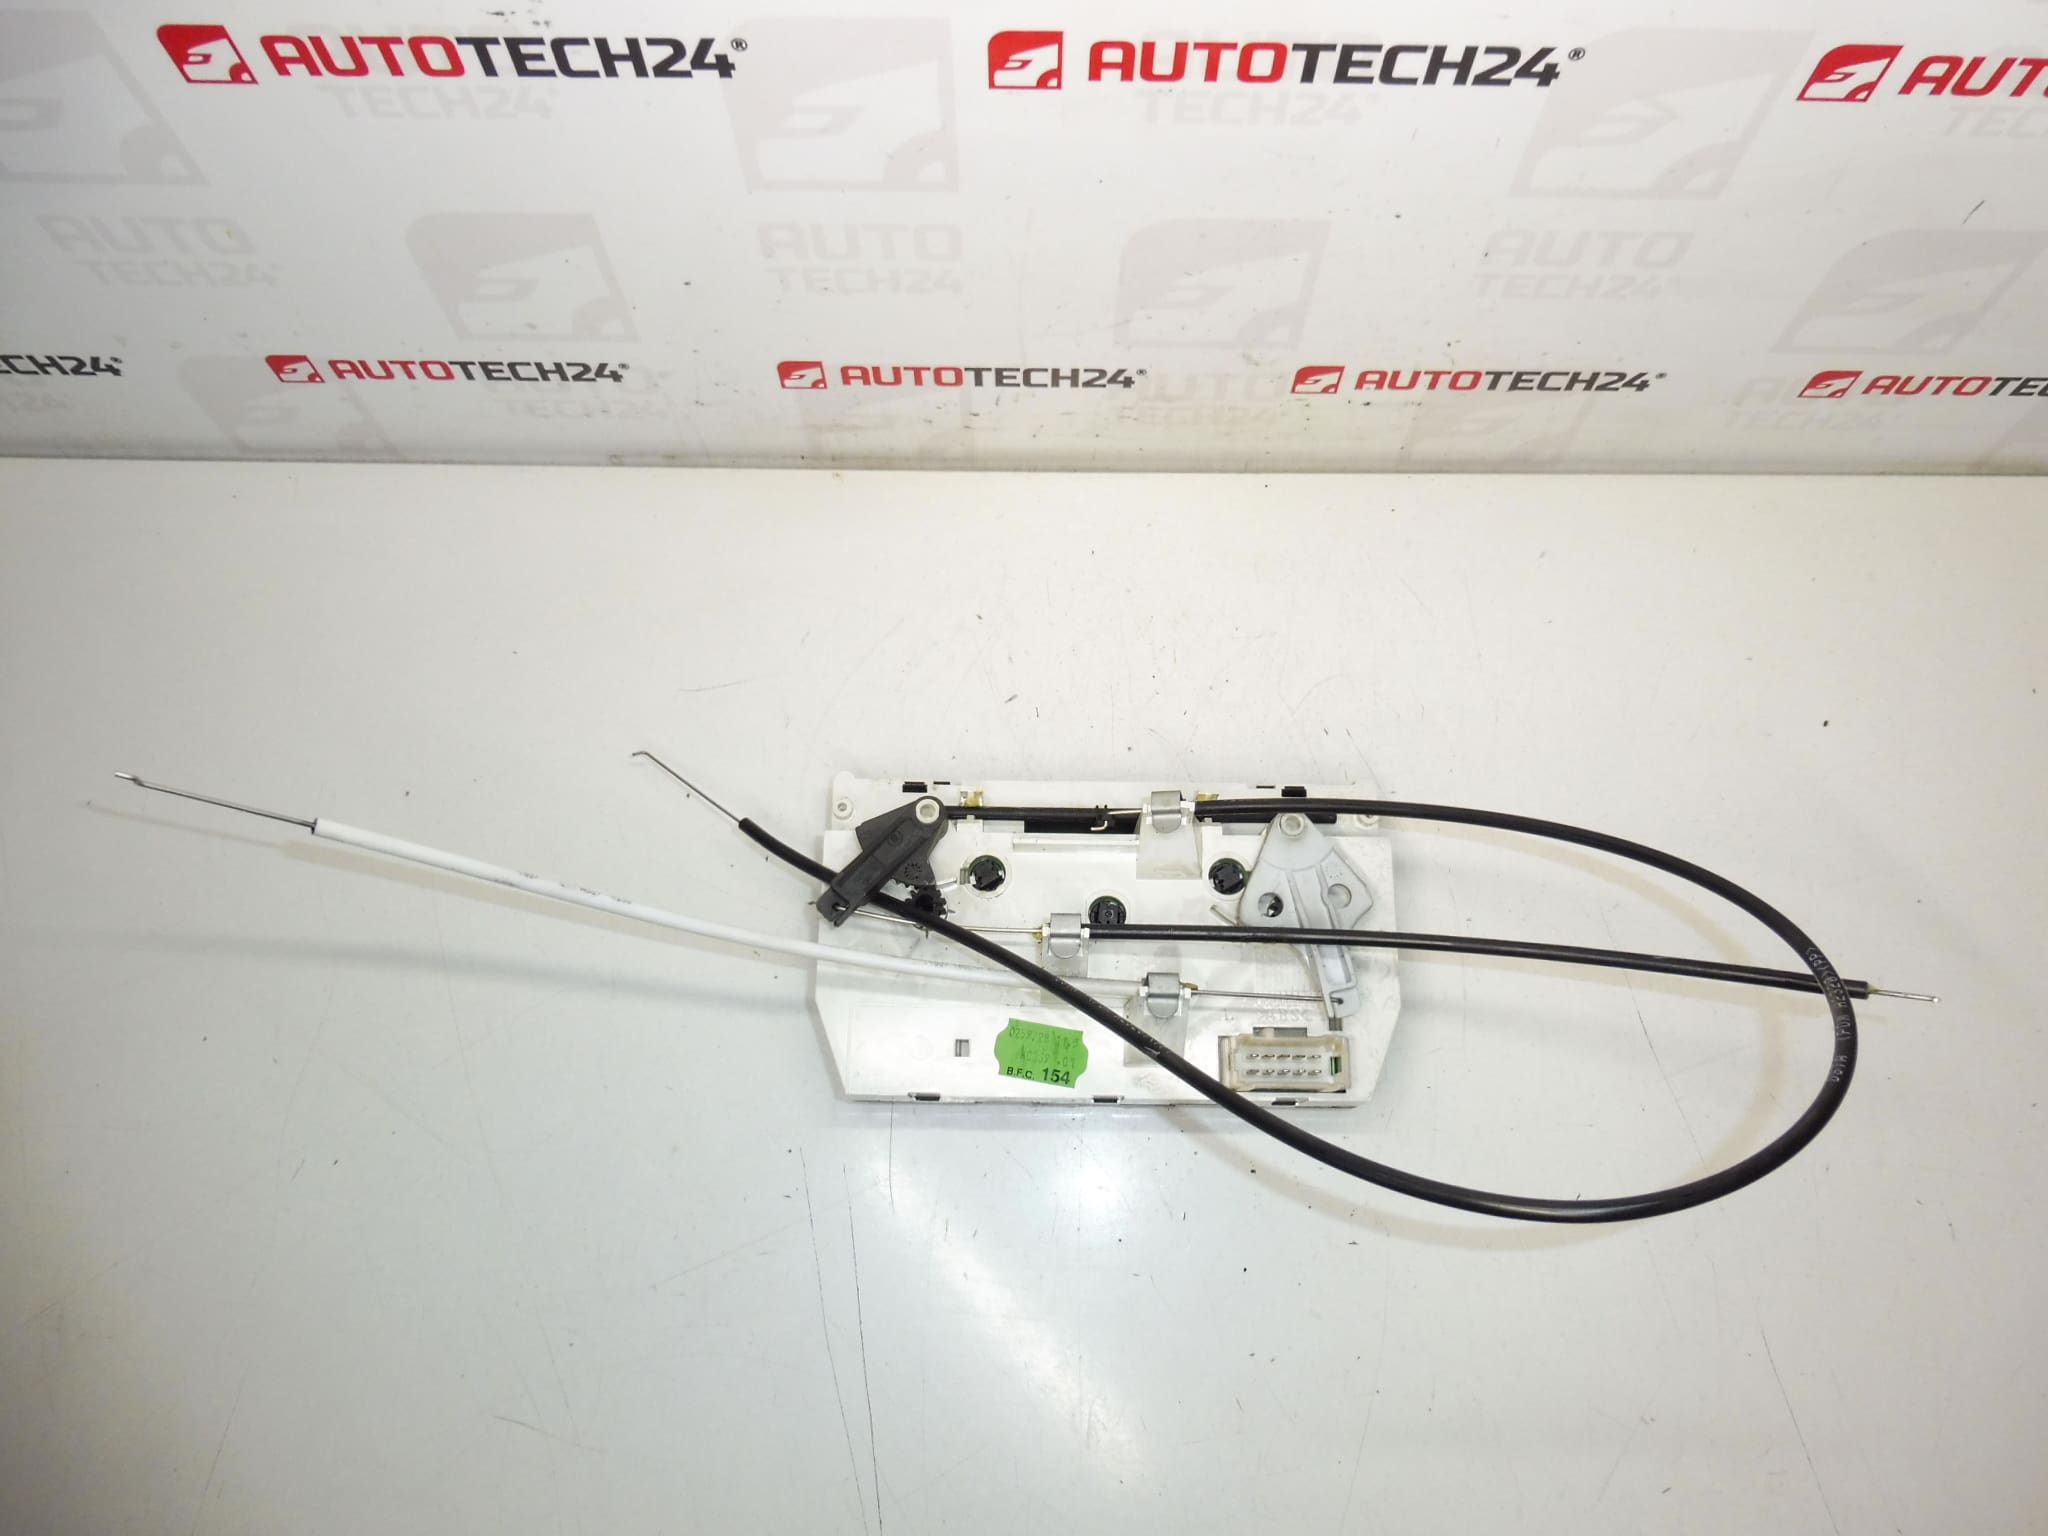
The control unit mechanically and electrically interfaces with Bowden cables and dashboard switches to move heater flaps, blend doors and activate recirculation. It translates user input (temperature slider, mode selectors) into cable motion and electrical signals that control airflow direction and mixing — ensuring the cabin temperature and ventilation match the driver’s settings.
Replacement Procedure (Overview)
- Safety First: Disconnect the negative battery terminal before starting to avoid short circuits and protect vehicle electronics.
- Access: Remove the center fascia and relevant trim panels to reach the climate control assembly — typically located in the central dashboard stack.
- Disconnect: Unscrew fasteners, unplug electrical connectors and carefully detach the Bowden cables from their mounting points. Note or photograph cable positions for accurate reassembly.
- Install: Fit the replacement unit, reconnect cables in the same routing and secure electrical connectors. Ensure cables move freely and are correctly tensioned.
- Test: Reconnect the battery, verify all functions (temperature control, mode selection, recirculation) before reassembling the trim panels.
Installation Recommendations
- Always Disconnect The Battery Before Disassembly To Protect Vehicle Electronics.
- Document Cable Positions With Photos Or Marks To Ensure Proper Reconnection.
- Inspect Bowden Cables And Cable Ends; Replace Any Frayed Or Stiff Cables To Prevent Rapid Recurrence Of Faults.
- Lubricate Pivot Points Lightly If Corroded, And Ensure Control Levers Move Smoothly Without Binding.
- After Installation, Cycle All Functions Several Times With The Engine Running To Confirm Correct Operation Before Final Reassembly.
Why This Part Most Commonly Fails
- Mechanical Wear: Plastic Gears, Levers Or Cable Ends Can Break Over Time, Especially On Older Vehicles.
- Cable Deterioration: Bowden Cables May Stretch, Corrode Or Break, Leading To Poor Or No Control Of Flaps.
- Electrical Contact Wear: Switches And Pots Inside The Unit Can Become Noisy Or Intermittent Due To Age And Dirt.
- Moisture And Contamination: Liquid Spills Or Damp Conditions Can Cause Corrosion On Circuit Tracks Or Connectors.
- Aging: Typical Service Life Depends On Use And Environment; Units On Cars Over 10–15 Years Old Are More Prone To Failure.
Choose this control unit if you need a reliable replacement for manual climate control in Peugeot 206 / 206+. The presence of original part numbers (6451EL, 6451EJ, 6451VH) helps fast identification. Suitable for professional installation or experienced DIY repair — follow the installation recommendations to ensure durable, trouble-free operation.